20 Paper Flowers Anyone Can Make Step by Step
Introduction
Paper flowers have exploded to over 2 billion views on Pinterest — and once you learn how to make paper flowers step by step, it’s easy to see why everyone is obsessed.
They cost as little as $5 in materials, they never wilt, and they look absolutely stunning in photos, centerpieces, and gallery walls alike.
In this guide, you’ll discover 20 beautiful flower styles — from simple beginner blooms like classic roses and daisies to more intricate intermediate designs like ranunculus and peonies. Every project includes clear, visual-friendly instructions anyone can follow.
For another perspective, this detailed piece on Mexican Paper Flowers : 8 Steps (with Pictures) is worth a read.
Here’s a quick peek at what’s inside:
- Beginner-friendly designs using basic cardstock and tissue paper
- Intermediate styles perfect for weddings, parties, and home decor
- A simple materials list you probably already have at home
Whether you’re decorating a nursery or styling a wedding backdrop, paper flowers are your most versatile creative tool right now.
What You Need Before You Start Making Paper Flowers
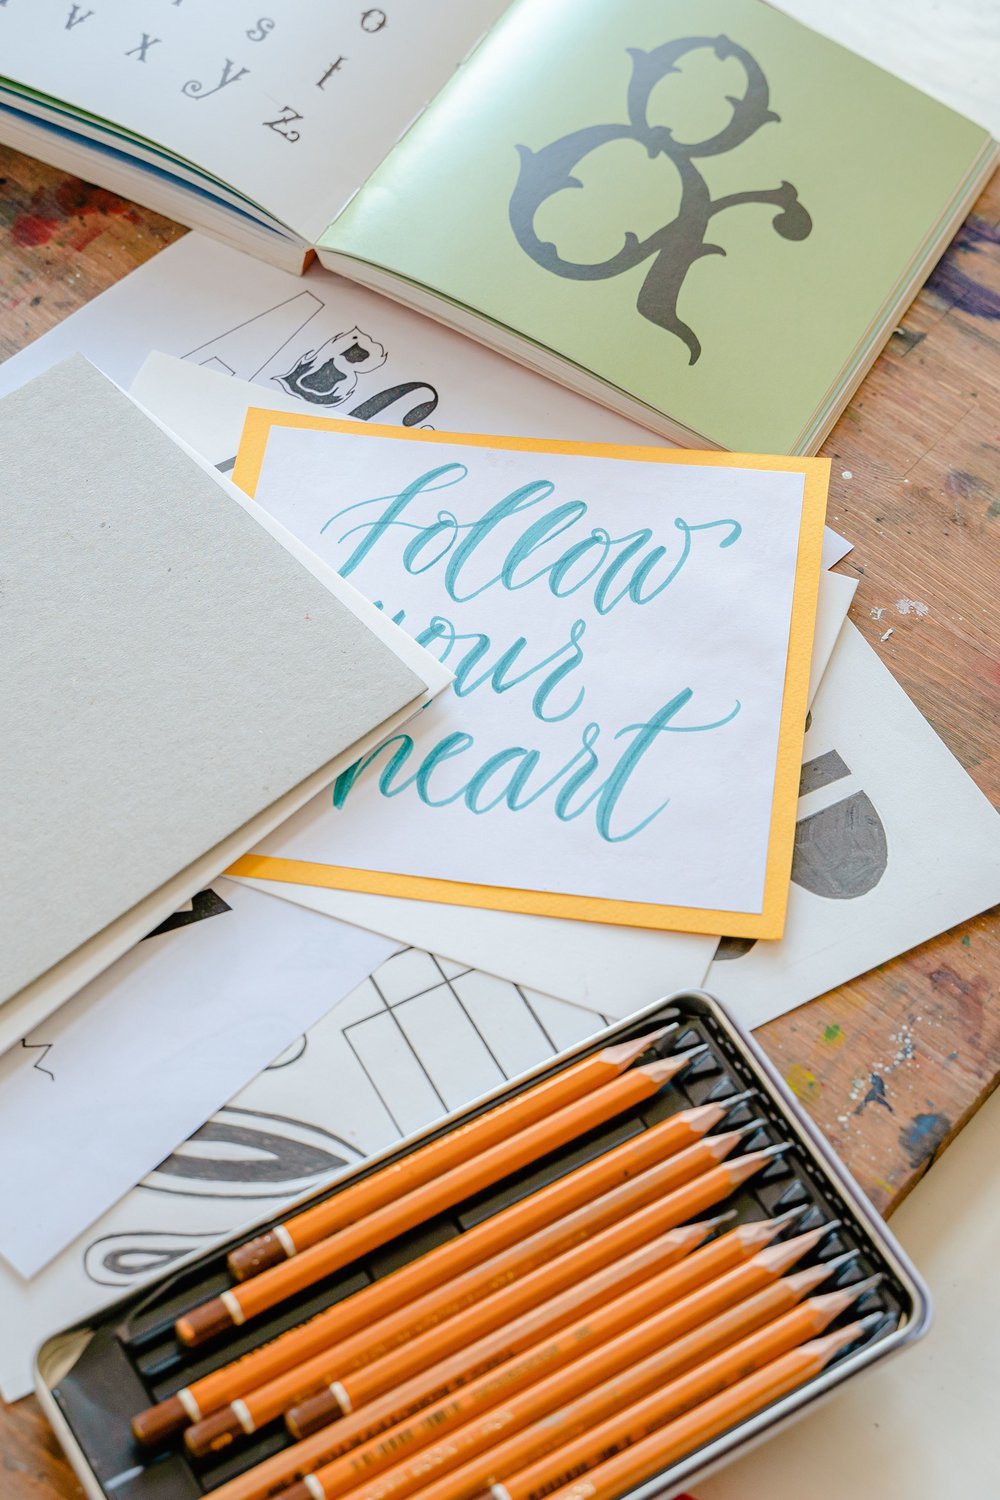
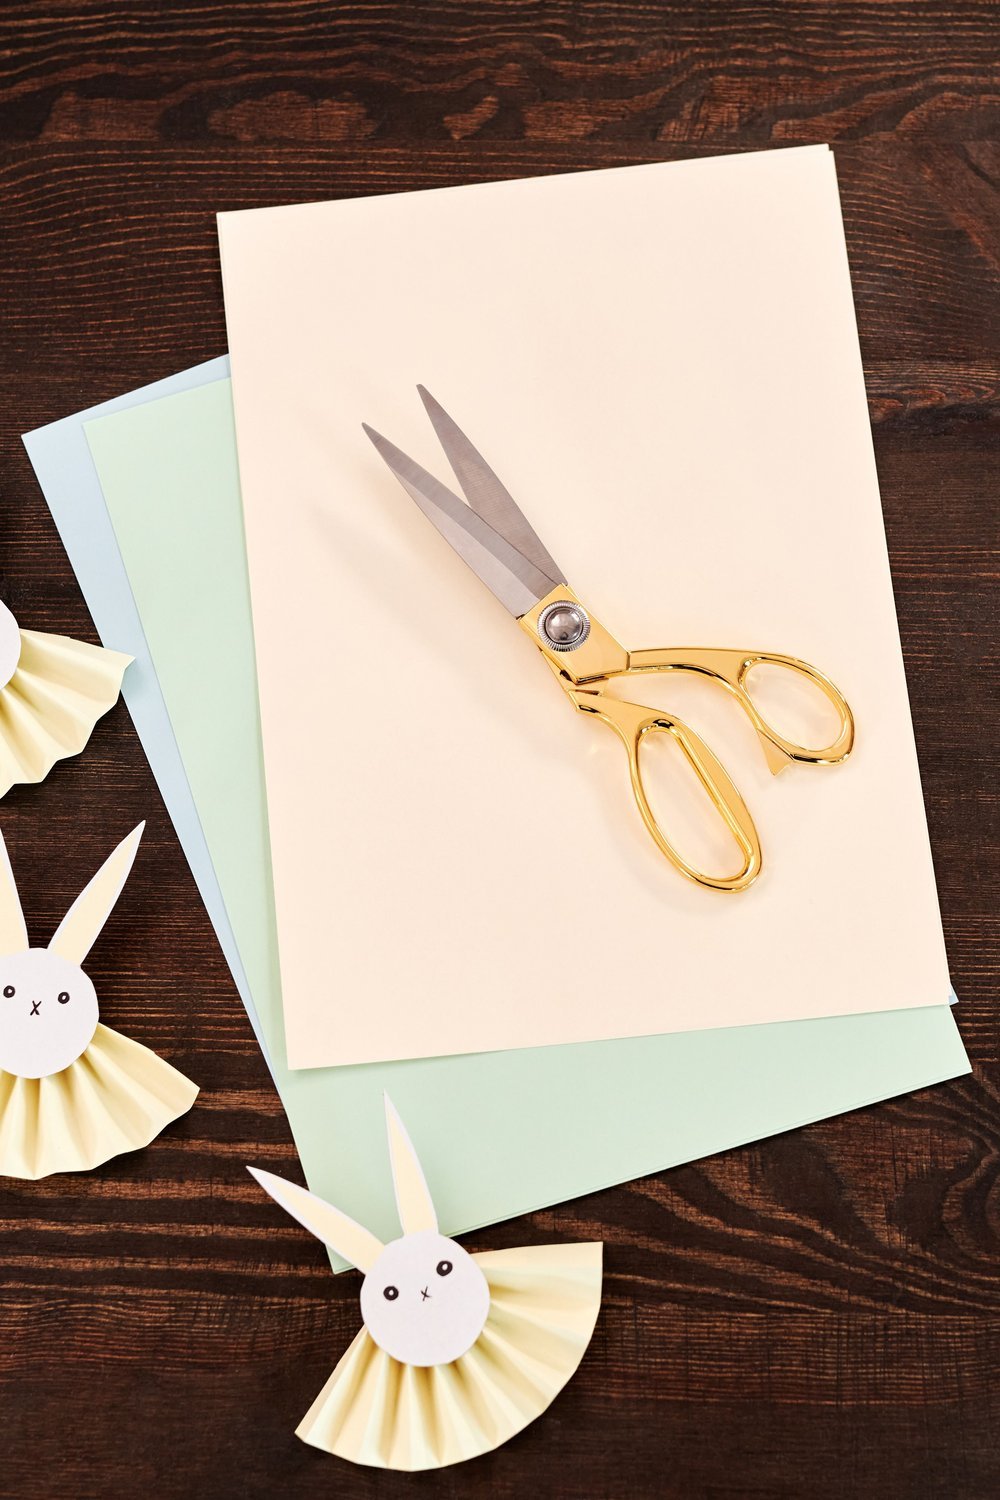
You’re ready to dive in, scissors in hand — then realise you’re missing half the supplies. Gathering everything upfront makes the whole process so much smoother.
Here’s your core materials list:
- Cardstock, tissue paper, and crepe paper
- Sharp scissors and a craft glue stick or hot glue gun
- Wire stems and floral tape for finishing
- Printable petal templates
Crepe paper is the go-to for realistic, soft-looking petals — you’ll find budget-friendly packs for around $5 at craft stores or on Amazon.
Before you learn how to make paper flowers step by step, three tools genuinely upgrade your results: a bone folder for crisp creases, a foam mat for shaping, and floral tape for natural-looking stems.
I’ve found that cardstock works best for bold, structured blooms like roses, while tissue paper suits delicate, airy styles like peonies.
How to Make Paper Flowers Step by Step: Beginner Basics
Have you ever picked up a sheet of cardstock and wondered where to even start? Before diving into specific designs, a few core skills will make every project feel effortless.
Learning how to make paper flowers step by step starts with four fundamental techniques: scoring, curling, layering, and gluing petals. Scoring a fold line with a bone folder before creasing gives you crisp, professional edges every time.
Curling petals around a pencil or skewer adds that lifelike dimension that makes finished flowers look stunning rather than flat.
Printable petal templates are your best friend. Print them at 100% scale — never “fit to page” — and trace directly onto your paper for accuracy.
- Use sharp scissors or a craft knife for clean, smooth cuts
- A precision glue stick or a low-temp glue gun (under 250°F) prevents warping
- Layer petals from largest to smallest for natural-looking depth
How to Make a Classic Paper Rose Step by Step
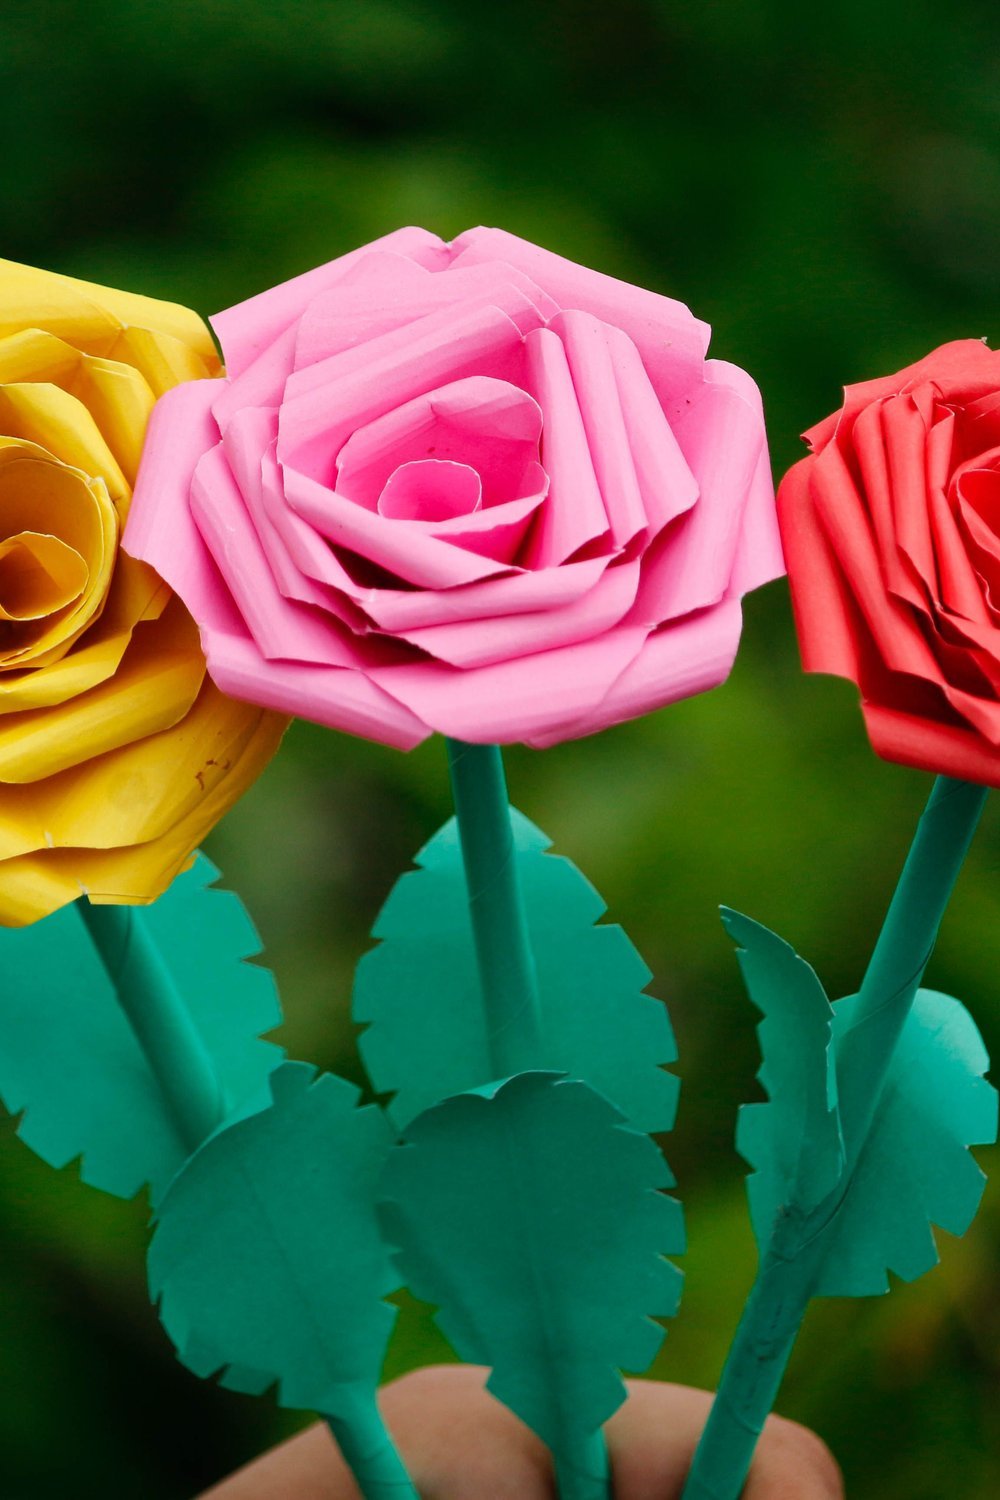
Think paper roses look complicated? They’re actually one of the easiest ways to learn how to make paper flowers step by step — even beginners nail them on the first try.
Cut 5–7 petal shapes from cardstock or crepe paper, sizing them from about 1 inch up to 3 inches. Crepe paper gives a softer, more lifelike finish.
To curl each petal, gently roll the tip around a pencil and hold for a few seconds. I’ve found slightly warming the crepe paper between your fingers first creates a beautiful natural curve.
For assembly, follow these layering steps:
- Form a tight center bud first
- Layer petals smallest to largest around it
- Secure each layer with a dab of hot glue
The result? A realistic, full bloom that looks like it cost $15 at a florist.
Easy Tissue Paper Flowers for Kids and Beginners
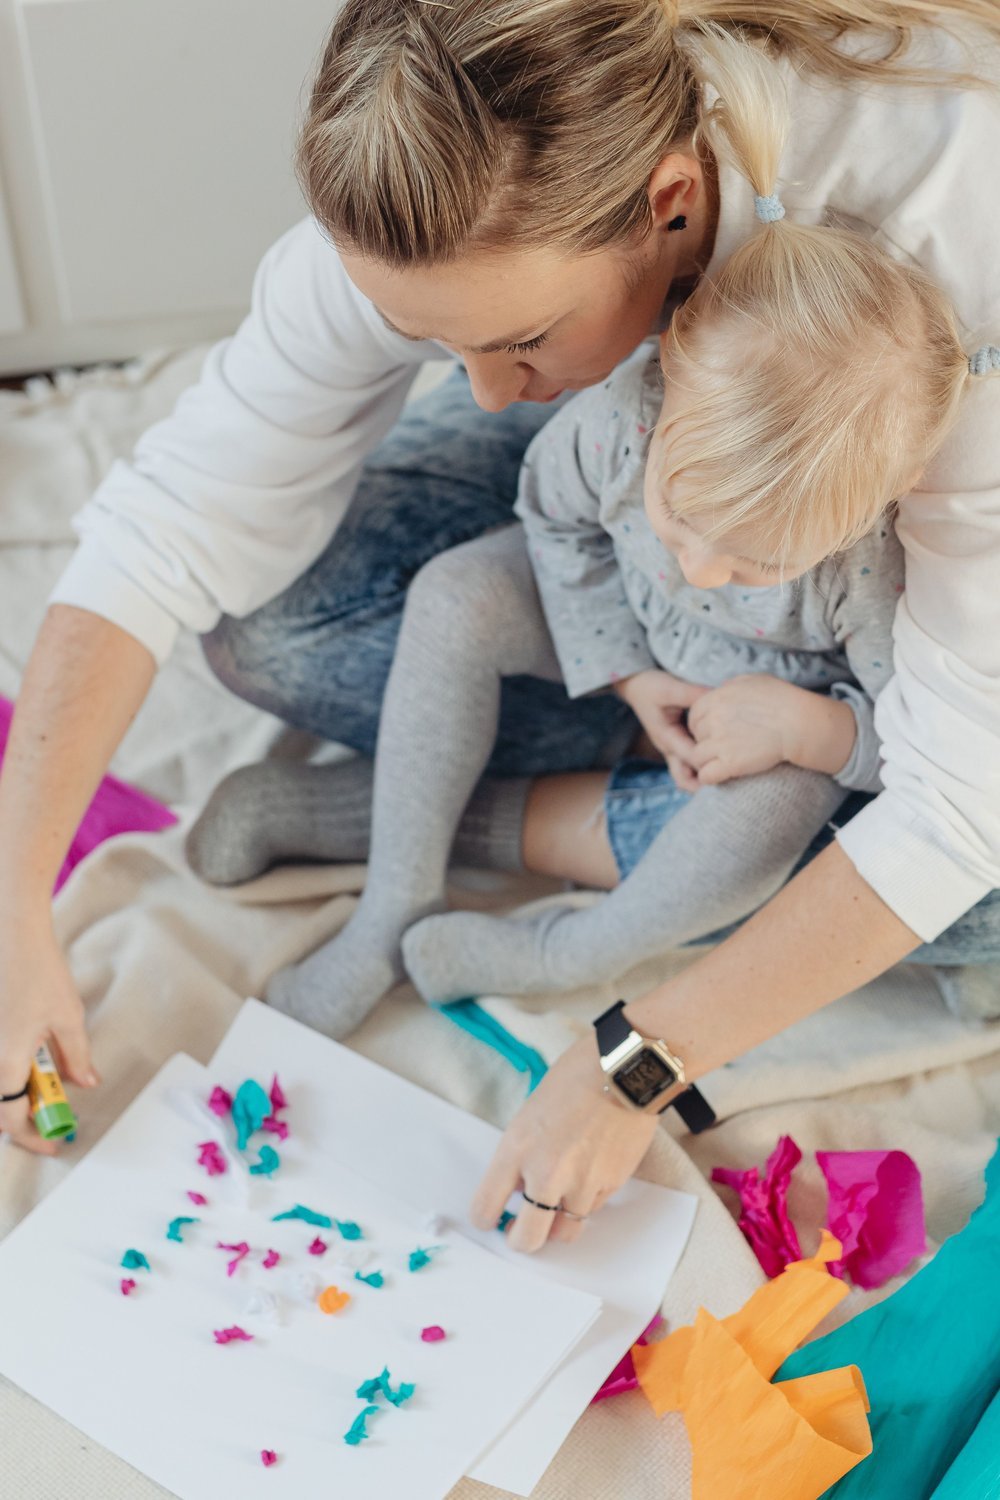
There’s something magical about watching a child’s face light up when a flat sheet of tissue paper transforms into a gorgeous bloom right before their eyes.
The accordion-fold method is honestly the most beginner-friendly way to learn how to make paper flowers step by step. Stack 6–8 sheets of tissue paper, fold them together in 1-inch accordion folds, then twist a pipe cleaner tightly around the centre.
These make beautiful party decorations, classroom projects, and gift toppers — and they cost almost nothing to make.
The secret to a full, round bloom is in the fluffing. Gently separate each tissue layer, pulling upward toward the centre one sheet at a time.
- Use two contrasting colours for an ombre petal effect
- Larger sheets create showstopping wall backdrops
- Secure the pipe cleaner stem into a foam base for table centrepieces
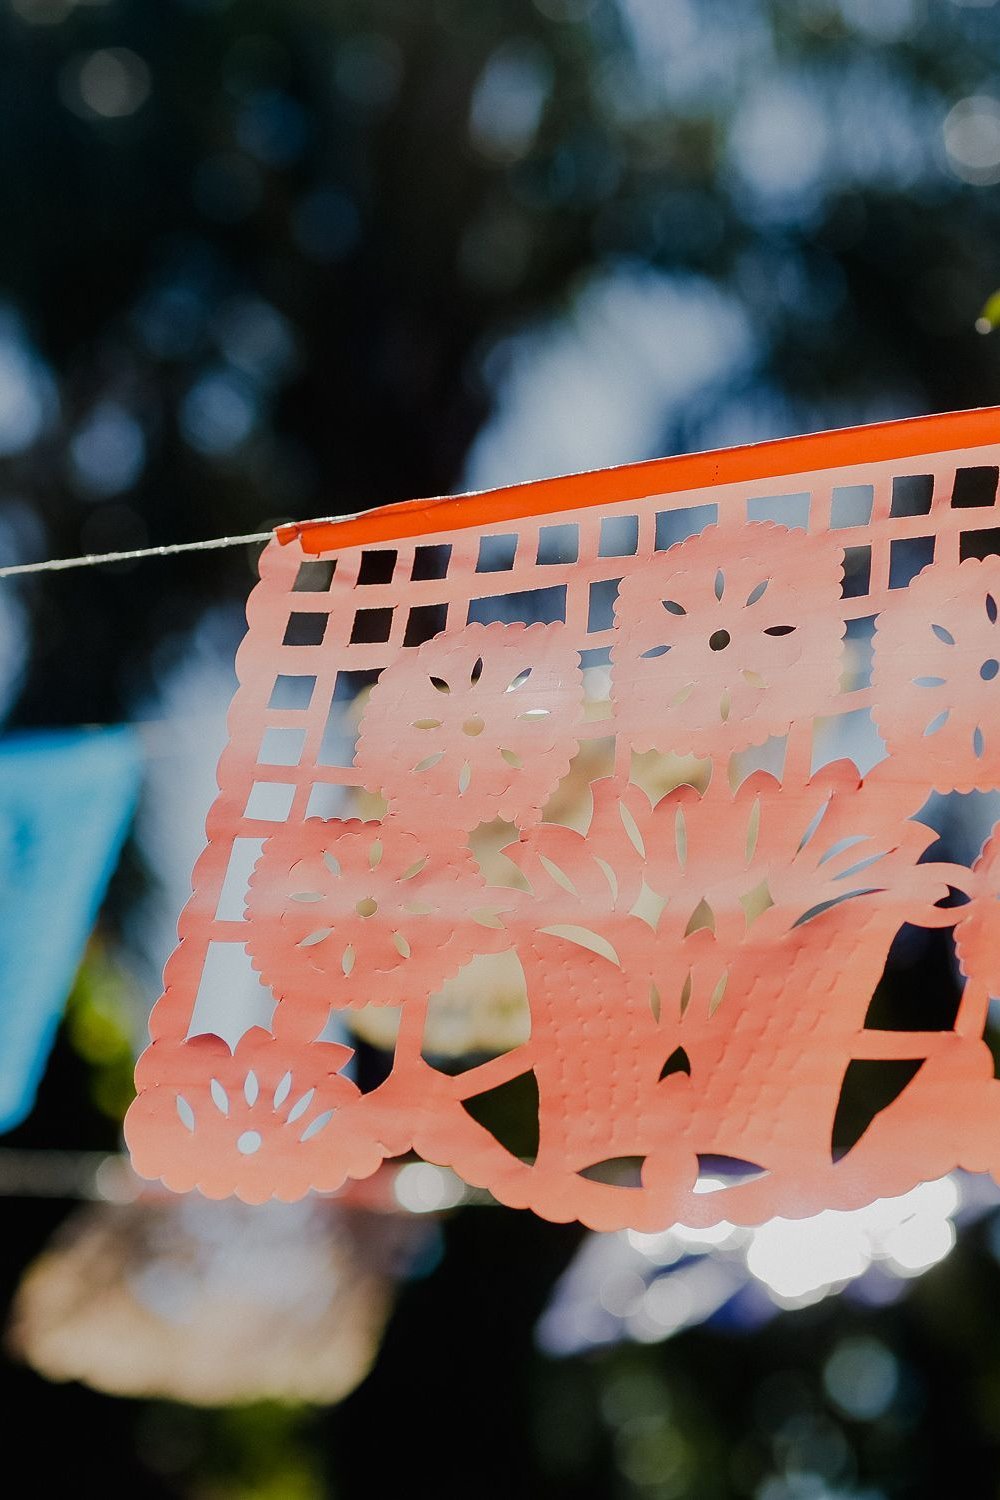
Mexican Paper Flowers (Papel Picado Style Flowers)
Grab at least 8 sheets of bright tissue paper — the more layers you stack, the fuller and more dramatic your bloom will look.
Stack your sheets neatly, then accordion-fold the entire stack in 1-inch increments from one short end to the other. Crease every fold firmly as you go.
Pinch the folded stack at the centre and secure tightly with a piece of floral wire, twisting several times so nothing shifts. Trim each end into a rounded or pointed shape before opening.
Now for the magic — fan out both sides gently and separate each individual tissue layer upward toward the centre. This is honestly my favourite step when learning how to make paper flowers step by step.
- Use contrasting colours for a bold fiesta-ready look
- Hang finished blooms as a stunning party backdrop
- Mist lightly with water to help petals hold their shape
Giant Paper Flowers for Backdrops and Party Decor

Spring celebrations and wedding season are the perfect excuse to go big — and giant paper blooms deliver serious visual impact without a serious budget.
When scaling up, use poster board or heavyweight cardstock (at least 80lb cover stock) for petals that hold their shape. Simply enlarge your templates to 18–24 inches across for that dramatic, wall-filling look.
- Photo booth backdrops and wedding arches
- Nursery accent walls and birthday party displays
- Bridal shower statement décor
Learning how to make paper flowers step by step at a larger scale honestly changes what’s possible — a full backdrop can cost under $30 in materials.
For mounting, use heavy-duty Command strips or floral wire looped through the back — this keeps blooms flush against the wall and prevents drooping throughout the event.
How to Make a Paper Peony That Looks Incredibly Real
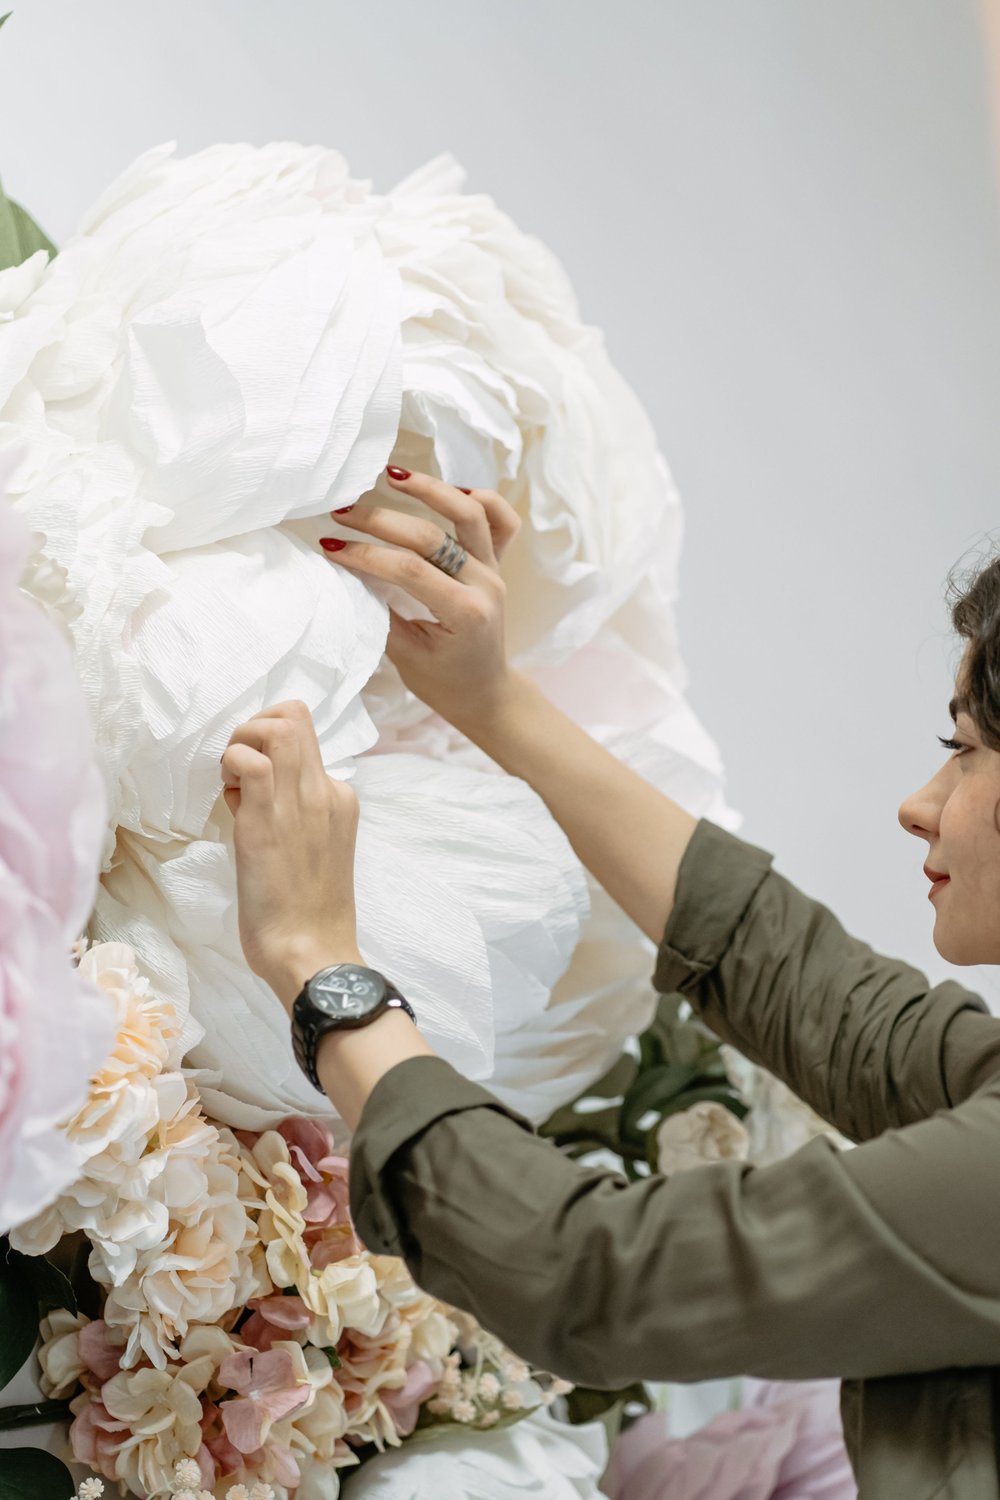
Fresh peonies can cost $8–$12 per stem at a florist — these crepe paper versions last forever and honestly fool people at first glance.
For those learning how to make paper flowers step by step, peonies are surprisingly beginner-friendly. Layered crepe paper petals create that signature ruffled fullness naturally.
- Cut 12–15 petals in graduating sizes from double-sided crepe paper
- Press each petal against a foam mat, stretching the center gently with your thumbs to cup and dome the shape
- Ruffle the petal edges by rolling them loosely around a pencil
- Build the flower center using tightly curled paper strips or pearl stamens for a realistic, layered core
Wrap each petal layer tightly around the center, fanning outward as you go. The slight color variation in quality crepe paper mimics real petals beautifully.
Simple Paper Daisy: A Step by Step Tutorial for All Ages
A single daisy only takes about 8 minutes from start to finish — making it the perfect first project if you’re just learning how to make paper flowers step by step.
Cut 8 evenly spaced petals from white cardstock using one circular template. Single-layer petal cutting keeps edges clean and crisp without layering complexity.
For the center, scrunch a 2-inch square of yellow tissue paper or cut a small foam circle. Fluffing tissue paper gives it that soft, dimensional button look real daisies have.
- Glue petals around the center in two offset rows
- Press a floral wire stem through the base
- Wrap the stem tightly with green floral tape for a polished finish
How to Make a Paper Sunflower with a Gorgeous 3D Center
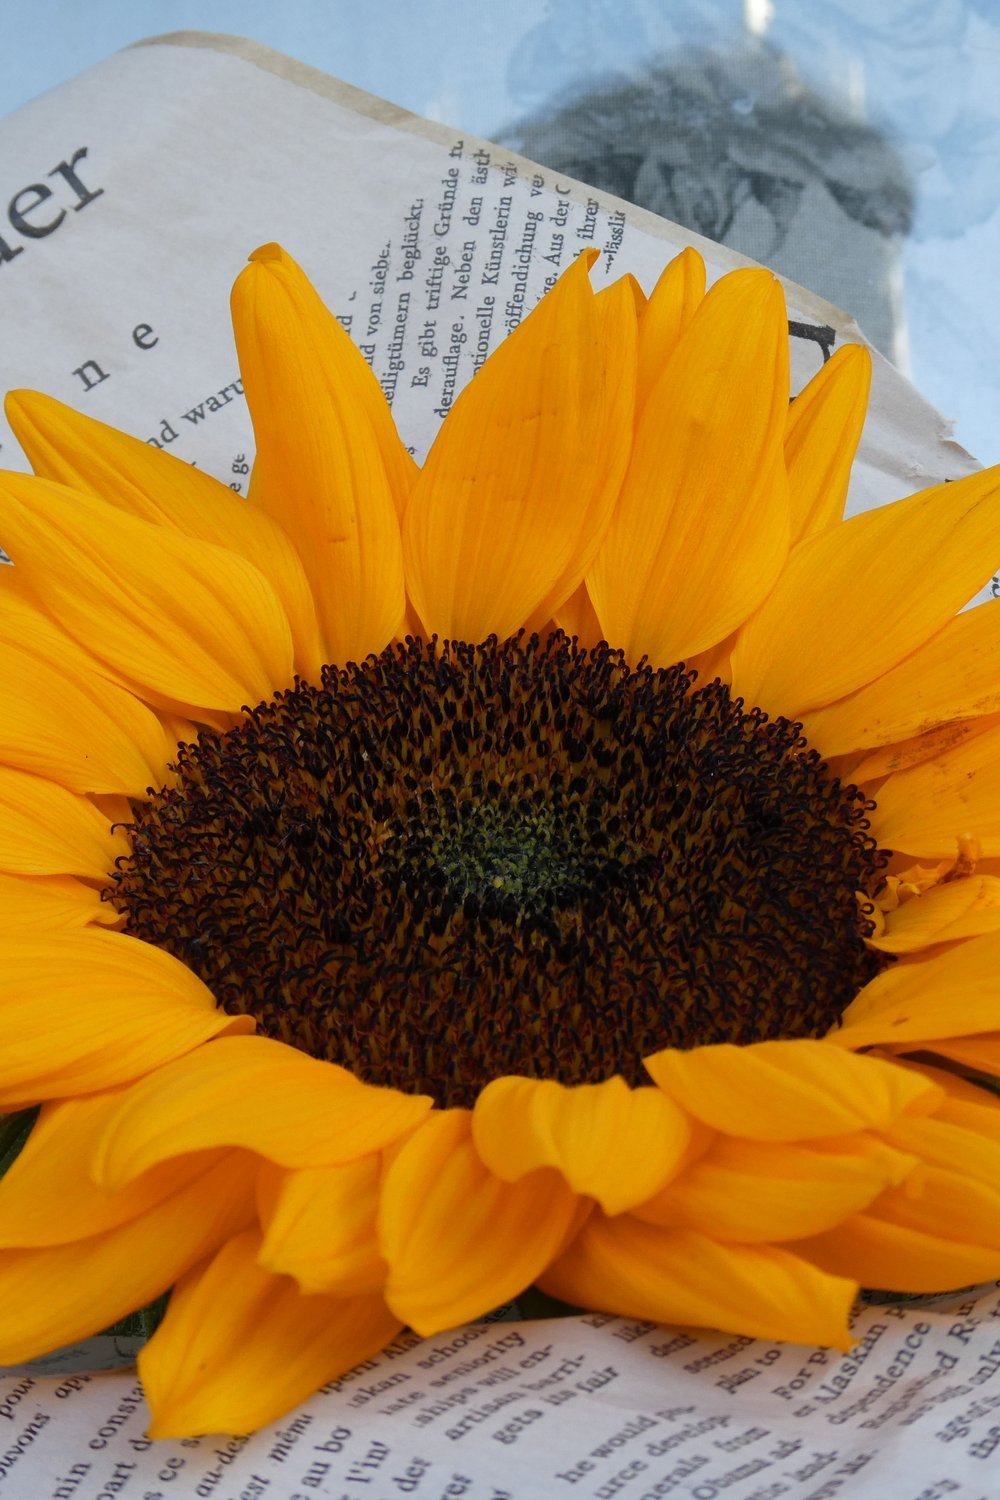
You’ve admired those stunning paper sunflowers on Pinterest and wondered if they’re actually achievable — they absolutely are, even for beginners.
Cut 16 petals from golden yellow cardstock, then layer a second ring of shorter petals cut from amber crepe paper. This two-tone petal technique instantly adds depth and that signature sunflower glow.
For the center, crumple a 4-inch circle of dark brown corrugated card, then scrunch smaller paper pieces on top. The textured seed center is what transforms this from flat craft to jaw-dropping showpiece.
- Curl petals around a pencil for natural movement
- Hot glue a sturdy green wire stem, wrapping it with floral tape
- Attach two leaf shapes cut from green cardstock at different heights
If you’re exploring how to make paper flowers step by step, this sunflower proves that realistic standing results are completely within reach.
Crepe Paper Tulips That Look Fresh From the Garden
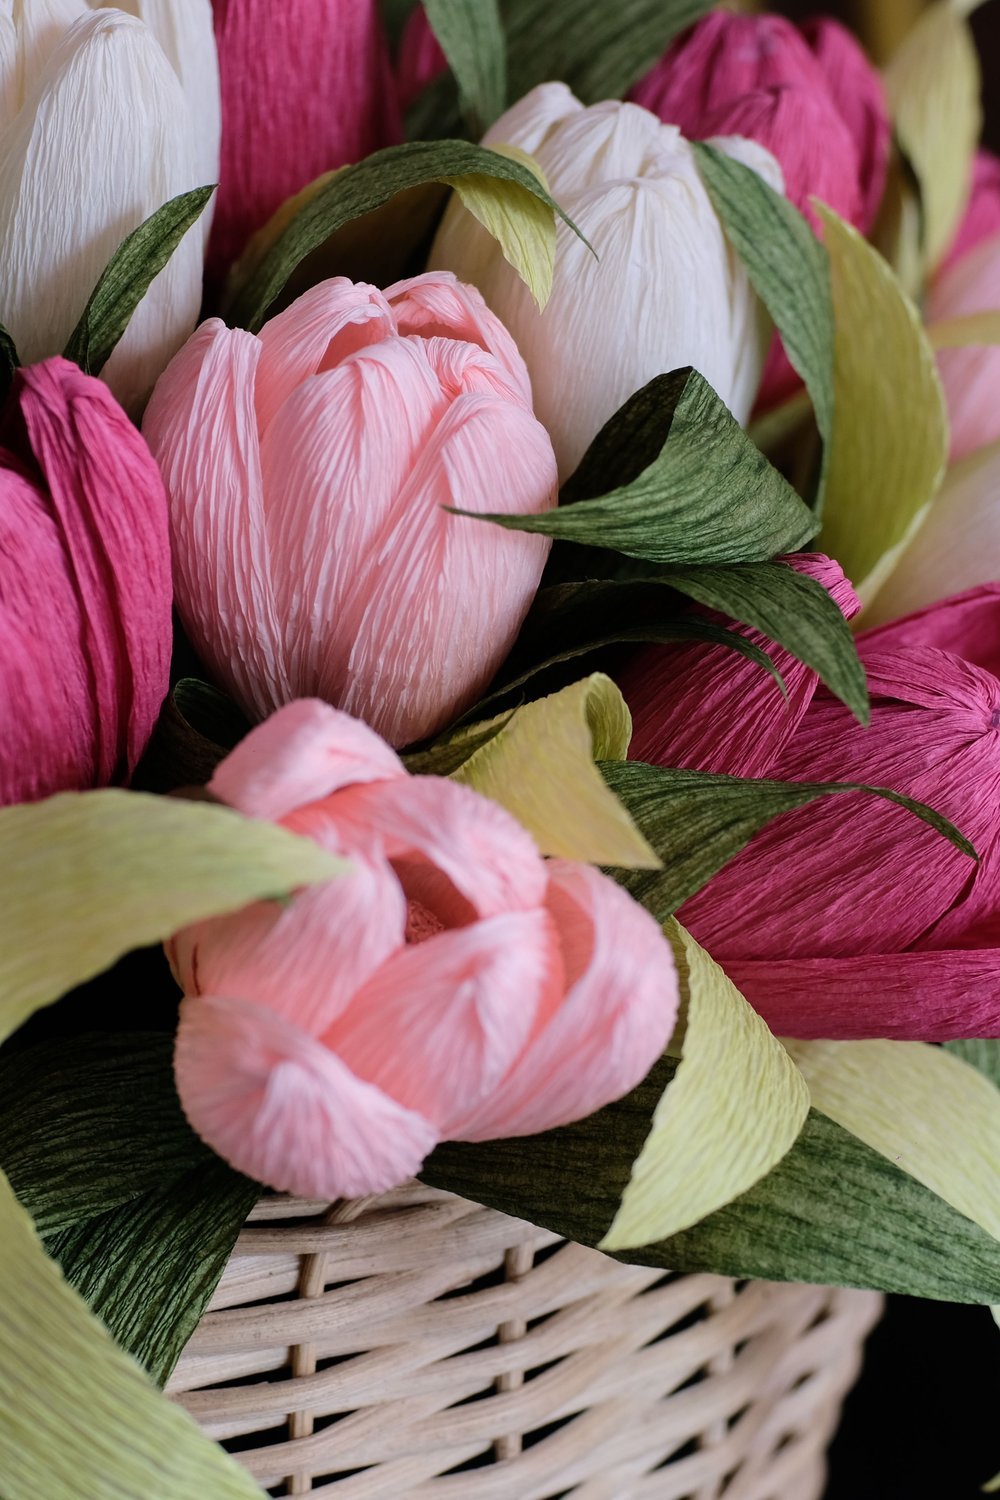
Have you ever wanted a bouquet that never wilts? These crepe paper tulips are so lifelike, guests will do a double-take.
Start by cutting five petal shapes, then stretch each piece gently between your thumbs to coax out that natural curve. Crepe paper responds beautifully to pressure — a little tension creates realistic, cupped edges without tearing.
Pinch the base of each petal inward slightly, overlap them around a small foam ball, and seal the base tightly with floral wire twisted at least 3–4 times to hold everything secure.
This is honestly one of the most satisfying methods when you’re learning how to make paper flowers step by step.
- Wrap an 18-gauge wire stem in green floral tape, stretching as you spiral downward
- Cut one elongated leaf from green crepe paper and attach it midway up the stem
- Gently curl the leaf tip outward for a finishing touch that looks garden-grown
Paper Cherry Blossoms for Delicate Spring Decor
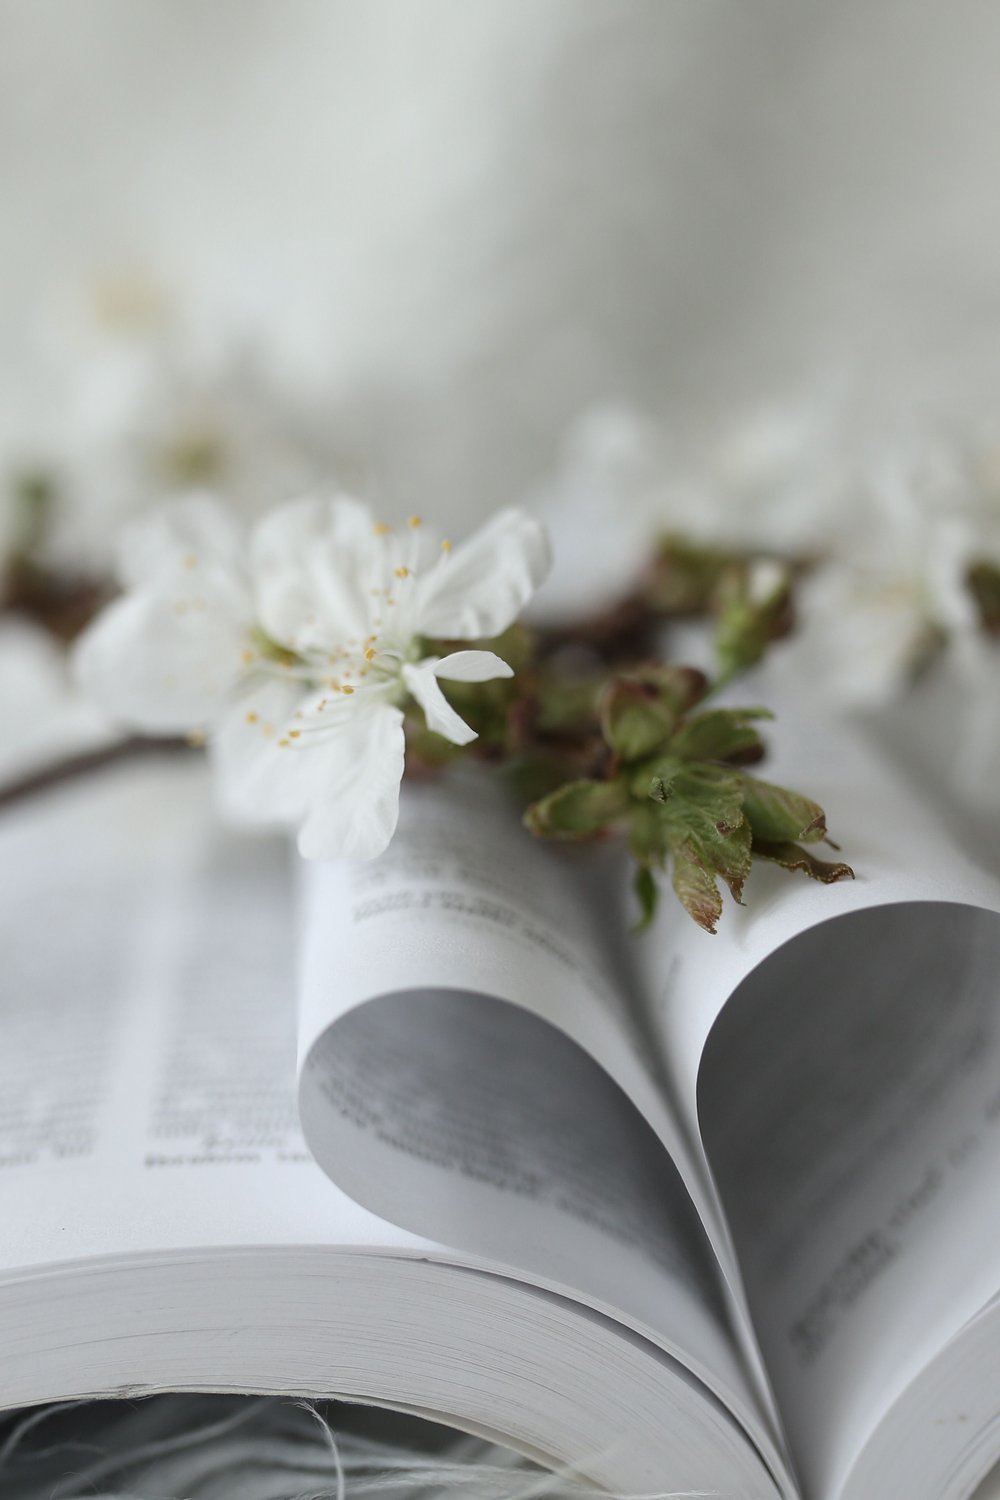
You might think realistic cherry blossoms require advanced craft skills — they absolutely don’t. This is honestly one of the most rewarding projects in any how to make paper flowers step by step guide.
Cut tiny five-petal blossoms from pale pink tissue paper or lightweight cardstock. Aim for petals no larger than 1.5 inches across for that authentic, delicate look.
Layer two or three blossoms together, pinching the centers tightly before attaching them to a bare branch with floral wire. Clustering 20–30 blooms transforms a plain twig into a stunning seasonal display.
Want more depth? Try the watercolor technique — brush diluted pink and soft coral watercolor onto white cardstock before cutting. You’ll get beautiful subtle color variation that makes each bloom feel completely unique.
How to Make Paper Flowers Step by Step Using a Cricut
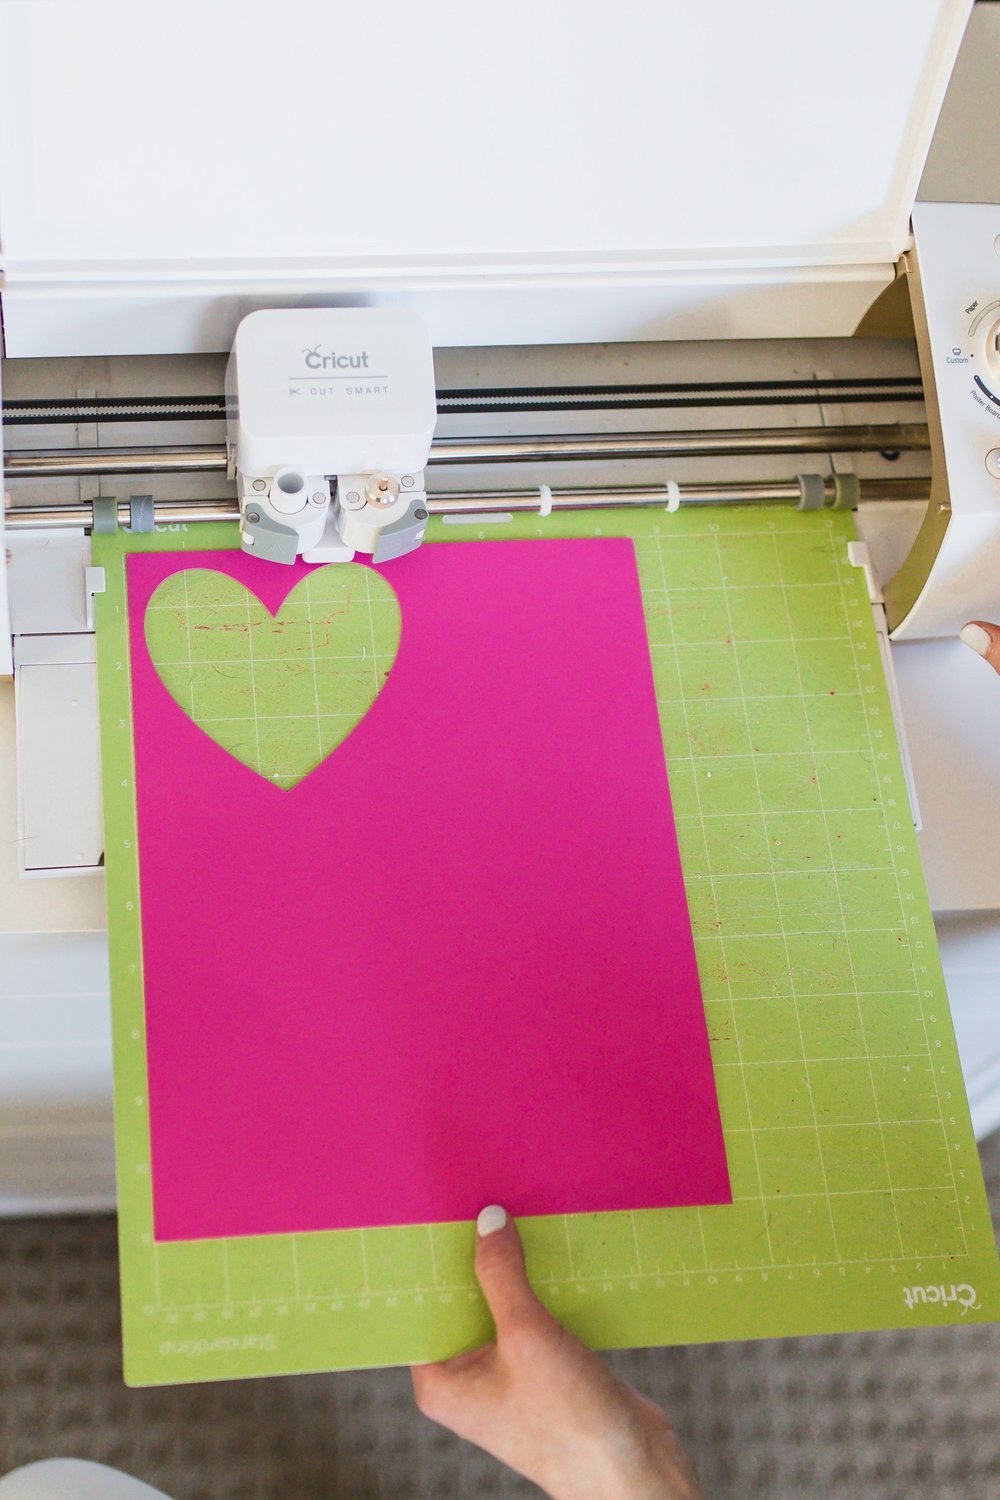
If you’ve ever struggled to cut uniform petals by hand, a Cricut Maker or Explore Air 2 genuinely changes the game — every piece comes out perfectly symmetrical.
Learning how to make paper flowers step by step with a cutting machine means uploading an SVG file and letting the blade do the precise work for you.
Best SVG sources to explore:
- Cricut Design Space (free built-in flower templates)
- Etsy SVG bundles (quality sets start around $3–$5)
- Creative Fabrica for unlimited commercial-use files
For assembly, score every fold line lightly before curling petals — machine-cut cardstock is crisper and benefits from a bone folder rather than your fingernail.
Layer petals from largest to smallest, securing each with a hot glue dot at the centre for a clean, professional finish.
Paper Lotus Flower: A Mindful Fold-and-Layer Project

Start with perfectly square sheets — 15cm x 15cm is the ideal size for beginners to control each fold comfortably.
This origami-inspired method builds the lotus layer by layer. Fold each corner into the center twice, creating a compact base that holds its shape beautifully.
The magic happens when you gently pull back the outer corners to reveal those signature curved petals. Work slowly — rushing this step flattens the bloom.
If you’re exploring how to make paper flowers step by step, the lotus rewards patience with a stunning, meditative result worth every fold.
- Use smooth origami paper or thin cardstock for crisp, clean edges
- Soft pinks, dusty whites, and lavender mimic real lotus blooms
- Avoid heavy paper — it resists folding and cracks at the creases
Rolled Paper Flowers From Strips: Quick and Addictive
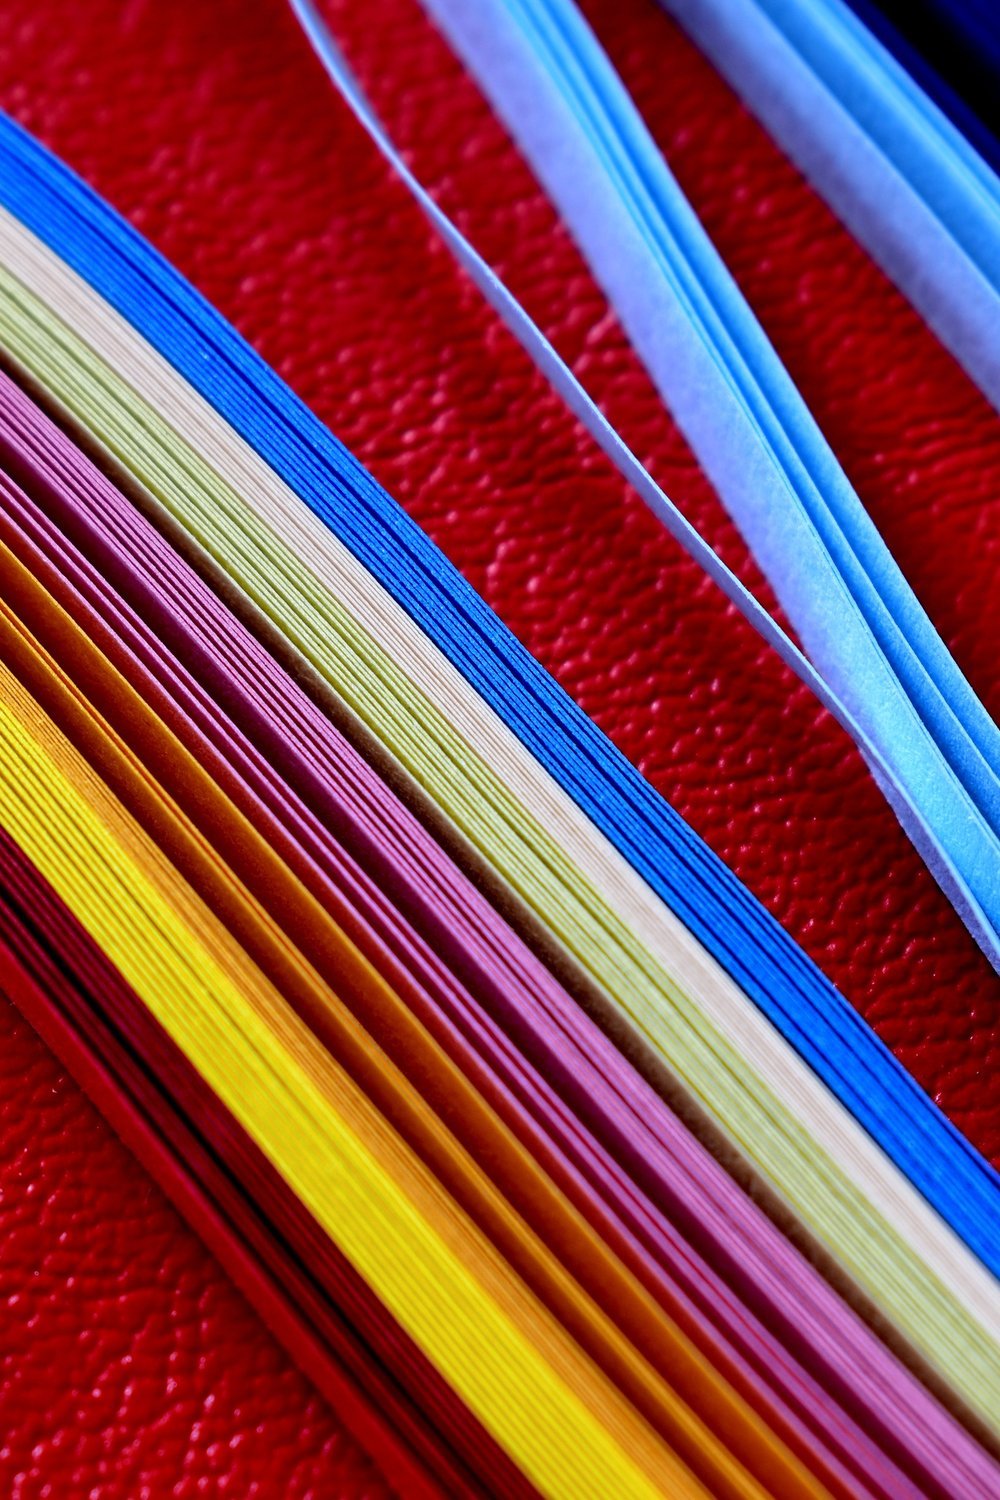
Come spring or holiday season, these tiny rolled blooms turn plain cards and wreaths into something truly special — and they only need one strip of paper to make.
Cut your paper into a spiral strip about ½ inch wide, starting from the outer edge of a circle and working inward. Then simply roll it tightly from the center outward, letting the edges fan naturally as you go.
This quilling-inspired approach is one of the most satisfying parts of learning how to make paper flowers step by step — results feel professional with almost zero experience required.
A few glue tips that actually make a difference:
- Apply glue only at the very end of the strip to lock the shape
- Hold the roll firmly for 20 seconds before releasing
- Let petals fan loosely before the glue fully sets for a natural bloom shape
Paper Hydrangea Clusters for Wreaths and Centerpieces
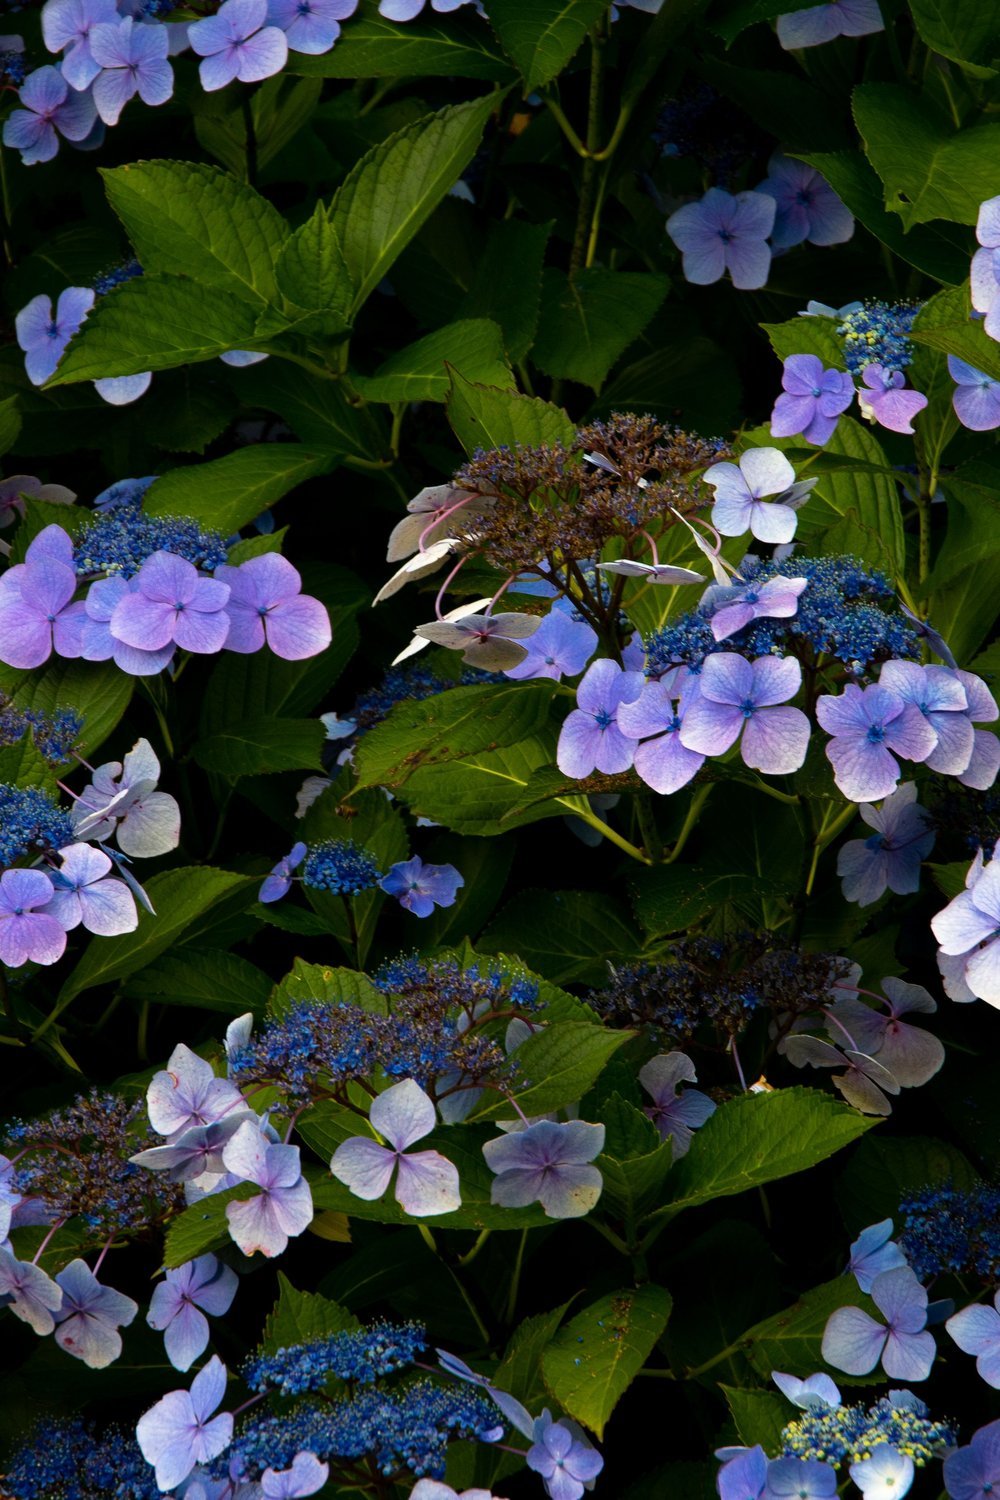
Fresh hydrangeas cost $8–$15 per stem at the florist — these paper versions cost pennies and last forever. Once you master how to make paper flowers step by step at this scale, hydrangeas become surprisingly addictive to create.
Each bloom is a tiny four-petal flower cut from a 1.5-inch square of tissue or crepe paper. Pinch the center, twist the base, and repeat — you’ll need 30 to 50 individual florets per hydrangea head.
Push each twisted stem into a small foam ball or wire dome, packing them tightly until no base shows through. The density is exactly what creates that lush, full look.
For realistic color depth, try these blending tricks:
- Mix three shades of the same hue — light, mid, and deep
- Cluster darker blooms toward the center, lighter ones at the edges
- Add a few ivory florets to mimic natural fading
Common Mistakes When Making Paper Flowers (And How to Fix Them)

Nearly 70% of first-time crafters abandon their project after the first attempt — usually because of one of these three fixable mistakes.
Wrong paper weight is the silent project-killer. Copy paper tears mid-fold, while cardstock over 110lb becomes impossible to curl naturally. Stick to 60–80lb text-weight paper for most styles.
Skipping petal shaping is why flowers look flat and lifeless. Curling each petal individually around a pencil before assembling makes an enormous difference — it’s the step most tutorials rush past.
Glue mistakes are just as common. Too much warps delicate petals; too little means everything falls apart. A fine-tip hot glue gun gives you the most control, while a glue stick works better for tissue paper.
When you learn how to make paper flowers step by step with these fixes in mind, your results will look polished from the very first try.
How to Color and Customize Your Paper Flowers
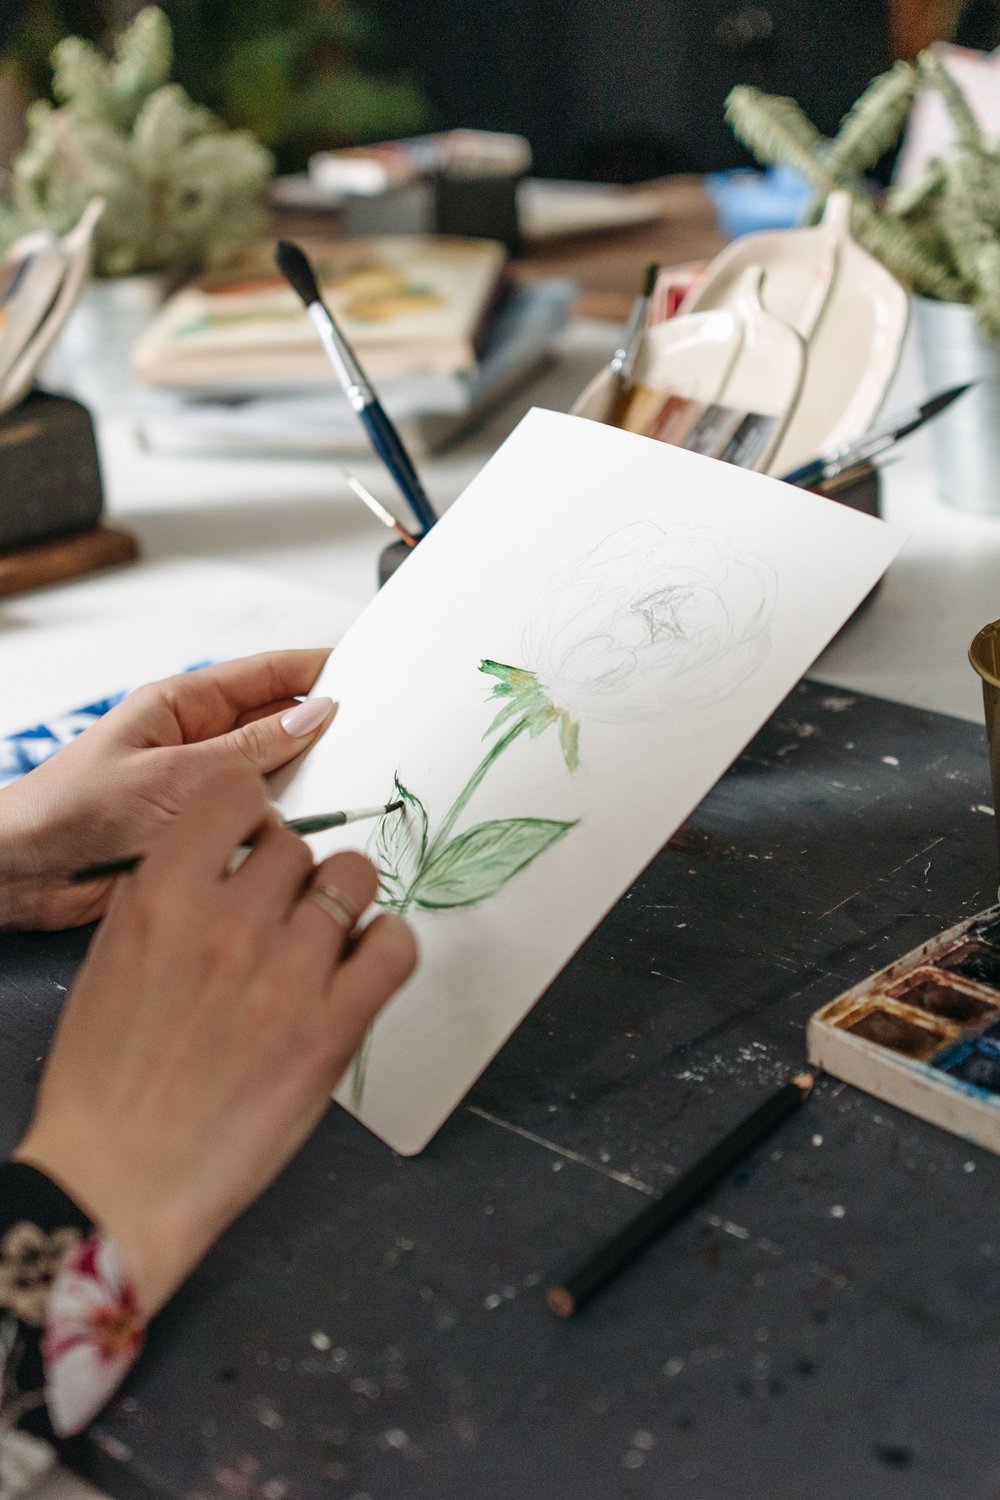
You’ve just finished cutting and shaping your blooms — now comes the fun part that makes them truly yours.
When learning how to make paper flowers step by step, coloring is where personality really shows up. A few simple techniques go a long way:
- Watercolor washes give petals a soft, dreamy transparency
- Ink edges create gorgeous depth — just drag a brush along petal tips
- Chalk pastels blend beautifully for a vintage, dusty finish
- Spray paint works fast for bold, uniform color across large batches
For an ombre effect, simply load two ink shades onto a damp brush and blend toward the center. I’ve found keeping petals slightly moist gives you about 30 extra seconds of blending time before the color sets.
Seal everything with a matte spray once dry — it prevents fading and keeps those delicate layers intact.
Creative Ways to Display and Use Paper Flowers
Already know how to make paper flowers step by step — but not sure what to do with them all? Here are some ideas that’ll make every bloom worth keeping.
For everyday home decor, cluster different sizes into a framed shadow box or wire them into a wall installation above your bed or sofa. A simple table centerpiece using just 7–9 blooms in a shallow dish looks effortlessly styled.
- Wedding and event backdrops — layer flowers across a 6-foot frame for a stunning photo wall
- Tuck small blooms into gift ribbon or use a single flower as a cake topper
- Seasonal swaps — swap red roses for orange dahlias in autumn, or white blossoms for spring pastels
Refreshing your arrangements four times a year keeps your decor feeling intentional, not forgotten.
How to Store Paper Flowers So They Last for Years
Many crafters assume paper flowers are delicate and disposable — but with the right care, handmade blooms can stay beautiful for 5+ years.
Once you’ve mastered how to make paper flowers step by step, protecting your work is just as rewarding as creating it. Store finished flowers in acid-free tissue paper inside a sturdy lidded box to keep dust and moisture away.
- Reshape squashed petals by holding a hairdryer on low heat about 6 inches away — the warmth gently relaxes the fibres back into shape.
- Keep your flowers away from direct sunlight and humid rooms like bathrooms, which cause fading and warping over time.
- Never stack heavy items on top of your storage box.
A cool, dry shelf or wardrobe is genuinely the best display-free home for your paper creations.
Printable Paper Flower Templates: How to Use Them Effectively
Once you discover templates, going back to freehand cutting feels almost impossible — they genuinely transform your results.
Free and premium templates live everywhere: Pinterest boards, crafting blogs like Lia Griffith, and Etsy shops where premium petal bundles often cost under $5 for a full collection.
When resizing, always scale proportionally in your print settings. Adjusting templates to 75% or 125% creates beautifully varied flower sizes without distorting petal shapes.
For printing, these quick tips make a real difference:
- Use 65lb cardstock — sturdy enough to hold shape, flexible enough to curl petals easily
- Set your printer to “best quality” for crisp cut lines
- Print, then lightly score fold lines before cutting
Following a reliable template is honestly the fastest way to learn how to make paper flowers step by step without frustrating guesswork.
Paper Flower Projects for Every Skill Level: Beginner to Advanced
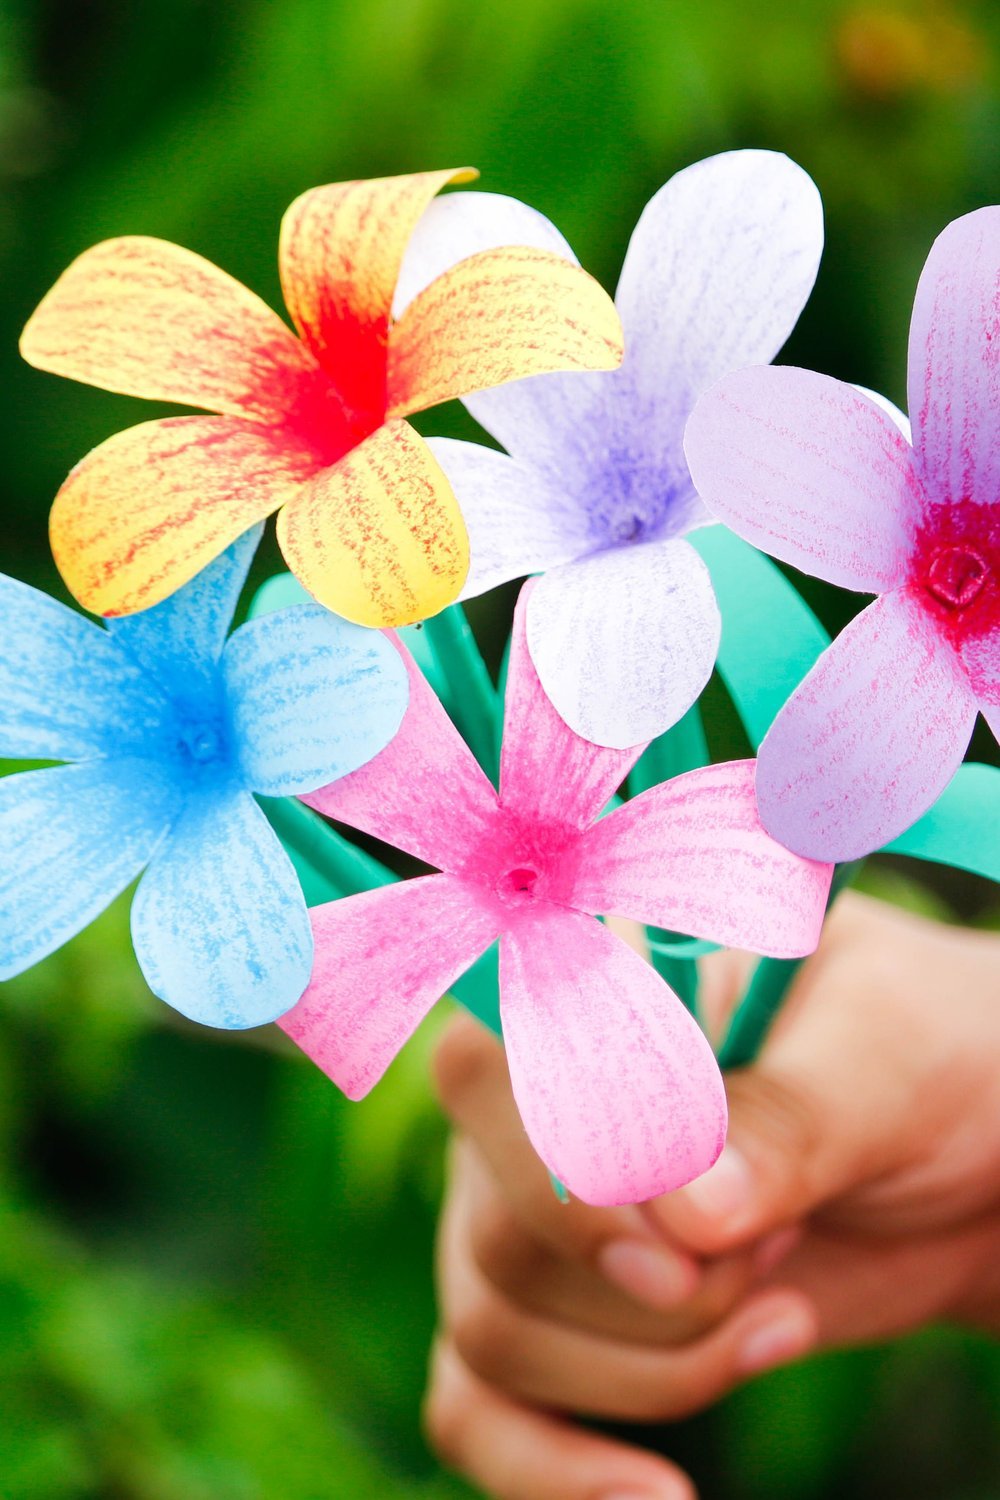
Sort your supplies before you start — even a basic $3 pack of tissue paper unlocks three beginner projects instantly.
If you’re just learning how to make paper flowers step by step, start simple and build confidence fast.
- Beginner: Tissue pom-poms, simple daisies, and accordion-fold flowers require minimal cuts and zero special tools — perfect first makes.
- Intermediate: Crepe paper roses, peonies, and tulips introduce petal shaping and layering techniques that make blooms look surprisingly lifelike.
- Advanced: Multi-layer giant blooms and realistic botanical paper arrangements take patience but create truly jaw-dropping statement pieces.
Every level builds naturally on the last. I’ve found jumping straight to roses before mastering basic folds usually leads to frustration — so trust the progression.
FAQ
How do you make a very simple paper flower?
The accordion tissue paper method is genuinely the fastest approach — perfect for birthday parties, spring crafts, or last-minute décor. Stack 6–8 sheets of tissue paper, fold them back and forth in 1-inch pleats, pinch the centre, and twist a pipe cleaner tightly around the middle. Fan out each layer gently and you have a fluffy bloom in under three minutes.
What are the most common mistakes when making paper flowers?
Using the wrong paper weight is the biggest culprit — cardstock that’s too thick won’t curl, and tissue that’s too thin tears instantly. Skipping the shaping step is the next issue; petals need to be gently curved over a pencil or your finger before assembly or the flower looks completely flat. Too much glue and ignoring petal layering order are also worth watching.
How do you make small tissue paper flowers with kids step by step?
This is one of the simplest ways to learn how to make paper flowers step by step with little ones. Cut tissue paper into roughly 6-inch squares, stack four sheets, fold into a fan, pinch the centre, and secure with a pipe cleaner. Gently pull each layer upward and fluff — that’s truly it.
What are 8 easy paper flower styles beginners should try?
This guide covers eight beginner-friendly designs, including rolled roses, tissue pom-poms, crepe paper dahlias, origami lotus flowers, cupcake liner blooms, simple tulips, accordion carnations, and coffee filter flowers. Each style has its own dedicated section with full step-by-step instructions so you can jump straight to the one that catches your eye.
You might also like: 18 Wire Pumpkin Wreath DIY Ideas for Fall Decor
Key Takeaways
A single bouquet of handmade blooms costs under $5 in supplies — a fraction of fresh flowers. Here’s everything worth remembering from this guide on how to make paper flowers step by step.
- Paper choice matters most: cardstock holds structure, crepe paper gives movement, tissue paper creates delicate, airy petals.
- Always shape your petals before assembling — curling or cupping them is what separates flat crafts from realistic blooms.
- Build in layers: starting from the center outward gives every flower natural depth and dimension.
- Every flower style has a learning curve — your second attempt will always look better than your first, so keep going.
- Practice truly is the shortcut — even five minutes of petal curling practice makes a visible difference.
- Save your favorites and share your makes — your creations might inspire someone else to start crafting.
Pin this guide to your craft board so it’s always within reach whenever inspiration strikes!