17 DIY Clay Earrings That Look Boutique Made
Introduction
Handmade clay earrings are pulling in millions of saves on Pinterest — and once you see how achievable they are, you’ll understand exactly why this trend refuses to slow down. The clay earrings diy world has exploded because polymer clay costs under $15 for a starter pack yet produces pieces that genuinely rival $40 boutique designs.
But most tutorials stop at basic shapes and leave you guessing about the finishing touches that actually make the difference between homemade and handcrafted.
This guide is different. You’ll find 17 distinct styles — from minimalist studs to sculptural statement drops — with beginner-through-intermediate techniques broken down step by step.
For another perspective, this detailed piece on How to Make Clay Earrings + Cool DIY … is worth a read.
- Full supply lists for every style
- Boutique-level finishing secrets most tutorials skip
- Honest tips from real making experience
By the end, you won’t just have inspiration — you’ll have everything you need to actually make them.
What You Need to Start Making Clay Earrings (Full Beginner Supply List)
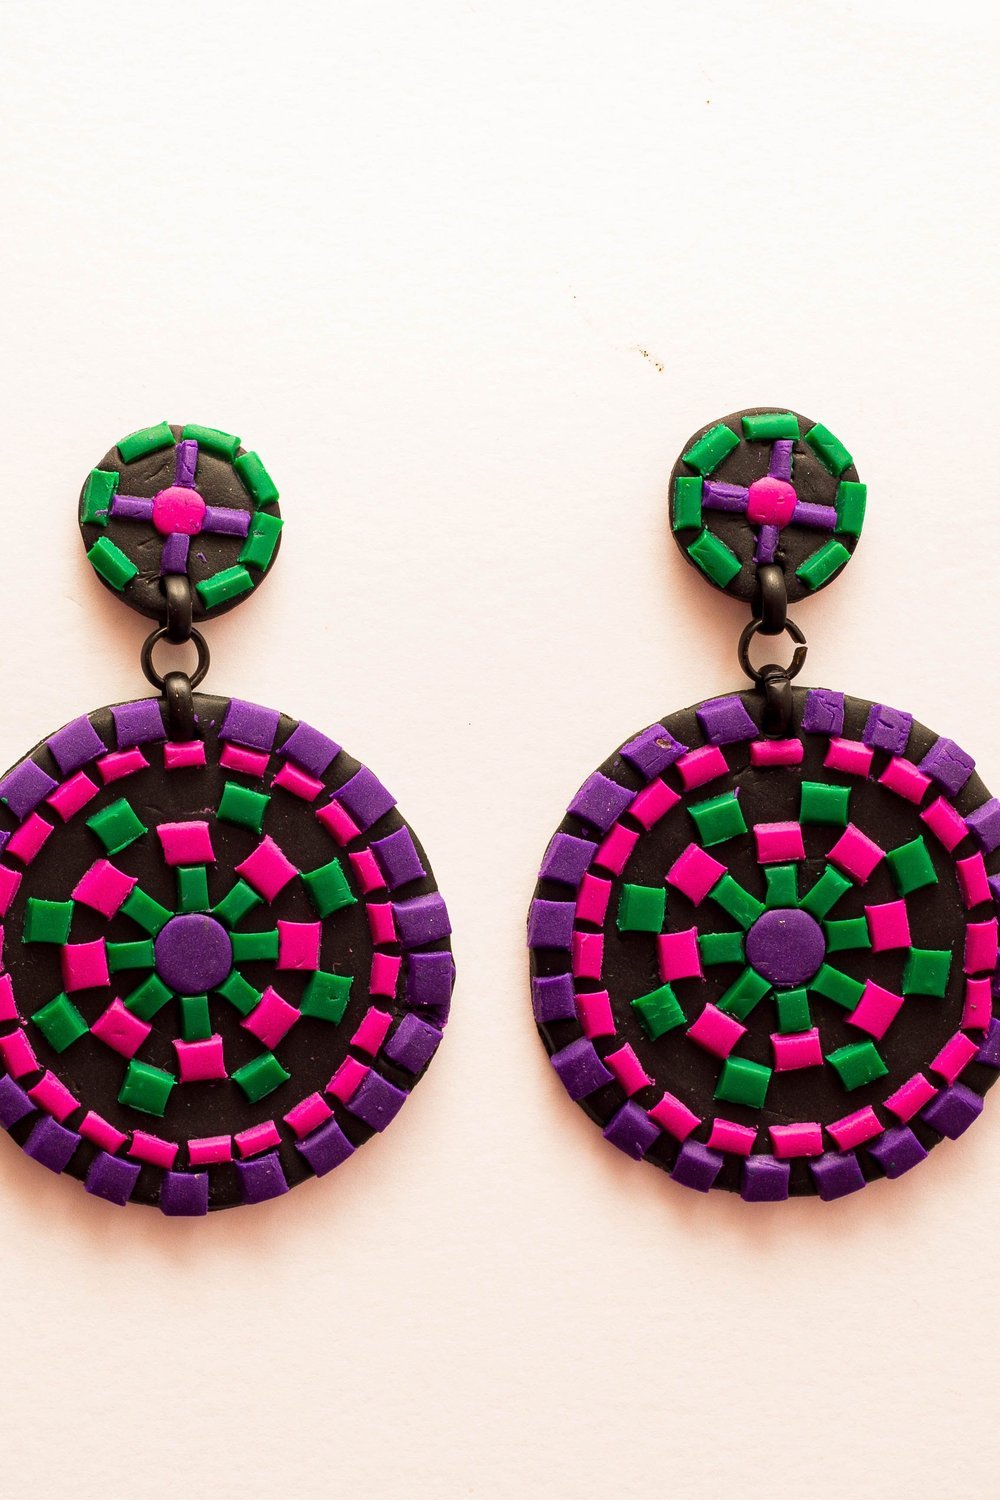
You’ve spotted a gorgeous pair of statement earrings online — $48 for something you could honestly make yourself in an afternoon. That’s exactly why clay earrings diy has become such a rewarding rabbit hole to fall into.
Start with these essentials before anything else:
- Acrylic roller or pasta machine — for smooth, even sheets
- Craft knife and circle cutters for clean shapes
- Ear hooks, jump rings, and flat-nose pliers — your finishing trio
- Baking sheet lined with parchment (polymer clay only)
Polymer clay vs air-dry clay: Polymer is more durable and color-rich; air-dry needs no oven but can crack if rolled too thin. For earrings, polymer wins every time.
Budget-wise, a solid starter kit runs under $25. Upgrading to a pasta machine and quality cutters pushes you closer to $60 — worth it once you’re hooked.
What Kind of Clay Works Best for DIY Clay Earrings?
Have you ever bought clay only to end up with cracked, fragile earrings that fall apart after one wear? Choosing the right clay from the start makes all the difference.
Polymer clay — brands like Sculpey, Premo, and Fimo — is the gold standard for most makers. It bakes firm at around 275°F (130°C), stays flexible after curing, and holds fine details beautifully.
Air-dry clay skips the oven entirely, making it ideal for oversized, lightweight statement pieces. It’s beginner-friendly, though slightly more fragile than baked options.
For anyone wanting a harder, stone-like finish, epoxy clay and cold porcelain are niche picks worth experimenting with — especially for sculptural or textured designs.
When starting your clay earrings diy journey, polymer clay is the best all-around investment. A 2oz block of Premo typically costs under $3 and yields several pairs easily.
- Tight budget: air-dry clay
- Durability first: polymer clay
- Sculptural details: epoxy clay
How Thick Should Clay Earrings Be (And Why It Matters)
Thinner doesn’t always mean more elegant. Roll your clay too thin and you’ll end up with cracked, fragile pieces that snap before they ever reach an earlobe.
The ideal thickness range for most clay earrings diy projects sits between 2mm and 4mm — roughly the width of two stacked pennies.
Go under 2mm and delicate shapes become brittle, especially around cut edges. Push past 4mm and your earrings start feeling uncomfortably heavy and stiff after a few hours of wear.
A simple cheat? Stack playing cards as thickness guides — three cards equal roughly 3mm. On a pasta machine, settings 3–4 typically hit that sweet spot.
Thickness also depends on your earring style:
- Studs: 3–4mm keeps them sturdy without bulk
- Hoops: 2–3mm rolls and curves cleanly
- Dangles: 2mm at the tips, slightly thicker near the post for strength
How to Condition and Prep Your Clay for Flawless Results
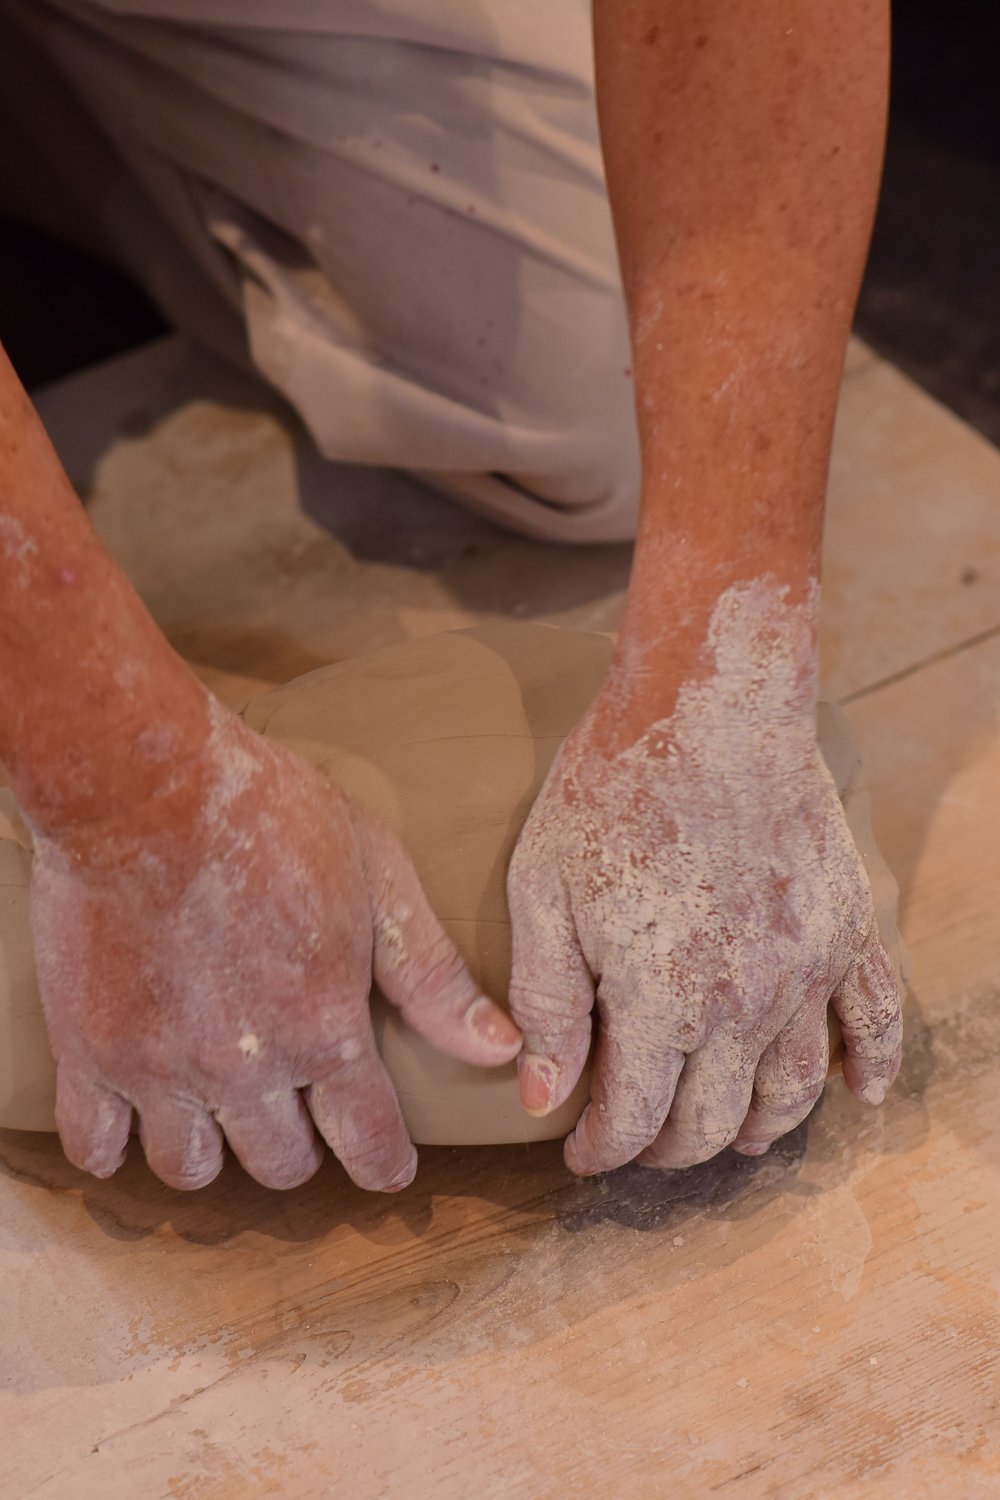
Fresh polymer clay straight from the packet is stiff, crumbly, and completely unforgiving — I learned that the hard way on my first clay earrings diy attempt when half my pieces cracked during baking.
Conditioning is non-negotiable. It warms the clay, aligns its molecules, and creates that smooth, workable texture that separates boutique-looking pieces from amateur ones.
For hand conditioning, knead your clay for at least 3–5 minutes until it feels soft, pliable, and holds a smooth fold without cracking. A pasta machine (dedicated to clay only) gets you there faster — run it through on the widest setting 15–20 times, folding between each pass.
- Never skip conditioning, even with “soft” clay brands
- Avoid trapping air when folding — bubbles cause surface bumps
- Work on a smooth ceramic tile or glass surface to prevent lint transfer
- Wipe hands with rubbing alcohol before handling to eliminate fingerprints
A lint-free workspace matters more than most beginners expect. Even a single thread pressed into your clay can ruin an otherwise perfect pair.
Clay Earrings DIY: Classic Minimal Stud Designs for Everyday Wear

Roll your clay on a smooth tile rather than paper — it prevents fibres sticking to the surface and gives you cleaner edges every time.
For simple geometric studs, use a sharp craft knife or small cookie cutters to cut circles, squares, and teardrops from a 3mm thick sheet of conditioned polymer clay. Consistent thickness is everything for a professional finish.
When mixing neutral tones, blend small amounts of raw sienna or grey into white until you hit warm beige, dusty rose, or soft sage — shades that genuinely pair with any outfit.
Press stud posts firmly into the back centre before baking, embedding them roughly halfway. This clay earrings diy technique keeps posts secure without glue.
Once cooled, sand through 400 to 800 grit wet-dry sandpaper for a silky, boutique-worthy surface.
- Start with shapes under 15mm for comfortable everyday wear
- Use a toothpick to smooth any rough edges before baking
- A thin coat of gloss varnish adds subtle polish without looking overdone
Boho Arch and Half-Moon Earrings: A Step-by-Step Tutorial
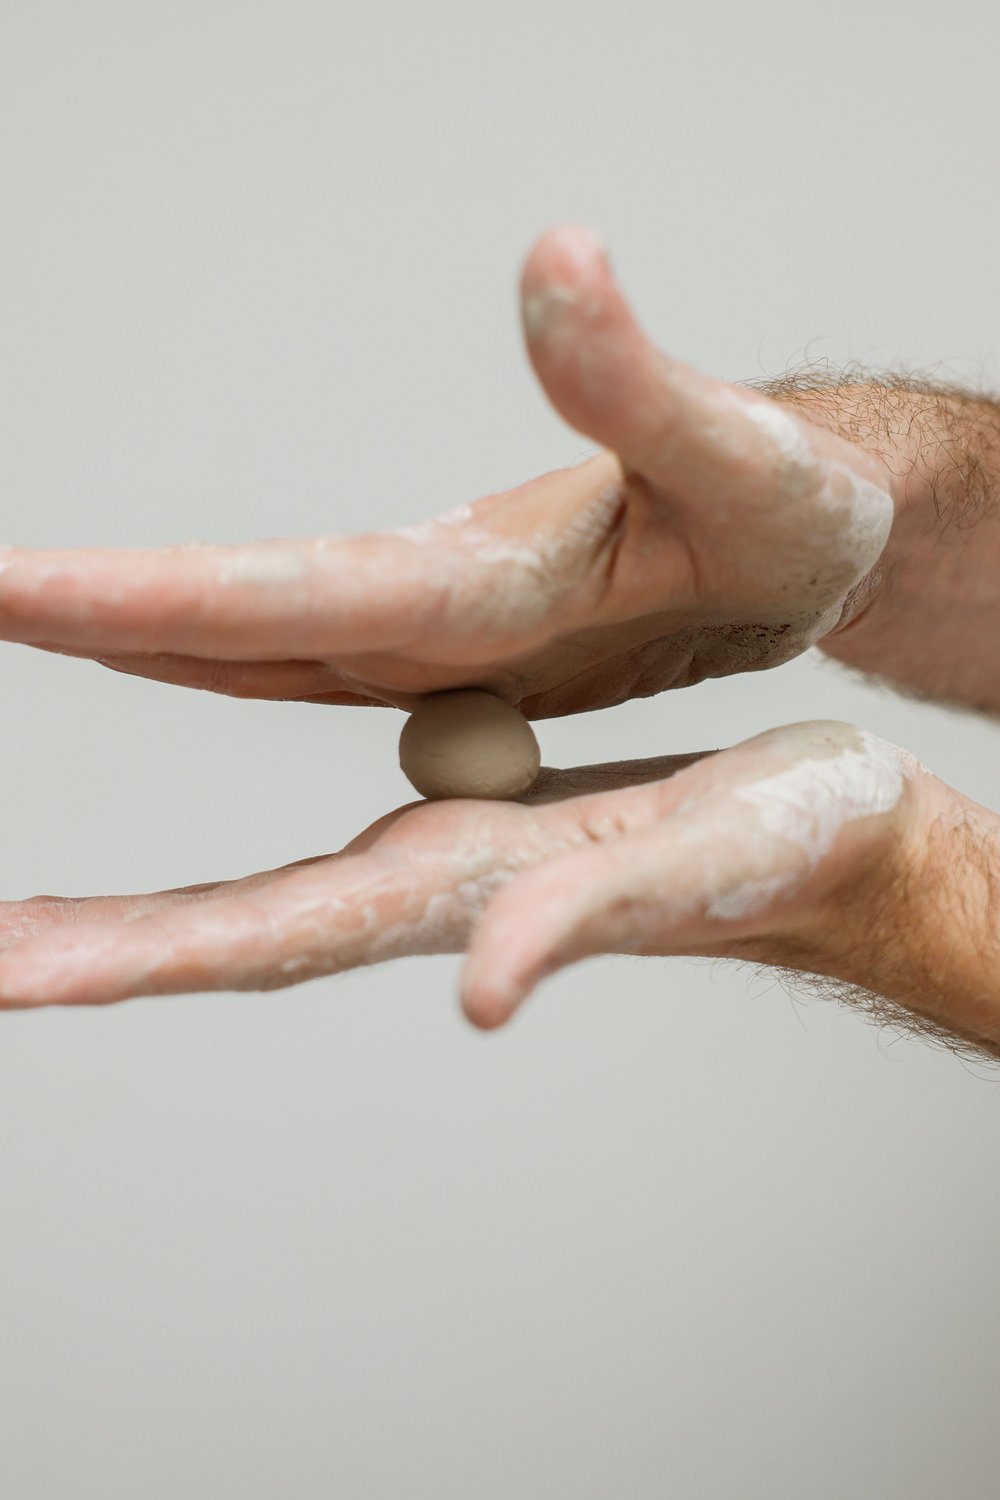
Autumn’s earthy tones make this the perfect season to roll out your clay earrings diy project — and the arch silhouette is pure boutique energy without the boutique price tag.
Skip the template entirely. Use a 1.5-inch circular cookie cutter and slice it cleanly in half with a craft knife. Instant, consistent half-moons every single time.
For colour, lean into these irresistible combinations:
- Terracotta paired with raw white for a desert-sunset feel
- Sage green with gold fleck for earthy elegance
- Dusty rose and cream for soft, feminine charm
Texture is where the magic happens. Press a scrap of lace, bubble wrap, or a rubber stamp lightly into the unbaked clay surface for an organic, handcrafted look.
Once baked and cooled, attach your ear wires through a pre-made hole. A gentle upward curve on the wire gives the perfect dangle drop and keeps the arch facing forward beautifully.
Marbled Clay Earrings: Swirl Techniques That Look Incredibly Expensive

A pair of marbled earrings from a boutique easily runs $35–$50. Making them yourself costs a fraction of that, and honestly, yours will look just as polished.
For two-tone marbling, roll two clay logs together and twist gently 3–4 times before folding and rolling flat. Three-tone works the same way — just add a thinner third log and keep twists minimal.
The biggest mistake crafters make is over-twisting. Too many rotations muddy your colours into a blurry, indistinct mess instead of those crisp, flowing veins you’re after.
I’ve found that slightly under-blending creates the most realistic marble look — stop when it still feels almost unfinished.
For standout colour combinations in your clay earrings diy projects, these three always photograph beautifully:
- Black and white for classic, editorial drama
- Terracotta, cream, and sage for earthy warmth
- Blush, lilac, and ivory for soft pastel elegance
Uneven swirls are actually your friend — perfectly symmetrical marble looks fake. Embrace the variation.
Terrazzo and Confetti Speckle Earrings: Fun and Totally Trendy
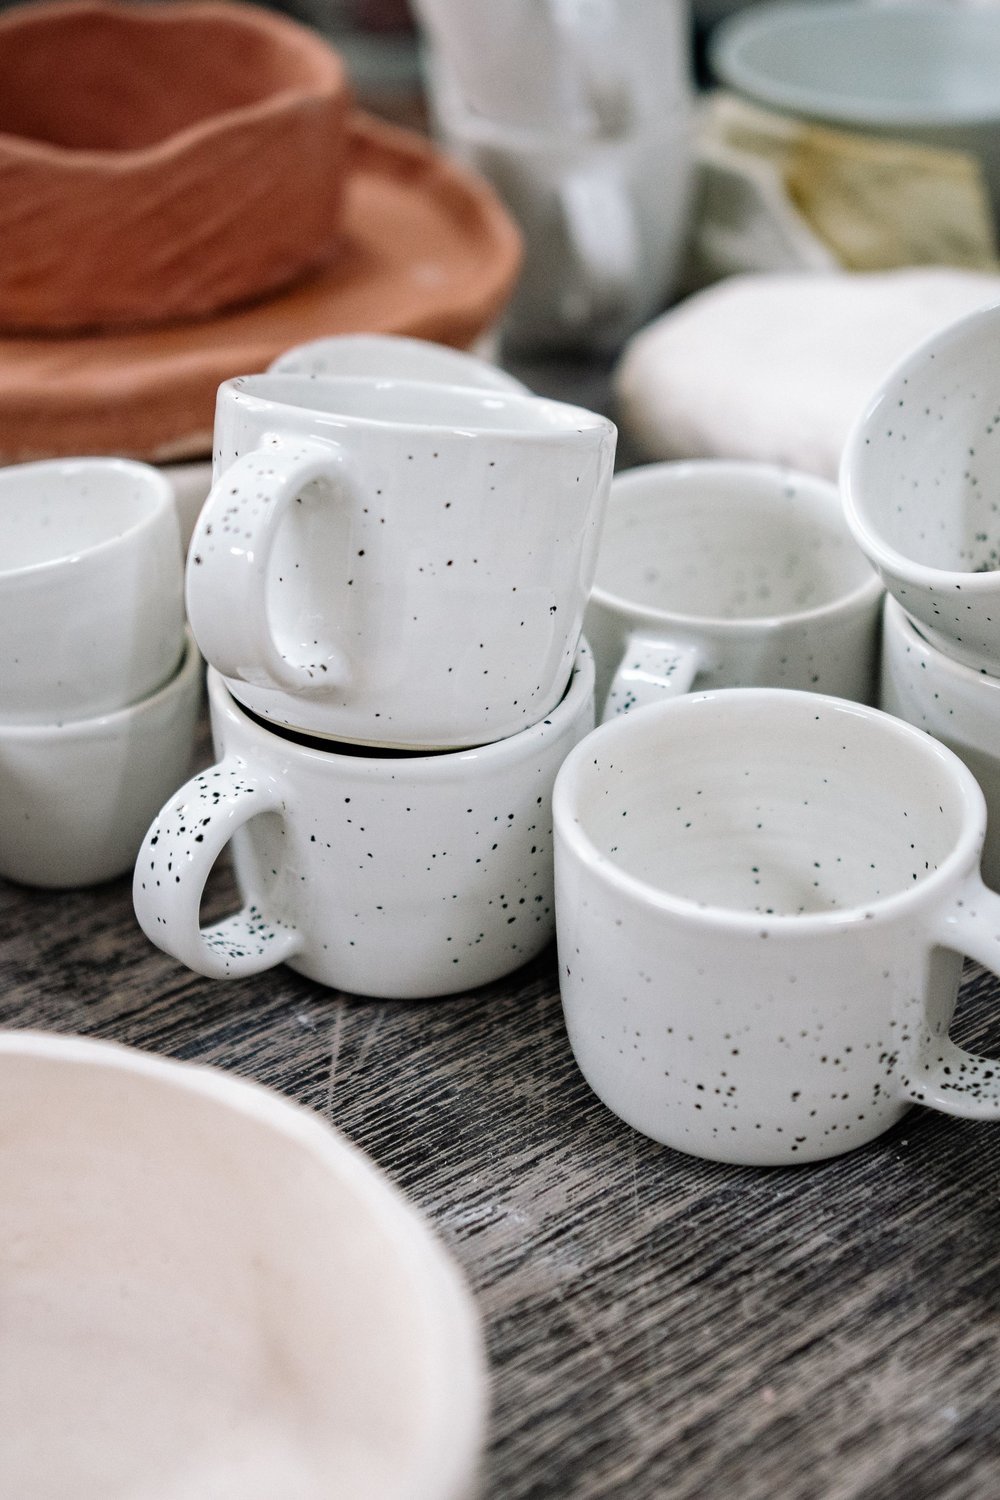
Terrazzo-inspired jewelry has surged over 200% in Pinterest saves this year — and it’s one of the easiest clay earrings diy techniques to pull off at home.
Start with a white or cream base sheet rolled to about 3mm thickness. Scatter tiny scraps of leftover clay — snipped into irregular flecks — across the surface, then gently roll them flush into the base sheet.
Don’t buy fresh clay just for this. Those scrap bits work brilliantly here:
- Terracotta and dusty pink for a warm, earthy palette
- Cobalt, sage, and cream for a classic terrazzo feel
- Black, white, and gold flecks for something bold and editorial
Once your terrazzo sheet is assembled, cut clean geometric shapes — rectangles and chunky arches photograph especially well.
After baking, finish with a high-gloss varnish. That polished tile-like surface is exactly what makes these look boutique-crafted rather than homemade.
Floral and Petal Clay Earring Designs That Feel Hand-Sculpted

You find a pair of delicate flower earrings online for $48 and think — I could make those. You absolutely can, and they’ll look even better.
Start with a ball tool and clay shaper to press and thin each petal from the centre outward. Even five simple petals arranged in a circle create something that looks genuinely artisan-made.
Build dimension by layering two or three petal rounds at slightly different angles before baking. This gives your studs and dangles that lush, full-bloom look straight from a boutique shelf.
Once baked, painting fine details with acrylic paint transforms flat petals into something truly special. Thin washes of colour mimic real flower gradients beautifully.
For this clay earrings diy style, lean into these crowd-favourite seasonal palettes:
- Soft blush, ivory, and sage for spring
- Terracotta, marigold, and coral for summer
- Dusty lilac paired with warm cream year-round
Faux Stone and Agate Slice Earrings: Polymer Clay Earrings DIY Magic

Have you ever held a pair of agate slice earrings and wondered how anyone could recreate that gorgeous, organic depth at home?
The secret is translucent clay layering. Stack thin sheets of translucent polymer clay between tinted colours — dusty rose, smoky grey, teal — then fold and slice to reveal natural-looking veining that genuinely mimics quartz or agate.
For turquoise, blend opaque teal with tiny flecks of brown clay worked through unevenly. Imperfection is exactly what makes it look real.
Once shaped, press a single sheet of 24K gold leaf across the surface before baking. It fractures beautifully, creating that luxe, editorial finish you’d pay $35+ for in a boutique.
This particular clay earrings diy style is genuinely my fastest seller — I’ve noticed these styles consistently fly off craft fair tables within the first hour.
- Use translucent Sculpey for realistic stone depth
- Slice at 3mm thickness for the best agate effect
- Seal with gloss varnish to enhance the stone illusion
Abstract and Free-Form Earrings: Embrace the Imperfect Aesthetic
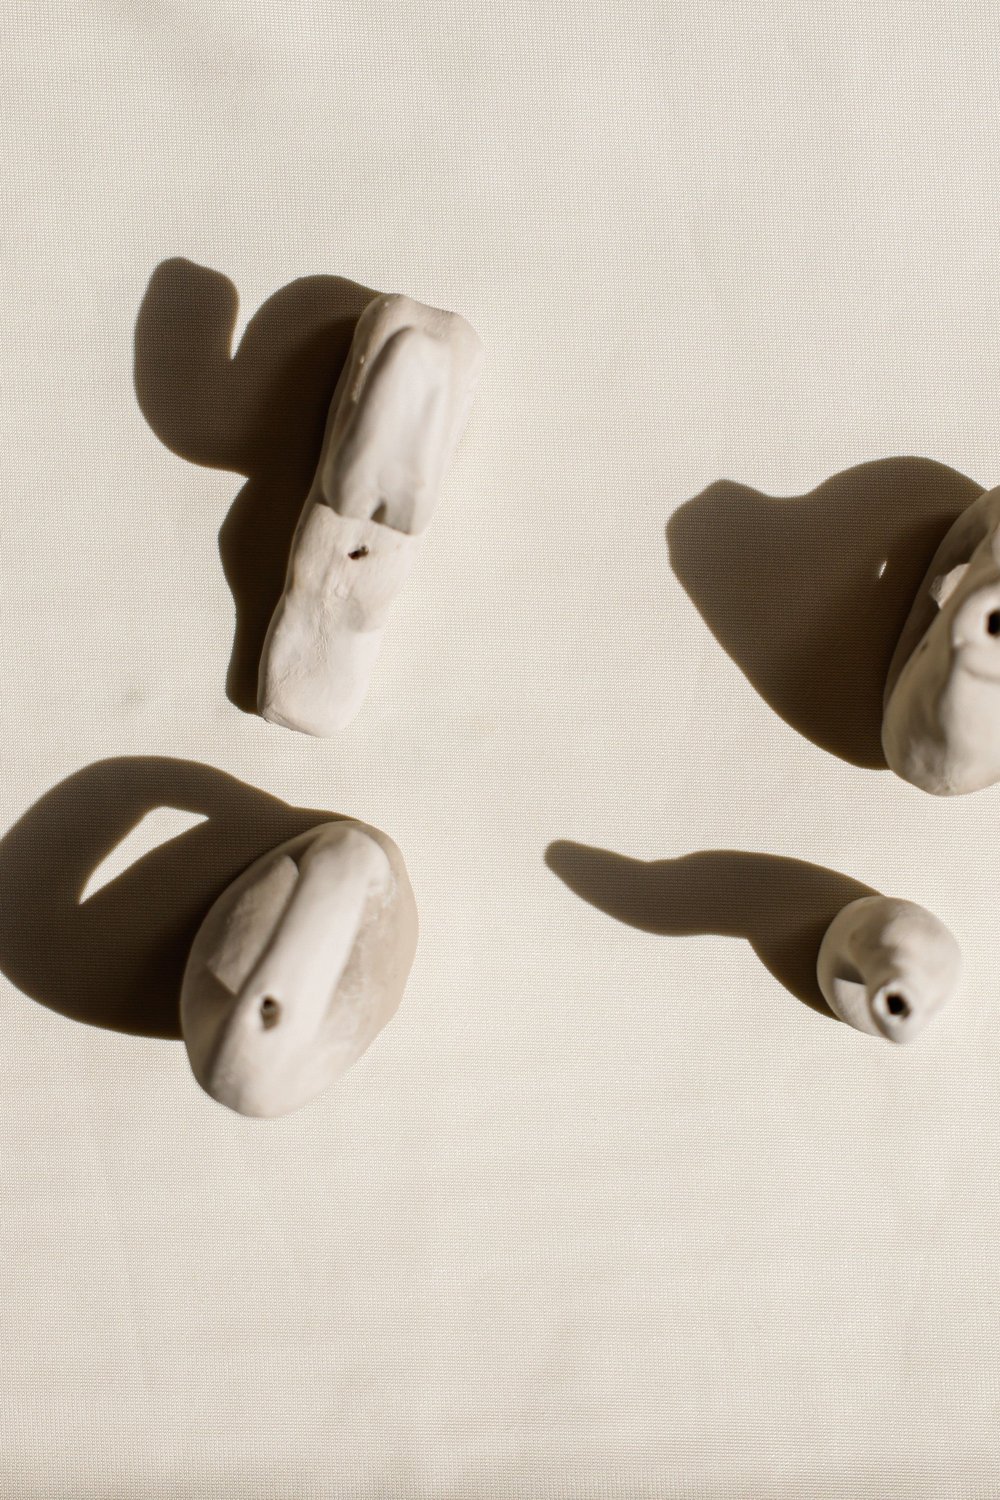
Perfectly symmetrical earrings are overrated — the most eye-catching pieces on Etsy right now are the wonky, organic, gloriously imperfect ones. This is where your clay earrings diy journey gets genuinely fun.
Lean into irregular shapes intentionally. Slightly uneven edges and asymmetric silhouettes read as artistic, not amateur, when you commit to the aesthetic fully.
For colour-blocking, limit yourself to two or three contrasting clay sheets — think terracotta layered over sage, or cream pressed against deep cobalt. Slice off roughly 3mm strips and press them together before cutting your final shape.
Skip the templates entirely. Use a craft knife freehand to cut moon slivers, blobs, arches, and irregular ovals — no two pieces should match exactly.
- Pair abstract shapes with a plain white tee for instant contrast
- Let bold earrings replace a necklace entirely
- Simple outfits amplify sculptural earrings rather than compete with them
Textured Clay Earrings Using Household Objects and Stamps
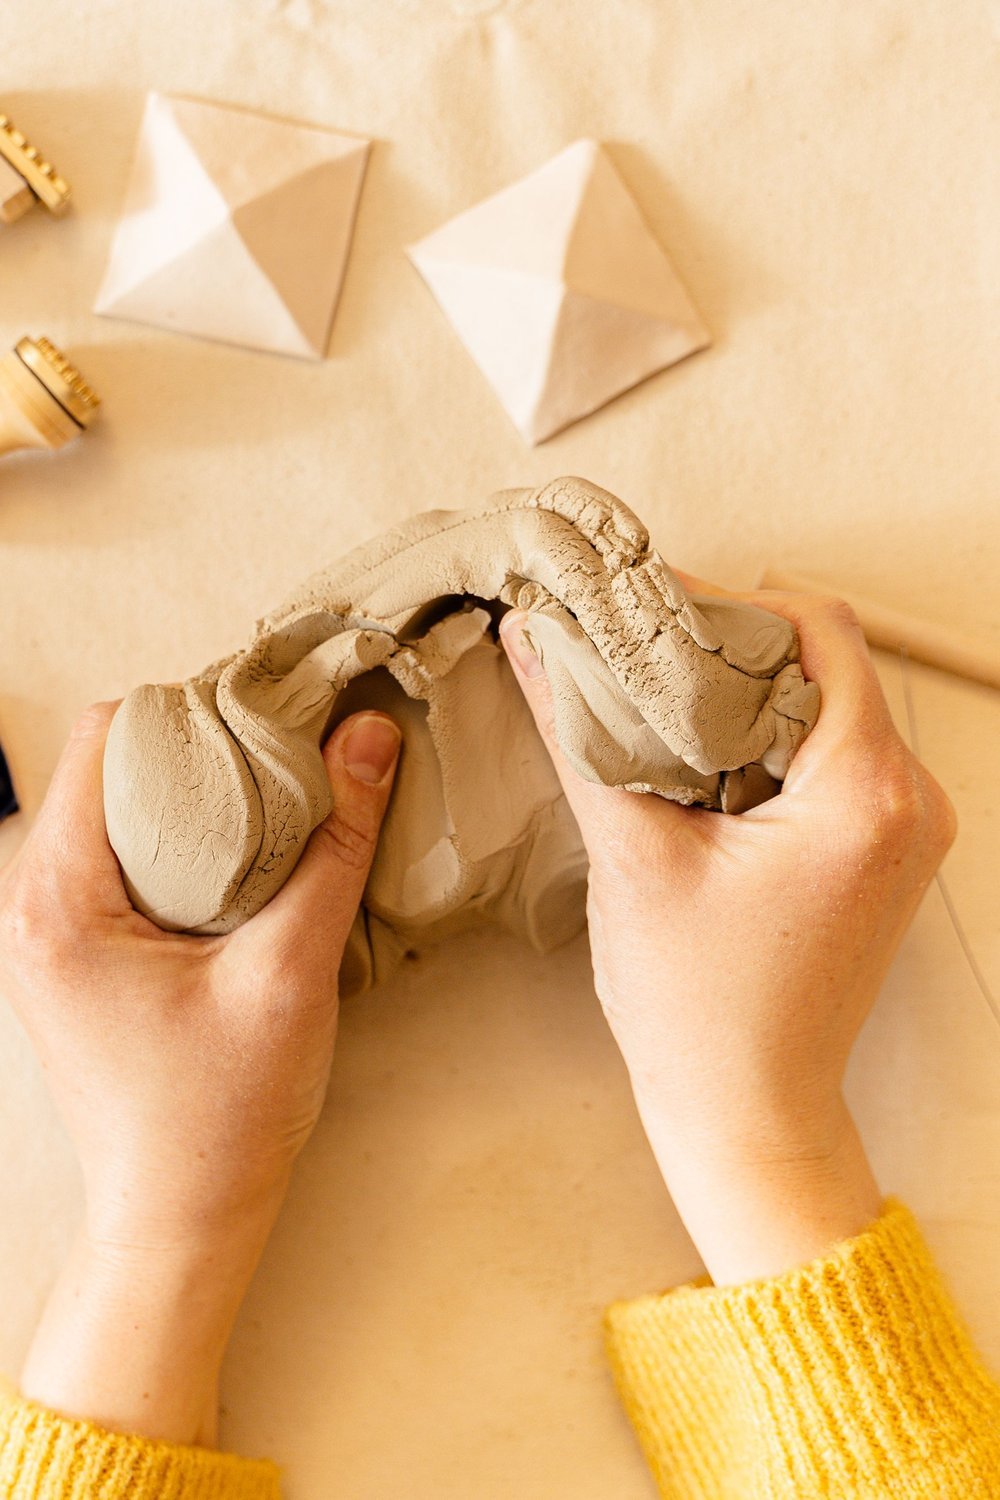
Some of my favourite results have come from raiding the kitchen drawer rather than the craft store. The textures hiding around your home are genuinely stunning.
Lace, fresh leaves, burlap, and vintage buttons all press beautifully into raw polymer or air-dry clay, leaving intricate impressions that look custom-designed.
- Press firmly but evenly, then peel straight back rather than peeling at an angle — this keeps edges crisp and prevents distortion
- Dust your object lightly with cornstarch before pressing to prevent sticking
- Roll clay to a consistent 3mm thickness for the cleanest impressions
For a sculptural, gallery-worthy look, pair heavy texture with single-colour clay — a muted sage or warm terracotta lets the pattern do all the talking.
This particular clay earrings diy technique rarely needs varnish. On textured pieces, a matte sealant works best if protection is needed — glossy finishes can flatten the beautiful dimensional detail you worked to create.
Adding Gold Leaf, Mica Powder, and Metallic Finishes Like a Pro
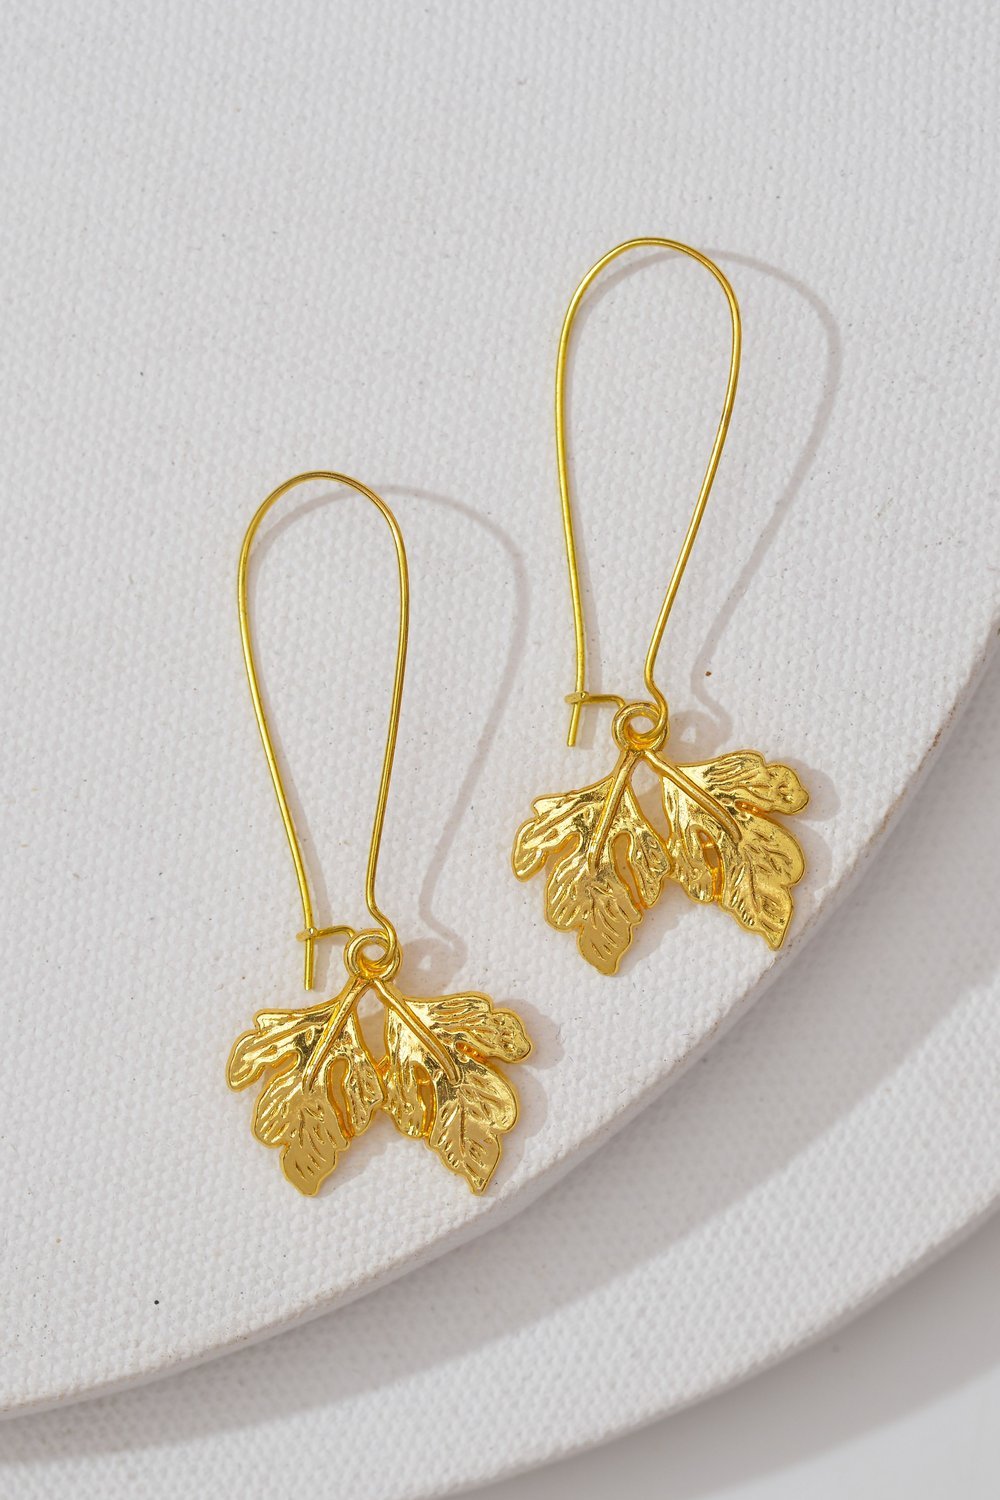
Skip the expensive boutique price tag — metallic finishes are where your clay earrings diy projects truly level up, and they’re easier to master than they look.
Gold leaf applied after baking tends to stay sharper and more defined. Press it gently onto a thin layer of liquid clay or varnish, then burnish with a soft brush for that clean, editorial look.
Want to apply gold leaf before baking? It works beautifully too — just expect slightly softer edges as the clay shifts in the oven.
Mica powder brushed onto raw clay gives an almost holographic shimmer. A light dusting with a dry eyeshadow brush is all you need — no liquid required.
Metallic acrylic paint is a brilliant budget option, often under $3 a bottle, and covers beautifully with two thin coats.
Sealing is non-negotiable. Use a water-based, non-yellowing varnish to lock everything in. I’ve found that two thin sealer coats prevent flaking far better than one thick layer.
How to Bake Polymer Clay Earrings Without Cracking or Burning
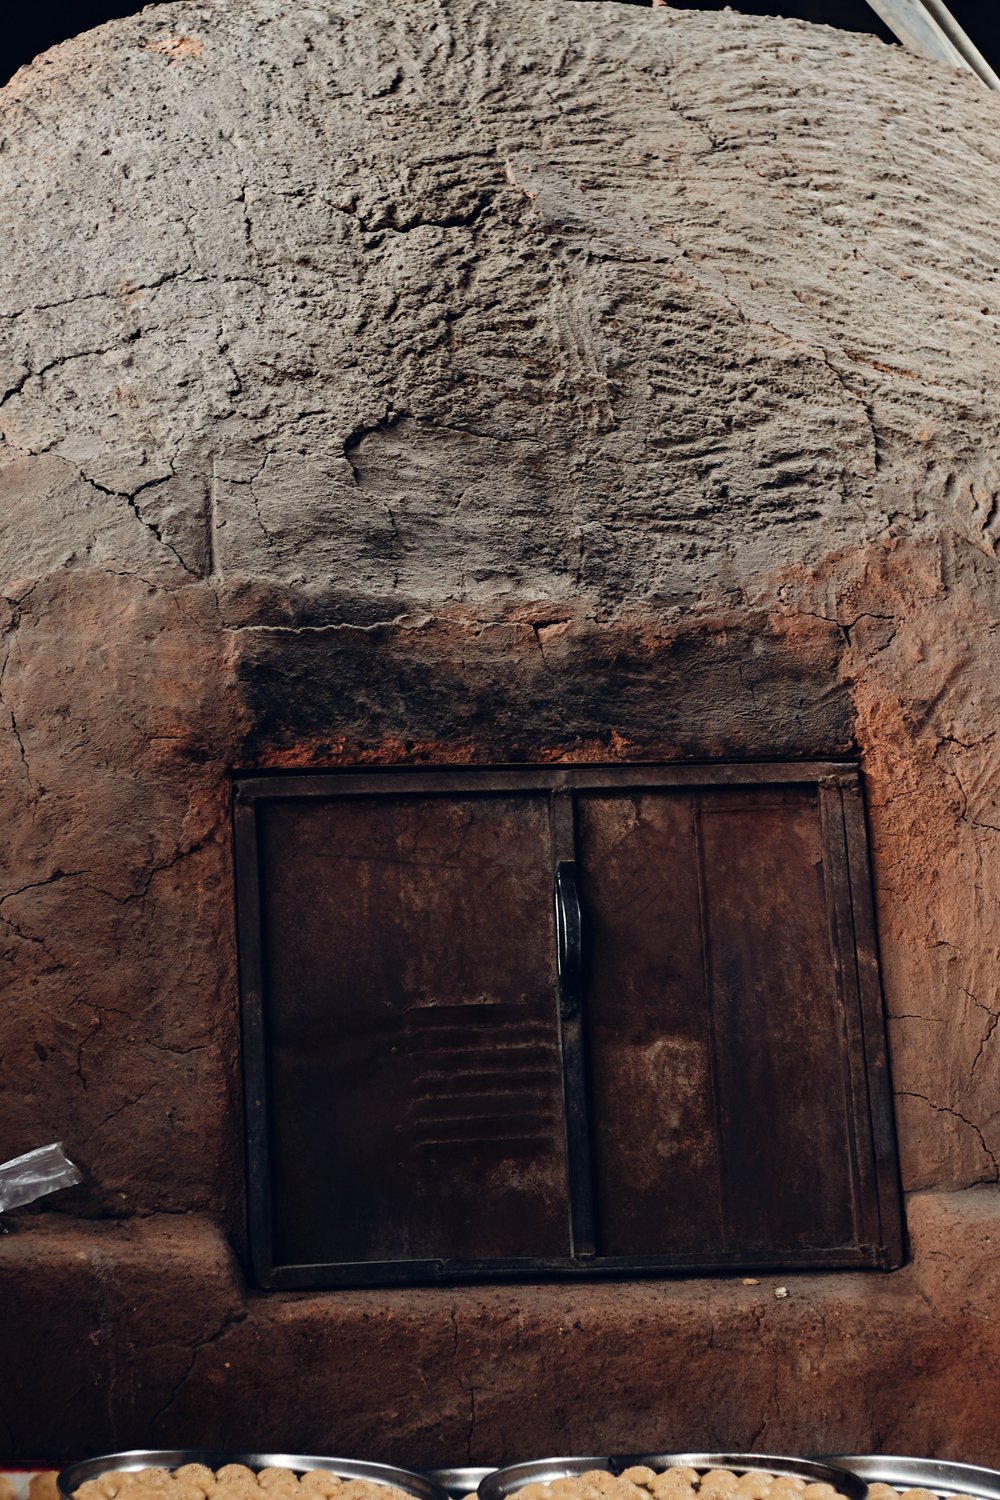
Summer craft sessions are the perfect time to nail your baking technique — because nothing’s more frustrating than pulling a beautiful pair out of the oven only to find cracks or scorch marks.
Every clay brand has its sweet spot. Sculpey III bakes at 275°F, Premo and Fimo both sit at 230°F — always check the package, since even small temperature differences cause burning or under-curing.
Your oven’s dial is almost never accurate. A simple oven thermometer (usually under $15) is the single most important tool in any clay earrings diy project — it prevents 90% of baking disasters.
For your baking surface, the choice matters:
- Ceramic tile — distributes heat evenly, keeps flat pieces perfectly smooth underneath
- Polyester batting — prevents shiny flat spots on curved or domed designs, but retains more heat
Once baked, let pieces cool completely at room temperature. Moving them while warm causes warping — patience here saves every pair.
Sanding, Buffing, and Sealing: The Finishing Steps That Make Earrings Look Boutique
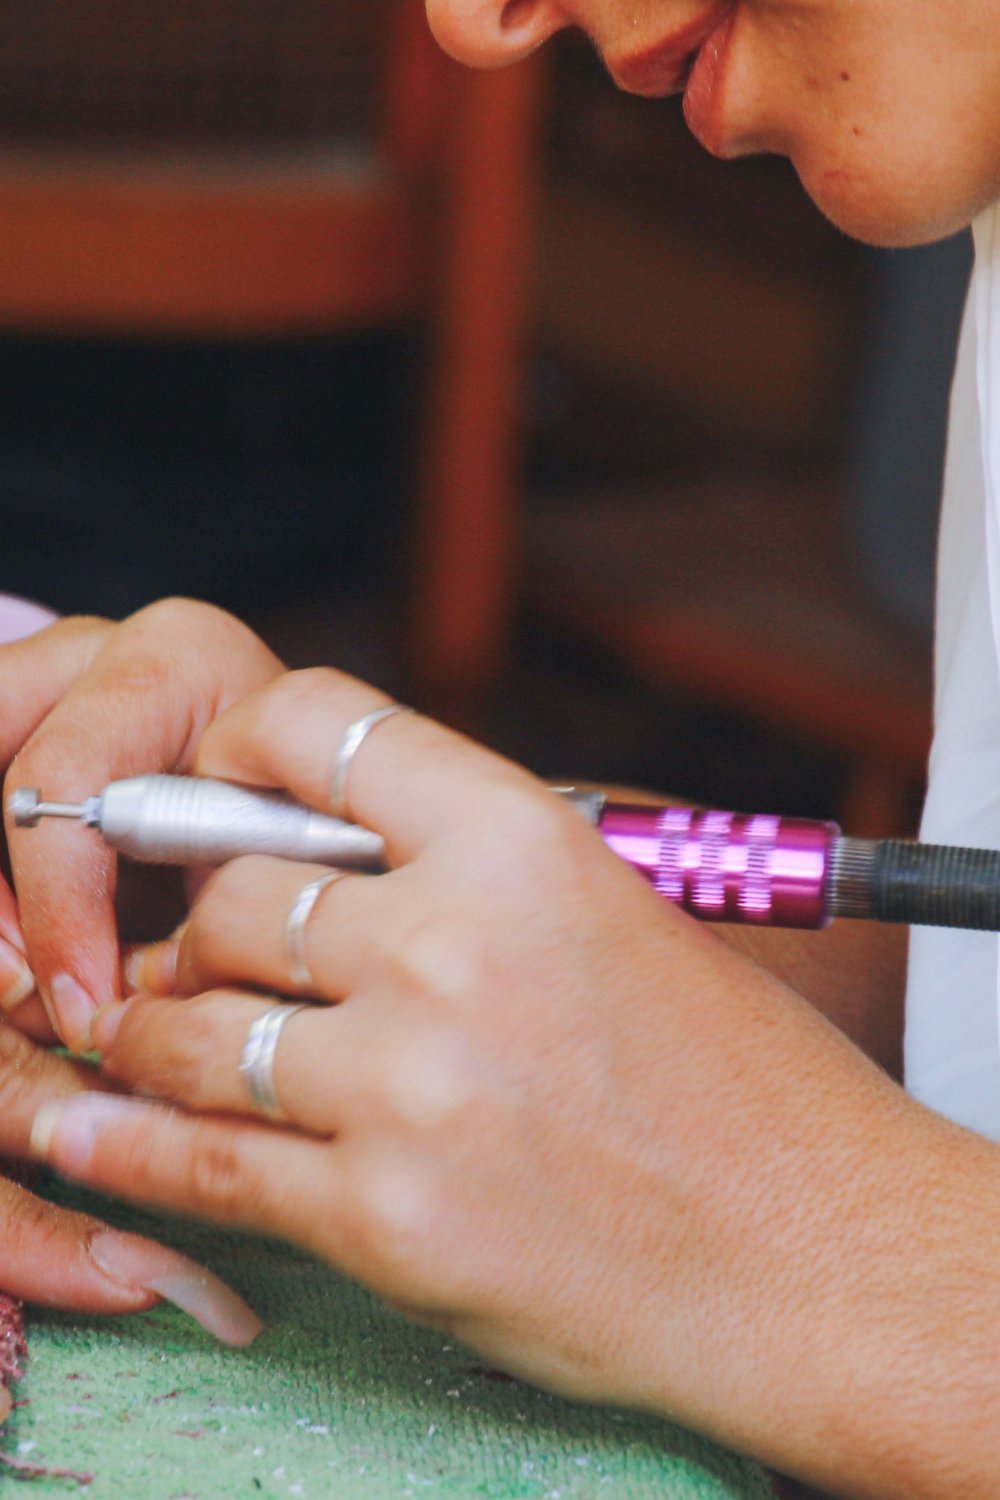
A $40 boutique price tag often comes down to finishing — not design complexity. These final steps are what separates a polished piece from something that looks homemade.
Start with wet sanding in progression: 400 grit removes surface imperfections, 600 smooths further, and 800–1000 grit refines the clay to a silky finish. Dip your sandpaper in water to prevent scratching and keep clay dust down.
For shine, buff with a soft denim scrap or a Dremel on low speed. For a sophisticated matte look, stop at 1000 grit and skip buffing entirely.
- Apply varnish only on fully cured, sanded clay
- Use thin coats — one to two maximum
- Resin sealer adds glass-like depth for statement styles
This is honestly where every clay earrings diy project levels up. Even the simplest round stud looks intentional after proper finishing — the kind of detail that makes people ask where you bought them.
Assembling Clay Earrings: Jump Rings, Ear Wires, and Hardware Done Right
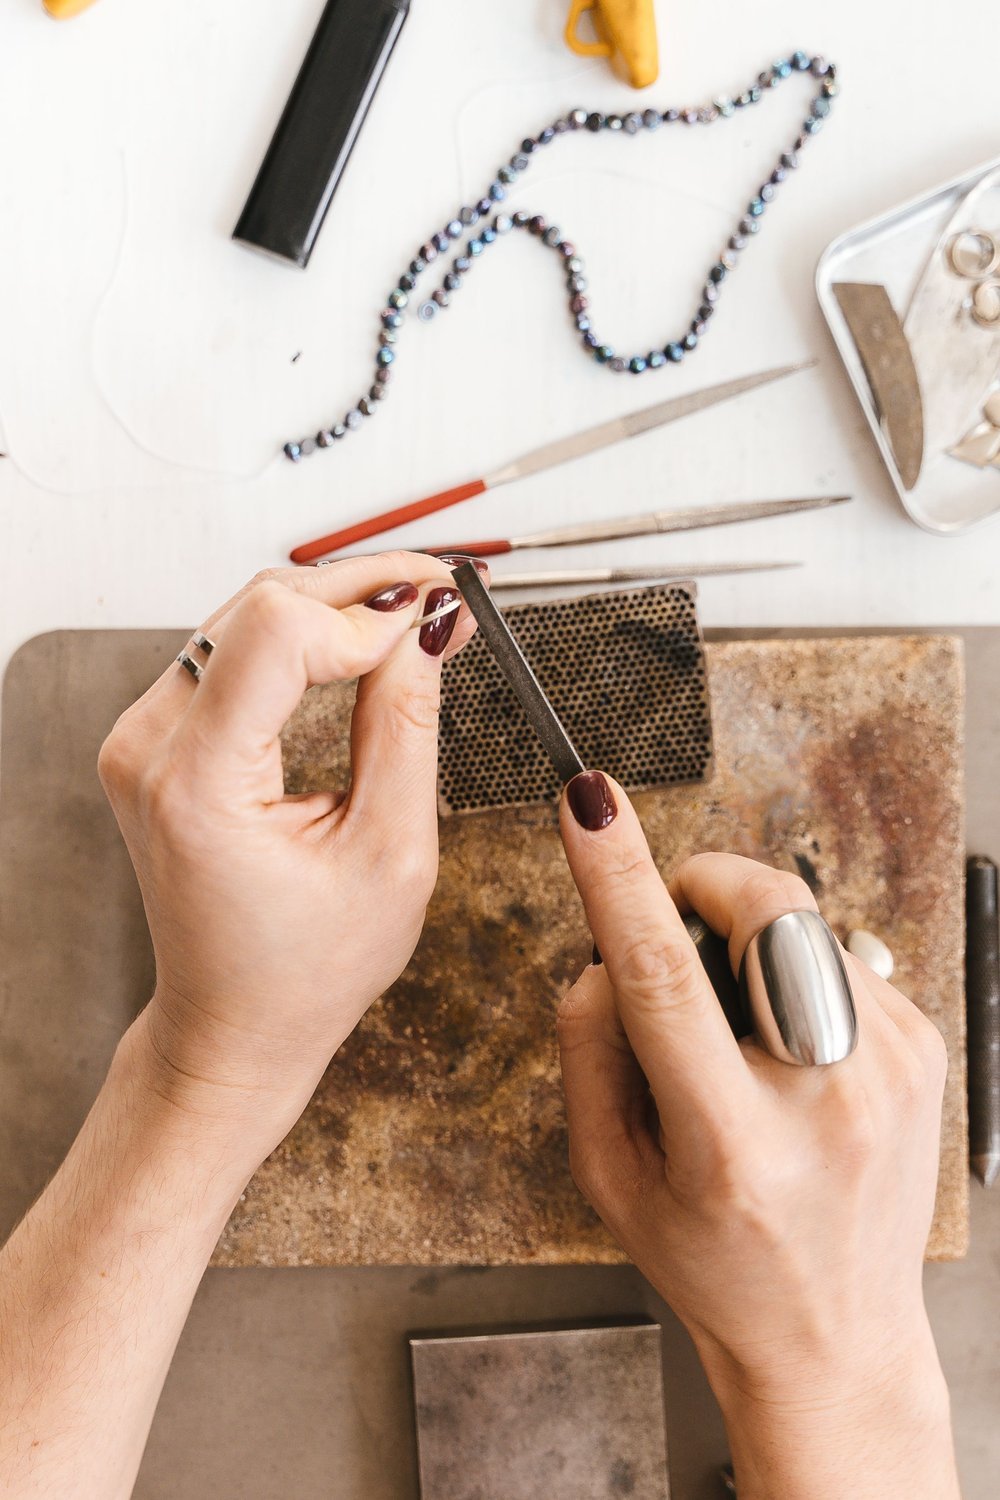
A single warped jump ring can make even the most beautiful pair look homemade in the wrong way. Always open jump rings with a sideways twist — never pull them apart — to keep the circle perfectly round.
Use two flat-nose pliers, one on each side of the ring, and rotate one hand forward while the other stays still. Close it back the same way until you hear a faint click.
For ear wire styles, consider your design’s weight and movement:
- French hooks — lightweight, great for dangles
- Leverbacks — secure, ideal for heavier pieces
- Hoops — modern, minimal, very on-trend
Drilling holes after baking gives you cleaner results than pre-baking. A pin vice with a 1mm drill bit works beautifully on cured clay without cracking.
When planning your clay earrings diy hardware, contrasting metals against dark clay — gold on black or deep green — creates that boutique-quality finish that makes people ask where you bought them.
Packaging, Gifting, and Selling Your Handmade Clay Earrings
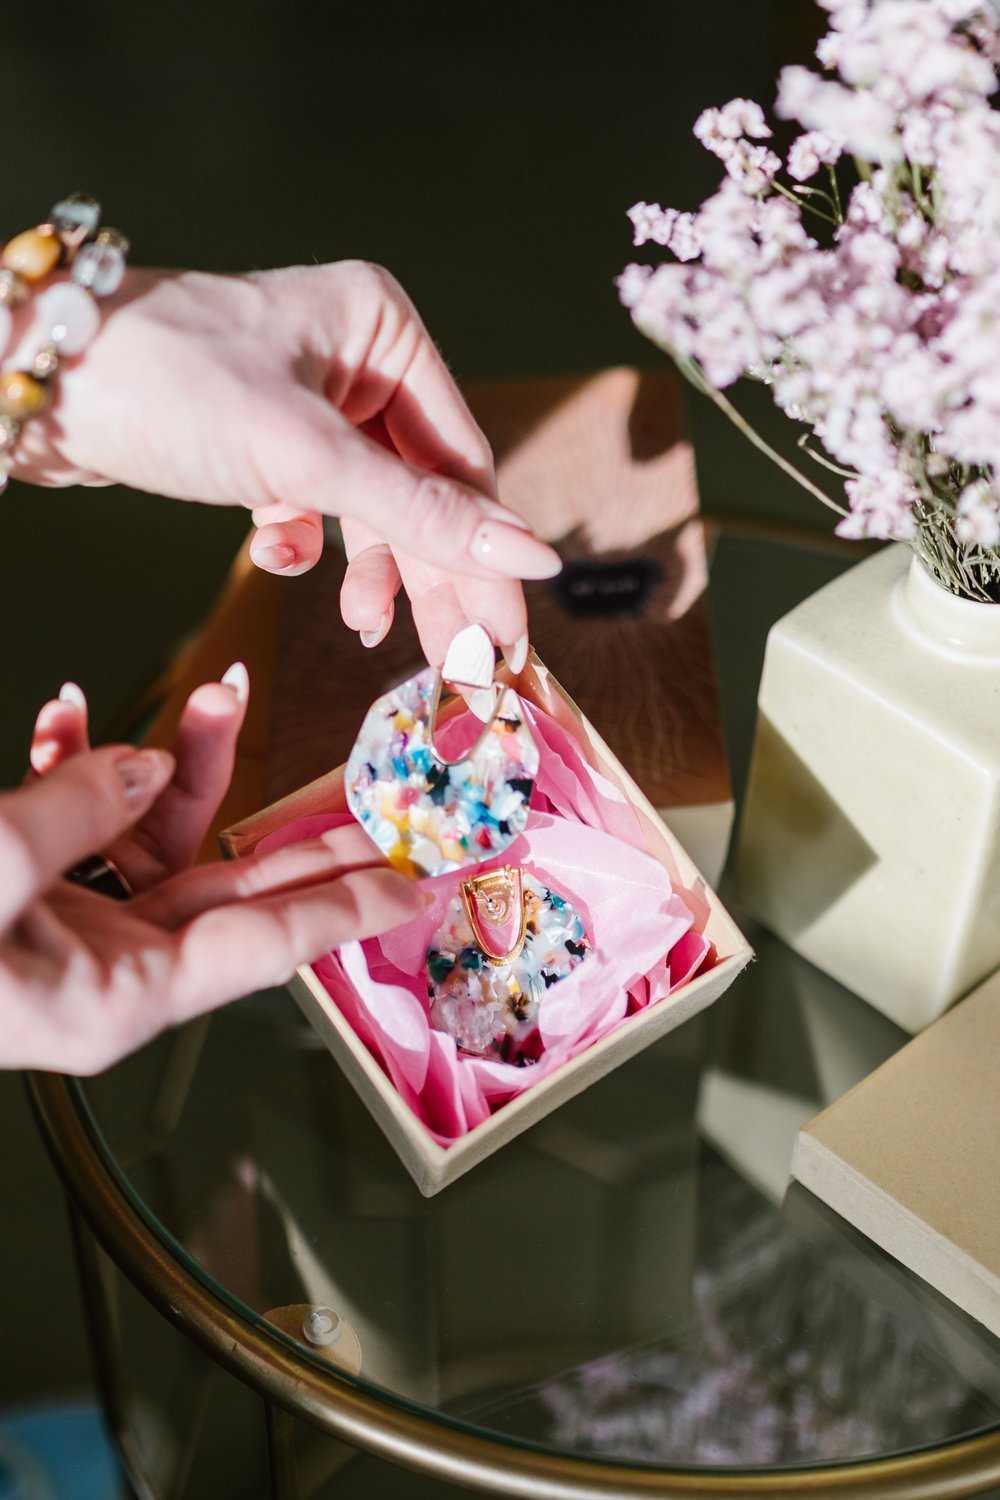
You’ve made a gorgeous pair of earrings — now imagine them sitting on a pretty kraft card inside a tissue-lined box. That small detail transforms a handmade piece into something people genuinely want to gift.
Simple earring display cards cost almost nothing but elevate perceived value instantly. Cut kraft cardstock to 2×3 inches, punch two small holes, and thread your earrings through.
For pricing your clay earrings diy projects at craft fairs or Etsy, a reliable starting point is materials × 3, plus your time. Most polymer pairs sell comfortably between $12–$28.
For photography, shoot near a window on a cloudy day — soft natural light eliminates harsh shadows and makes colours look true-to-life.
To build a collection that feels intentional, limit yourself to:
- A consistent colour palette across all pieces
- Two or three complementary textures
- Matching packaging details that tie everything together
Cohesion is what makes browsers stop scrolling — on Pinterest and at market stalls alike.
FAQ
Server se jawab nahi mila
You might also like: 20 Cardboard Craft Ideas That Look Surprisingly Chic
Key Takeaways
Beautiful results aren’t about talent — they’re about knowing which steps actually matter in your clay earrings diy journey.
- Condition thoroughly: Well-worked clay is flexible, smooth, and far less likely to crack after baking.
- Roll to 3mm thickness for earrings that feel substantial without weighing down your ears.
- Bake low and slow: Follow your clay brand’s exact temperature — rushing this step ruins even the prettiest designs.
- Finishing makes the difference: Sanding through 400–800 grit and sealing properly is what separates homemade-looking from boutique-quality pieces.
- Try one style at a time: Master a simple shape before moving to textures or layered designs.
- Share your makes: Tag your creations and inspire someone else to pick up a roller and some clay.
Save this post to Pinterest so your next creative session is always just one tap away.