19 Painted Memory Box Ideas You’ll Treasure Forever
Introduction
Studies show that keeping physical tokens of your past reduces stress by helping you process life events. Finding the right memory box ideas diy paint projects allows you to turn a simple wooden container into a meaningful vessel for your most prized belongings. When you pick up a brush to create a hand painted wooden keepsake box, you add a layer of personal history that a store-bought item can never replicate.
Painting your own box gives you full control over the aesthetic. You can match the colors to your bedroom decor or paint a design that represents a specific time in your life. Whether you are using a basic $10 craft store box or a sturdy heirloom piece, the effort you put into the surface preparation and final varnish ensures your memories stay safe for decades. This guide covers 19 unique ways to decorate your storage using personalized keepsake box ideas that fit any skill level.
Preparing Wooden Surfaces
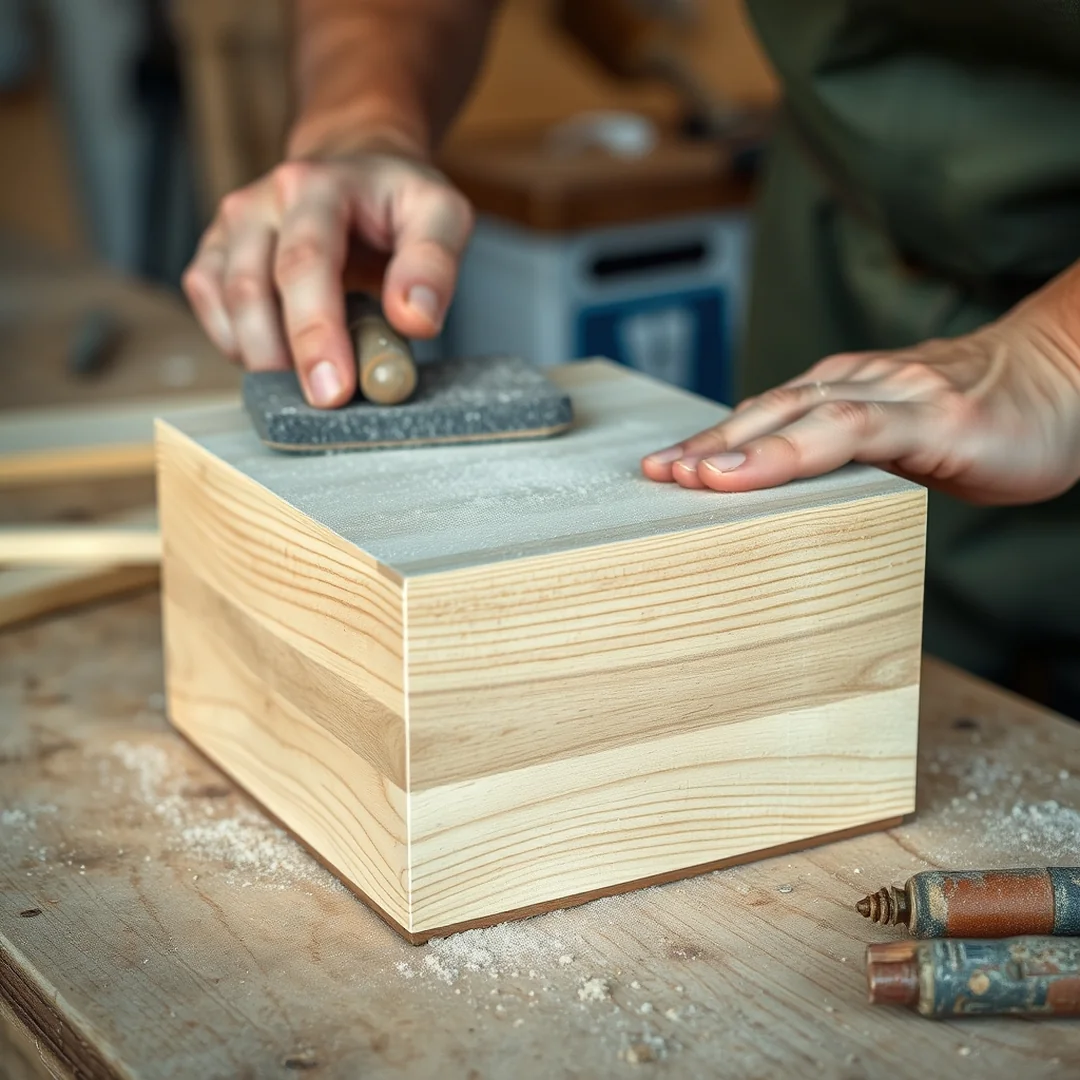
You pick up a raw wooden box at the craft store, but jumping straight into color often leads to a rough, flaky finish. Taking ten minutes to prep the wood ensures your memory box ideas diy paint project looks professional and lasts for years. Start by using 120-grit sandpaper to smooth out any splinters or factory imperfections. Sanding in the direction of the grain prevents deep scratches that show through your final layer of acrylic paint.
After you wipe away the dust, apply a thin coat of gesso. This primer acts like a bonding agent, preventing the wood from soaking up your pigment and ensuring the surface stays bright. I find that a single coat of gesso creates a perfect base for custom memory box painting designs. Once it dries, you have a solid, professional canvas ready for your creative vision and artistic details.
Solid Pastel Coats
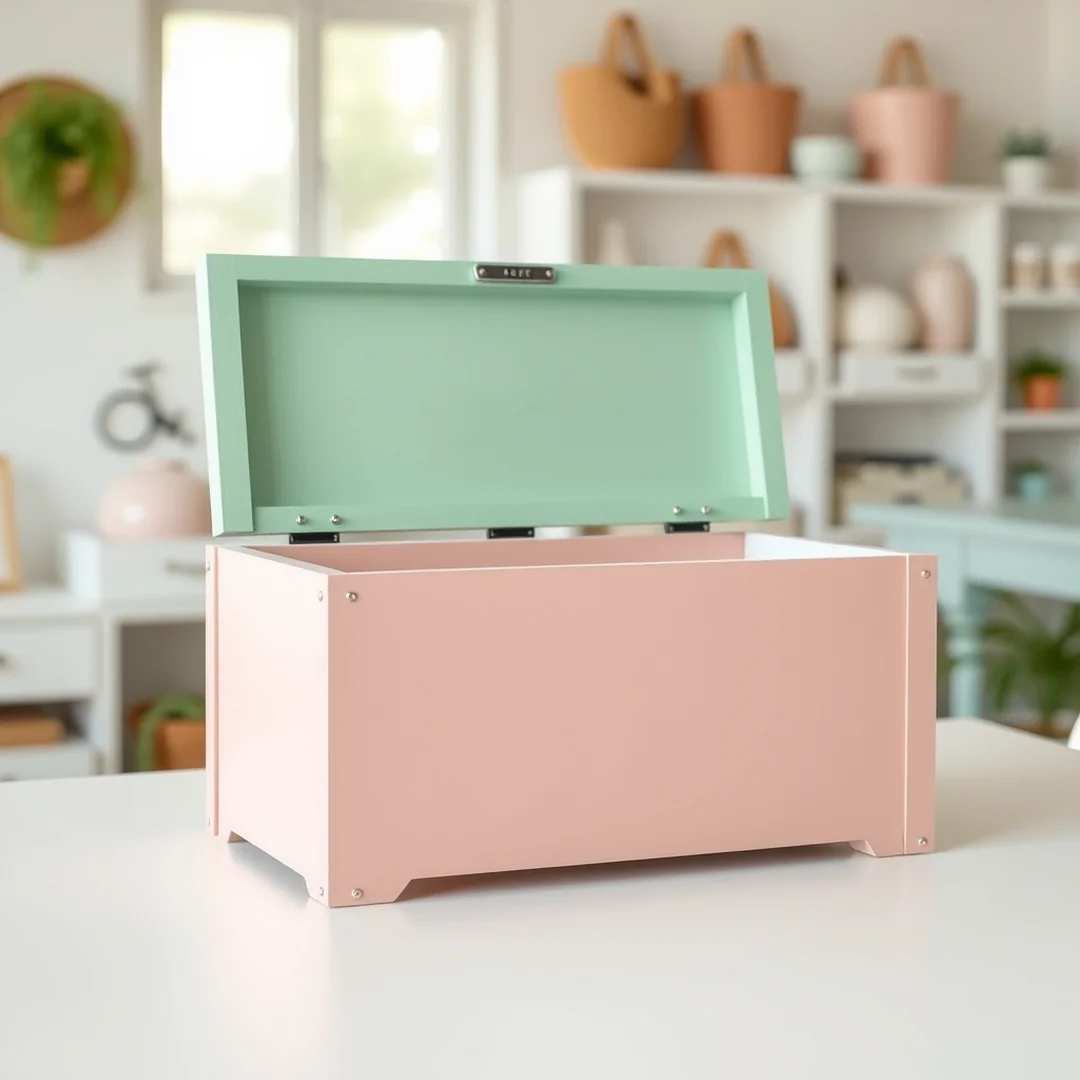
Do you want your storage piece to look soft and serene? Choosing soft acrylic paint colors like mint green or dusty rose creates a timeless look for your memory box ideas diy paint project. These light hues turn a plain wooden box into a calming place to store your most cherished trinkets.
For the best results, start by lightly sanding the wood surface with 120 grit sandpaper to ensure a smooth finish. Once prepped, use a sponge brush to apply your paint in thin, even layers. The porous texture of the sponge helps distribute the pigment without leaving behind visible bristles. You should aim for at least two thin coats, letting each one dry completely for about 30 minutes. This prevents the paint from peeling or bubbling over time. Applying these solid pastel coats provides a perfect, clean base if you decide to add decorative details later.
Geometric Masking Tape
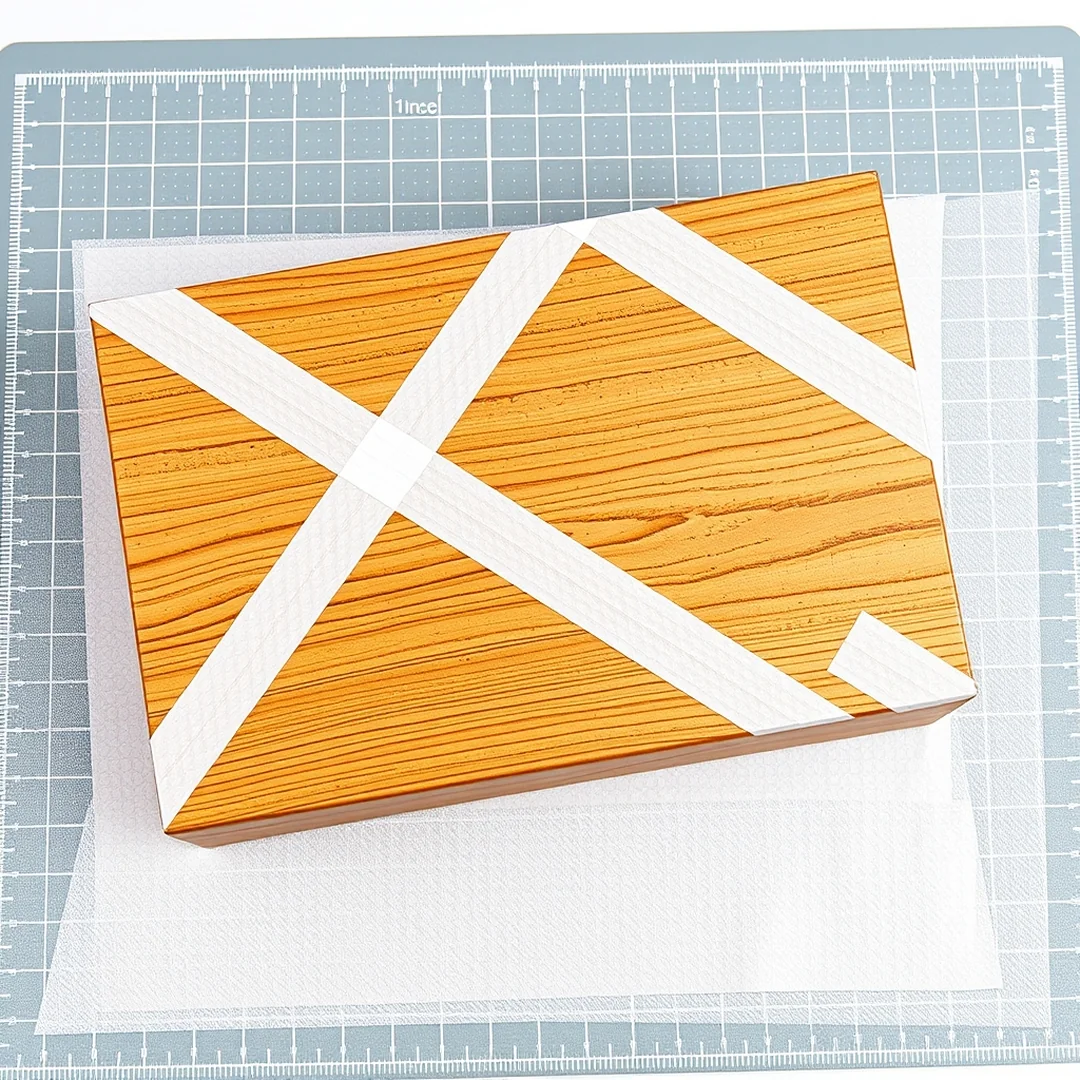
Many beginners assume you need a steady hand for perfect patterns, but sharp lines are actually easier to achieve with simple tools. When searching for memory box ideas diy paint projects, masking tape is the best way to get that professional look without hours of practice. Start by applying 1-inch wide painter’s tape to your wooden box in a series of intersecting triangles or diamonds.
Press the edges of the tape down firmly to prevent any paint from bleeding underneath. Once your acrylic paint is dry to the touch, peel the tape back at a slow angle to reveal crisp, clean edges. If you notice tiny imperfections, use fine-tip paint pens to touch up the borders or add decorative metallic dots at each corner. This technique turns a basic container into a beautiful hand painted wooden keepsake box that looks custom-made for your shelf.
Floral Stencil Art
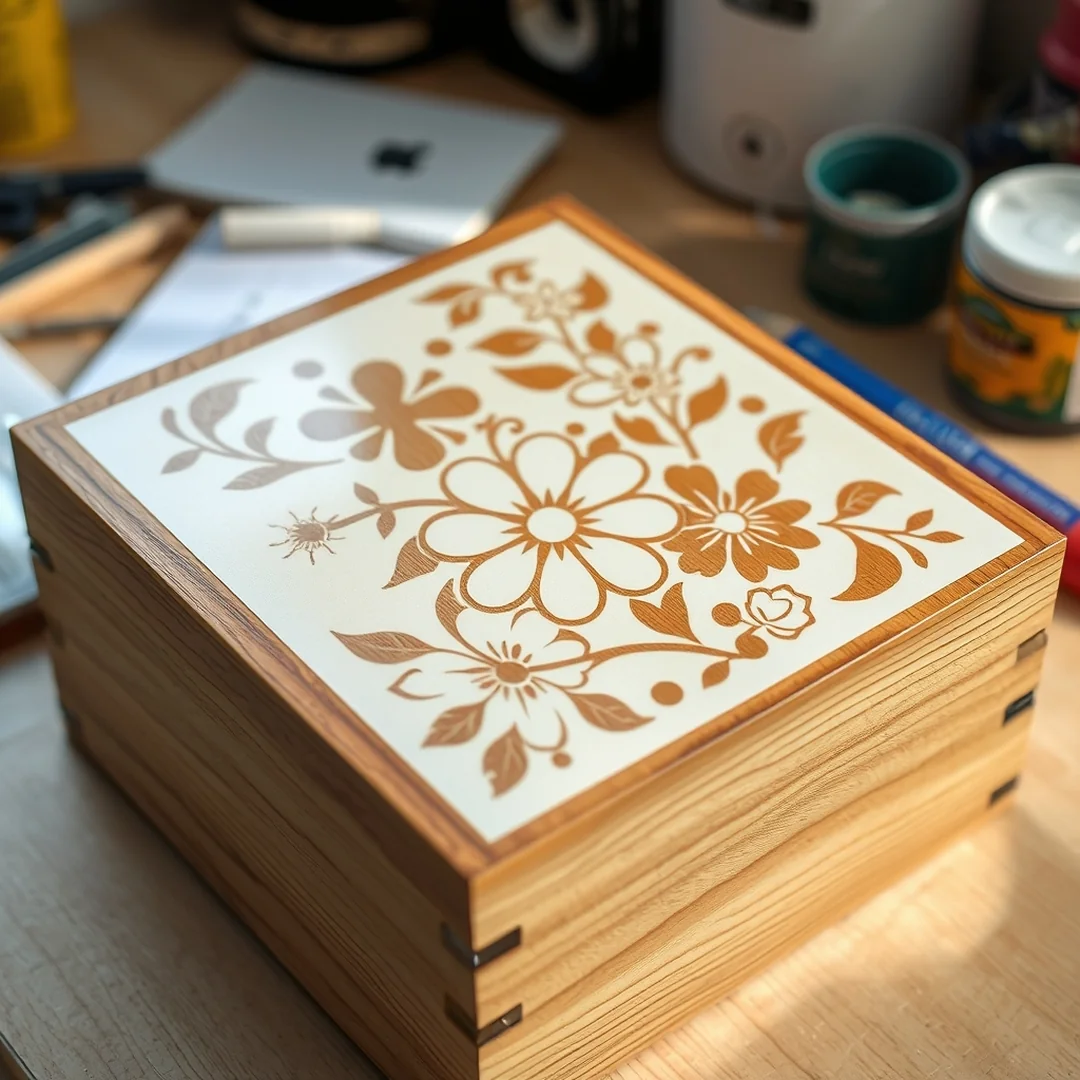
I find that using durable plastic stencils is the easiest way to achieve professional results when you explore memory box ideas diy paint projects. These reusable templates hold their shape against the wood surface much better than paper versions, ensuring your floral patterns stay consistent across the entire lid.
To get crisp lines, you must avoid brushing the paint back and forth. Instead, use a dense sponge brush to apply acrylic paint with a light dabbing motion. Keep your paint layer thin to prevent it from bleeding under the stencil edges. If you are working on a standard 8×10 inch wooden box, a single 4-inch stencil works perfectly as a focal point. Always secure your stencil with low-tack masking tape before you start dabbing. This simple technique keeps your floral design sharp and professional, giving your hand painted wooden keepsake box a beautiful, gallery-quality finish that lasts for years.
Watercolor Wash Effect
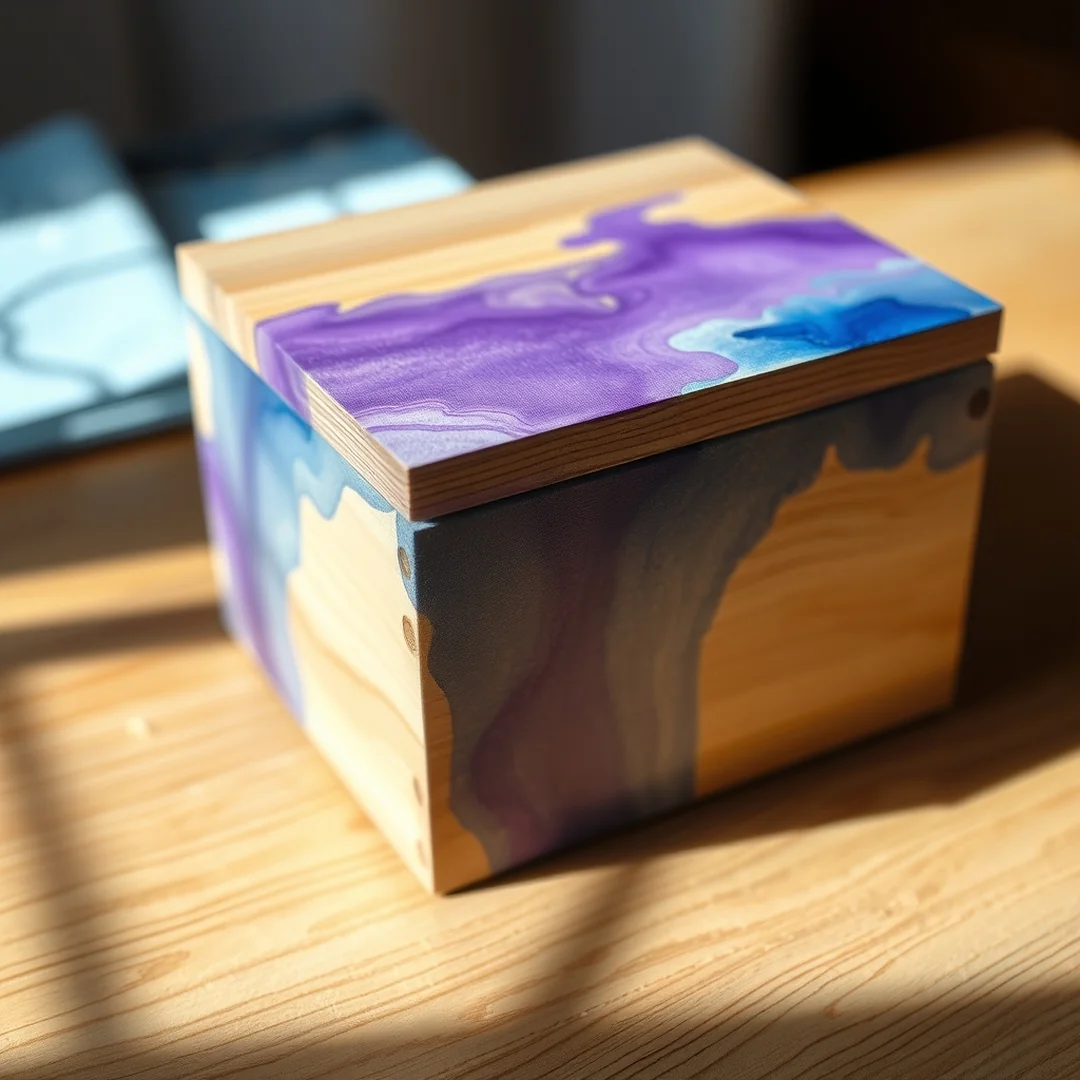
You can achieve a professional look for your memory box ideas diy paint project by thinning your acrylics with a small amount of water before applying them to the wood. This technique mimics the soft transparency of real watercolors while keeping the durability of acrylic craft paint. Start by sanding your raw wooden box with 220 grit sandpaper to ensure the surface is smooth and ready to absorb the pigment.
Mix one part paint with three parts water to reach your desired consistency. Use a soft flat brush to pull the color across the grain, letting the natural wood texture show through the light pigment. You can layer different tones while the surface is still damp to create a seamless blend. Once the design dries, apply a thin layer of matte finish varnish to protect your work. This creates a dreamy, light look that works well for a personalized keepsake box.
Metallic Line Accents
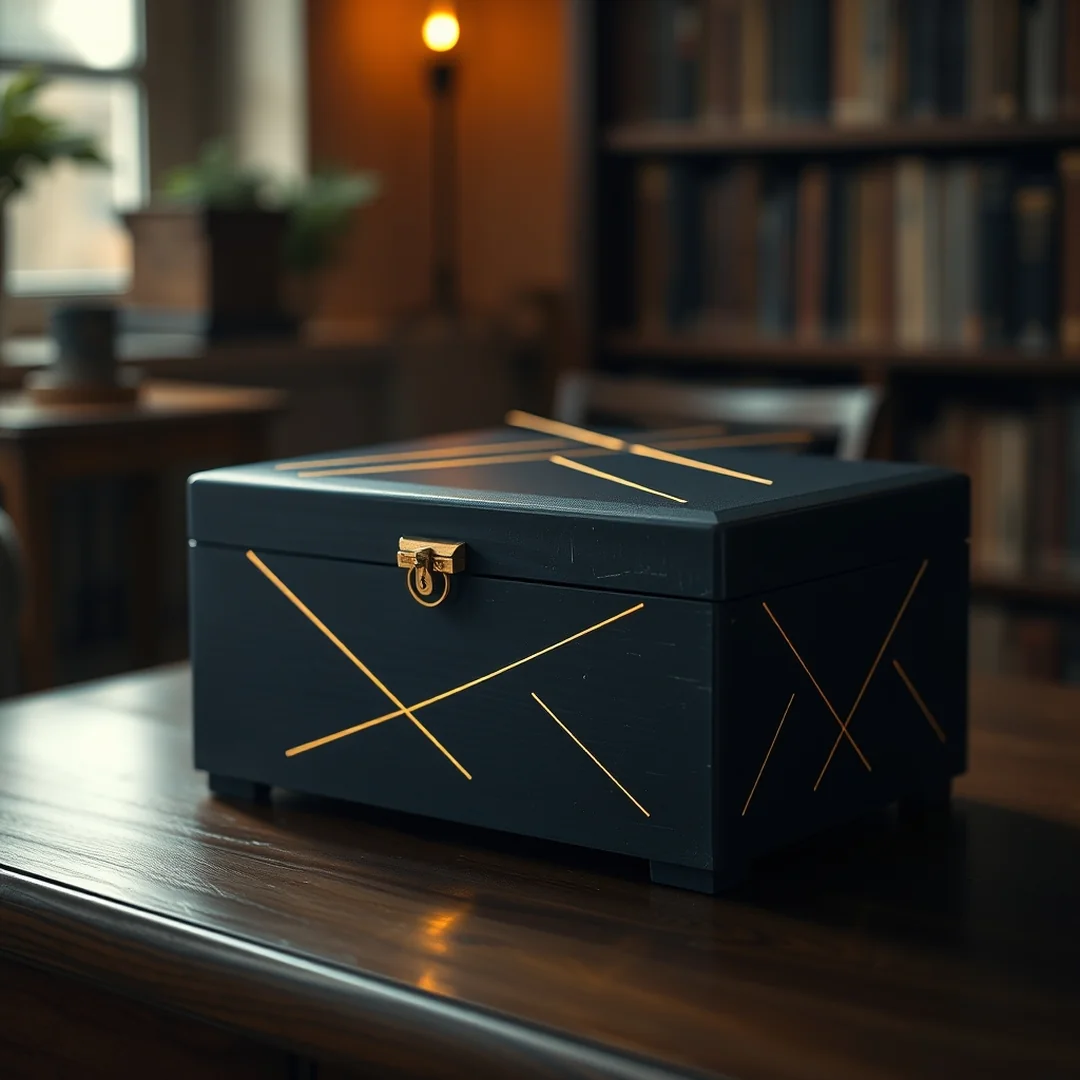
Winter evenings are the perfect time to add a touch of shimmer to your memory box ideas diy paint projects using fine tip metallic markers. These tools allow you to draw sharp, clean highlights directly over your dried acrylic paint base without needing a steady hand for a traditional brush. I often use a gold or silver pen to trace the edges of geometric shapes or to add tiny stars around floral patterns for a refined finish.
You can add highlights to simple designs by drawing thin, deliberate lines along the corners of your hand painted wooden keepsake box. This technique makes basic shapes look polished and intentional. Try limiting your metallic work to a 0.5 millimeter line width to keep the effect subtle rather than overwhelming. Applying a thin coat of varnish over these markers prevents the ink from smudging when you handle your box later.
Monogram Letter Painting
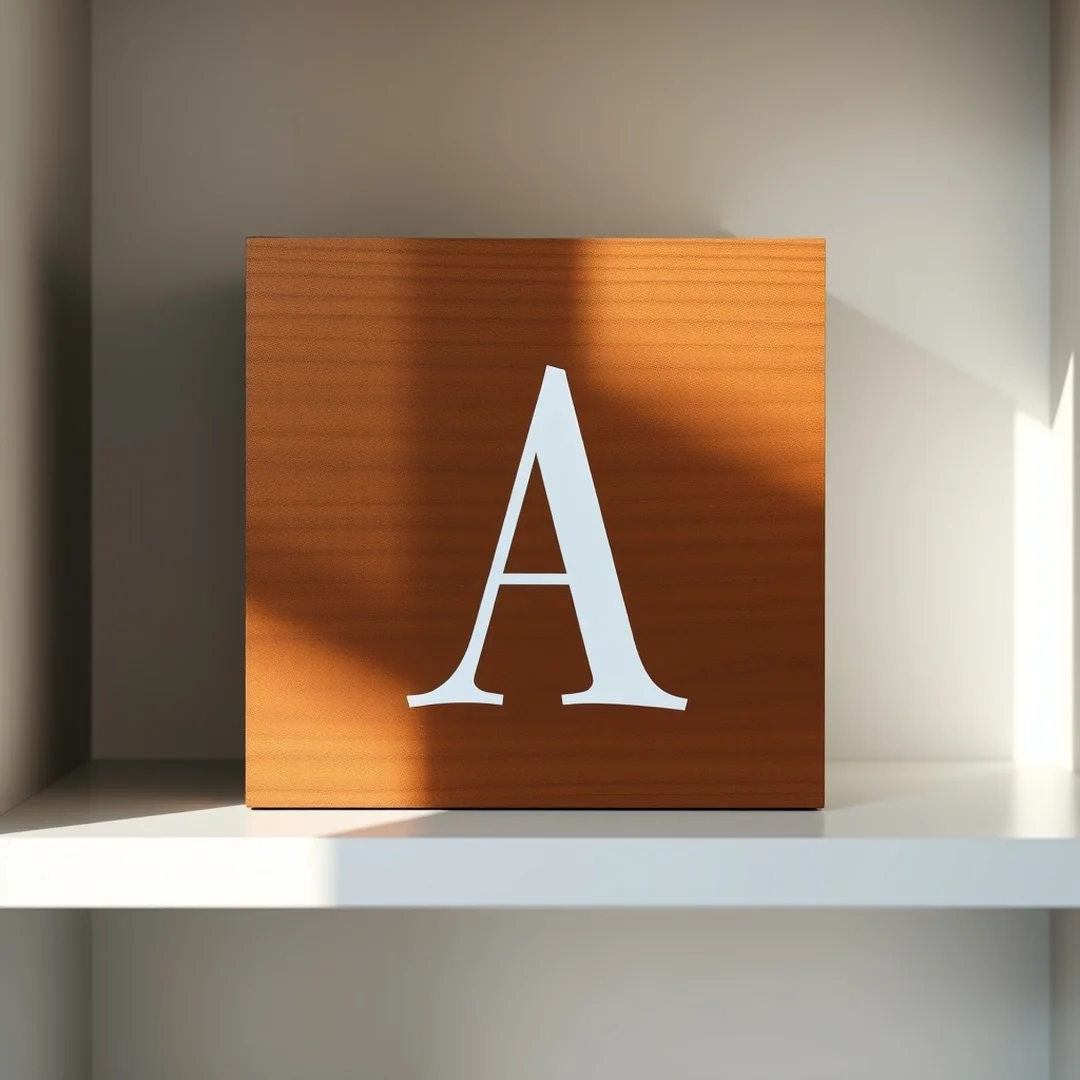
Painting a custom letter on a wooden box costs less than 5 dollars in materials, whereas store-bought personalized crates often sell for over 40 dollars. This approach is one of my favorite memory box ideas diy paint projects because it creates a clear focal point for your sentimental items. Start by applying a thin layer of gesso to your surface to ensure the wood grain doesn’t soak up too much pigment. Once dry, use stencils and masking tape to hold your chosen initial firmly in place on the lid. Use a flat brush to dab acrylic paint inside the stencil openings, building up thin layers instead of one thick coat. Using a fine tip brush to clean up the edges creates a professional look. After the paint cures, apply a matte finish varnish to protect your hard work for years.
Painted Map Illustrations
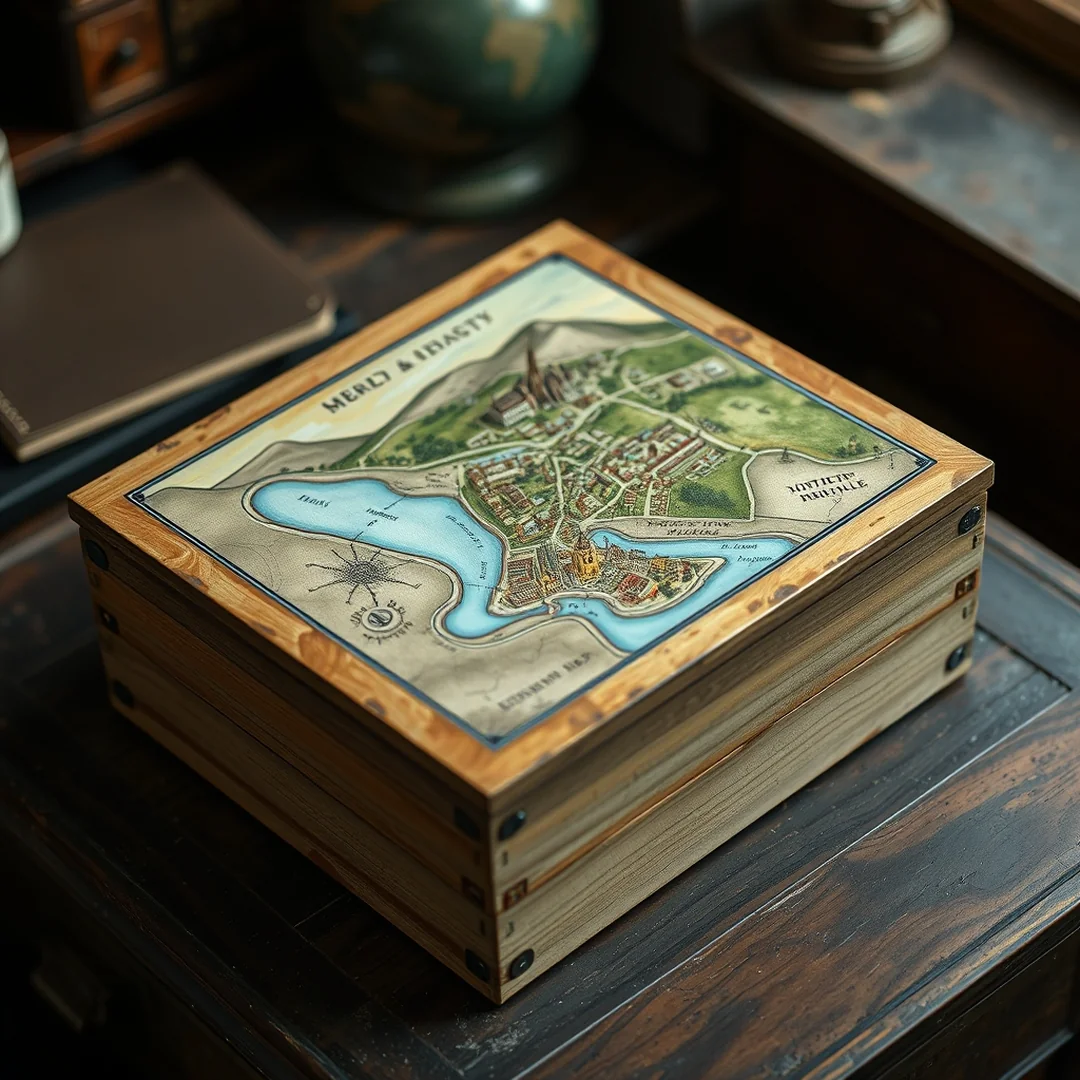
Adding a vintage map to your storage container is one of the most sentimental memory box ideas diy paint projects you can try. You can cover the lid with a printed map of a special city and then use acrylic paint to highlight specific landmarks or personal routes. Start by sanding your wooden box with 120-grit paper to create a smooth surface. Apply the map using a thin layer of decoupage glue, smoothing it out with a sponge brush to prevent bubbles. Once the paper is dry, use a fine tip brush to paint delicate details like hearts or dashed lines over the streets. To protect your work, apply three thin layers of Mod Podge, allowing each to dry for at least 30 minutes. This creates a durable, professional seal that preserves your travel memories for years. It is a simple way to turn a basic craft into a meaningful display piece.
Night Sky Motifs
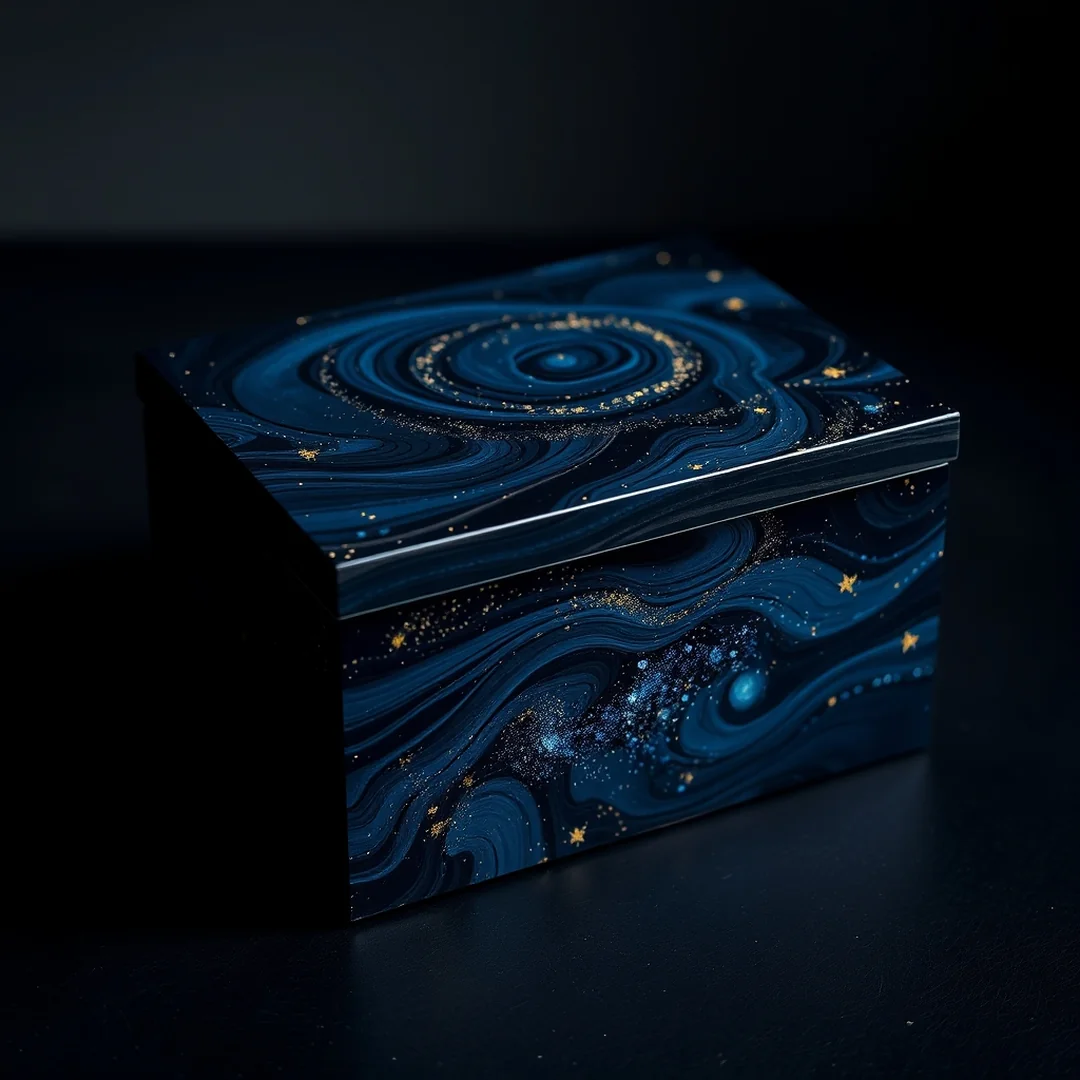
You want a storage piece that feels as vast and meaningful as the memories tucked inside. Painting a galaxy scene is one of the most popular memory box ideas diy paint because it hides brush strokes while creating a beautiful, moody aesthetic. Start by applying two coats of deep navy acrylic paint to your wooden box to ensure a smooth base. Once dry, lightly dab purple and magenta tones over the center with a sponge brush to create a nebula effect. Focus on layering dark blue and purple tones so the colors bleed into each other naturally rather than sitting in harsh blocks.
For the final touch, use a fine tip brush to add your stars. Dip it in white acrylic paint and gently tap the handle against your finger to splatter tiny dots across the lid. Finish the piece with a clear matte finish spray to keep your design protected for years.
Boho Pattern Designs
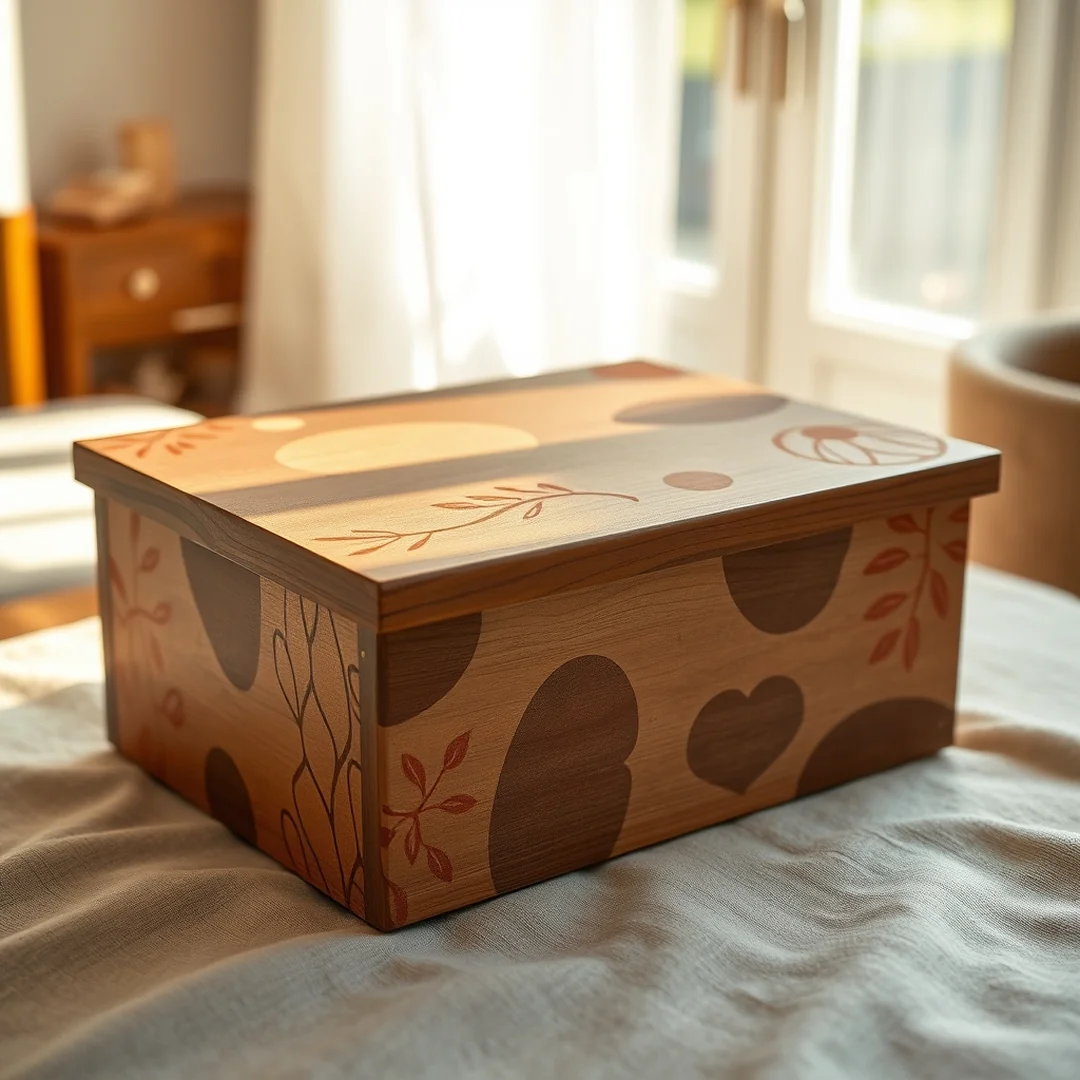
Do you want to turn a plain wooden box into a warm, artistic centerpiece for your room? Using organic shapes is one of the most relaxing memory box ideas diy paint projects you can try. Start by applying a layer of gesso to your wooden box to ensure the surface is smooth and ready for color. Once that dries, use a flat brush to create soft, rounded forms that mimic natural elements like suns, leaves, or stones.
Stick to earthy color palettes such as terracotta, sage green, and warm cream to keep the look grounded. You can use acrylic paint to fill in these shapes, then add fine details with metallic markers. I find that working with a 3-inch wide brush helps cover large areas quickly. After your design is finished, always add a coat of varnish with a matte finish to protect your work for years to come.
Polka Dot Patterns
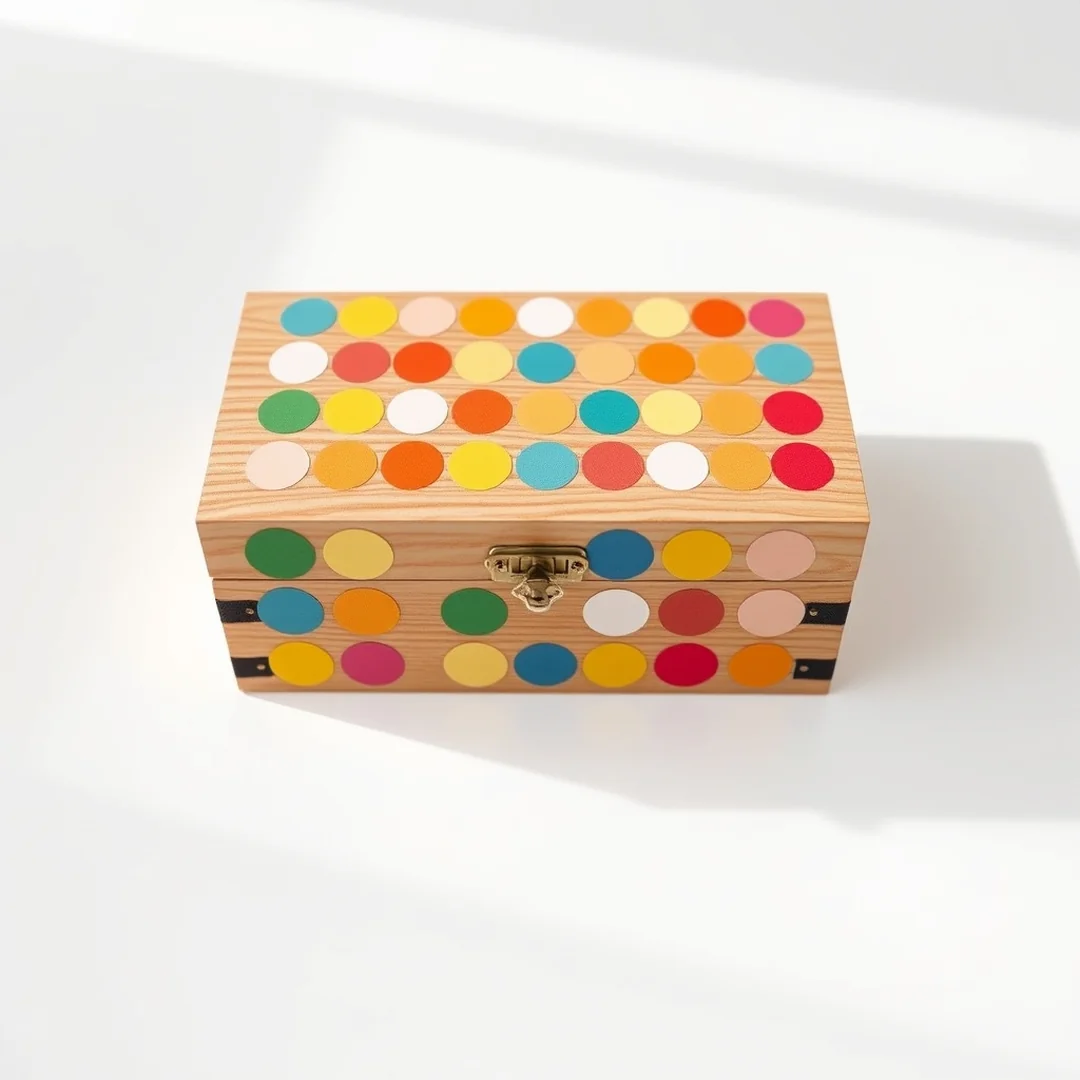
Many beginners assume you need a steady hand to paint perfect circles, but professional results actually come from using the right household tools. You don’t need to be an artist to explore these memory box ideas diy paint patterns. Instead of a brush, use a round sponge pouncer or the eraser end of a pencil to stamp consistent shapes onto your hand painted wooden keepsake box. Dip your tool in acrylic paint and press firmly once to ensure the edges remain crisp and clean.
For more visual interest, try mixing different diameters on the same side of the container. Use a 10mm round sponge for the larger focal points and a fine tip brush to add smaller accent dots in the gaps. This variation makes your DIY wooden box painting techniques look intentional rather than accidental. Once dry, apply a thin coat of varnish to protect your work and give the surface a professional sheen.
Striped Keepsake Box
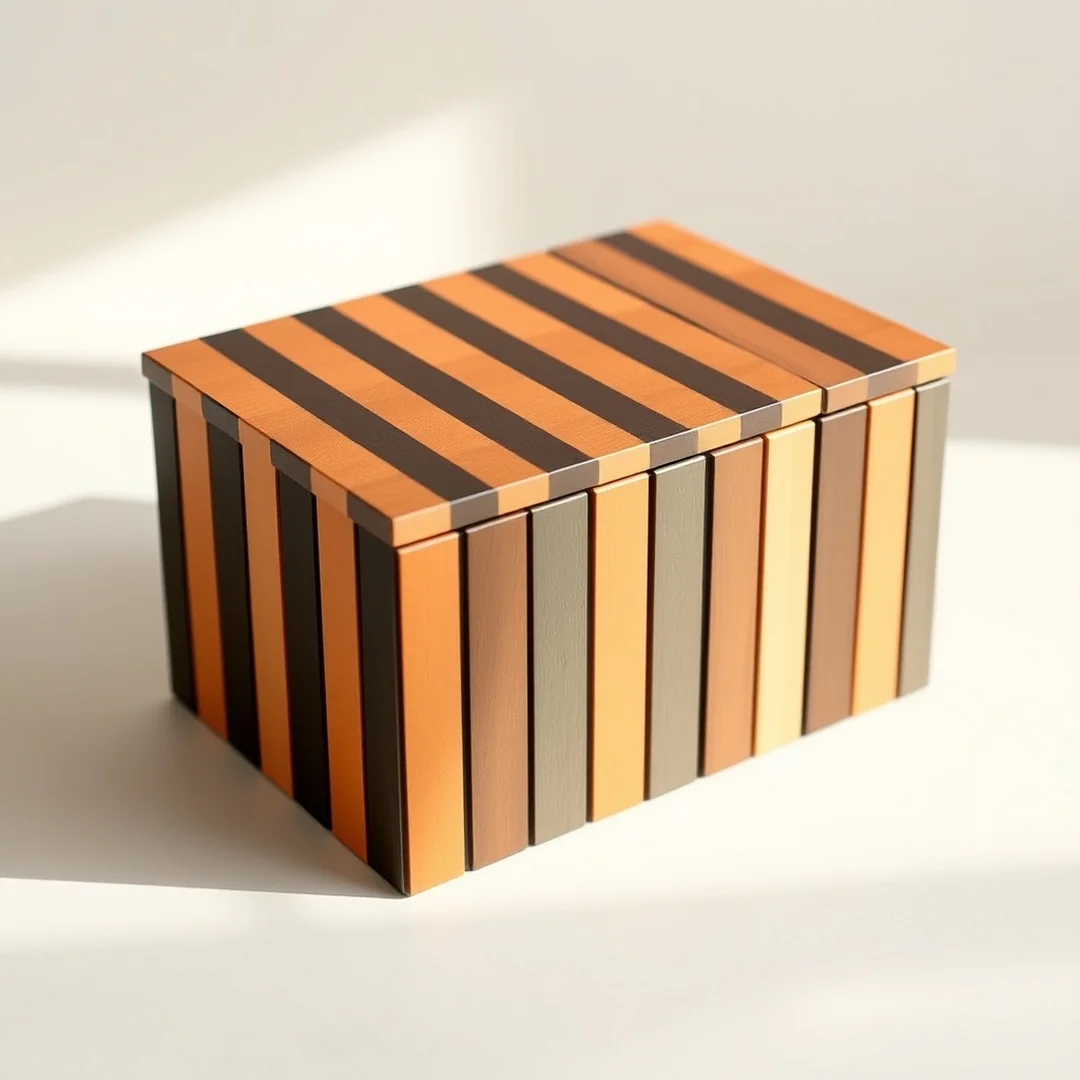
I find that stripes add a timeless look to any hand painted wooden keepsake box, especially when the lines are perfectly sharp. Among my favorite memory box ideas diy paint projects, this one remains the most reliable for achieving a clean, professional finish on a budget. You start by sanding your wooden box with 180-grit sandpaper to remove any rough splinters.
To get perfectly even sections, use a ruler to mark small dots every 1 inch along the sides of the box. Connect these marks with a pencil to act as your guide. Carefully apply masking tape along these pencil lines, pressing the edges down firmly to prevent any paint from bleeding underneath. I like to use a flat brush for even coverage. Once the paint is dry to the touch, peel the tape away at a slight angle to reveal crisp, clean stripes that make your storage piece look like it came from a high-end boutique.
Ombre Gradient Effects
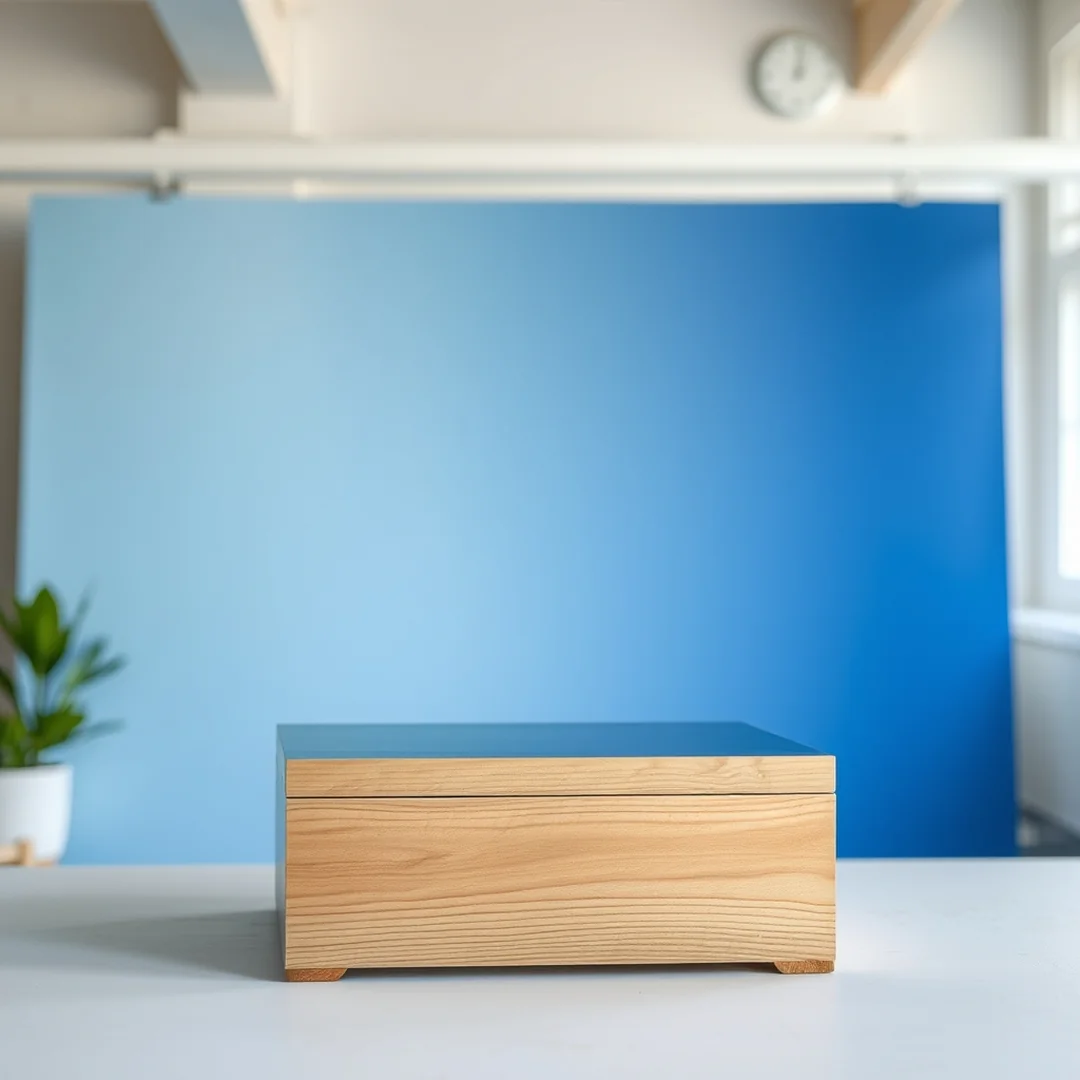
Start your memory box ideas diy paint project by applying a thin layer of gesso to your wooden box to ensure the colors stay bright. An ombre effect looks best when you blend two shades of the same color family rather than trying to mix too many contrasting hues at once. Use a flat brush to apply a darker shade at the bottom and a lighter version toward the top, overlapping them in the middle while the paint is still wet.
In my experience, sticking to pastel palettes creates a soft and timeless look that fits most rooms. If you struggle with the transition, lightly misting the surface with water helps the acrylic paint blend more smoothly. You can expect to spend about $8 on a set of high quality acrylic paints to get started. Once the gradient is dry, seal your artwork with a thin layer of matte finish to keep it protected for years.
Freehand Painted Details
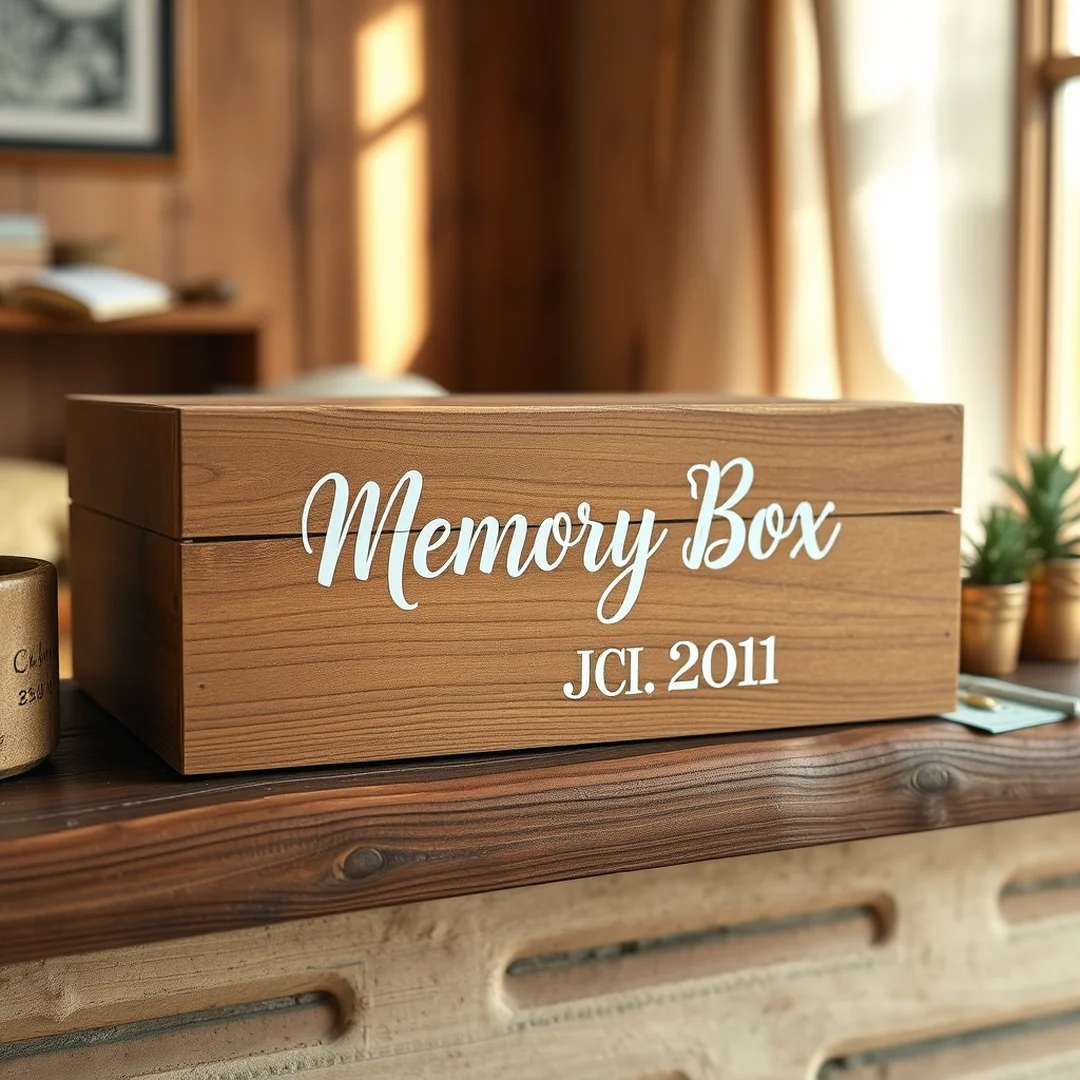
Winter evenings are perfect for adding personal touches to your hand painted wooden keepsake box while you stay cozy indoors. When searching for unique memory box ideas diy paint projects, nothing beats the charm of freehand lettering to mark special milestones.
Start by sketching your chosen name or date in light pencil before applying acrylic paint with a 00-sized fine tip brush. This size gives you the control needed for delicate lines that look professional rather than messy. If you are nervous about your steady hand, grab a $5 set of metallic markers to practice your script on a scrap piece of wood first. Once you feel confident, use these markers or a thin liner brush to turn your box into a true heirloom piece. Adding a hidden date inside the lid ensures your personalized keepsake box ideas remain meaningful for years to come.
Custom Portrait Painting
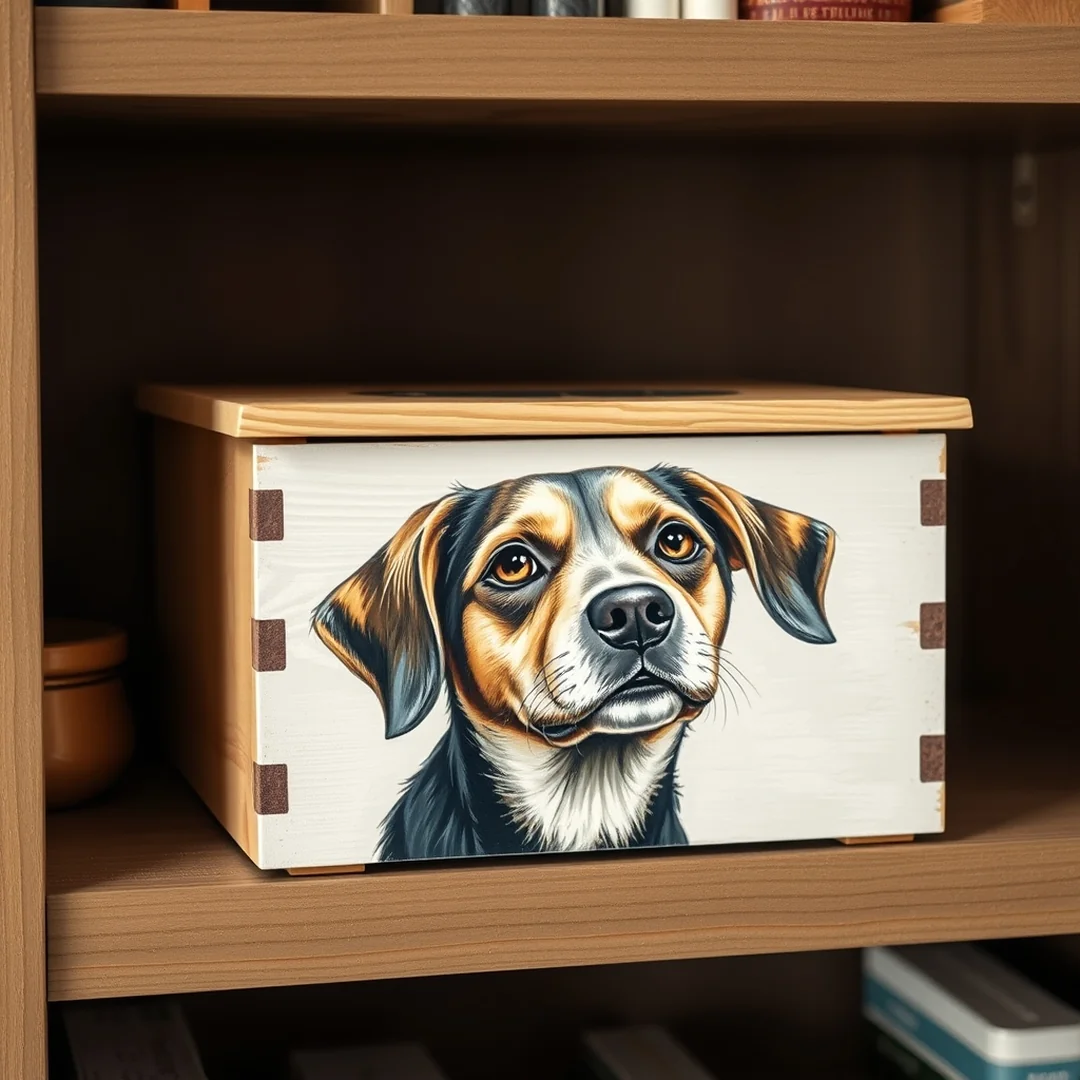
Hiring an artist for a custom portrait box can cost over $150, but you can achieve a professional look for under $20 using these memory box ideas diy paint methods. Start by lightly sanding your wooden box with 220 grit sandpaper to ensure the acrylic paint adheres smoothly. Once the surface is prepped, you can capture a loved one or a pet by sketching the outline with a pencil before filling it in with a fine tip brush.
- Match the portrait background colors to your existing home decor, such as using soft pastel palettes for a bedroom or bold tones for a living room.
- Create thematic portraits for specific events like weddings or graduations by painting the date or a meaningful location inside the lid.
- Seal your finished artwork with two thin coats of matte finish varnish to protect the design from fading or scratches over time.
Acrylic Pouring Techniques
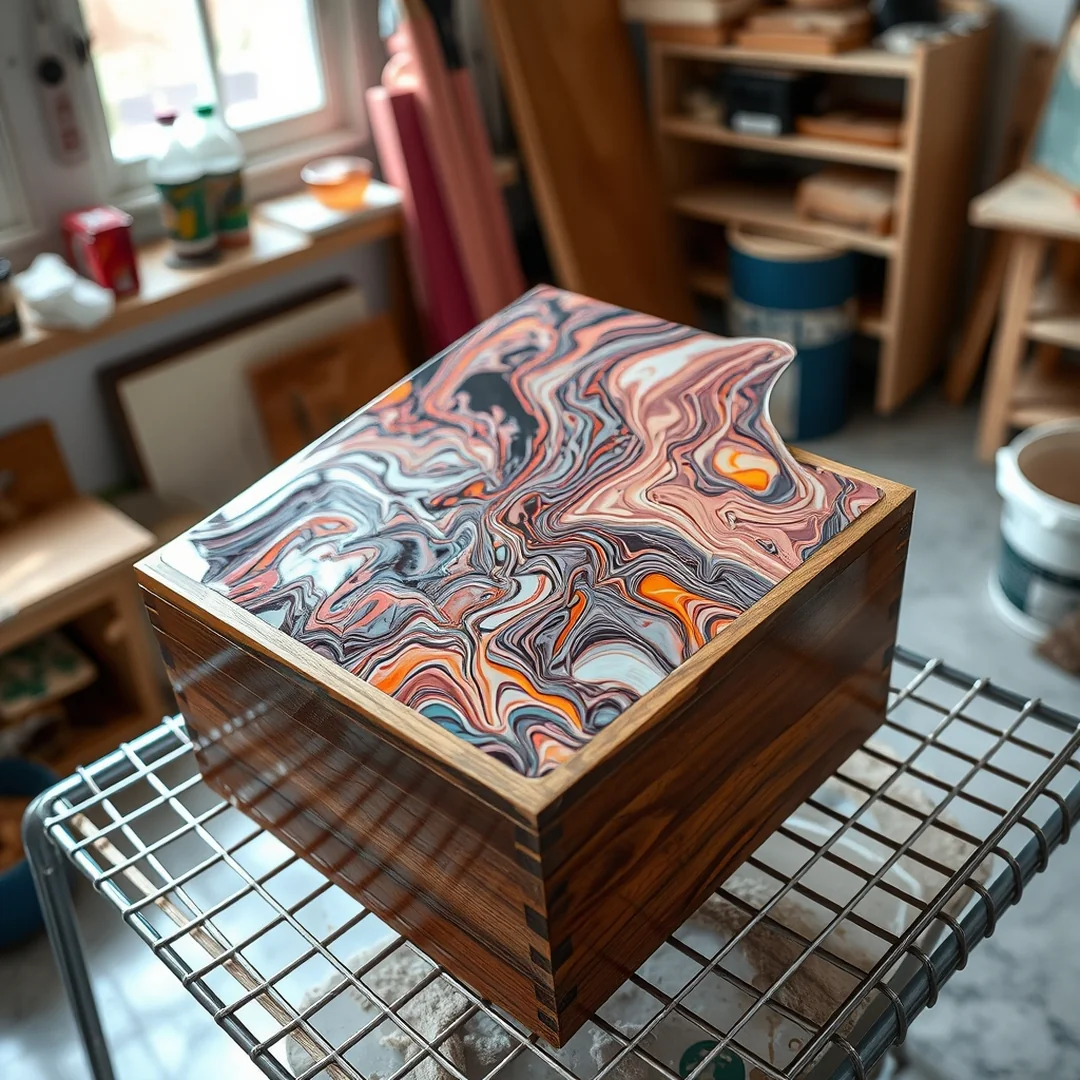
You can achieve 12 unique marble patterns on a single lid using only gravity and fluid acrylic paint. When exploring memory box ideas diy paint projects, pouring allows for fluid, organic designs that brush strokes simply cannot mimic. To add raised paint texture, mix your acrylics with a small amount of heavy body modeling paste before pouring. This creates a tactile, three dimensional effect that makes your wooden box stand out on a shelf. I find that using a simple plastic straw to blow the paint into specific corners helps control the flow without ruining the base layer.
Once your design is completely dry, you must protect the surface from scratches and dust. Applying a thin coat of matte varnish ensures your hard work survives years of handling. Use a wide, soft bristled brush to apply the sealant in long, even strokes. This non-reflective finish keeps the focus on your art while providing a professional, archival-quality barrier.
Simple Pattern Art
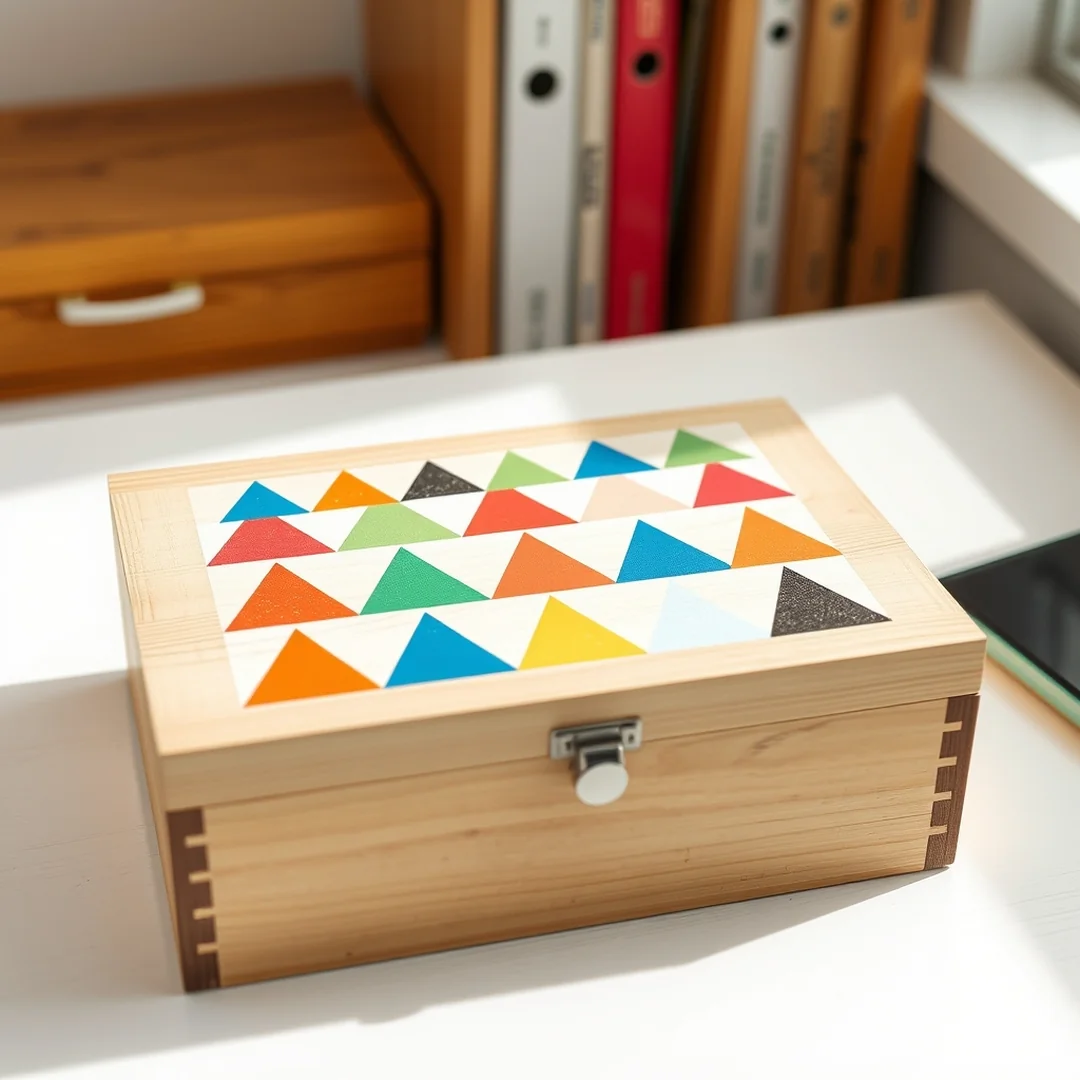
You might feel nervous about painting freehand, but geometric shapes make these memory box ideas diy paint projects stress-free for anyone. Start by sanding your raw wooden box with 120-grit sandpaper to create a smooth surface before you apply any color. I often use masking tape to map out triangles or squares on the lid, which ensures your lines stay crisp. Stick to a simple pastel palette of three colors to keep the design looking intentional rather than cluttered.
* Use a flat brush to paint solid shapes in a repeating grid.
* Try paint pens to add tiny dots or dashes around the edges of your squares.
* Apply a thin coat of Mod Podge once your design dries to protect the finish.
Using a repeating motif is a classic way to achieve a professional aesthetic on your hand painted wooden keepsake box without needing advanced artistic skills.
Abstract Acrylic Designs
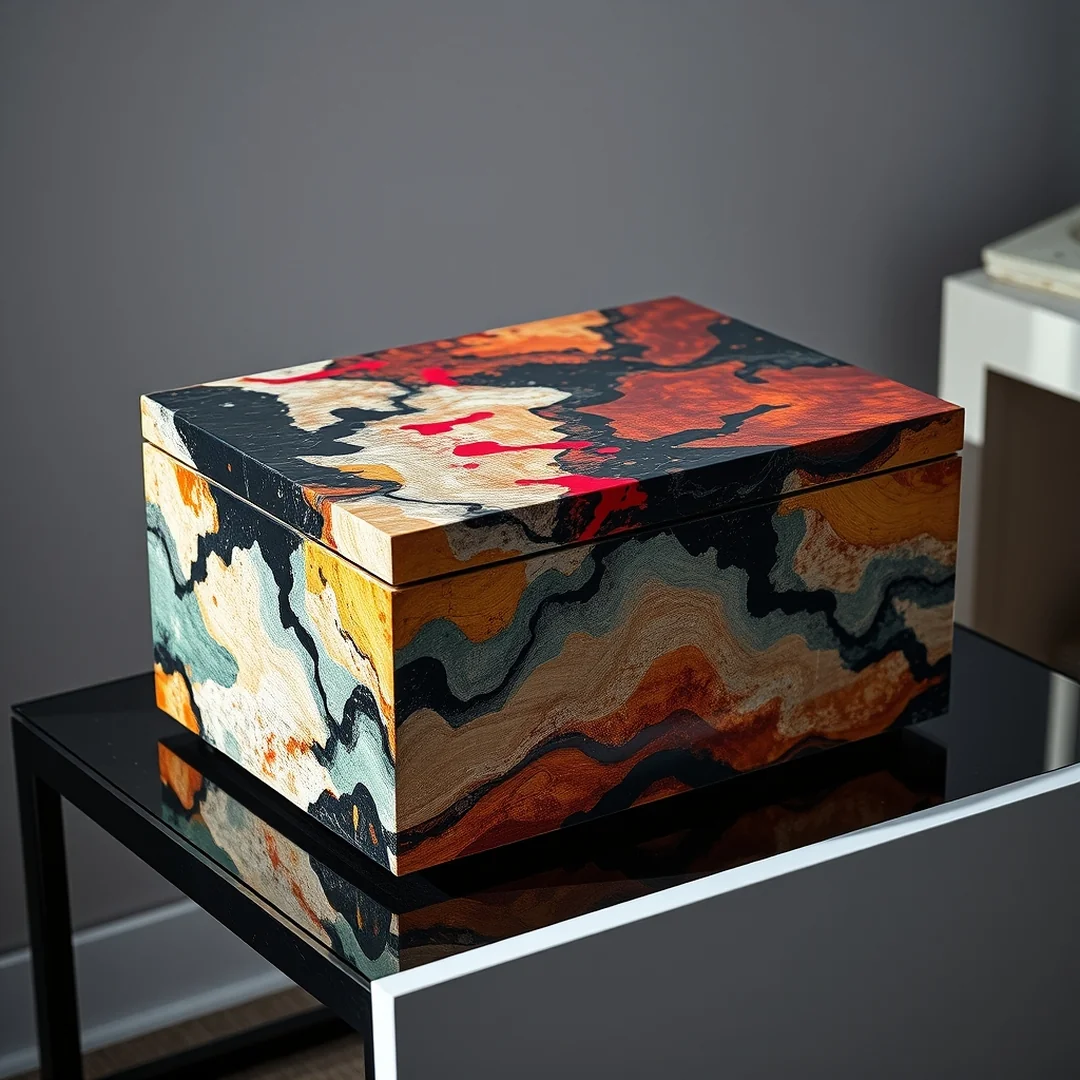
Do you want to turn a simple wooden box into a piece of modern art? Layering colors for depth is the best way to achieve a professional look when exploring memory box ideas diy paint projects. Start by applying a base coat of gesso to your box to ensure the wood grain stays smooth.
Once the base is dry, use a flat brush to apply your first color. It is vital to allow layers to dry between coats to prevent the acrylic paint from turning into a muddy mess. You can use a hair dryer on a cool setting for about 2 minutes to speed up this process. Build your abstract composition by dabbing contrasting tones over the base using a small sponge brush. This creates a textured, multidimensional effect that looks sophisticated. You can finish your custom memory box painting designs with a light dusting of metallic markers for a high-end feel.
Vintage Style Finishes
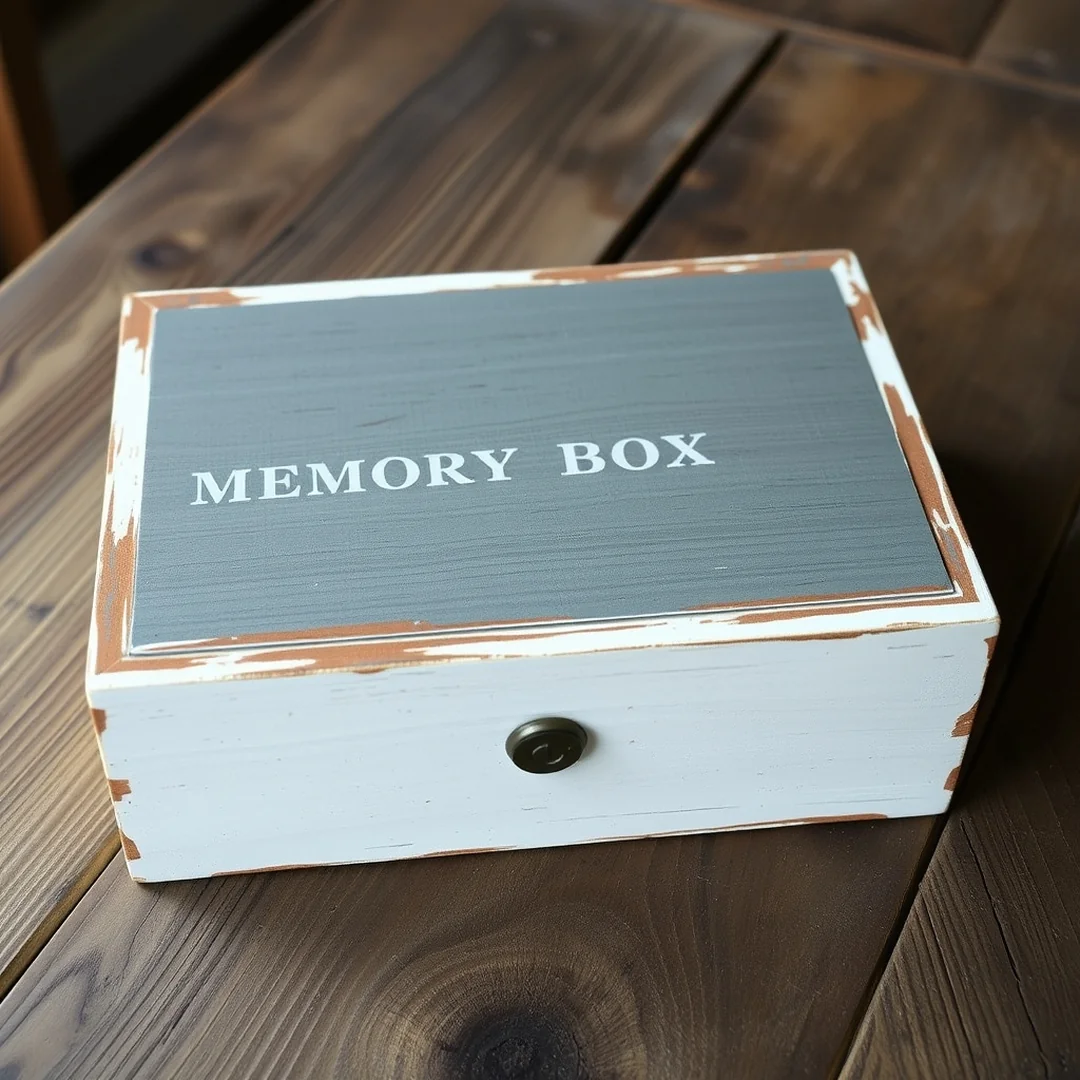
Many beginners assume that a perfect paint job requires a flawless, solid coat, but distressing wood actually creates a more authentic antique charm. Achieving this character-filled look is one of the most rewarding memory box ideas diy paint projects because it hides minor imperfections in the wood grain.
Start by painting your wooden box with two coats of acrylic paint, letting it dry fully between layers. Take a piece of 120-grit sandpaper and gently rub the edges and corners where natural wear would occur. This exposes the raw wood underneath, giving the piece a lived-in feel. To finish, apply a thin layer of clear furniture wax with a soft cloth. Buff the surface after ten minutes to create a soft matte finish that protects your keepsake box aesthetic. This simple process turns a basic craft store find into a piece that looks like it has been cherished for decades.
For another perspective, this detailed piece on Painted Memory Boxes is worth a read.
FAQ
Fixing paint drips
I have found that the best way to handle drips when working on **memory box ideas diy paint** is to let the surface dry completely before you touch it. Once it is hard, use a piece of 220 grit sandpaper to gently smooth the area until it is flat again. You can then dab a tiny bit of fresh color over the spot with a fine tip brush to hide the repair.
Non toxic paint choices
Acrylic paint is the gold standard for these projects because it is water based and typically non toxic. Look for brands labeled as AP certified, which ensures they are safe for home use. These paints provide excellent coverage on a wooden box and come in a huge range of colors to suit any project.
Preparing raw wood
Always start by sanding your wood surface with medium grit sandpaper to remove any rough splinters or factory wax. Apply a thin layer of gesso before you begin your main design to create an even, white base that helps your colors pop. This simple step makes a massive difference in how professional your final piece looks.
Achieving clean lines
Use high quality masking tape to section off areas if you want crisp geometric patterns or stripes. Press the edges of the tape down firmly with your thumbnail so paint cannot seep underneath. If you are doing freehand work, a flat brush works better than a sponge brush for maintaining sharp borders.
Sealing for protection
Apply two thin coats of a clear varnish to keep your artwork looking fresh for years. I prefer a matte finish for a modern look, but you can choose gloss if you want a shine. Using a light coat of Mod Podge can also act as a protective barrier if you have added paper elements to your design.
You might also like: 17 DIY Baby Shower Gifts That New Parents Truly Appreciate
Key Takeaways
Always sand your wooden box with 220-grit sandpaper before applying any primer to ensure your paint adheres smoothly and lasts for years.
- Proper surface preparation is the foundation of all successful memory box ideas diy paint projects, so never skip the gesso layer.
- Essential tools like a quality flat brush and fine tip brush allow for both broad coverage and intricate detailing on your custom piece.
- Use high-quality varnish to seal your work, as a clear matte finish protects the surface from dust and yellowing over time.
- Incorporate paint pens or metallic markers to add crisp lettering and borders that give your hand painted wooden keepsake box a professional look.
- Budget about $15 for a basic starter kit including acrylic paint, brushes, and a small bottle of sealant to complete your first project.
Save this guide to your favorite DIY craft board on Pinterest to keep these project tips handy for your next creative afternoon.