18 DIY Keychains That Make Perfect Handmade Gifts
Introduction
Studies show that 70 percent of people prefer receiving a handmade item over a mass produced gift because of the personal effort involved. Exploring keychains diy projects is a fantastic way to create meaningful presents that fit any budget. Making your own accessories allows you to control the quality of every component, from the sturdiness of the metal key rings to the specific color of the embroidery thread. Whether you are crafting for friends or building inventory for a local market, these small items provide a high return on your creative time.
You can start your collection today with a basic starter kit that costs less than $15. Mastering easy diy keychain crafts requires only a few essential tools like pliers and jump rings to secure your designs. This guide covers how to assemble durable, professional looking pieces that stand up to daily wear and tear.
Resin Initial Charm
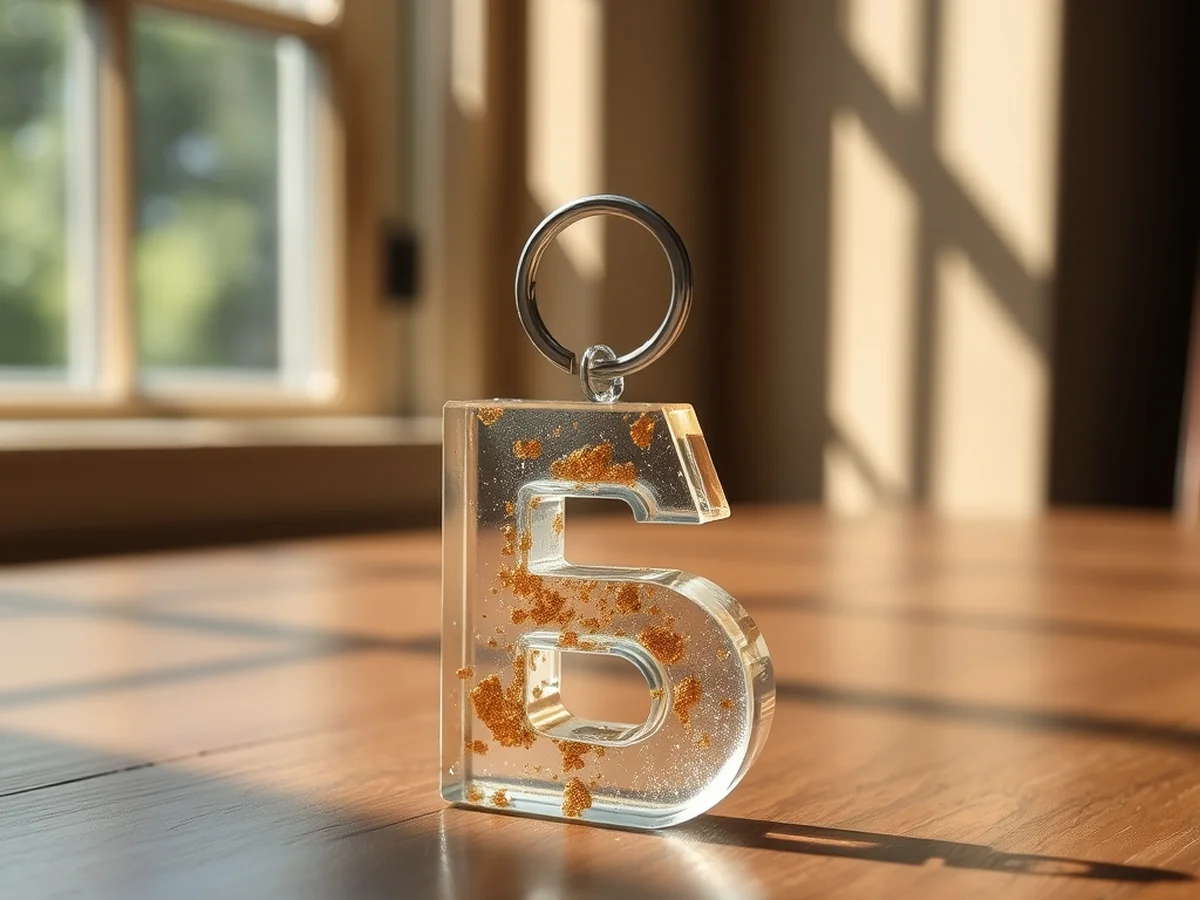
Personalized gifts often get lost in a drawer, but a custom letter charm stays on your keys for years. When learning keychains diy projects, resin is a fantastic medium because it feels professional and looks high end. Always wear nitrile gloves and work in a room with an open window to keep your workspace safe.
To get that glass like finish, pour your resin in slow, thin layers into the mold. If you see tiny bubbles forming on the surface, use a small heat gun or a lighter to pop them quickly before the mix sets. For a unique look, add a pinch of fine glitter or pressed petals into the wet resin. I usually wait exactly 24 hours for the piece to cure fully before attaching it to a sturdy 10mm jump ring. These handmade keychain ideas are popular because they feel heavy and durable in your hand.
Leather Tassel Keychain
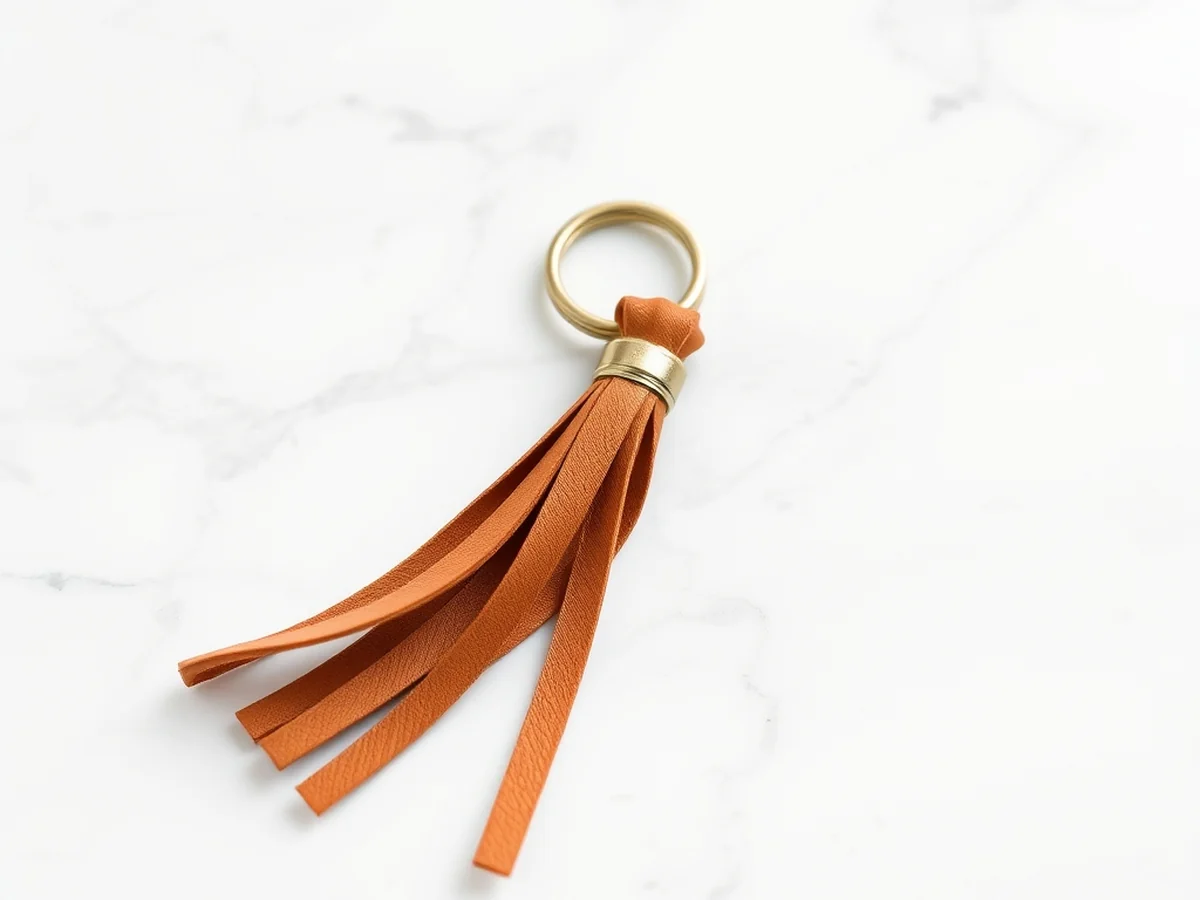
Do you want to create handmade keychain ideas that look like they came straight from a boutique? Choosing soft faux leather is the secret to a professional finish because it drapes beautifully and resists cracking over time. You should avoid stiff materials that feel plastic to the touch.
Start by cutting your faux leather into a 4×6 inch rectangle. Use a sharp rotary cutter to create precise fringe strips, leaving about half an inch of uncut space at the top to act as the header. Once your fringe is ready, roll the leather tightly and apply a small dab of strong glue to the edge. Secure the bundle inside a sturdy metal cap using needle-nose pliers to ensure the jump rings stay firm during daily use. These keychains diy projects are perfect for gifting because they use minimal supplies and look incredibly chic on any bag or set of keys.
Beaded Wooden Keychain
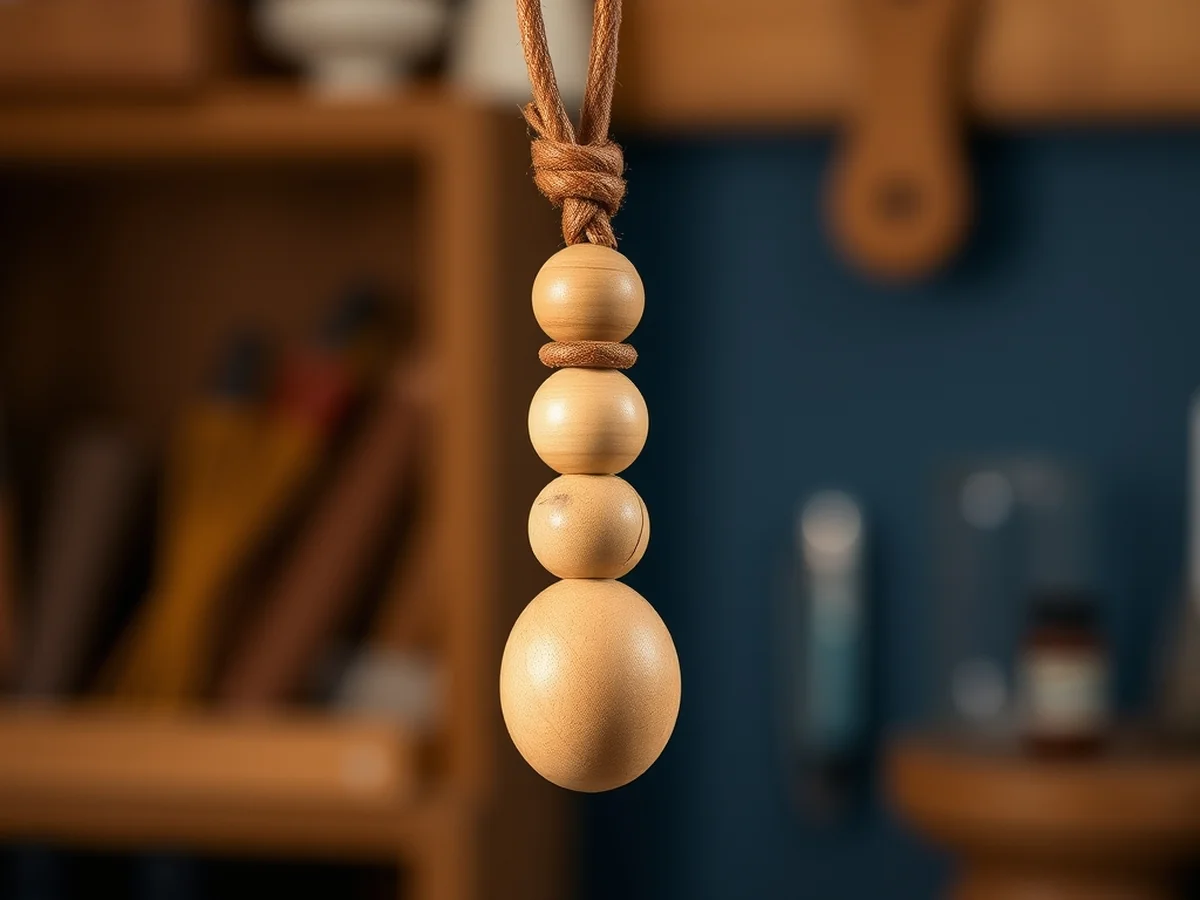
People often assume complex tools are needed for professional gifts, but you can create keychains diy projects using simple materials found in your craft drawer. You only need a 10 inch piece of sturdy leather cord and a selection of wooden beads to get started. Begin by threading your beads onto the cord in a pattern that reflects the style of the recipient. To ensure the design stays put, make a double overhand knot at the base of the last bead. You can easily add a pop of color by painting a few beads with acrylic craft paint or attaching a small tassel to the metal key ring. Tighten the knot securely with a pair of pliers to ensure your handmade keychain ideas last through daily use. These beaded accessories are excellent personalized keychains to make for friends because they feel light, natural, and modern.
Fabric Wristlet Strap
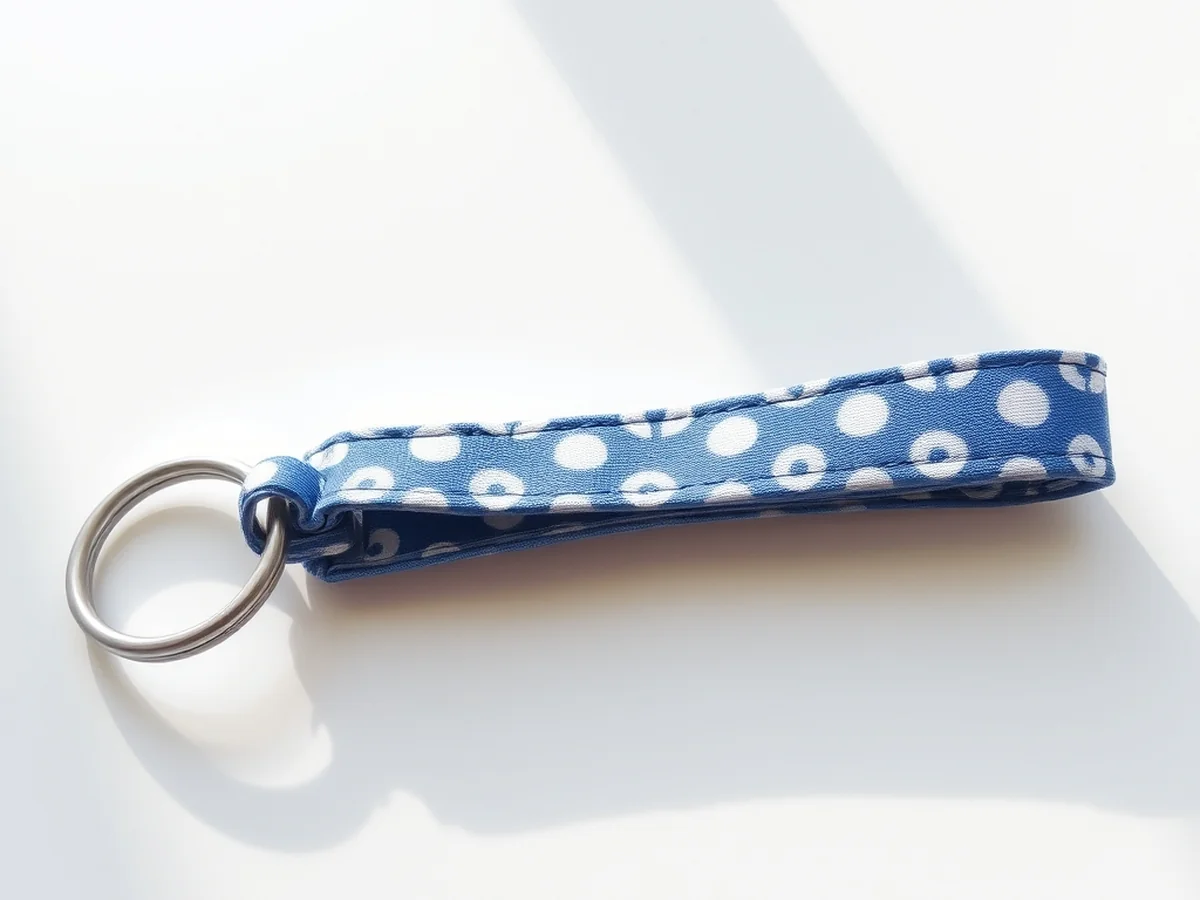
I find that a fabric wristlet is the most practical of all keychains diy projects because it keeps your hands free while running errands. To make one that lasts, you need a strip of cotton fabric cut to 12 inches by 3 inches. Start by applying a strip of medium weight interfacing to the wrong side of the fabric. This gives the strap enough body so it doesn’t feel flimsy after repeated use. Once you fold the edges toward the center and press them flat, fold the entire piece in half again. Use a heavy duty stitch along both long edges to ensure the fabric won’t fray or pull apart when it catches on your keys. Finally, fold the strap into a loop and secure the raw ends inside your metal hardware clip using a pair of sturdy pliers. This simple process creates a professional, boutique-quality gift for about $2 in materials.
Cricut Vinyl Acrylic Keychain
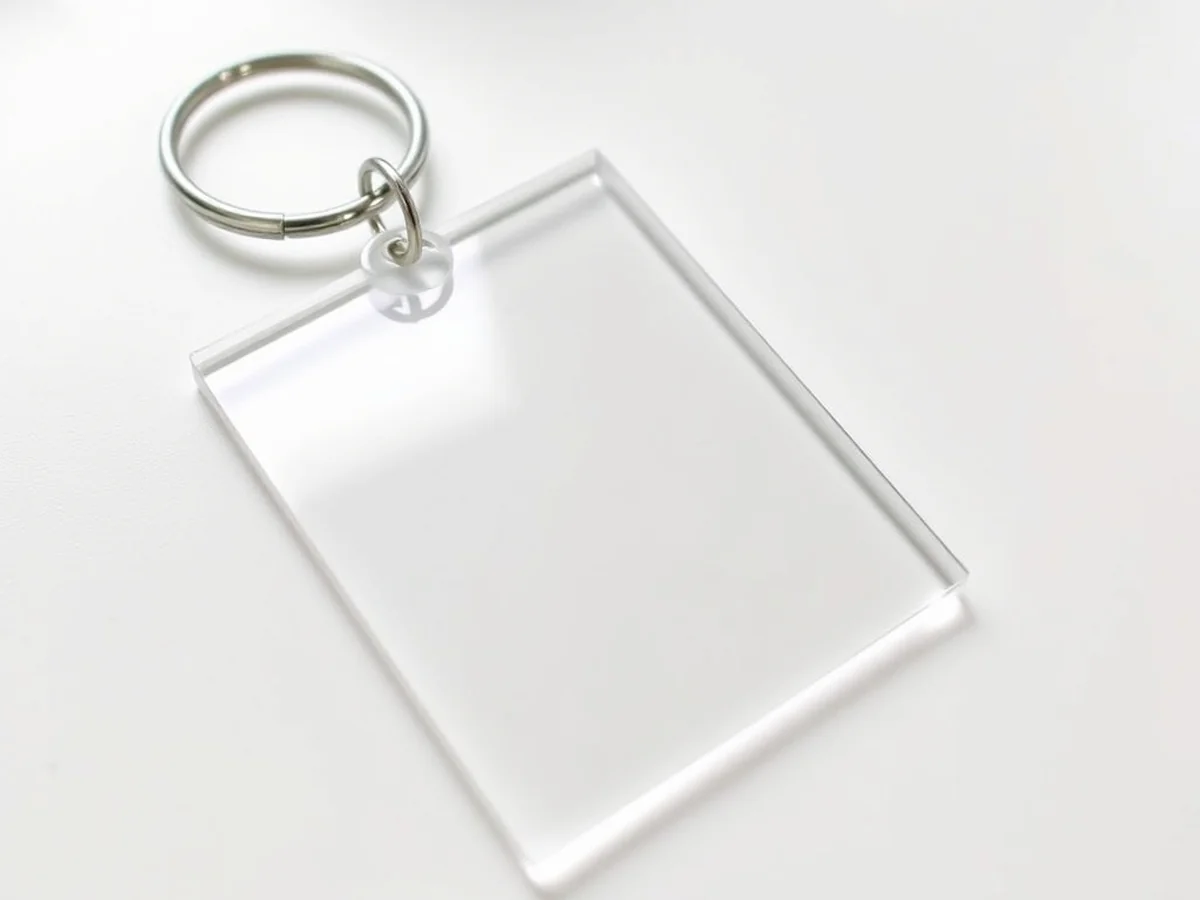
Use a transfer tape with low tack to move your intricate vinyl designs onto acrylic blanks without leaving sticky residue behind. This method is a favorite for keychains diy projects because it creates a clean, store-bought look in minutes. You should always wipe the surface with rubbing alcohol first to ensure the adhesive bonds firmly to the plastic.
When designing your project, pick professional fonts that feature thicker strokes to prevent small letters from peeling off during daily use. I find that script fonts with thin lines often struggle to stay put on smooth surfaces. After applying your permanent vinyl, it is smart to add a thin layer of dishwasher-safe Mod Podge or a clear resin topcoat to seal the edges. This step creates a protective barrier that keeps your design looking fresh for at least 12 months of heavy use. Once dry, attach your finished piece to a 1-inch metal key ring for a polished result.
Shrink Plastic Pendant
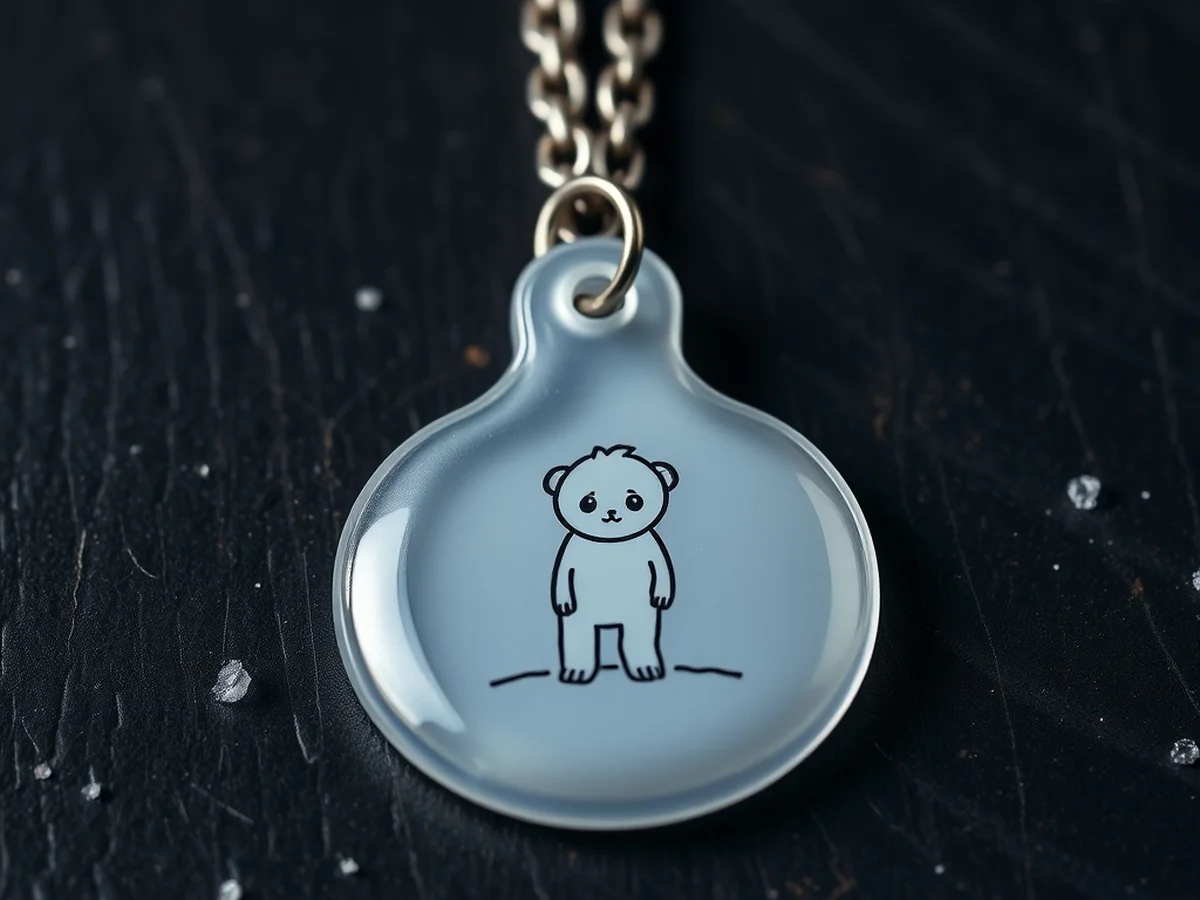
Winter crafting calls for shrink plastic projects because they create professional results in your own oven. This remains one of the most popular keychains diy methods for adding a personal touch to your keys. Start by drawing custom illustrations on the frosted side of a 3×5 inch sheet using permanent markers. Keep your designs simple and bold as they will shrink to about one-third of their original size.
Place your cutouts on a parchment-lined tray and bake at 325 degrees Fahrenheit for exactly two minutes. Watch through the oven door to ensure uniform shrinkage as the plastic curls and then flattens. Once cooled, apply a coat of clear UV resin to give your art a glass-like finish and extra durability. Attach your finished pendant to metal key rings using sturdy jump rings and pliers to complete these personalized keychains to make for your friends and family.
Embroidered Thread Tassel
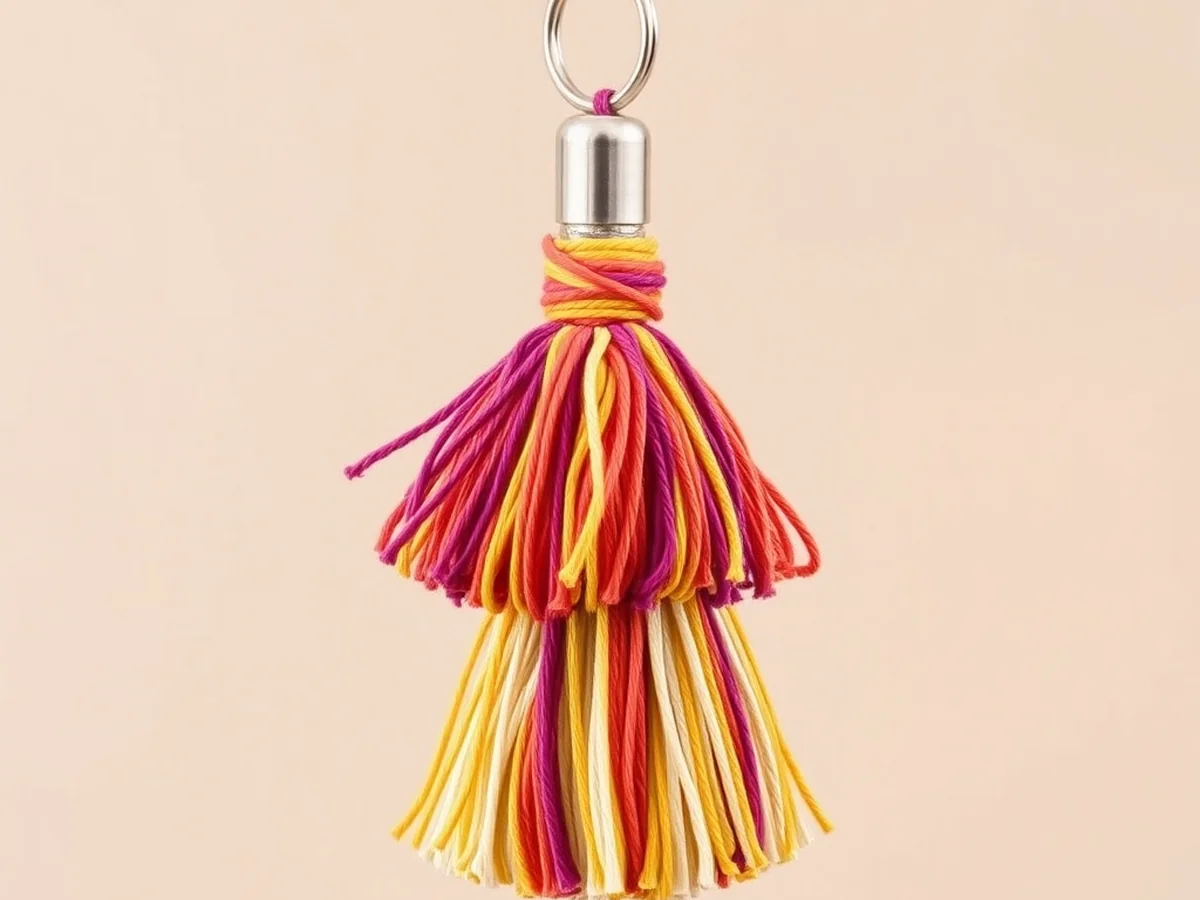
Making this style costs about $2 per piece, saving you over $8 compared to store-bought versions. These keychains diy projects rely on simple embroidery thread to create a high-end look for minimal effort.
Start by wrapping your embroidery thread around a 4-inch piece of cardboard at least 50 times. This creates the necessary volume for a lush and professional appearance. Once you have enough layers, slide the loop off the cardboard and use a separate piece of thread to tie a tight knot around the top section. This securing the center loop step is vital because it prevents the threads from pulling apart during daily use on your bag or keys.
- Use sharp fabric scissors for trimming for a neat edge to ensure no stray fibers ruin the aesthetic.
- Attach the finished tassel to sturdy metal key rings using a 6mm jump ring for maximum durability.
These handmade keychain ideas look great when you mix two contrasting thread colors for a custom finish.
Personalized Alphabet Keychains
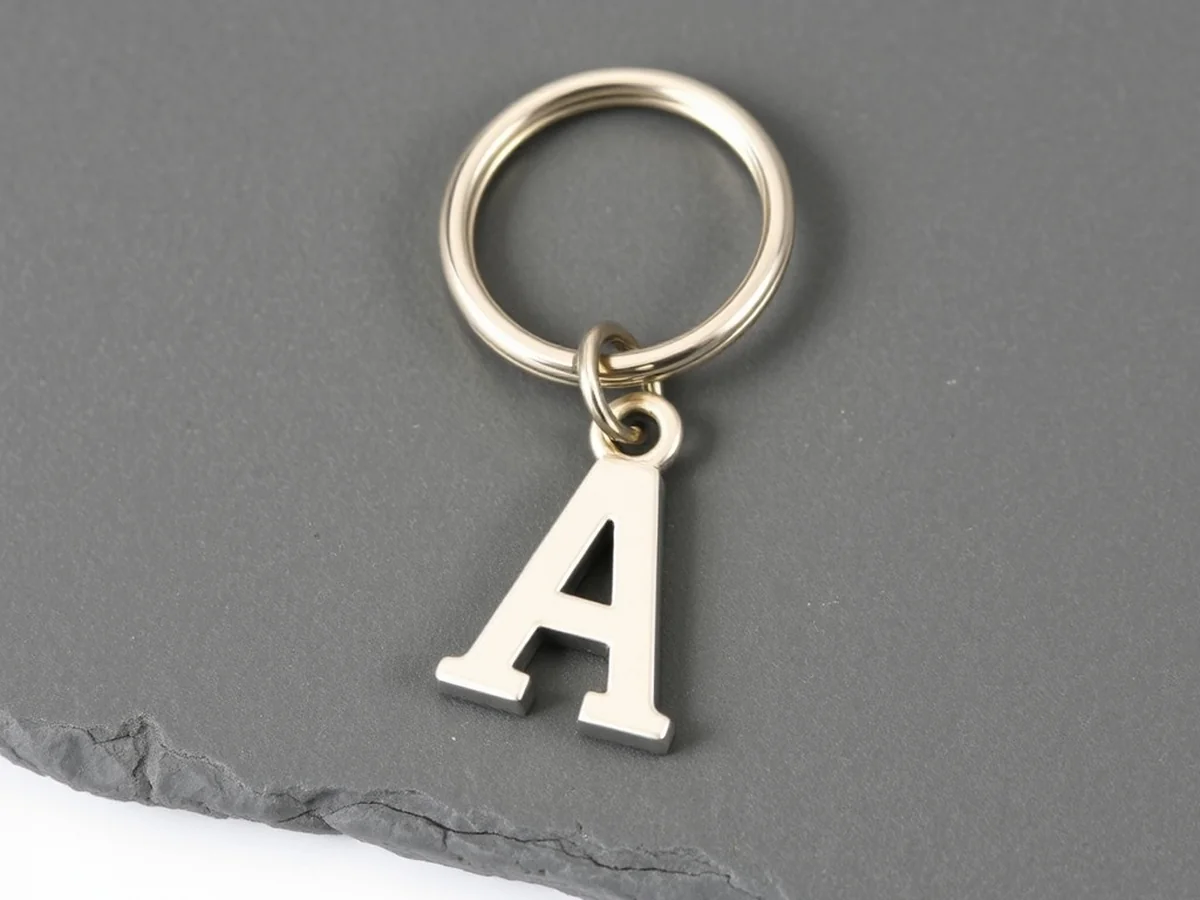
You can create a custom accessory for less than $2 in total material costs by choosing simple alphabet charms. These personalized keychains to make are ideal for groups because you can easily swap initials to match each friend. Start by laying your chosen letter charm next to the metal key rings to ensure the scale looks balanced. I find that using two sets of pliers helps when you are ready to secure the components. You should grip one side of the jump ring with your first tool and the other side with the second, twisting them in opposite directions to open the metal gap. Slide your charm onto the ring and close it back into its original position. Testing jump ring closure is vital for durability, so give the metal a firm tug to confirm it is fully sealed. This prevents your keychains diy project from falling apart during daily use.
Braided Paracord Loop
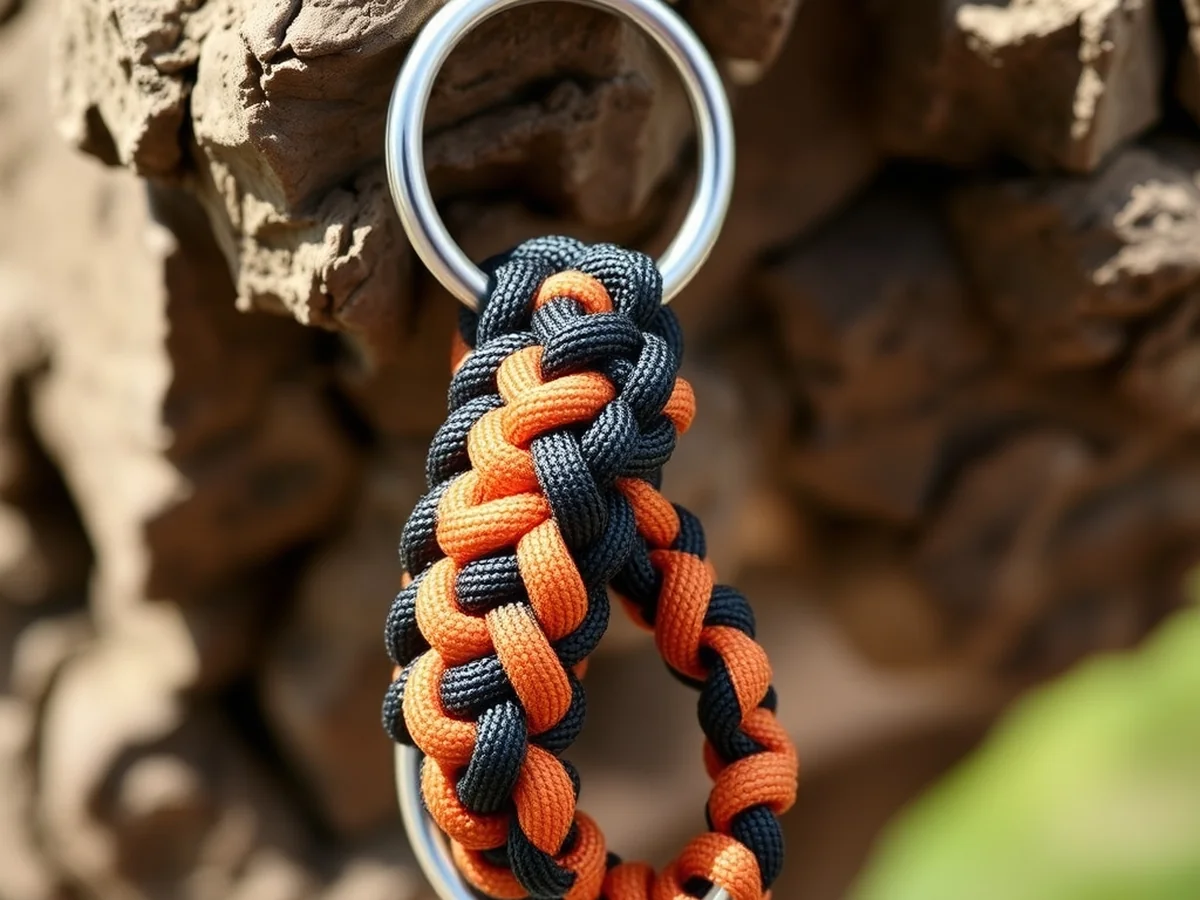
You often lose your keys at the bottom of a heavy bag, but a bright paracord loop makes them easy to find. When searching for **keychains diy** projects, this style stands out because it is rugged and uses very little material. Pick two contrasting colors of 550 paracord to give your accessory a custom look. Start by folding a 4-foot length of cord in half and attaching it to a 1-inch metal key ring. You will use the **cobra knot** technique to weave the strands tightly around the core. This stitch is simple to master after a few practice rounds. Once you reach the desired length, cut the excess cord with sharp scissors. Use a lighter to carefully singe the ends, pressing them against the knot to prevent fraying. This creates a permanent seal that keeps your **handmade keychain ideas** looking professional for years.
Pressed Flower Resin
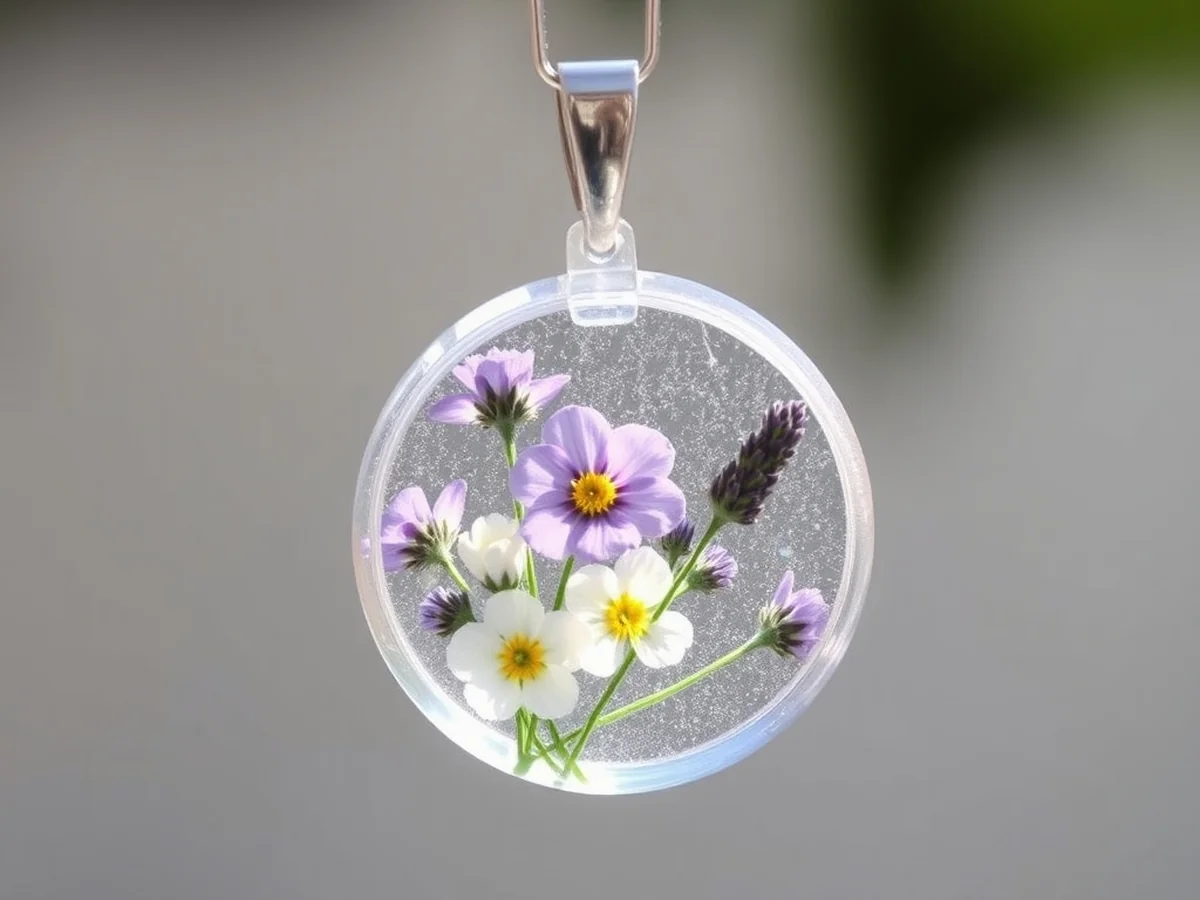
Do you want to turn garden blooms into handmade keychain ideas that last for years? Choosing the right flowers is the most important step for keychains diy projects. You must pick thin, flat blooms like pansies or lavender because thick petals trap air bubbles that ruin the finish. Place your flowers inside a heavy book for at least 7 days before you begin.
Creating visual depth requires a two-part pouring process. First, pour a thin base layer of resin into your mold and let it become tacky. Carefully place your dried flowers onto this layer, then pour a second clear coat over the top to seal everything. To avoid yellowing over time, always use an ultraviolet resistant resin brand. These personalized keychains to make look professional when you attach them to gold metal key rings using 6 millimeter jump rings for a secure fit.
Minimalist Metal Tag
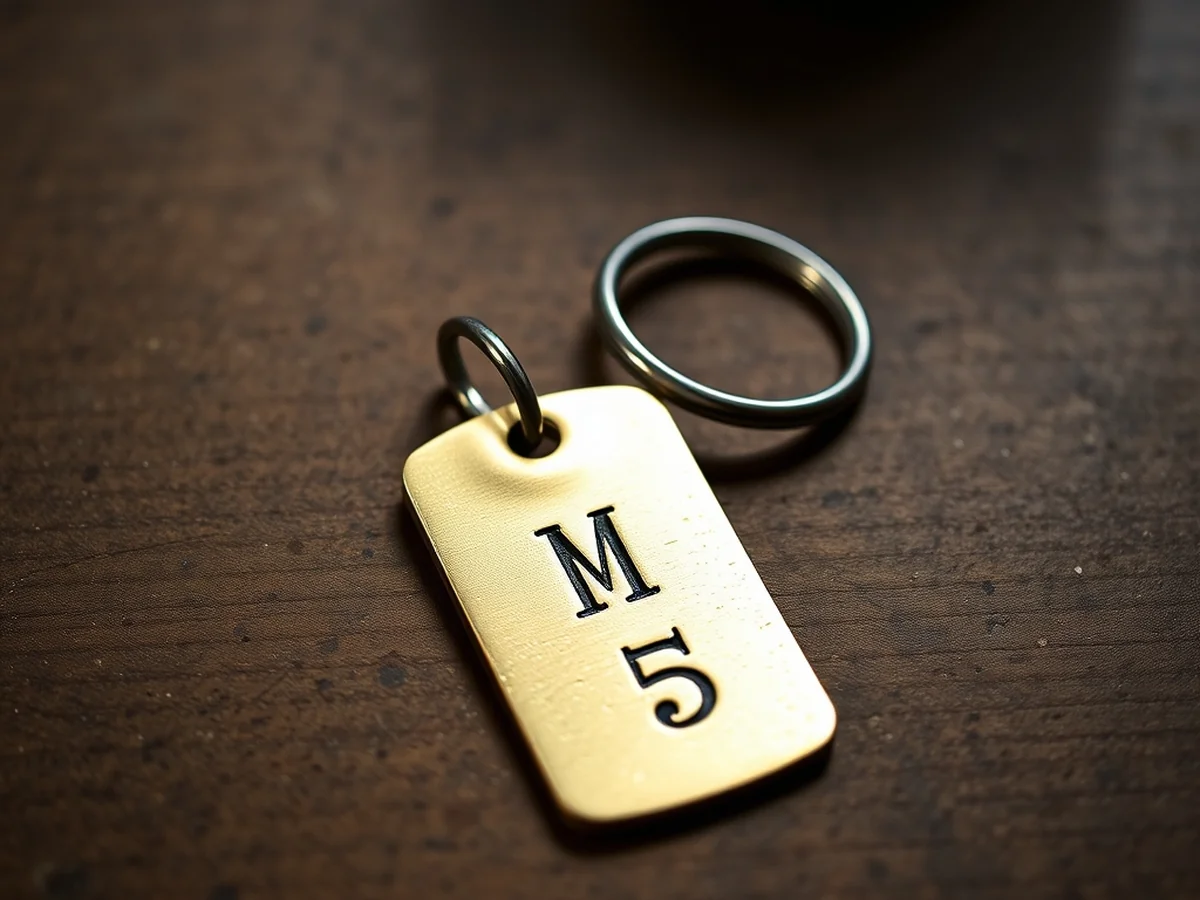
Many assume that professional metal jewelry requires expensive machinery, but you can create keychains diy projects with just a few basic tools. You only need a small metal blank, which usually costs about $2, to achieve a high-end look at home. Start by stamping initials into metal using a steel alphabet punch set. Secure your tag on a block and strike the stamp firmly with a heavy duty hammer to ensure a deep, clear impression. If the mark is light, you cannot restamp over it, so practice on a piece of scrap copper first. Once your design is set, use a fine grit sanding pad and a polishing cloth to buff the surface to a high shine. This simple process creates a durable gift that resists tarnish. Finally, connect your finished tag to metal key rings using 8mm jump rings for extra strength.
Pom Pom Keychain
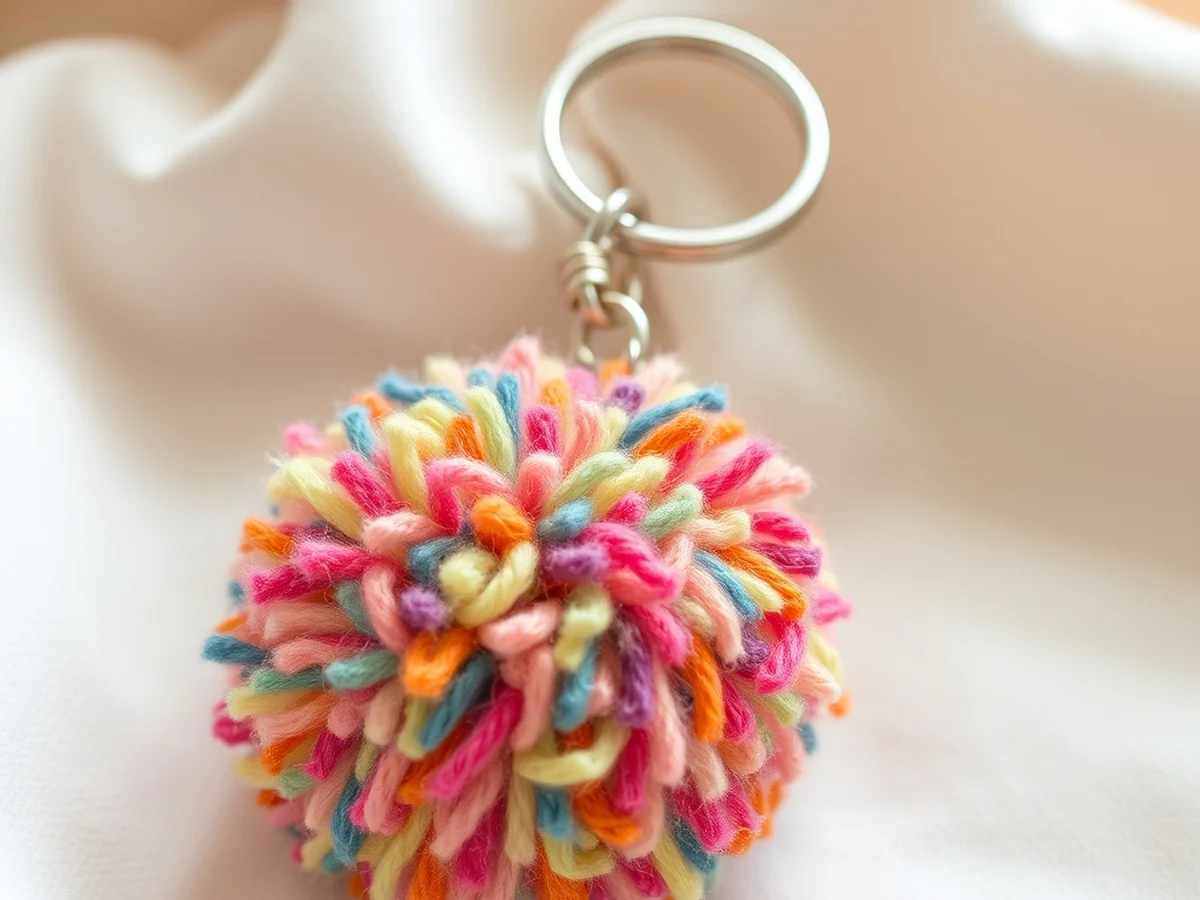
I find that adding a soft, fluffy pom pom to your bag makes it much easier to find your keys in a crowded purse. Making these keychains diy style is a fun way to use up leftover yarn scraps. Start by using a pom pom maker to ensure your sphere stays perfectly round and dense. I suggest a 2.5 inch tool for the ideal size that doesn’t feel too bulky. Once you trim the yarn, thread a sturdy piece of embroidery thread through the center and tie it tightly to a metal key ring. You can easily mix textures and sizes by layering a smaller wool pom pom next to a smooth wooden bead or a leather tassel. Simply use a pair of pliers to open your jump rings and attach your elements securely. This creates a playful, handmade aesthetic that friends love.
Felt Shape Keychain
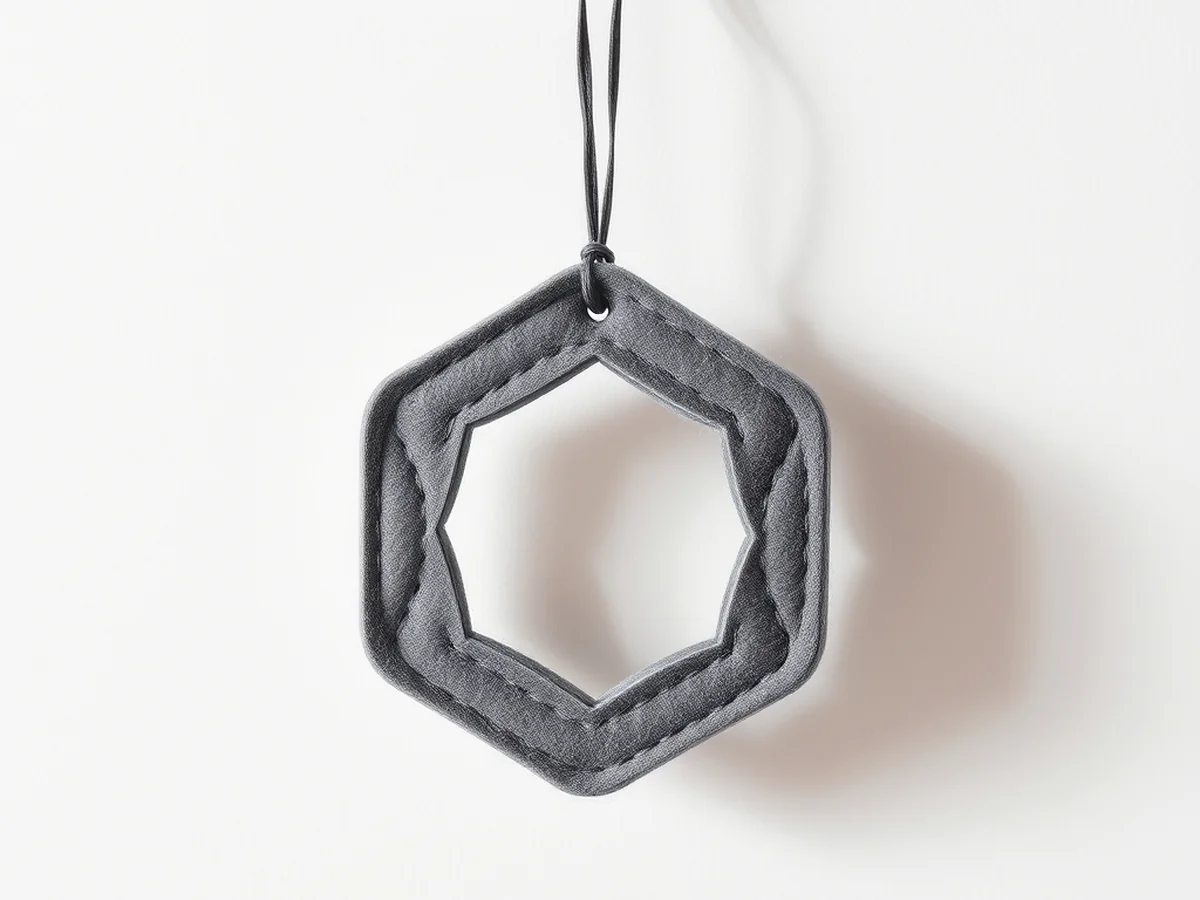
Use a rotary cutter with a new blade to get clean edges when cutting thick wool felt for your project. This material holds its shape better than standard craft felt, making it ideal for keychains diy projects that see heavy daily use. To create a professional look, pick two layers of 3mm thick felt in matching colors.
Once you cut your shapes, join the layers using a simple blanket stitch with high-quality embroidery thread. Leave a small gap along one side before you finish the final stitches. Add a tiny pinch of polyester fiberfill inside to create a 3D effect that feels soft and substantial in your hand. After stuffing, seal the remaining opening tightly to secure the batting.
- Attach your finished piece to a 1-inch metal key ring using a sturdy 8mm jump ring.
- Use pliers to close the jump ring completely to prevent the charm from falling off your keys.
Woven Macrame Keychain
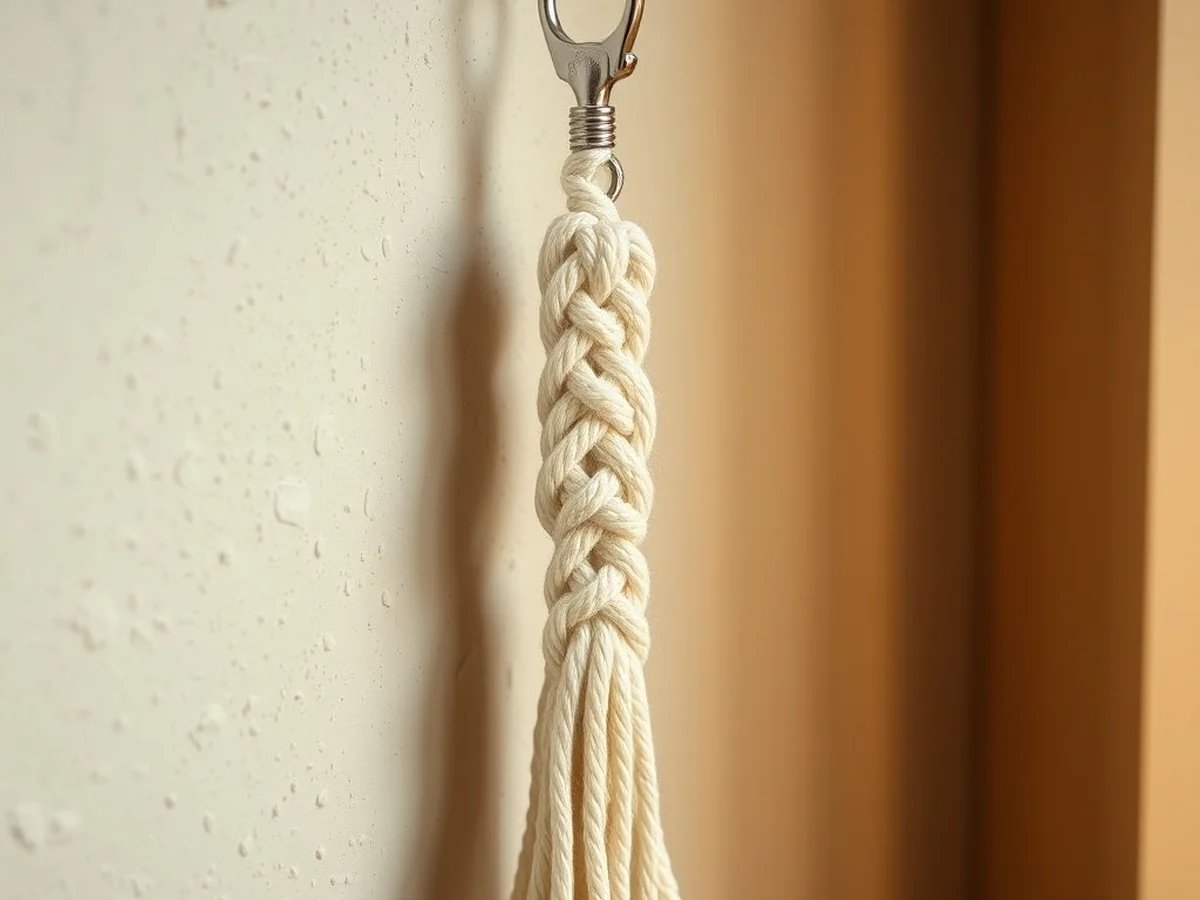
Macrame keychains diy projects are perfect for fall gifting because they add a cozy, bohemian touch to any bag or set of keys. You only need about 3 yards of 3mm cotton cord to finish one piece. To get that professional look, focus on mastering the square knot by keeping your pulls even on both sides every single time. If your tension feels loose, the design will look messy instead of structured.
Once you finish the knots, use a fine-tooth metal comb for combing fringe to achieve a soft, fluffy texture at the bottom. Start at the tips and work your way up to the knots to avoid tangling the fibers. Since these handmade keychain ideas rely on simple loops, ensure your metal key rings are at least 1 inch in diameter for a sturdy fit. Consistent tension remains the most important factor in making these gifts feel high-end.
Upcycled Denim Keychain
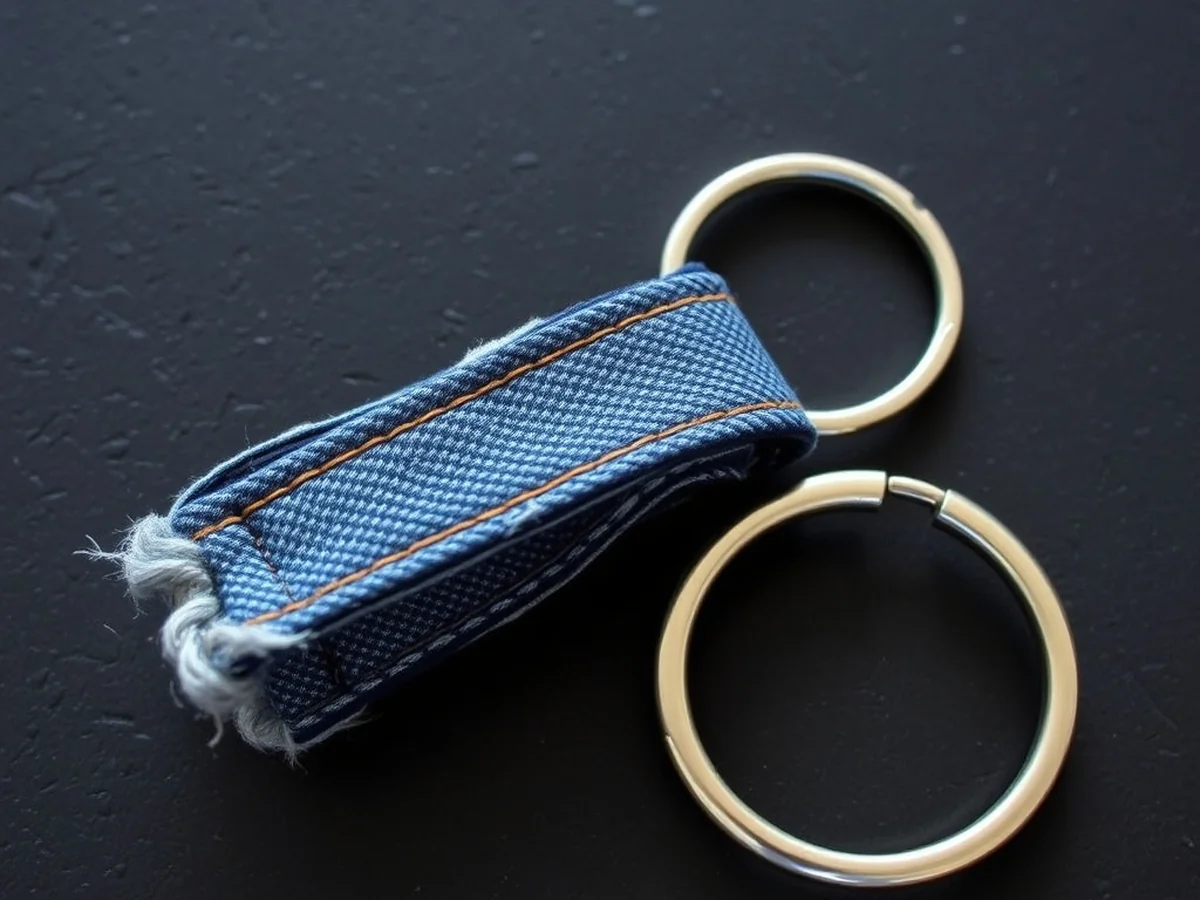
Making keychains diy projects from old jeans costs less than 50 cents per piece compared to buying pre-made accessories. You can transform worn-out fabric into a rugged gift by cutting strips from the legs of your old denim pants. Aim for a width of about 1 inch to keep the shape sturdy for daily use. Once you have your strips, use a pair of tweezers to pull the horizontal threads at the ends. This creates a frayed edge that adds a cool, vintage look to your handmade keychain ideas.
To add durability, use a small piece of leather scrap as a backing or a decorative loop. Secure your denim and leather pieces together by threading them through 10mm metal key rings. You can hold everything in place using a strong fabric glue or by stitching the layers with a needle and thread. These easy diy keychain crafts look great when you add a single metal charm or an extra tassel for flair.
Photo Insert Keychain
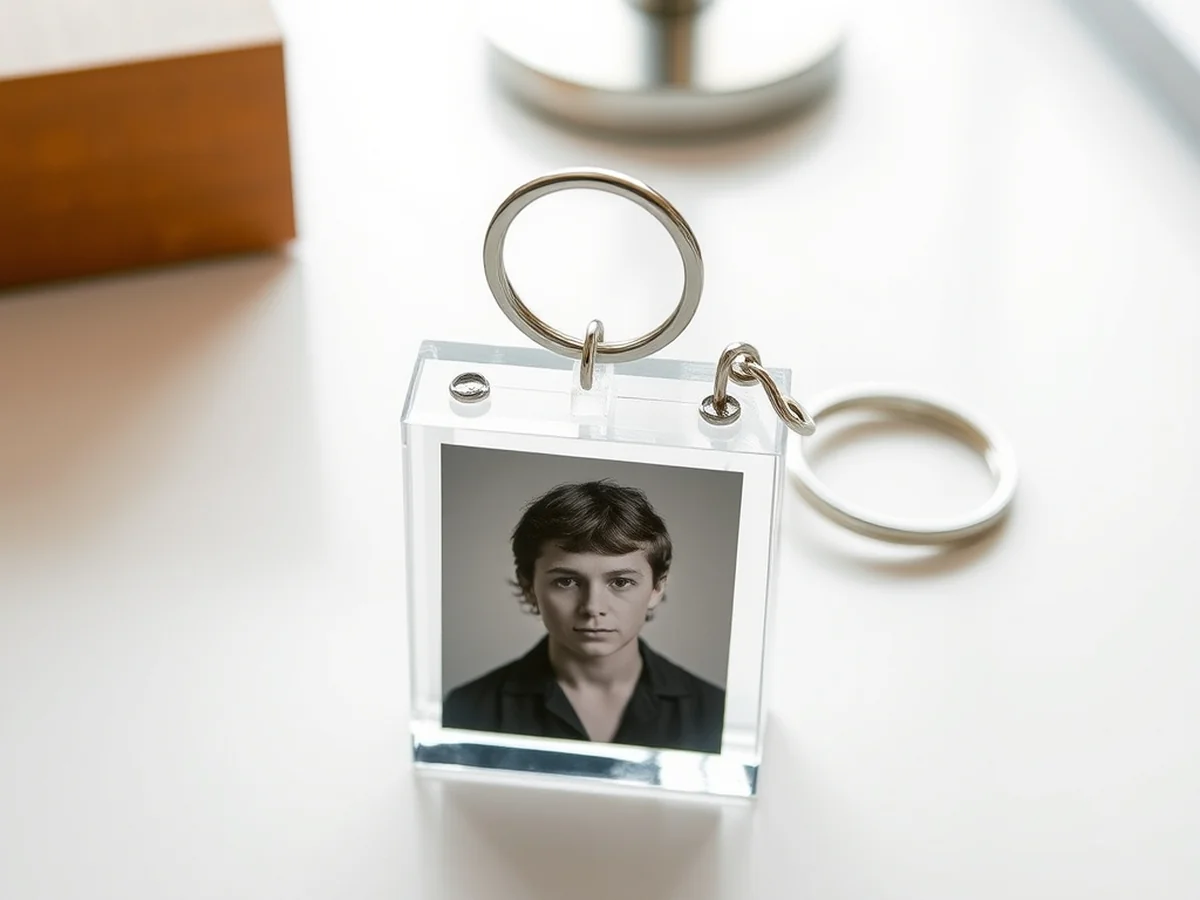
A photo keychain is one of the most sentimental keychains diy projects because it turns a small accessory into a portable memory. Most standard acrylic frames require an exact image size of 1.25 by 1.75 inches to fit perfectly without buckling. I find it easiest to trim your printed photo using a sharp craft knife and a metal ruler to ensure the edges are crisp.
Once your photo is inside, press the clear plastic cover down until you hear a sharp snap. If the cover feels loose, a tiny drop of clear craft glue along the interior edge keeps it secure for years. For personalized keychains to make as gifts, place the finished piece on a 3 by 4 inch cardstock backing. Slide it into a small glassine envelope tied with a bit of jute string to give your handmade keychain ideas a professional, boutique finish that friends will love.
Beaded Name Keychain
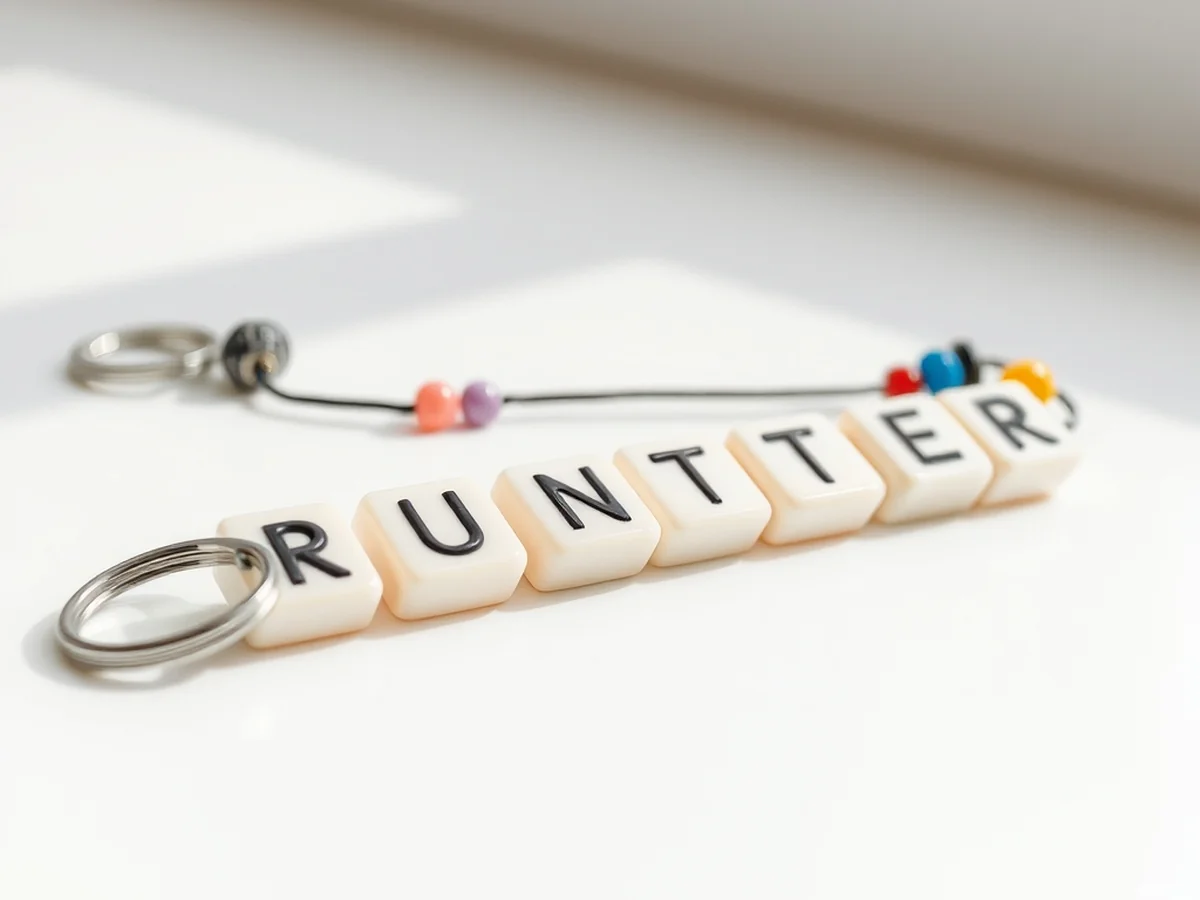
You want a gift that feels personal but won’t take all afternoon to finish. Making a beaded name keychain is the perfect way to show you care without needing fancy tools like a cricut machine or complex supplies. Start by picking a color theme that matches the recipient style. I often choose a set of three coordinating colors, such as sage green, cream, and mustard, to keep the look clean and intentional.
When stringing your alphabet charms and wooden beads, aim for a total length of about 4 inches so it fits comfortably in a pocket or purse. Use a sturdy nylon cord instead of fishing line to ensure the beads hold their shape. Once the design is set, pass the cord back through the final bead and tie a tight double knot. Use a tiny drop of clear craft glue on the knot for extra security. These keychains diy projects are durable enough for daily keys if you use high quality metal key rings.
Simple Leather Loop Keychain
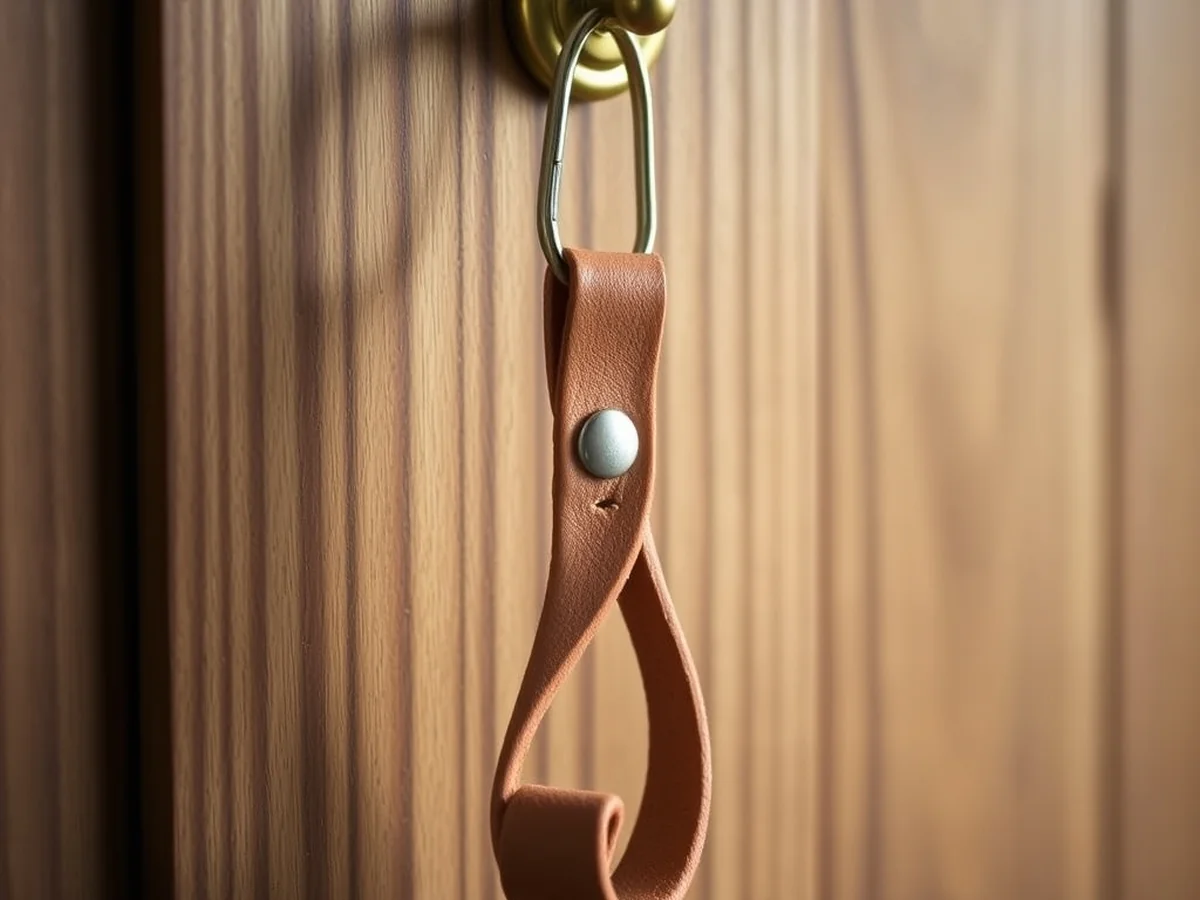
Do you want to create keychains diy projects that look high-end but stay safe for daily handling? You should start by sourcing vegetable-tanned leather, which avoids the harsh chemicals found in cheaper chrome-tanned options. This material is soft to the touch and develops a beautiful patina over time.
To ensure your gift lasts, use a metal key ring made of solid brass or high-quality stainless steel. These metals resist rust better than plated zinc. I have found that using a 10mm jump ring provides the perfect balance of flexibility and strength. Before gifting, pull firmly on the loop to test the bond of your adhesive or rivets. To stop the metal from turning dull, apply a thin layer of clear nail polish to the hardware surface. This prevents oxidation and keeps your handmade keychain ideas looking professional for years.
Personalized Clay Tag Keychain
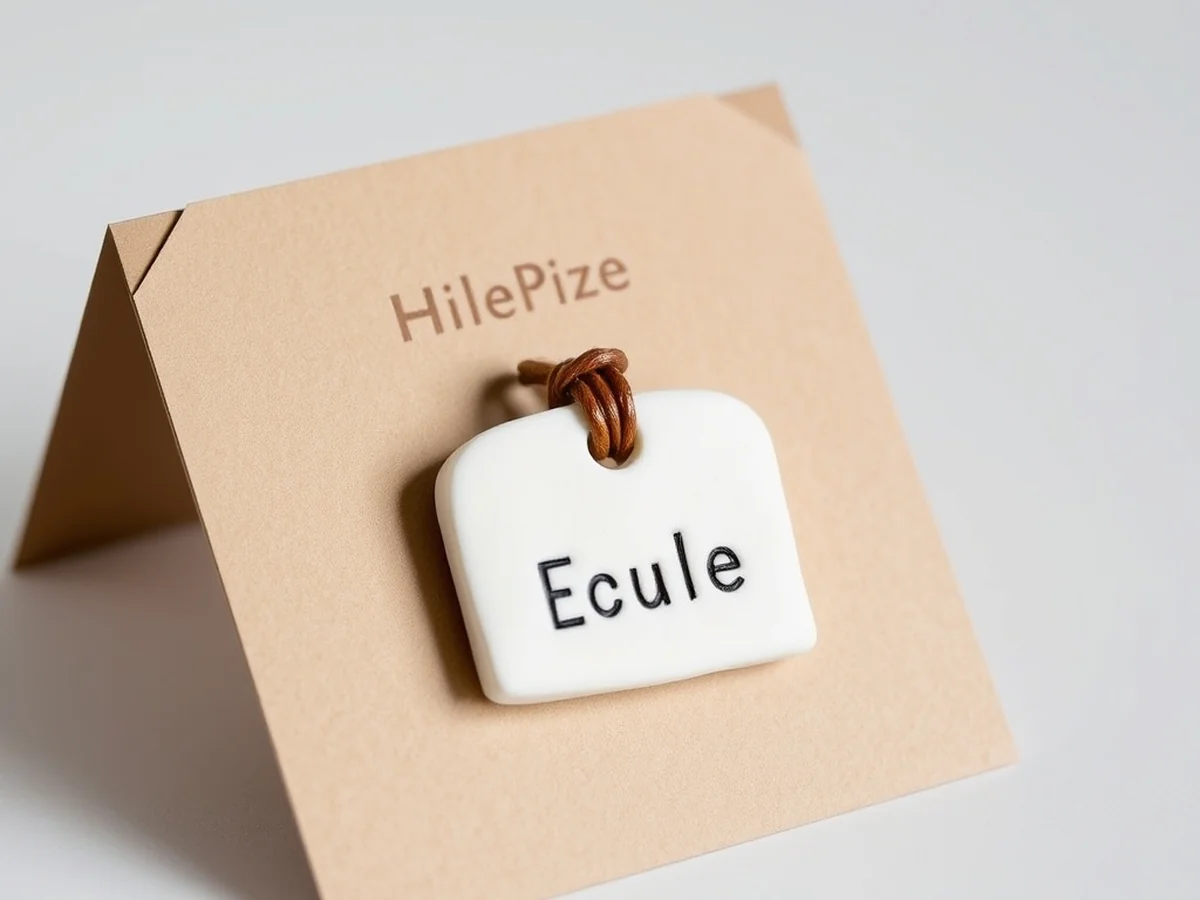
Many beginners assume professional packaging is an expensive luxury, but custom keychain tutorial results actually depend on simple, thoughtful presentation. You don’t need a massive budget to make these keychains diy projects look like boutique items. Start by designing custom display cards using thick 110lb cardstock cut into 2×3 inch rectangles. Punch two holes at the top to slide your metal key rings through so the clay tag sits centered. Adding branded labels with a small custom stamp or a simple sticker featuring your shop name provides a clean, professional finish that makes your handmade keychain ideas stand out.
When styling for social media photos, place your tag on a neutral linen background with a few dried flowers nearby. Natural sunlight helps highlight the texture of the clay. I use a simple 50mm macro lens to capture the fine details of the alphabet stamps.
For another perspective, this detailed piece on DIY Keychain Supplies is worth a read.
FAQ
How to stop resin bubbles?
I have found that warming your resin bottle in a bowl of warm water for five minutes before mixing helps significantly. You should also pour the mixture slowly in a thin stream to prevent trapping air, which keeps your keychains diy projects looking professional and crystal clear.
Which jump rings are strongest?
Always look for 16 gauge stainless steel jump rings if you want your creations to survive daily wear and tear. Using two pairs of pliers to twist the ring sideways rather than pulling it apart ensures the metal stays strong and keeps your charms securely attached.
How to sell crafts?
Focus on consistent photography using natural light and clean backgrounds to make your items stand out on sites like Etsy. It helps to offer small, personalized touches like custom packaging for around $2 extra, as customers love feeling like they bought a boutique gift.
Are acrylic blanks good?
Acrylic blanks are excellent for beginners because they are durable, inexpensive, and work well with vinyl from a cricut machine. They are much easier to handle than liquid materials and offer a smooth surface that looks great for personalized keychains to make.
What packaging works best?
Simple kraft paper cards with a small hole punched at the top give your easy diy keychain crafts a high-end feel. Adding a small wax seal or a branded stamp makes the presentation look like a high-end shop item rather than a homemade piece.
You might also like: 19 Baby Shower Ideas That Guests Will Remember
Key Takeaways
Focusing on a few core details helps you turn basic keychains diy projects into high-quality gifts that last for years.
- Quality hardware ensures longevity by using stainless steel jump rings and heavy duty metal key rings that resist rusting during daily use.
- Presentation enhances gift value significantly when you display your work on a 3×3 inch cardstock backing inside a clear glassine envelope.
- Practice makes professional results because your first attempt with resin or leather might have minor imperfections that disappear by your third project.
- Material selection matters since choosing durable acrylic blanks or thick embroidery thread prevents fraying and breakage over time.
- Consistent design choices help your items look like a matching set, making them ideal for holiday gifts or small craft market inventory.
Save this guide to your Pinterest board to keep these professional tips handy for your next craft session.