18 Wire Pumpkin Wreath DIY Ideas for Fall Decor
Introduction
A stunning wire pumpkin wreath diy can transform your front door into the coziest spot on the street — and most crafters finish one in under two hours. There’s something almost magical about that first crisp fall morning when you hang something handmade and truly seasonal.
Inside this post, you’ll find 18 creative ideas spanning every skill level — from five-minute beginner builds to seriously show-stopping statement pieces layered with ribbon, greenery, and buffalo plaid.
The best part? You don’t need a big budget to get started. Dollar Tree wire pumpkin wreath forms run as little as $1.25 each, making this one of fall’s most wallet-friendly crafts. Craft stores like Michaels and online marketplaces carry everything else you’ll need.
For another perspective, this detailed piece on 81 Pumpkin wire wreath forms ideas in 2026 is worth a read.
Whether you want rustic farmhouse vibes or something bold and modern, there’s an idea here for every home and every skill level. Let’s dive in.
What Is a Wire Pumpkin Wreath Form and Why Crafters Love It
You’re scrolling through fall decor ideas and keep seeing those adorable pumpkin-shaped wreaths — now you want one on your own front door. That’s exactly where a wire pumpkin wreath form comes in.
Unlike a standard circular wreath frame, a wire pumpkin wreath form is pre-shaped with ribbed sections that mimic a real pumpkin’s silhouette. That built-in shape does half the decorating work for you.
The pumpkin outline is instantly recognizable, making any wire pumpkin wreath diy project look intentional and polished — even for complete beginners. It photographs beautifully, which is exactly why these wreaths dominate Pinterest every autumn.
Finding the forms is surprisingly easy and affordable. Most crafters pick them up for around $5–$8 at:
- Dollar Tree (seasonal stock)
- Amazon (year-round availability)
- Walmart craft aisles
- Hobby Lobby or Michaels
Wire Pumpkin Wreath DIY with Deco Mesh and Ribbon
Ready to take your fall wreath from flat to full and fabulous? Deco mesh is the secret weapon that makes all the difference.
Start by cutting your orange deco mesh into 10-inch strips, then twist and tuck each piece through the wire frame sections, working your way around evenly. Alternate with black mesh strips to build that classic Halloween contrast.
This wire pumpkin wreath diy really shines when you layer in ribbon. Burnt orange velvet, buffalo check, and rustic burlap ribbon woven between the mesh sections create gorgeous fall texture that photographs beautifully.
Once everything is attached, the fluffing stage is where the magic happens. Pull each mesh section outward gently, separating the layers to create a dimensional, voluminous shape.
- Work in sections to keep fullness even
- Scrunch mesh rather than smoothing it flat
- Add ribbon loops facing outward for extra depth
Classic Orange Burlap Wire Pumpkin Wreath DIY for Beginners

Think fall wreaths require advanced craft skills? This one genuinely couldn’t be simpler. Burlap poly mesh is forgiving, affordable, and hides every rookie mistake beautifully.
Burlap poly mesh is the ideal beginner material because it stretches, tucks, and holds its shape without glue or pins. A 6-inch wide roll — usually around $8–$10 — covers a standard 10-section wire pumpkin form with mesh to spare.
To fill each section, cut a generous strip, scrunch it loosely, and push it firmly into the wire form openings from both sides. Don’t overthink it — the puffier, the better.
- Tie a simple raffia or burlap bow at the top stem wire
- Wrap natural twine around the center stem for a farmhouse feel
- Tuck in a few preserved oak leaves for effortless autumn texture
This wire pumpkin wreath diy proves that the most charming fall decor often starts with the most approachable materials.
Elegant White and Gold Wire Pumpkin Wreath for Modern Fall Decor

Not every fall wreath needs to shout harvest season in burnt orange — sometimes a softer palette makes the biggest statement.
This white and gold wire pumpkin wreath diy is perfect for anyone who loves autumn aesthetics but prefers a more refined, contemporary look. Start with a 24-inch wire wreath frame as your base.
- Weave white deco mesh through the frame in loose, gathered loops
- Layer in gold wired ribbon and metallic leaf picks for warmth
- Tuck in small white foam pumpkins at varied angles
- Add eucalyptus stems for an organic, lived-in feel
For styling, pair this wreath with white doorstep pumpkins and a neutral welcome mat — the contrast is genuinely stunning.
I’ve found that metallic accents catch porch lighting beautifully in the evenings, giving this design an almost magical quality once the sun sets.
Dollar Tree Wire Pumpkin Wreath Hack: Budget Under $10
Grab everything in one trip — Dollar Tree restocks fall decor fast, so check midweek for the best selection.
This wire pumpkin wreath diy proves you don’t need a craft store haul to create something stunning. I’ve built this wreath for under $8 total, and neighbors genuinely ask where I bought it.
Here’s exactly what to pick up:
- Wire pumpkin form (seasonal aisle)
- Orange and ivory deco mesh rolls
- Wired ribbon in plaid or burlap print
- Fall picks — sunflowers, leaves, berries
- Pipe cleaners to secure everything
Weave the deco mesh through the wire sections, then layer ribbon in loose loops for fullness. Tuck picks deep into the form so nothing looks flat.
The secret to that high-end front door look is varying textures — mix matte mesh with shiny ribbon and natural-looking picks for instant dimension.
Yarn-Wrapped Wire Pumpkin Wreath for a Cozy Textured Look
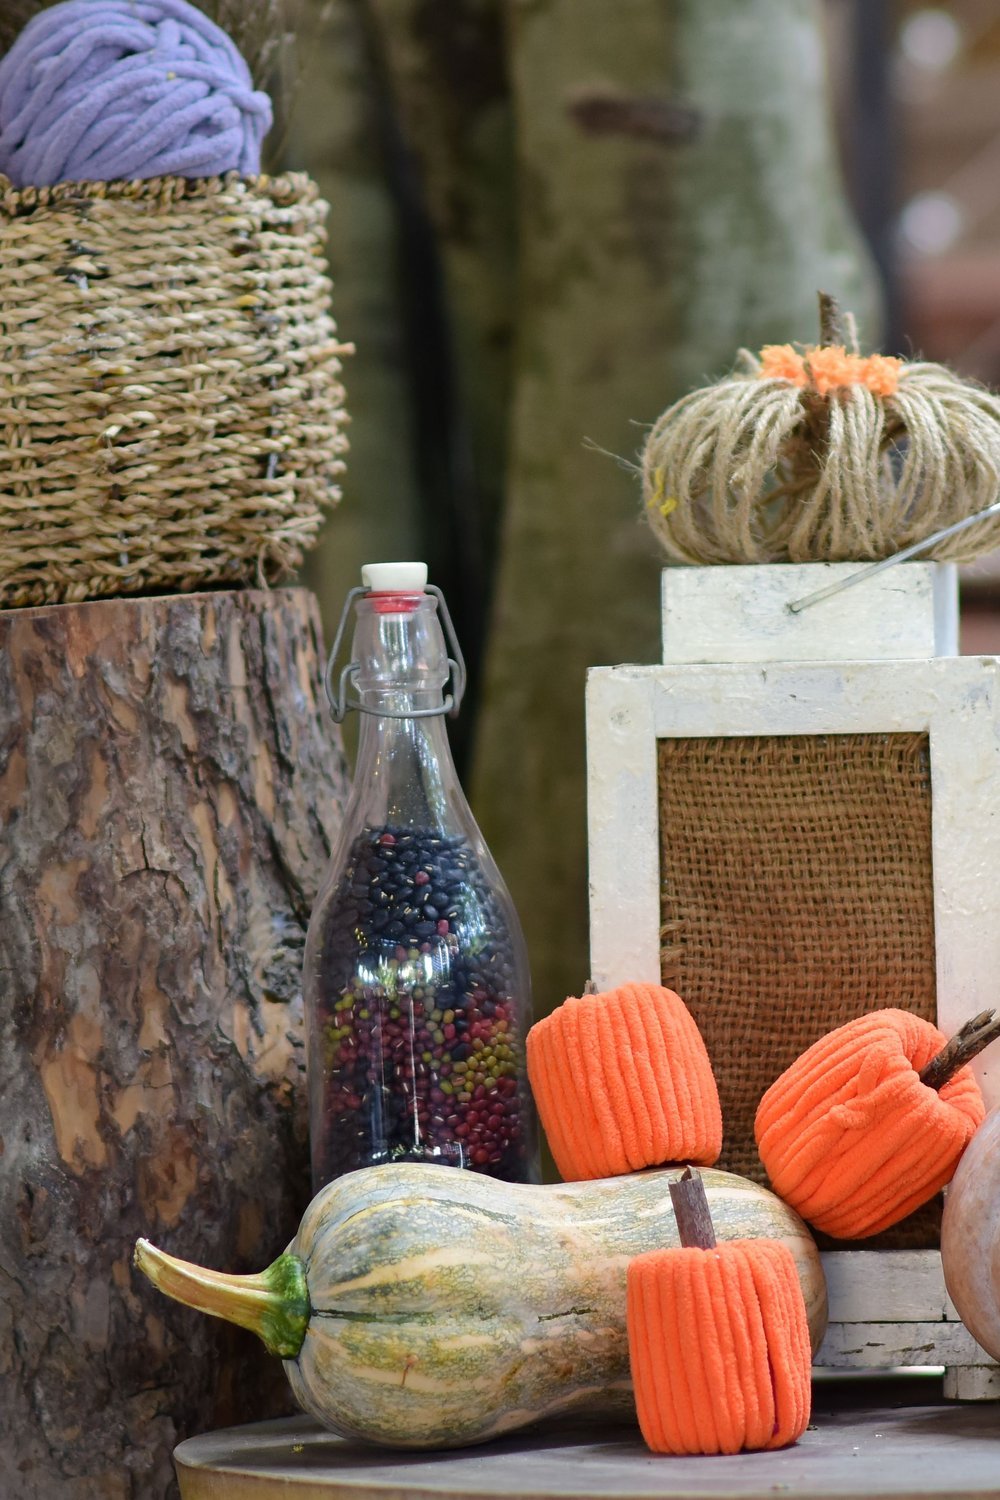
When the air turns crisp and you want your front door to feel genuinely warm, a yarn-wrapped approach transforms a basic wire pumpkin wreath diy project into something seriously tactile and inviting.
Simply wrap each wire section individually with chunky yarn, securing the ends with a dot of hot glue. Arm-knit loops draped across the frame add gorgeous dimension without any mesh or ribbon.
For colors, think beyond basic orange. The best combinations include:
- Burnt sienna paired with cream
- Mustard yellow with rust brown
- Deep burgundy with camel tan
Chunky wool or chenille yarn — around 200 yards per wreath — gives the richest, coziest texture.
This technique is perfect if you find mesh fussy or frustrating. No weaving, no wiring ribbons — just wrap, glue, and go. I’ve found it’s genuinely one of the most beginner-friendly fall wreath methods out there.
Sunflower and Eucalyptus Wire Pumpkin Wreath DIY

Florist-style wreaths can run $60–$80 at boutique shops, but this garden-fresh look costs under $20 to recreate at home.
Start by wiring faux sunflower stems directly onto the pumpkin ribs, spacing them unevenly for that loose, just-picked feel. Odd numbers always look more natural than symmetrical arrangements.
Tuck eucalyptus sprigs between the sunflowers, letting some trail slightly downward. This layering technique is what gives any wire pumpkin wreath DIY real visual depth.
Finish by nestling rust-toned berry picks near the base of each sunflower cluster. They anchor the arrangement and tie everything together beautifully.
For the most cohesive result, keep your palette tight:
- Golden yellow sunflowers as the focal blooms
- Soft sage eucalyptus for an airy, botanical layer
- Warm brown berry picks to echo fall harvest tones
Together, these elements create a naturally textured, farmhouse-inspired wreath that genuinely looks expensive.
Buffalo Check Ribbon Wire Pumpkin Wreath with Pipe Cleaners

Pipe cleaners cut crafting time by nearly half compared to hot glue methods — and they’re completely repositionable if you change your mind.
For this wire pumpkin wreath diy, cut your buffalo check ribbon into 6-inch loops and secure each one to the wire frame using a single pipe cleaner twisted at the back. Work section by section around each wire “rib” of the pumpkin shape.
Pipe cleaners are the secret weapon for beginners — no burned fingers, no drying time, and you can adjust placement until every loop sits perfectly.
Layer two ribbon widths for a lush, florist-quality finish:
- 2.5-inch buffalo check ribbon as your base layer
- 1.5-inch matching or contrasting check ribbon tucked between gaps
The layered ribbon technique fills every gap and creates that gorgeous, full pumpkin silhouette that looks anything but homemade.
Spooky Halloween Wire Pumpkin Wreath DIY with Black Mesh

You want your front door to scream Halloween energy — not just whisper it. This dark, dramatic version takes your wire pumpkin wreath diy project from cute to genuinely spooky in an afternoon.
Start with a 16-inch wire pumpkin form and layer alternating cuts of black and orange mesh ribbon into each wire section. The contrast is instantly striking.
- Tuck in spider picks and skeleton leaves between mesh sections for texture
- Weave glitter ribbon through the outer rings for a moonlit shimmer
- Add a burlap or velvet bow in deep purple or black at the top stem
For the Jack-o-lantern face, cut triangle eyes and a jagged mouth from black felt — or bend thin craft wire into shapes and hot-glue directly onto the front.
I’ve found felt cutouts hold up better outdoors than paper, especially through those unpredictable October nights.
Velvet Ribbon Wire Pumpkin Wreath for a Luxurious Fall Feel

Want your fall wreath to look like it belongs in a boutique hotel lobby? Velvet ribbon is the secret ingredient that transforms a simple wire pumpkin wreath diy project into something genuinely stunning.
Unlike satin or wired-edge ribbon, velvet catches light beautifully and adds incredible depth. Jewel-toned velvet ribbon — think deep burgundy, forest green, and rich gold — instantly makes your wreath feel high-end rather than craft-store casual.
For a bow-heavy design, cut ribbon into 18-inch loops and layer them generously around the wire frame, mixing sizes for a full, lush finish. Scrunch some pieces loosely for texture variety.
- Use 2.5-inch-wide velvet ribbon for dramatic, oversized bows
- Anchor gold accent ribbon between burgundy and green layers
- Mix matte and shimmer finishes for visual contrast
Hang against a dark front door and the rich autumn palette absolutely glows.
Farmhouse-Style Wire Pumpkin Wreath with Dried Botanicals

Fake flowers look cheap on fall wreaths — dried botanicals actually get better with age. This wire pumpkin wreath diy approach leans into that beautifully.
Layer your frame with dried orange slices, cinnamon sticks, cotton stems, and seed pods for that warm, textured farmhouse aesthetic. Aim for roughly 8–10 elements per pumpkin section to keep it full without looking cluttered.
Secure heavier pieces like cinnamon bundles with floral wire wrapped tightly around the frame, then use hot glue for lighter botanicals like dried citrus and cotton. This two-method approach keeps everything firmly in place through wind and handling.
The mix of textures is why this style photographs so well — the matte, earthy tones photograph beautifully in natural light.
- Works indoors on a mantel or front door
- Budget-friendly dried botanicals cost around $12–$15 total
- Fragrance from cinnamon adds sensory charm guests notice immediately
Glam Wire Pumpkin Wreath DIY with Faux Fur and Sparkle Accents

Some people’s fall aesthetic leans less “rustic farmhouse” and more “maximalist magic” — and honestly, I’m here for it.
To get that luxe look, wrap faux fur trim or fluffy white chenille ribbon around your wire pumpkin form, securing every few inches with floral wire. About 3 yards covers a standard 12-inch form beautifully.
Once your base is plush and full, layer in the drama. Glitter picks, rhinestone stems, and gold metallic sprays tucked between the coils catch the light in the best possible way.
This wire pumpkin wreath diy approach proves fall decor doesn’t have to stay neutral or understated.
- Choose champagne, blush, or ivory fur for a sophisticated palette
- Mix matte and metallic finishes to avoid looking too costume-y
- Cluster rhinestone stems in odd numbers for a more styled, intentional finish
Monogram Wire Pumpkin Wreath DIY for a Personalised Front Door

Choose a letter that’s at least 6 inches tall — anything smaller gets lost against the texture of the wire pumpkin shape.
This wire pumpkin wreath diy variation adds such a personal touch. Simply nestle a wooden or metal monogram letter into the center of the pumpkin form before tightening your final wire loops around it.
Letter placement works best slightly above center — it sits more naturally and leaves room for ribbon or greenery beneath it.
To secure it without scratching the frame, wrap thin floral wire around the letter’s edges and twist it onto the inner spokes. No glue needed, no damage done.
I’ve gifted these as housewarming presents and the reaction is always genuinely moved — it feels considered, not store-bought.
- Use unpainted wood for a rustic farmhouse feel
- Metallic letters catch porch light beautifully at dusk
- Makes a thoughtful fall hostess gift anyone will display proudly
Boho Fall Wire Pumpkin Wreath with Macrame and Pampas Grass

As autumn light turns golden and soft, nothing captures that dreamy seasonal mood quite like a boho-inspired pumpkin wreath layered with texture and warmth.
To build this look, start your wire pumpkin wreath diy by wrapping 3–4 sections of knotted macrame cord loosely around the wire ribs, letting the fringe drape naturally between the gaps.
Tuck in dried pampas grass plumes at the top cluster — around 5–6 stems works perfectly without overwhelming the frame.
For the color palette, lean into:
- Terracotta and rust-toned ribbon or cord
- Cream macrame for soft contrast
- Dusty rose dried florals for a romantic finish
You can source a full macrame cord skein for under $8 at most craft stores, making this surprisingly budget-friendly.
This aesthetic dominates Pinterest’s fall home decor boards because it bridges cozy maximalism with modern bohemian interiors effortlessly.
Kid-Friendly Wire Pumpkin Wreath DIY with Felt and Foam Stickers

Store-bought fall wreaths can cost $40 or more — this version comes together for under $8 and doubles as a rainy-afternoon activity the whole family will love.
To simplify your wire pumpkin wreath diy for little helpers, swap hot glue for self-adhesive foam pumpkin stickers and pre-cut felt strips. Kids can press, wrap, and layer without waiting for glue to dry or risking burns.
- Cut felt into 1-inch strips so small hands can wrap them around the wire frame easily
- Let kids choose ribbon loops in their favorite fall colors to tie directly onto the wire
- Use foam stickers for pumpkin faces — no scissors needed
I’ve found laying everything out on a tray beforehand keeps the craft mess-free and stress-free.
The result? A genuinely charming wreath they’ll be proud to hang on the front door.
Ombre Mesh Wire Pumpkin Wreath DIY for a Gradient Fall Effect
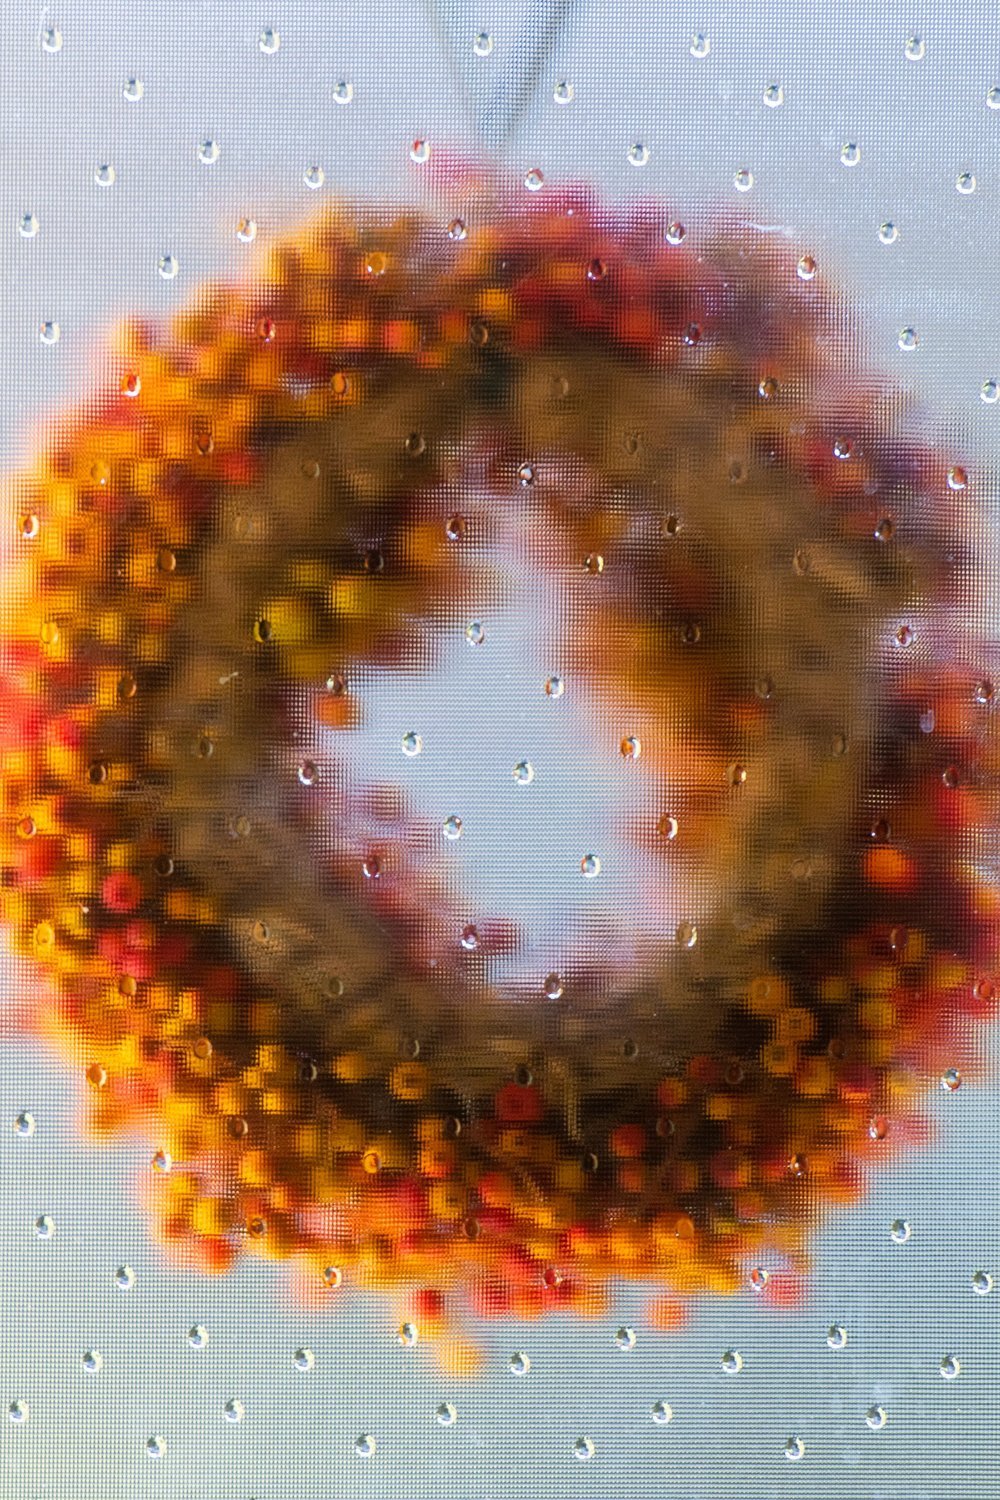
Ombre wreaths generate up to 3x more saves on Pinterest than single-color designs — and once you see the gradient effect in person, you’ll understand why.
To nail this look, start your wire pumpkin wreath diy by dividing the wire form into three horizontal zones. Push deep rust-colored deco mesh into the bottom third first, working each strip tightly into the wire grid.
Move into burnt orange through the middle zone, then finish with pale peach or champagne mesh at the top. The color shift happens naturally when zones slightly overlap — no hard lines, just a soft, sun-kissed fade.
Use roughly 6-inch mesh strips throughout for consistent fullness and professional-looking texture.
- Blend edges by alternating a strip of each neighboring color
- Add cream ribbon loops at the top to echo the lightest tone
- A few dried pampas stems finish the gradient fall aesthetic beautifully
Wire Pumpkin Wreath DIY Ideas for Indoor Autumn Styling

You’ve hung your wreath on the front door — but now you’re staring at a bare mantel wondering how to bring that same cozy fall energy inside. Good news: these designs work beautifully indoors too.
Lean a wreath against the mantel instead of hanging it, then layer in pillar candles and a handful of dried eucalyptus for an effortlessly styled vignette.
For tabletop displays, scaling down to a 10-inch wire pumpkin form keeps things proportional. Tuck one around a lantern centerpiece with faux berries and mini gourds for a gathered, harvest-market feel.
- Group three varying sizes on a console table for visual depth
- Hang two or three in a wall gallery arrangement alongside framed autumn prints
- Nestle one around a chunky candle for an instant tablescape anchor
Every wire pumpkin wreath diy project you create indoors adds warmth to spaces guests actually linger in — pairing with warm-toned foliage and candlelight makes the whole room feel like fall.
How to Make a Wire Pumpkin Wreath Last Longer: Care and Storage Tips

Did you spend an afternoon perfecting your wreath only to find it looking tired by mid-October? A little care goes a long way.
If you’re displaying it outside, weatherproof your deco mesh and ribbon with a quick coat of clear waterproof sealant spray — one $8 can covers multiple wreaths and makes colors stay vibrant through wind and light rain.
When the season ends, skip the trash bag. Store your wire pumpkin wreath diy project flat in a lidded plastic bin lined with tissue paper to protect the mesh shape and prevent ribbon creasing.
Here’s the smartest part of a wire frame — it’s completely reusable. To refresh it next year:
- Swap out faded ribbon for a new color or pattern
- Replace seasonal picks with updated florals or berries
- Keep the base frame and restyle it in under an hour
FAQ
How do you make a wreath with just wire, no frame?
You don’t need a store-bought frame to get started — a coil of sturdy gauge wire (18–20 gauge works well) can be shaped into a circle and twisted to hold its form. Wrap multiple loops together, then bind them at intervals to create a solid base that’s surprisingly rigid and ready to decorate.
How do you attach pumpkins to a wreath securely?
For mini real pumpkins, thread floral wire through the stem and twist it around the wreath frame. Foam or faux pumpkins attach beautifully with hot glue, while ornamental gourds with thicker stems do well with zip ties for a grip that actually holds through the season.
Does Dollar Tree sell wire wreath frames?
Yes — Dollar Tree typically stocks wire wreath frames for around $1.25 each, though availability is seasonal and shelves move fast in September and October. Check early in fall or call ahead, and look near the floral and craft supply aisle rather than seasonal décor.
How do you make a pumpkin out of fuzzy wire?
Chenille stems (pipe cleaners) make the sweetest little pumpkin accents for any wire pumpkin wreath diy project. Coil an orange pipe cleaner into a spiral, pinch the center, and add a brown or green stem piece twisted upward — it takes under two minutes and looks completely adorable nestled into greenery.
What wire gauge is best for wreath-making?
18-gauge floral wire is the go-to choice — flexible enough to bend easily but strong enough to hold décor in place without sagging. For heavier elements like real gourds, bump up to 16-gauge for extra support.
You might also like: 17 DIY Clay Earrings That Look Boutique Made
Key Takeaways
After exploring all 18 ideas, one thing is clear — there truly is a wire pumpkin wreath diy style for every home, budget, and skill level.
- Endless style options: From rustic farmhouse to modern minimalist, wire pumpkin wreaths adapt beautifully to any front door or interior space.
- Start small and affordable: A Dollar Tree wire form (usually under $2) is the perfect low-risk starting point for beginners and experienced crafters alike.
- Mix and match materials: Ribbon, greenery, dried florals, and buffalo check fabric all work brilliantly — experiment freely and trust your eye.
- No experience needed: Most of these projects take under two hours and require zero advanced crafting skills.
- Seasonal versatility matters: With a few simple swaps, your wreath can carry through from early September right into Thanksgiving.
- Share your creativity: Your finished wreath might inspire someone else’s favourite fall project.
Found your perfect idea? Save this post to your Pinterest fall decor board so you can come back to it when crafting season hits — and don’t forget to share a photo of your finished wreath!