17 DIY Suncatcher Ideas That Spark Joy Instantly
Introduction
A single suncatcher can scatter dozens of dancing rainbows across your walls in seconds — and making one yourself costs as little as $5. There’s something almost magical about a suncatcher DIY project that transforms ordinary window light into something that genuinely stops you mid-morning and makes you smile.
Inside this article, you’ll find 17 fresh, creative ideas spanning everything from super beginner-friendly bead hangings to stunning resin designs, stained glass paint projects, and crystal arrangements that look like they belong in a boutique.
These projects are perfect for:
For another perspective, this detailed piece on DIY Suncatchers, 400pcs Sun Catchers Supplies … is worth a read.
- Crafters looking for a satisfying weekend make
- Parents wanting a fun, low-mess activity with kids
- Home decorators chasing that dreamy, light-filled aesthetic
- Gift-givers who want something handmade and genuinely beautiful
Every idea here is budget-friendly and deeply rewarding — because the best things you hang in your home are the ones you made yourself.
What You Need to Make Suncatchers for Beginners (Starter Supply List)
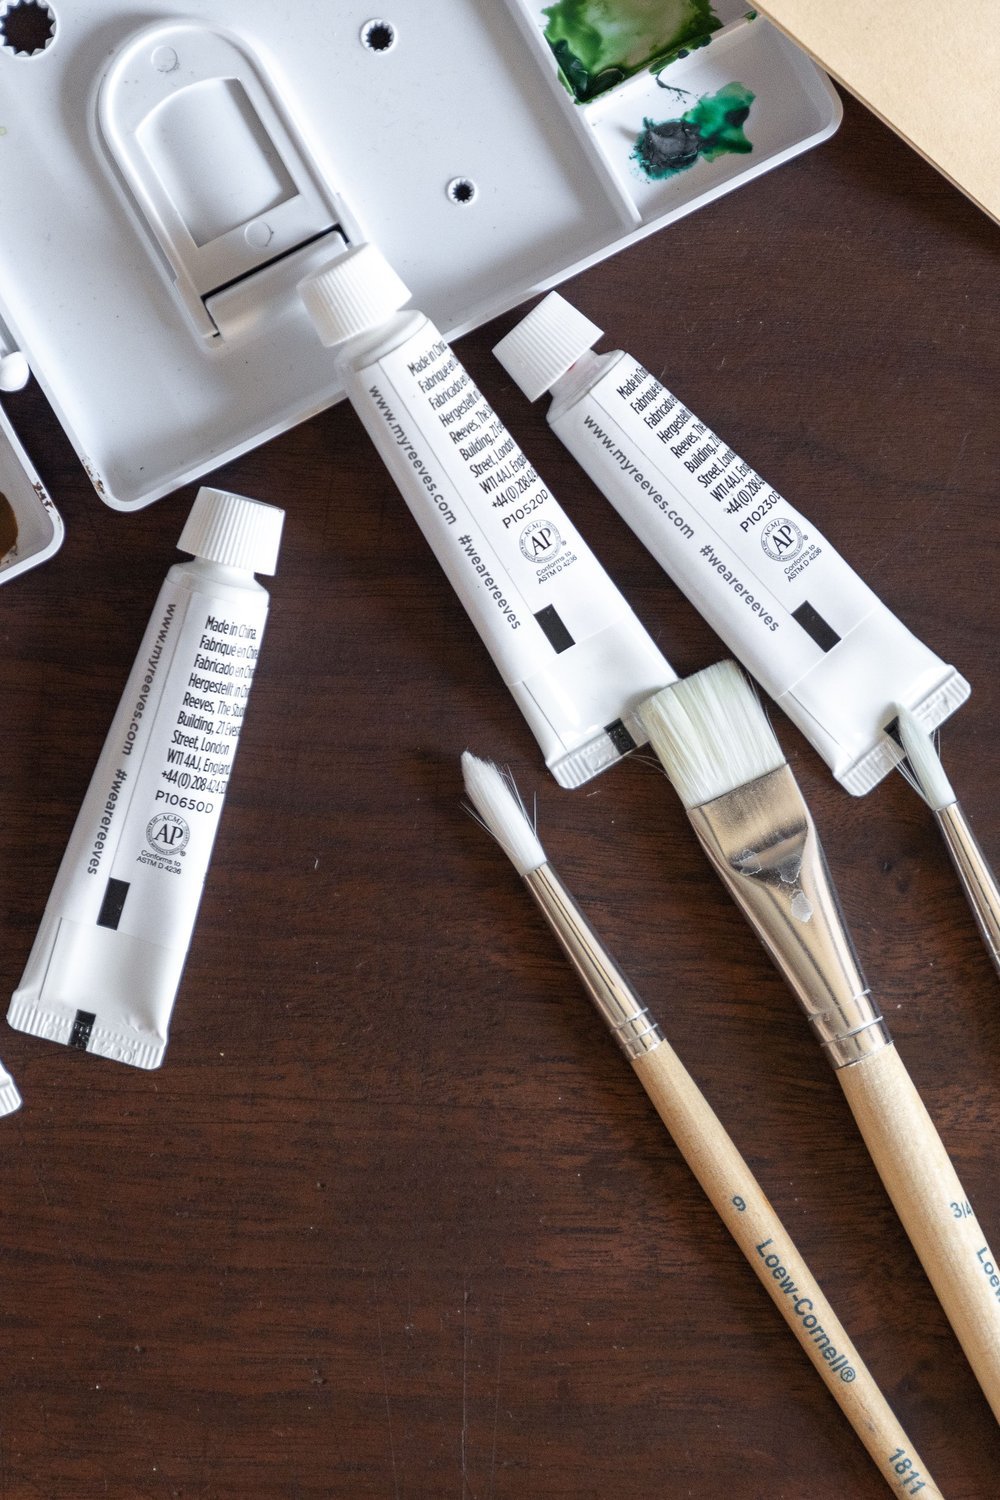
You’re standing in the craft aisle, completely overwhelmed — been there. The good news? A beautiful suncatcher diy project needs surprisingly little to get started.
Your core essentials cover most designs:
- Wire hoops or wooden frames
- Clear fishing line or nylon thread
- Crystal beads and hanging prisms
- Strong craft glue or hot glue gun
- Acrylic or glass paint
Want to level up? Optional upgrades like UV resin, stained glass paint, and sun/moon metal frames add a professional finish without much extra effort.
I’ve found most beginner kits on Amazon run around $12–$15 and include nearly everything you need. Dollar stores and craft shops like Michaels are goldmines for beads and wire hoops.
Most projects use fewer than 10 materials total — seriously, don’t overthink it.
Beaded Crystal Suncatcher DIY Using Wire Hoops and Prisms
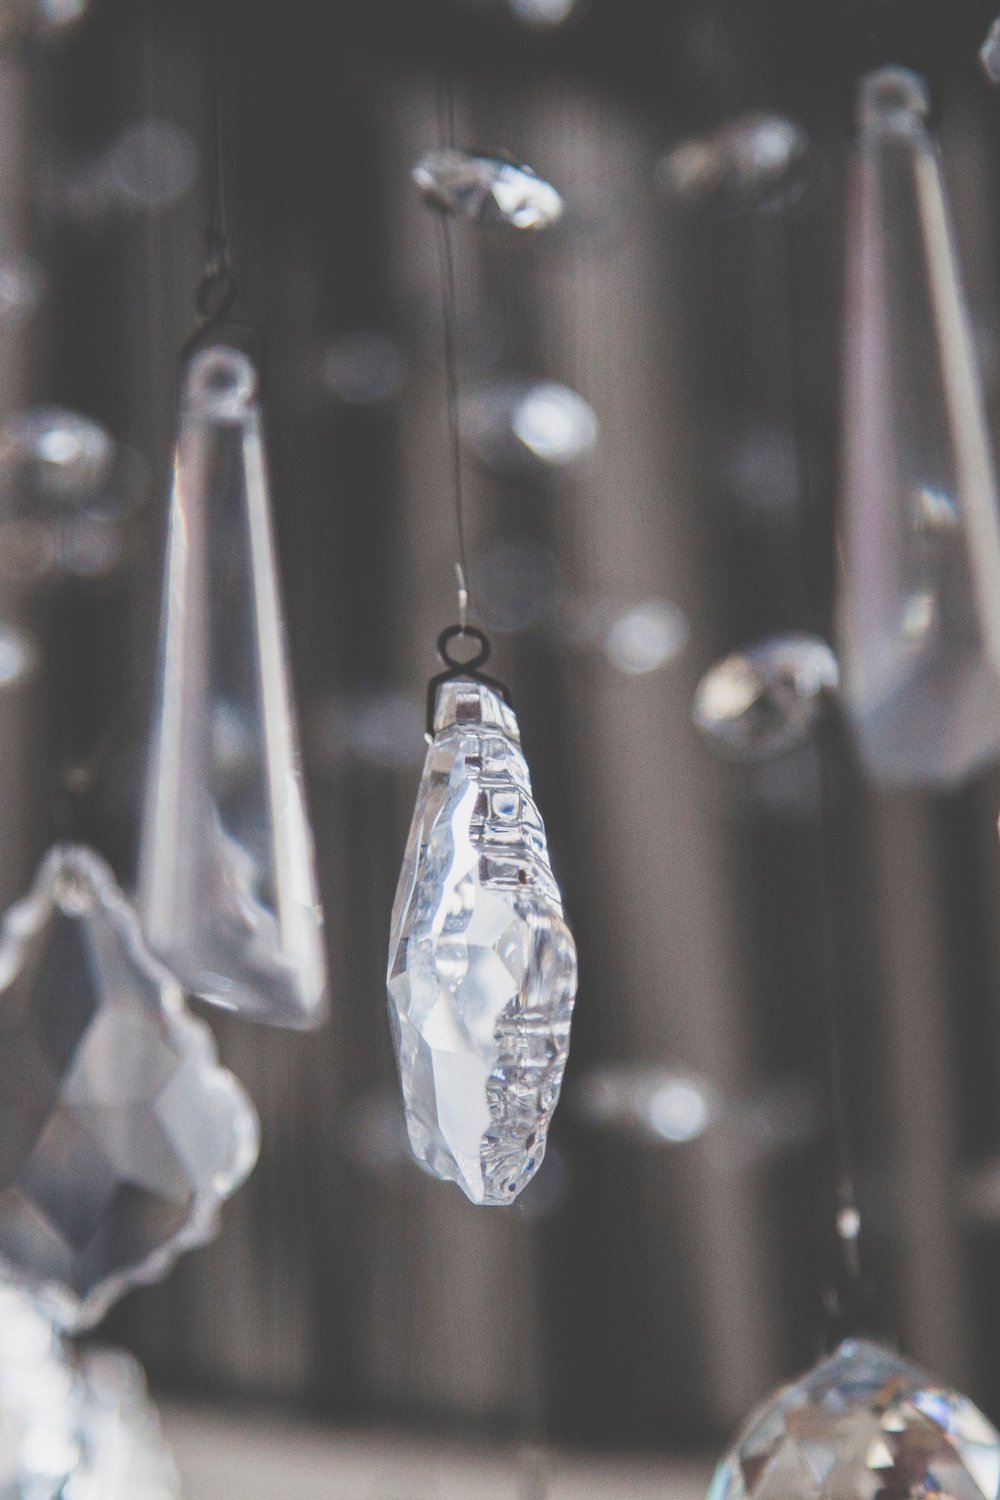
Ready to fill your windows with dancing rainbows all day long? This project is pure magic — and surprisingly simple.
Start by threading crystal prisms and seed beads onto fishing line, cutting strands at varying lengths between 4 and 10 inches. Attach each strand to a metal wire hoop using jump rings, spacing them evenly around the bottom half.
- Crystal prisms, seed beads, 8-inch wire hoop
- Fishing line, jump rings, small pliers
For maximum light refraction, choose clear, AB-coated, or pale iridescent beads — darker colors absorb light rather than scatter it beautifully.
This suncatcher diy project costs under $12 using craft store basics.
Hang it directly in a south-facing window using a suction cup hook. Midday sun hits the prisms perfectly, casting rainbow bursts across your walls and ceiling.
Faux Stained Glass Suncatcher DIY with Elmer’s Glue and Acrylic Paint

Stained glass sounds expensive and complicated — but you can recreate that gorgeous jewel-toned effect for under $5 in supplies.
Mix white Elmer’s glue with acrylic paint or food coloring until you get rich, translucent color. Pour into a plastic lid or ziplock bag laid flat to create your base shape.
Here’s the step-by-step process:
- Outline your design directly onto the plastic surface using black puffy paint
- Fill each section with a different colored glue mixture
- Let it dry completely — usually 24 to 48 hours
- Peel gently, punch a hole, and hang near a sunny window
I’ve found this method produces surprisingly vibrant pieces that honestly look like real leaded glass once light hits them.
This suncatcher diy technique stays popular because the results look expensive while the process stays completely beginner-friendly.
Resin Suncatcher DIY with Pressed Flowers and Dried Botanicals
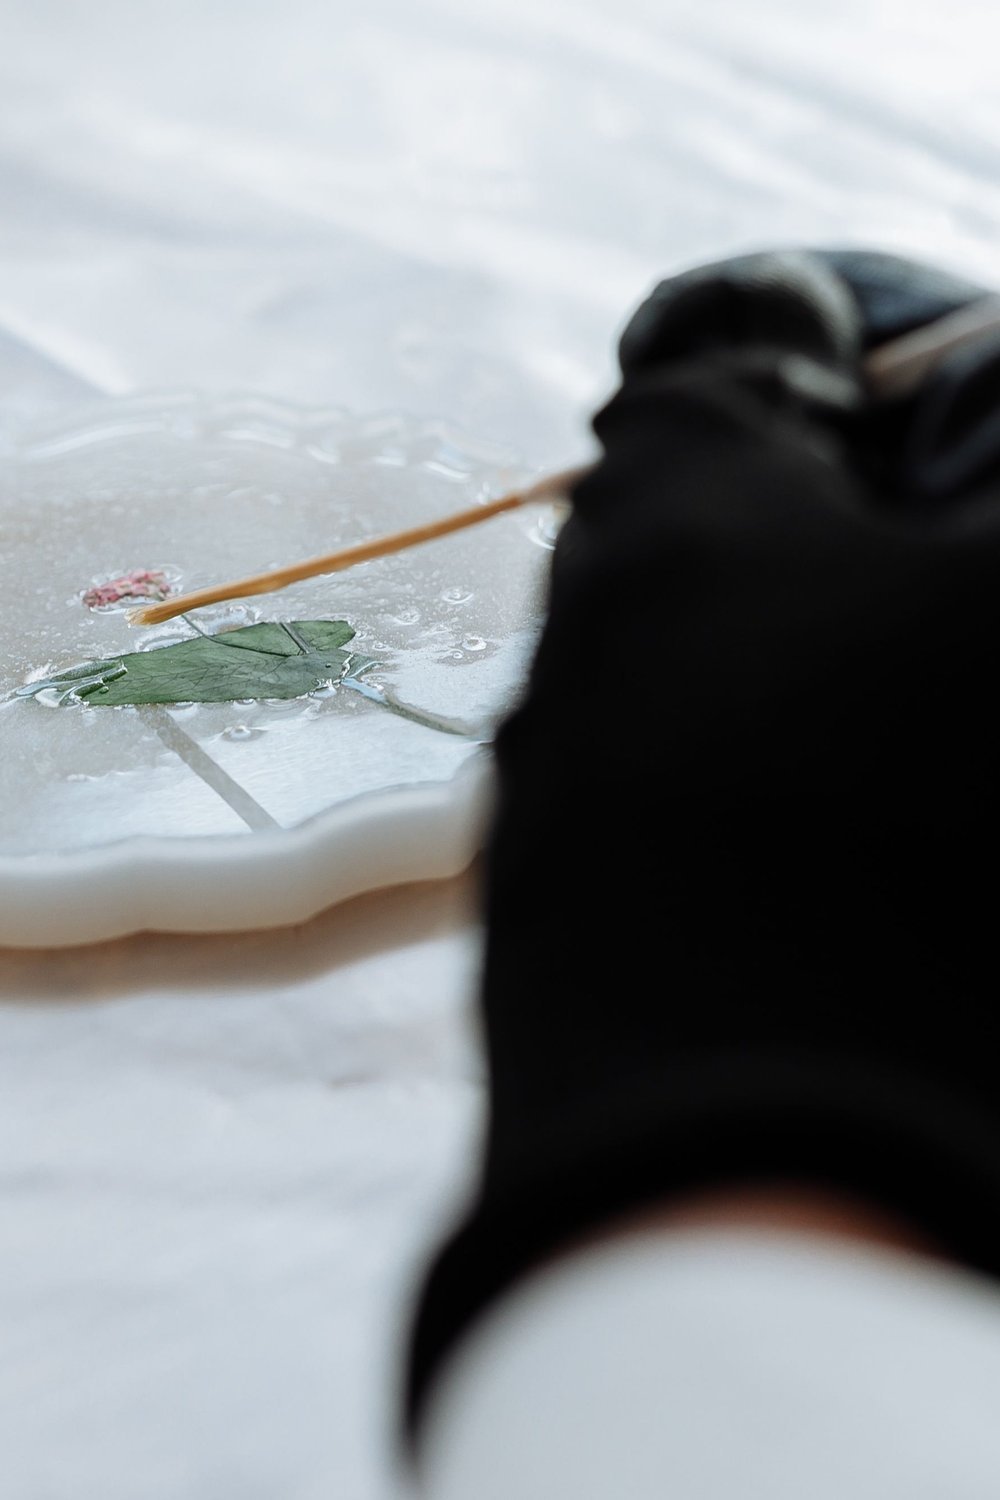
There’s something quietly magical about catching sunlight through a flower that’s been perfectly preserved in glass-clear resin — like bottling a summer garden forever.
Pour UV or epoxy resin into silicone circle molds, then gently arrange your pressed botanicals before it cures. Pansies, lavender sprigs, and Queen Anne’s lace press beautifully flat and hold their color exceptionally well.
For a flawless finish, use a toothpick to pop any surface bubbles within the first 5 minutes of pouring. A quick pass with a lighter held 2–3 inches above works too.
This suncatcher diy project costs roughly $15–$20 for supplies that yield multiple pieces — genuinely one of the best value craft investments around.
Once cured, your finishing options add personality:
- Wrap the edge with copper wire for a warm, artisan look
- Thread through satin ribbon for soft cottage-style hanging
- Attach a delicate gold chain for something more polished
Kids’ Craft: Easy Contact Paper and Tissue Paper Suncatcher

Cut your cardstock frame before sitting down with little ones — it keeps the activity moving and holds their attention from the very first step.
This mess-free suncatcher diy is genuinely one of the easiest wins for toddlers and young children. No heat, no glue guns, no stress.
You only need four things:
- Clear contact paper (a roll costs around $6–$8)
- Torn or pre-cut tissue paper squares in bright colours
- A cardstock frame cut into any shape you love
- Scissors — just for grown-ups
Peel the backing, stick the contact paper sticky-side up inside the frame, then let kids press tissue paper pieces all over it. Seal with a second contact paper layer, trim the edges, and hang in a sunny window.
It works beautifully for classroom projects, rainy afternoon activities, and birthday party crafts kids can take straight home.
Boho Beaded Sun Catcher with Macramé-Style Fringe
Summer light hitting a beaded wall hanging is pure magic — and this suncatcher diy project brings serious boho energy to any sun-facing window or outdoor porch.
Start with a piece of driftwood or a wooden dowel around 30cm wide as your base. From it, hang strands of clear thread loaded with crystal beads, seed beads, and occasional larger gems for texture and movement.
- Crystal beads, mixed seed beads, clear nylon thread
- Driftwood or wooden dowel for the hanging base
- Optional: small shells or copper rings for extra character
For a gorgeous ombre effect, arrange bead colors from deep amber at the top to soft blush at the tips — it catches light in the most breathtaking way.
Finishing the strands with loose square knots adds that unmistakable macramé fringe feel. Styled against rattan furniture and linen cushions, this piece looks effortlessly curated.
Rainbow Window Suncatcher Using Crystal Prism Balls

Compared to store-bought rainbow makers, this suncatcher diy project costs a fraction of the price — most faceted crystal balls run between $3–$8 each and deliver stunning results.
Simply hang faceted crystal balls or spheres from adhesive suction cup hooks directly on your window glass. No drilling, no damage, just instant magic.
Placement matters enormously. South or west-facing windows capture peak sunlight hours, flooding your room with dancing rainbow light throughout the afternoon.
In my experience, a single 40mm crystal ball can cast rainbows across an entire room — larger 60mm spheres scatter even wider, softer arcs, while smaller 20mm balls create tight, jewel-bright spots of colour.
- 40mm balls — full-room rainbow coverage
- 60mm spheres — wide, dreamy light diffusion
- 20mm crystals — concentrated, vibrant colour spots
Cluster several sizes together for a layered, ever-shifting light display that changes beautifully as the sun moves.
Sun and Moon Metal Frame Suncatcher with Dangling Charms
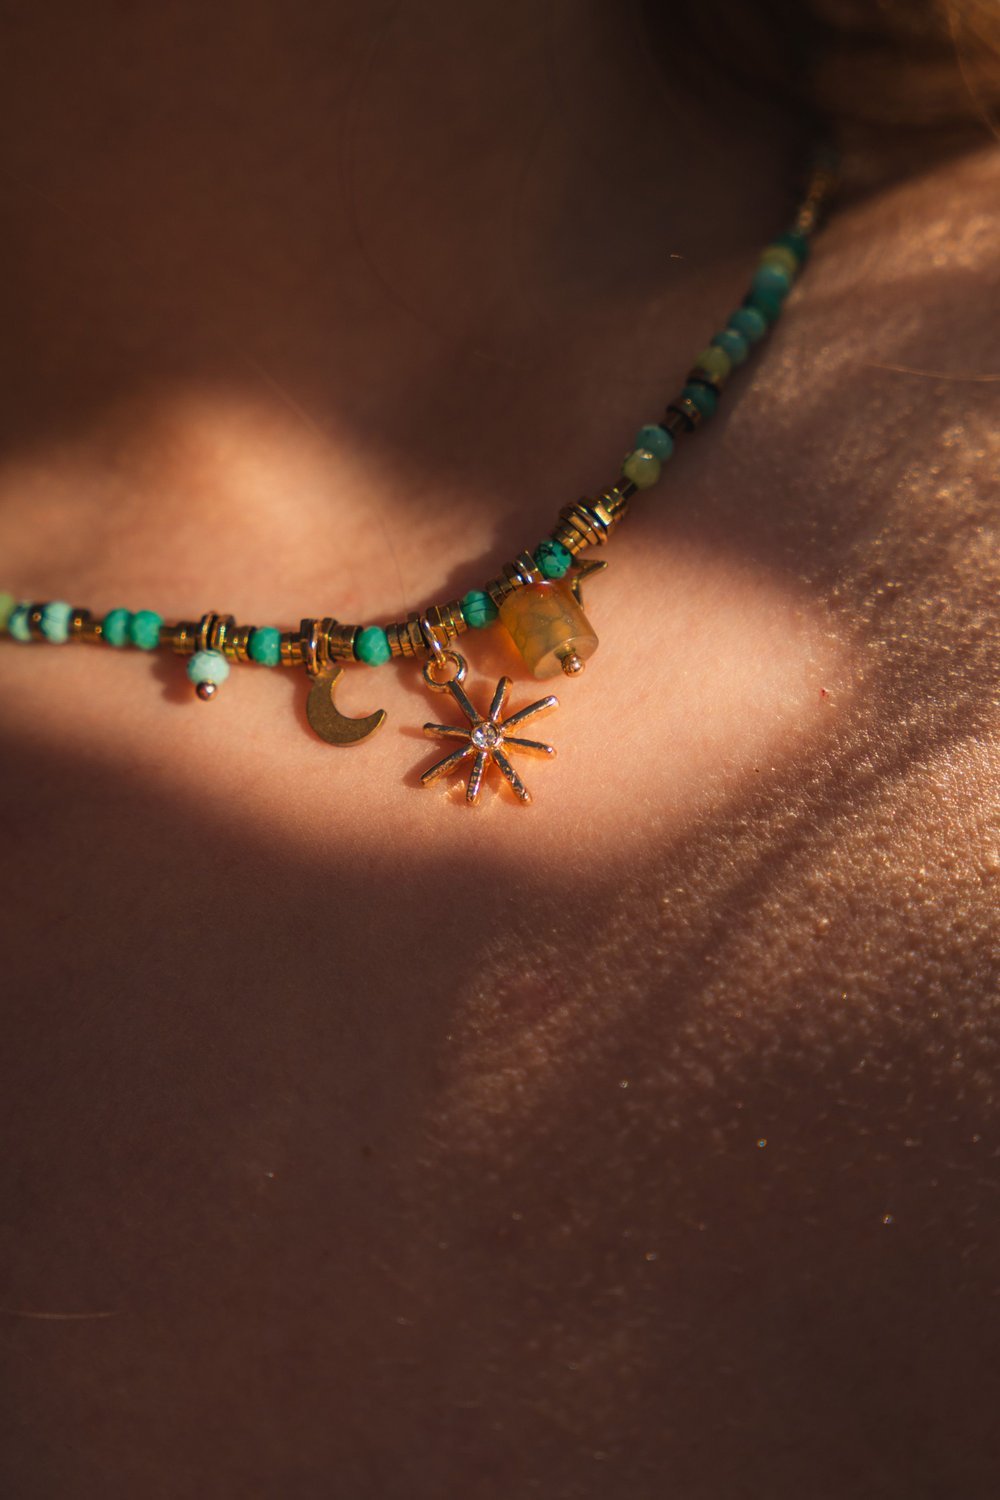
Pre-made celestial metal frames cost as little as $3 each — and they instantly elevate a simple suncatcher diy project into something that looks boutique-made.
Pick up sun, crescent moon, and star frames from any craft store, then attach crystal drops, faceted beads, and tiny charms to each frame arm using jump rings. The gentle movement creates mesmerizing light play throughout the day.
Color themes make all the difference:
- Celestial gold — amber crystals, gold-tone charms, warm topaz beads
- Midnight blue — navy, silver, and icy clear drops for a moody, dreamy feel
- Rainbow — mix every crystal color for maximum window sparkle
Want a gift idea that genuinely wows? Tuck a finished frame into a kraft box with tissue paper — it makes an unforgettable handmade birthday or housewarming present.
Melted Bead Suncatcher DIY in a Silicone Mold or Metal Cookie Cutter

You’ve got a bag of pony beads sitting in a drawer and zero idea what to do with them — this project is your answer.
Fill a silicone mold or metal cookie cutter with a single layer of pony beads, arranging colors however you like. Before placing them in the oven, tuck a small wire loop into one edge — this becomes your ready-made hanging point.
Bake at 400°F for about 20 minutes until beads melt and fuse together. Always ventilate your kitchen — open a window and run the exhaust fan.
For a gorgeous stained glass mosaic look, mix jewel-toned translucent beads: cobalt blue, emerald green, and amber catch light beautifully together.
- Use silicone molds for easy release
- Avoid opaque beads — translucent colors glow
- Let cool completely before removing
This beginner-friendly suncatcher diy costs almost nothing and delivers maximum sparkle.
Sea Glass and Driftwood Coastal Suncatcher for a Relaxed Beach Vibe

Do you have a collection of beach treasures gathering dust in a jar? Put them to work.
Gather tumbled sea glass in soft aquas, frosted whites, and sage greens — or pick up a bag online for around $8–$12. The weathered, milky finish catches light beautifully without being harsh.
Use a small diamond-tipped drill bit to add holes near the top of each piece, then attach sea glass to driftwood using thin copper wire or natural jute twine. Both work wonderfully.
- Layer strands at different lengths for a breezy, wind chime-inspired look
- Mix in small shells or coral fragments for extra coastal texture
- Hang near an open window so pieces move gently in the breeze
This particular suncatcher diy consistently earns the most saves among coastal and cottage-core decor lovers — and honestly, it’s easy to see why.
Stained Glass Paint Window Cling Suncatcher on Acetate or Glass

You don’t need a kiln or professional glasswork skills to achieve that gorgeous jewel-toned glow — a few bottles of paint do the heavy lifting here.
Tape a printed design beneath your acetate sheet, then trace it using Gallery Glass or Pebeo Vitrea 160 paint, working colour by colour. A 59ml bottle costs around $6 and covers several panels beautifully.
Once dry, run liquid leading along every outline — this single step transforms flat colour into something that genuinely mimics traditional stained glass. The raised lines catch light in the most satisfying way.
This suncatcher diy works on both acetate window clings and actual glass panes, giving you flexibility depending on your space.
Display ideas worth trying:
- Press-on suction cup hooks for windows
- Ribbon looped through a punched hole
- Framed inside a wooden embroidery hoop for a boho wall piece
Geometric Wire-Wrapped Crystal Suncatcher for a Modern Minimalist Look
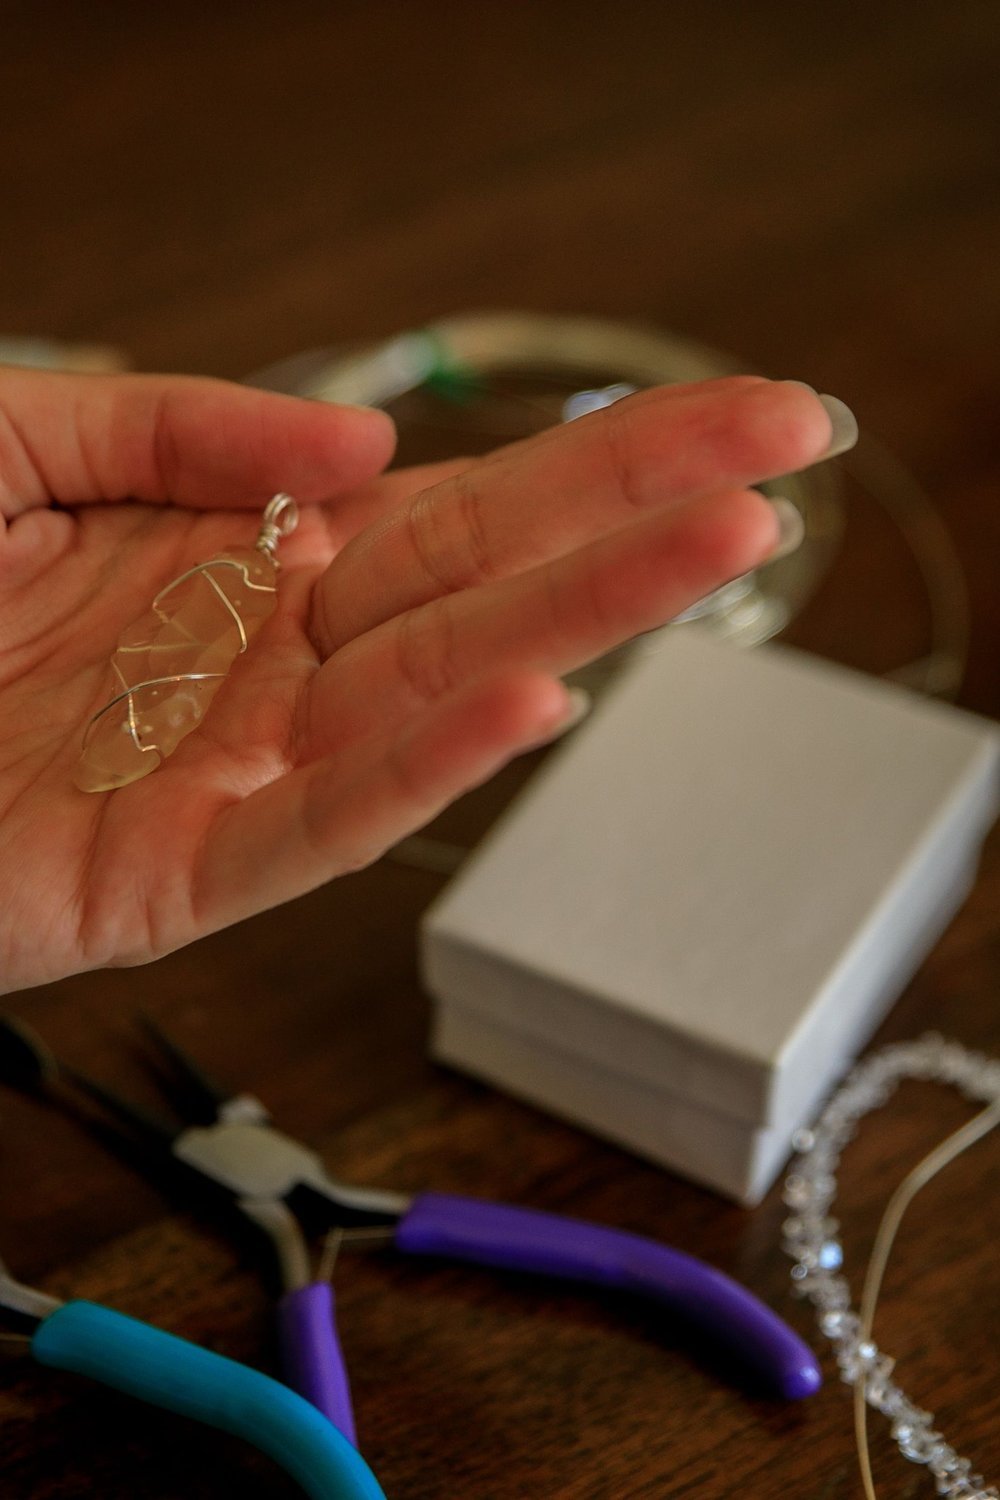
There’s something deeply satisfying about transforming a coil of wire and a raw crystal into something that looks straight from a boutique shelf.
For this suncatcher diy, start with 20-gauge copper or silver wire — it’s flexible enough to bend but holds its shape beautifully. Use needle-nose pliers to form clean triangles, diamonds, or hexagons, aiming for frames around 3–4 inches wide.
Once your geometric frame is ready, wrap raw quartz points or amethyst clusters directly into the structure by coiling wire tightly around the base of each crystal. This anchors them securely without adhesive.
- Twist wire ends at least 3–4 times to prevent unraveling
- Add small seed beads between wraps for extra visual texture
- Use a dab of clear nail polish on knots for extra hold
Style-wise, these pair effortlessly with Scandinavian interiors, boho shelves, and modern farmhouse windows — understated, elegant, and endlessly giftable.
DIY Suncatcher Mobile with Multiple Hanging Tiers

Start with a 12-inch driftwood branch or wooden ring as your top frame — natural materials add instant warmth and character to the whole piece.
This suncatcher diy project truly shines when you stagger your hanging elements. Thread crystal prisms, vintage beads, and tiny charms at three distinct heights to create beautiful visual depth as light moves through them.
Balancing a tiered mobile takes patience but pays off. Attach elements gradually, checking the hang after each addition — small bead adjustments on either side can correct even stubborn tilts.
- Use invisible thread for a floating, effortless look
- Mix matte and glossy beads to play with light differently
- Hang heavier crystals lower to naturally anchor the balance
In a nursery, position it near a sunny window so rainbow reflections drift across the ceiling during nap time. In living rooms, layered mobiles over reading nooks create a genuinely magical, calming atmosphere.
Glue and Tissue Paper Suncatcher on a Paper Plate Frame (Budget-Friendly)

When rainy afternoons call for a creative pick-me-up, this is the suncatcher diy project your kids — and honestly, you — will absolutely love making together.
Start by cutting the center out of a paper plate, leaving a sturdy rim as your frame. Stretch clear contact paper or plastic wrap tightly across the opening, sticky side facing up, and secure it well around the edges.
Tear tissue paper into small, irregular pieces and layer them directly onto the sticky surface. Overlapping colors creates a gorgeous stained glass mosaic effect that genuinely glows when sunlight hits it.
Once you’re happy with the design, seal everything with a thin coat of Mod Podge for durability and a polished finish.
- Total cost: under $2 per suncatcher
- Uses basic craft supplies you likely already own
- Perfect for ages 4 and up
Vintage Chandelier Crystal Upcycle Suncatcher DIY
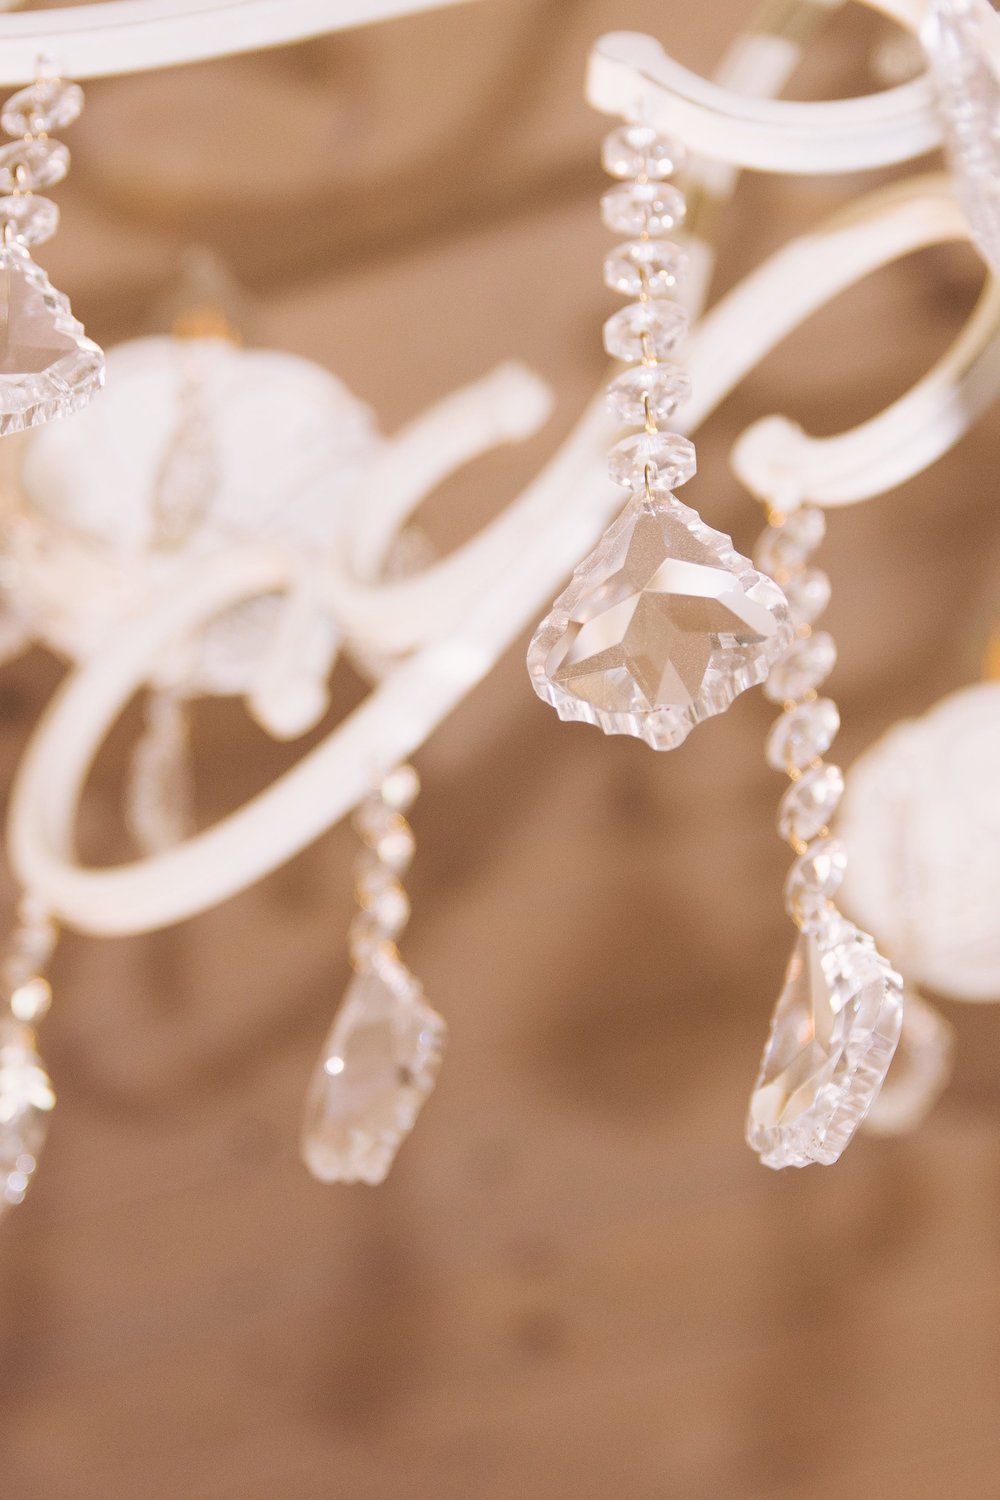
Buying new crystal suncatchers can cost $40–$80, but hunting down old chandelier drops at a thrift store or estate sale? Often under $5 for a whole bagful.
This suncatcher diy project is pure magic — those dusty, forgotten crystals explode with rainbow light the moment they catch a sunbeam again.
To arrange them, try these simple approaches:
- Thread drops onto a copper wire hanger bent into any shape you love
- Hang clusters from a wooden or metal decorative ring using fishing line
- Mix sizes and shapes for a layered, light-catching effect
Finding affordable pieces is easier than you’d expect. Check Facebook Marketplace, eBay, Etsy vintage sections, or your local Goodwill.
Upcycling these overlooked beauties keeps them out of landfill and gives your window something genuinely one-of-a-kind — no two arrangements ever look the same.
Painted Rock and Glass Gem Suncatcher for the Garden
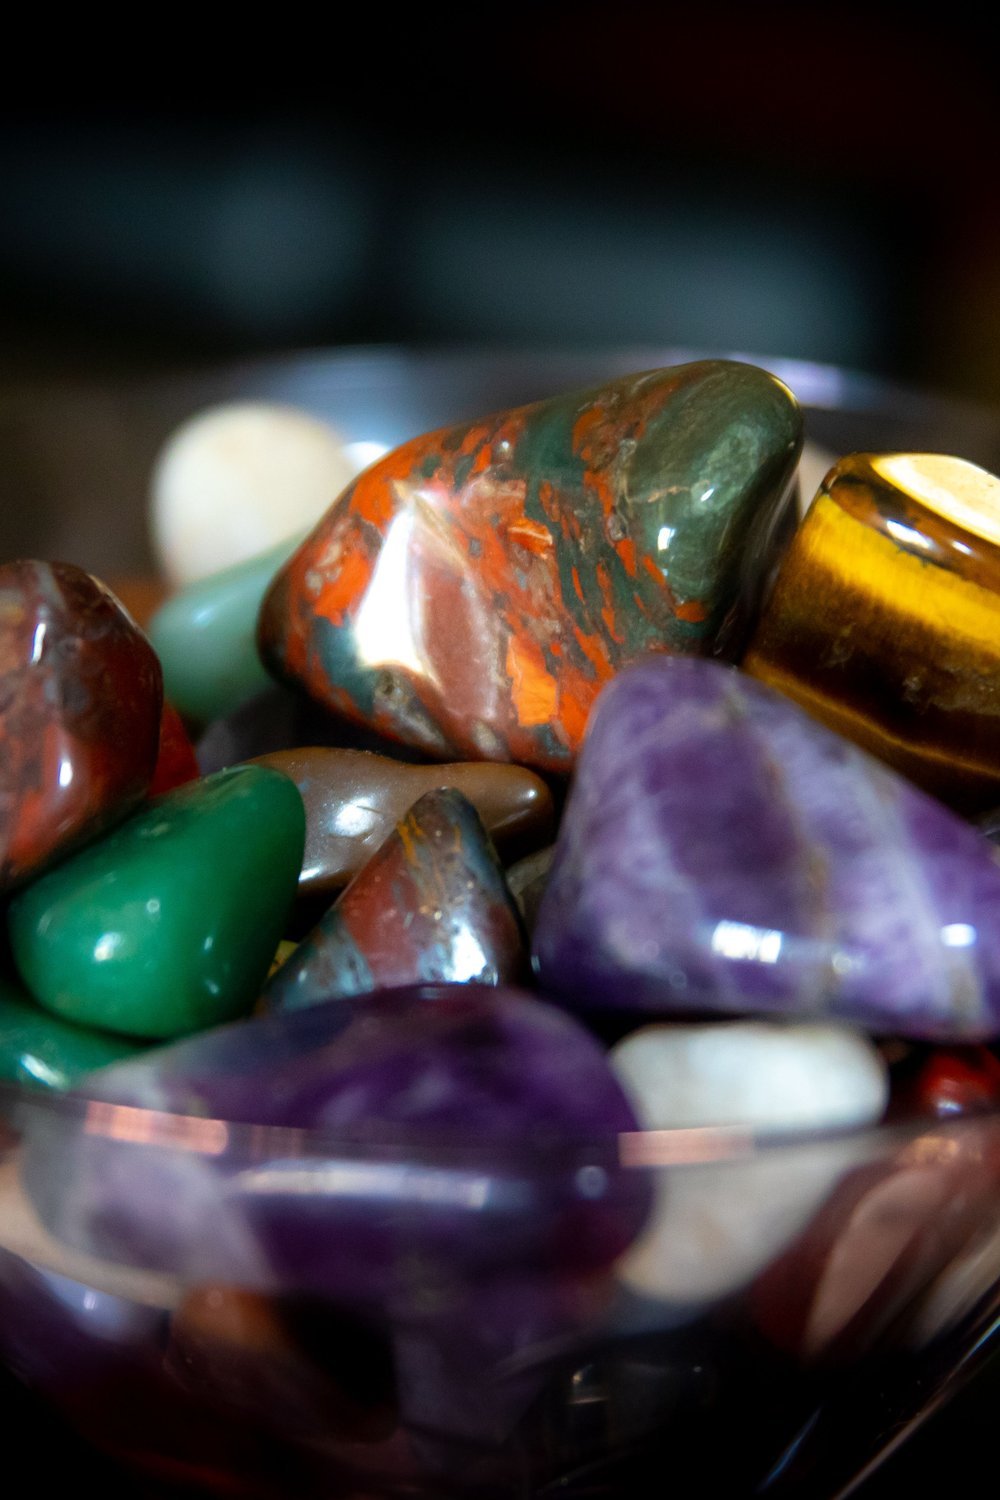
River rocks can hold heat up to 40°F warmer than the surrounding air — and when you press colorful glass gems into them, they transform into something genuinely magical.
This suncatcher diy project combines smooth stones, flat glass gems, and outdoor-safe resin for a garden piece that handles rain, wind, and full sun without fading.
Seal everything with two coats of UV-resistant resin, letting each layer cure fully before adding the next. This keeps colors vivid through every season.
Display them in ways that catch the light naturally:
- Mounted on garden stakes among flower beds
- Hung from fence hooks at varying heights
- Dangled from tree branches with weatherproof twine
I’ve found these spark as much joy outdoors as they do in a sunny window — honestly, sometimes more.
Personalized Photo or Mandala Resin Suncatcher as a Meaningful Gift

Imagine gifting someone a suncatcher that holds a wedding photo, a loved one’s portrait, or a custom mandala — and watching their face light up when sunlight pours through it.
Print your chosen image onto transparency film, trim it to fit your mold, then pour a thin resin layer underneath, set the film, and seal it completely. This suncatcher diy project requires almost no artistic skill beyond patience.
For crystal-clear results, UV-resistant epoxy resin like ArtResin or Alumilite is worth every penny — a 16 oz kit covers several pendants beautifully.
Personalize further by embedding:
- Birthstone chips or tiny crystals
- Pressed dried flowers for a romantic, organic feel
- Fine holographic glitter for extra sparkle
Perfect gift ideas include wedding favors, memorial keepsakes, and Mother’s Day presents — something genuinely irreplaceable hanging in a sunny window.
DIY Crystal Sun Catcher Using a Wooden Ring and Wrapped Stones
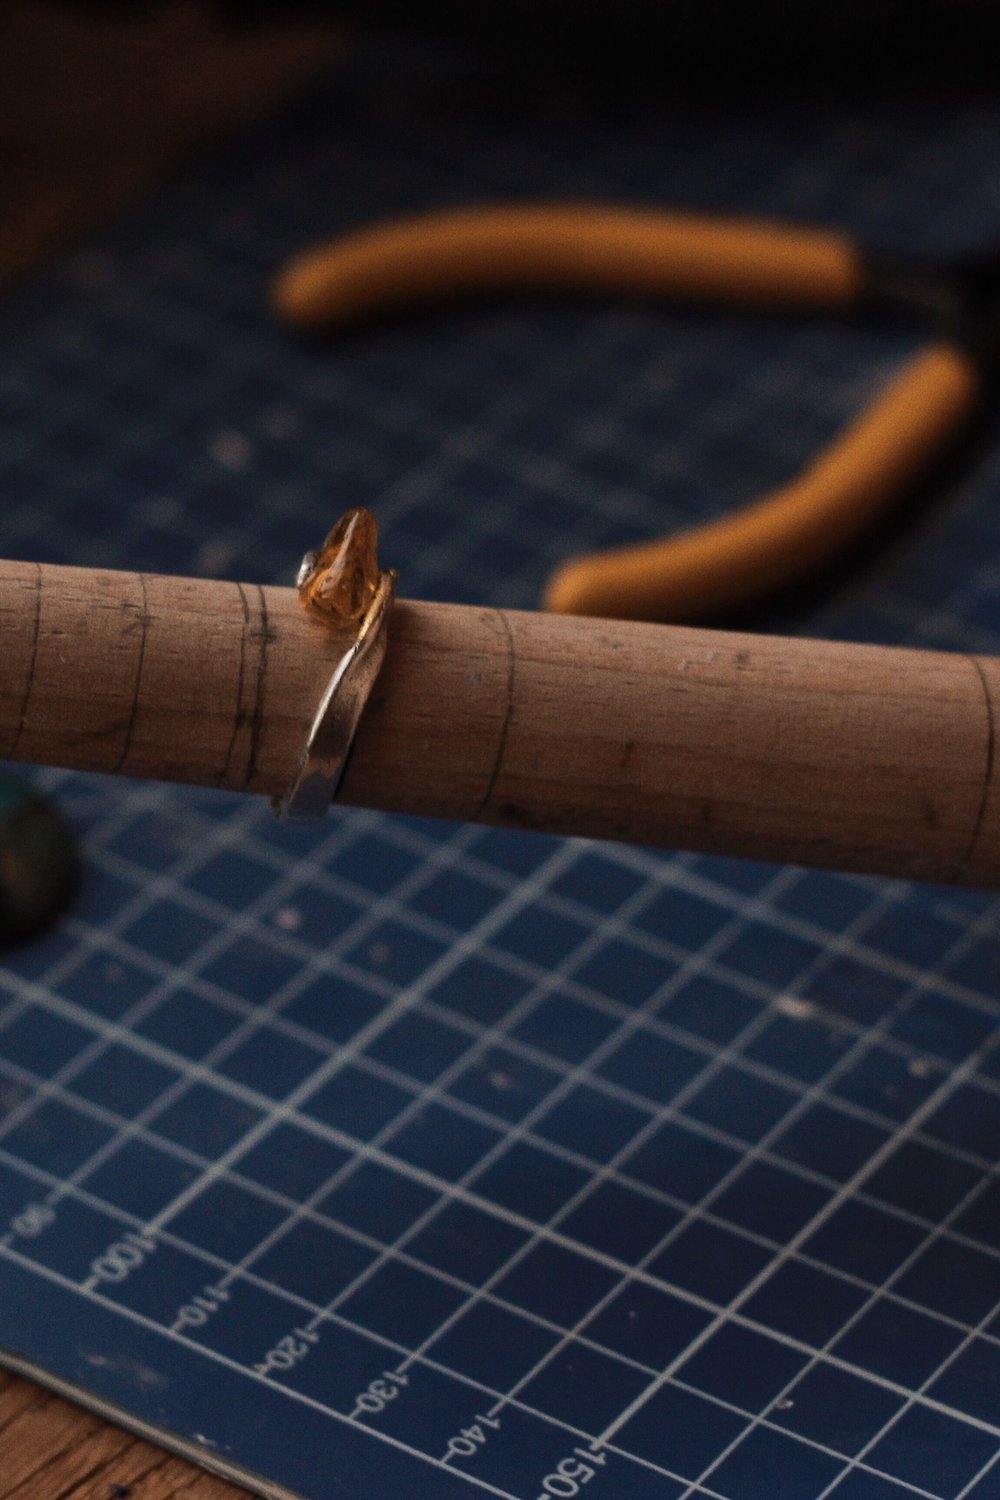
Have you ever wanted a piece that feels like it came straight from a boutique crystal shop — made entirely by your own hands?
Start with a 6-inch wooden embroidery hoop. Wrap it evenly with natural cord or thin copper wire, then attach wire-wrapped crystal pendants at varying lengths using simple loop knots.
- Best crystals for light refraction: clear quartz, selenite, and citrine catch sunlight beautifully
- Arrange pendants by chakra colors to layer meaning into your design
- Hold each crystal briefly before attaching — a simple intention-setting ritual that makes this suncatcher diy feel truly personal
Citrine brings warm golden light; clear quartz scatters rainbows across your walls. Both are effortlessly stunning.
Finish by looping a velvet ribbon through the top — that one small touch instantly elevates the whole piece.
FAQ
What do I need to make suncatchers for beginners?
You don’t need a craft room full of supplies — a basic suncatcher diy project can start with just wire frames, fishing line, and a handful of beads. Crystal prisms and faceted glass beads are the real workhorses here, catching and scattering light beautifully. A pair of needle-nose pliers and wire cutters round out your essential toolkit nicely.
How do you make homemade window suncatchers?
There are more methods than most crafters expect. Glue painting on acetate, melting pony beads in a silicone mold, layering tissue paper between contact paper sheets, and pouring UV resin into shaped molds all produce stunning results. Each technique suits a different skill level, so even complete beginners have an accessible starting point.
What materials make a good suncatcher?
Anything that bends, fractures, or transmits light earns a spot in your supply kit. Faceted crystals, sea glass, glass beads, and stained glass paint are consistently the top performers. Prisms — even inexpensive ones under $8 — throw the most dramatic rainbow patterns across a room.
How do you make a crystal suncatcher step by step?
Start with a metal hoop or a length of copper wire shaped into your chosen form. Attach crystal drops and faceted beads using individual jump rings or knotted fishing line, spacing them so each piece hangs freely. Finish with a ribbon or chain loop at the top, hang it in a sunny window, and watch the rainbows appear instantly.
You might also like: 17 Suncatcher DIY Projects That Fill Your Home With Color
Key Takeaways
There’s something genuinely magical about watching light dance through a handmade suncatcher — and the best part? Anyone can make one.
- 17 ideas for every skill level: From simple kid-friendly crystal hangers to more detailed stained glass-style panels, this list covers beginner, intermediate, and little-hands projects.
- Budget-friendly by design: Most suncatcher diy projects on this list cost under $5 in materials — many use things you already own.
- No experience needed to start: Pick the easiest technique that catches your eye and let your confidence grow naturally from there.
- Quick wins guaranteed: The majority of these crafts wrap up in under an hour — perfect for a slow Sunday morning.
- Every project is share-worthy: Finished suncatchers photograph beautifully and make thoughtful handmade gifts.
- Keep the momentum going: Try one new idea each weekend and watch your window collection grow.
Love what you see? Save this post to Pinterest so you never lose your next favourite project.