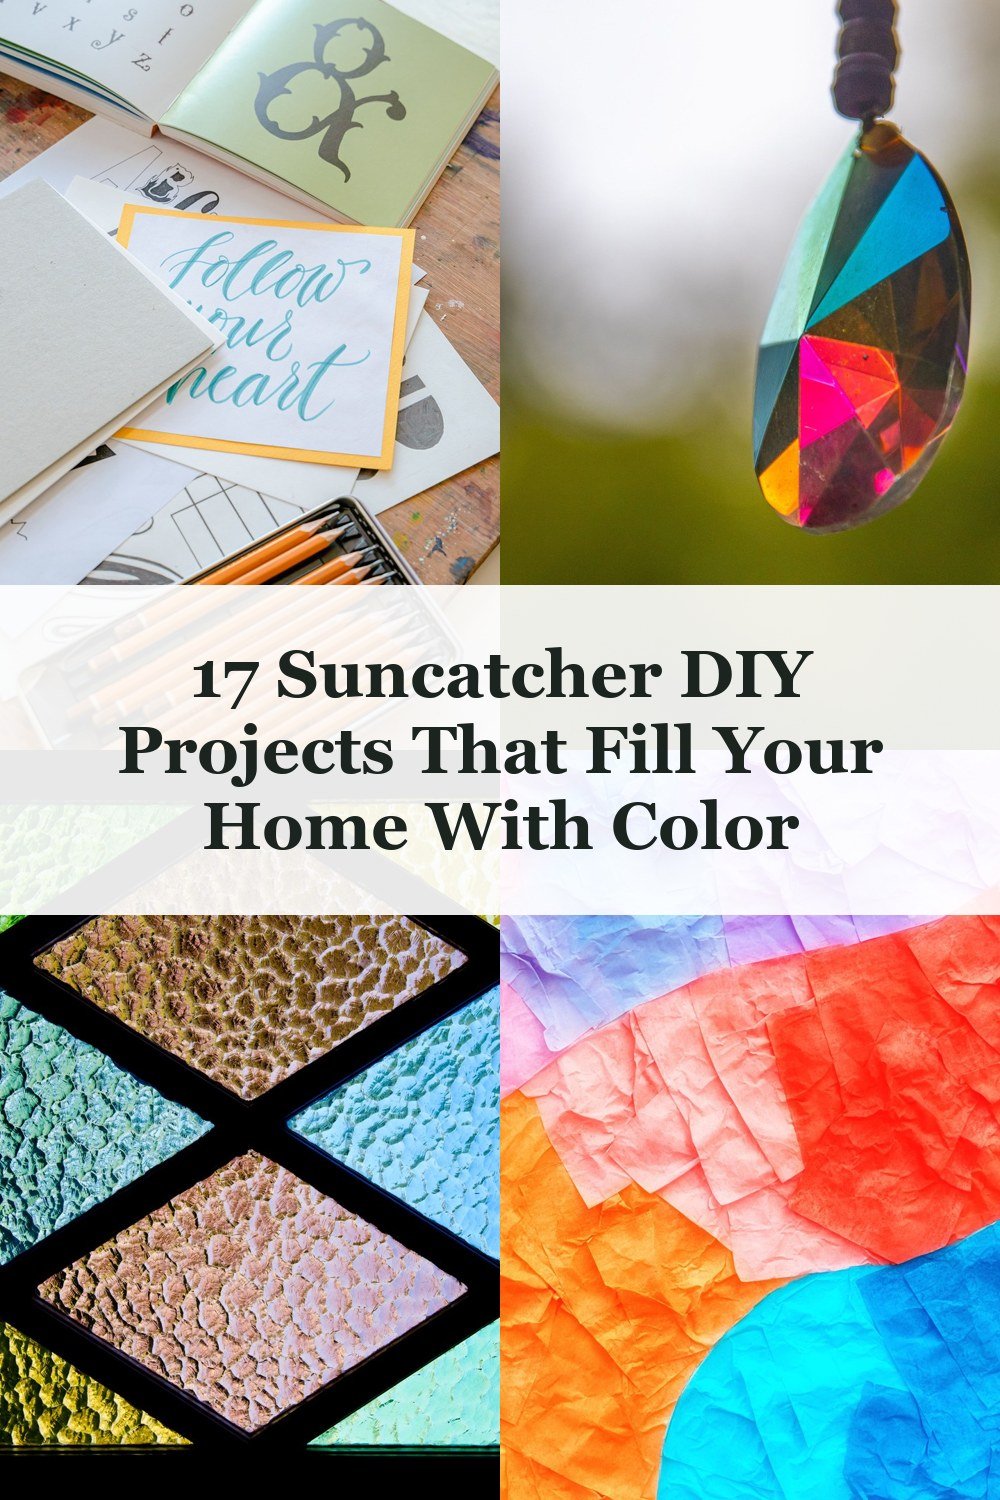
17 Suncatcher DIY Projects That Fill Your Home With Color
Introduction
A single suncatcher diy project can transform an ordinary window into a living rainbow — and right now, these dazzling creations are saving over 2 million times a month on Pinterest alone.
There’s something almost magical about watching afternoon light fracture through colored glass, scatter across your walls, and completely change the mood of a room. It costs almost nothing, yet the effect is stunning.
The best part? You don’t need to be crafty to pull this off. These 17 projects span every skill level — from simple bead suncatchers that toddlers can make in 20 minutes to intricate crystal and stained glass designs that become genuine statement pieces.
For another perspective, this detailed piece on DIY Suncatchers, 400pcs Sun Catchers Supplies … is worth a read.
Inside this guide you’ll find:
- Full materials lists for every project
- Beginner tips and advanced techniques
- Fresh inspiration for every style and season
Let’s fill your home with color.
What Makes a Great Suncatcher DIY Project (Materials & Tools Overview)
You’ve spotted a gorgeous rainbow dancing across someone’s wall on Pinterest and immediately thought — I want that in my home. The good news? Most suncatcher diy projects cost under $15 to make.
Light-catching magic comes down to three things: transparency, refraction, and color saturation. Materials like crystal beads, colored resin, and glass paint let light pass through and bend, scattering those dreamy color pools across your walls.
Elmer’s glue (yes, really) and fishing line are surprisingly effective budget-friendly options. Wire adds structure, while acrylic frames give your design a clean, polished finish.
Here’s a quick beginner toolkit to get started:
- Suction cup hooks for window hanging
- Round-nose pliers for bending wire
- Sharp scissors or craft snips
- Clear acrylic or embroidery hoop frames
Budget option: Elmer’s glue and food coloring. Premium upgrade: UV resin and Swarovski-style crystal beads — the light refraction is genuinely stunning.
Suncatcher DIY with Crystal Beads and Wire Wrapping
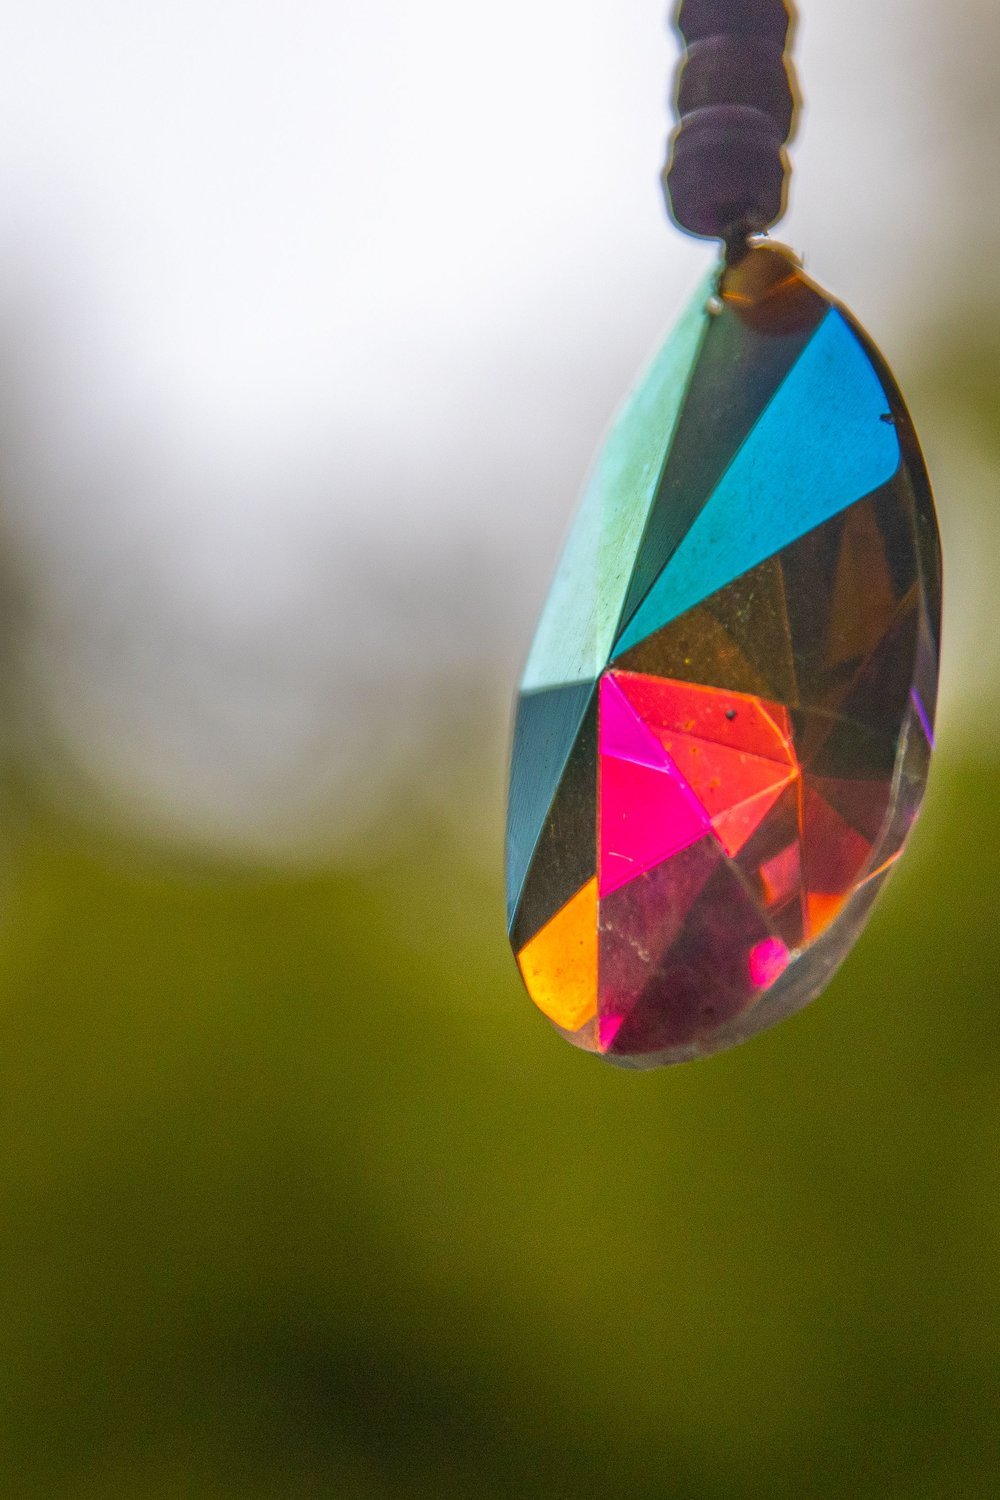
Have you ever watched morning light hit a crystal and thought — I need more of that in my home?
This suncatcher diy project uses copper or silver wire to wrap and connect crystals into a stunning hanging piece. Start with a 12-inch base wire, then coil smaller gauge wire around each bead to secure it firmly.
Best bead types for light refraction:
- Teardrop crystals — scatter dramatic color spikes
- Faceted glass beads — catch light from every angle
- AB-finish beads — create that iridescent, rainbow shimmer
Twist a small loop at the top and balance heavier crystals evenly on both sides to keep the design centered and graceful when hanging.
For the most magical results, hang your finished piece near an east-facing window. Morning sun hits low and direct, flooding your space with dancing rainbow reflections right after sunrise.
Faux Stained Glass Suncatcher DIY Using Elmer’s Glue
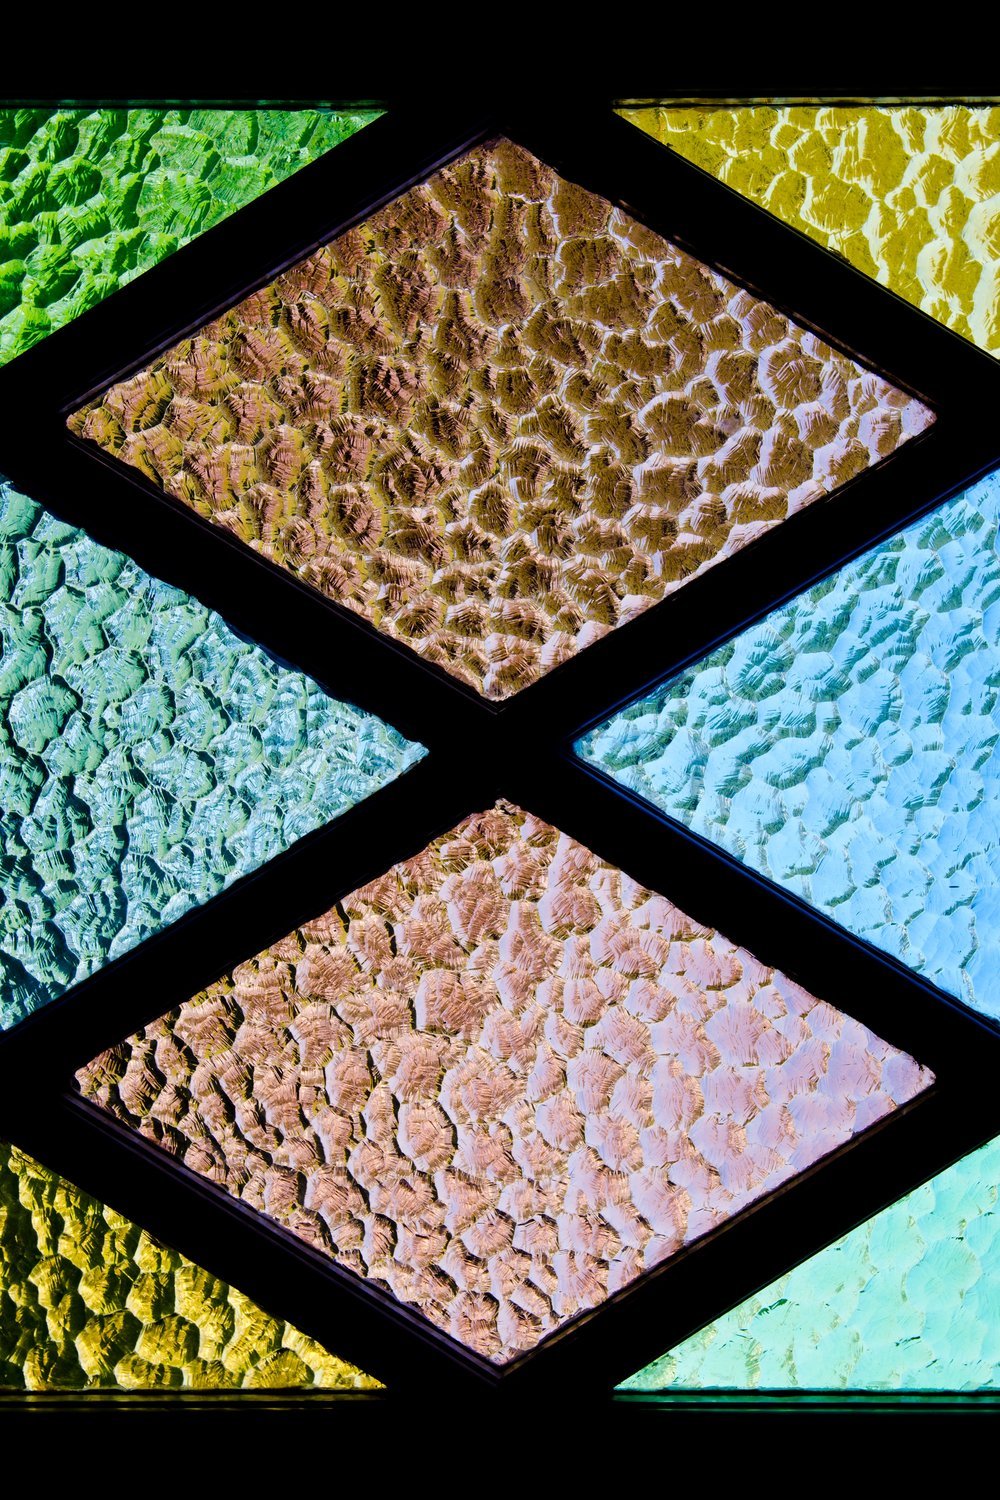
You don’t need expensive resin or a kiln to get that gorgeous stained glass look. A bottle of Elmer’s glue and some food coloring can pull off results that genuinely surprise people.
This viral technique works because dried glue becomes beautifully translucent, catching light almost like real glass. It’s the most-saved suncatcher diy method for good reason.
You’ll need:
- Elmer’s white school glue (around $2 a bottle)
- Food coloring or alcohol ink
- A plastic lid or acetate sheet
- Black acrylic paint for outlining
Paint your black outline design directly onto the plastic surface and let it dry completely. Then flood each section with glue mixed with your chosen color.
Once fully dry — usually 24 to 48 hours — the whole piece peels off cleanly in one flexible sheet.
No special equipment, no heat, no mess. Thread a suction cup hook through a hole at the top and hang it straight in a sunny window.
Kids Suncatcher DIY: Contact Paper and Tissue Paper Rainbow

There’s something magical about watching a child’s face light up when sunlight hits their very first suncatcher diy creation — pure joy in color and light.
Clear contact paper and torn tissue paper make this the ultimate no-mess craft. Simply peel back the contact paper, let little hands press colorful tissue pieces onto the sticky side, then seal with a second sheet on top.
This works beautifully for ages 2 and up with light adult help. Cut the finished panels into suns, stars, or butterflies, then frame each shape with a simple cardstock border — aim for roughly a 1-inch cardstock frame to give it a polished, finished look.
- Perfect low-prep classroom or birthday party activity
- Makes a genuinely sweet handmade gift from kids
- Budget-friendly — a contact paper roll costs around $8 and covers dozens of projects
I’ve found hanging these in a sunny window transforms an entire room into a soft, shifting rainbow all afternoon long.
Resin Suncatcher DIY: Gorgeous Pressed Flower Designs
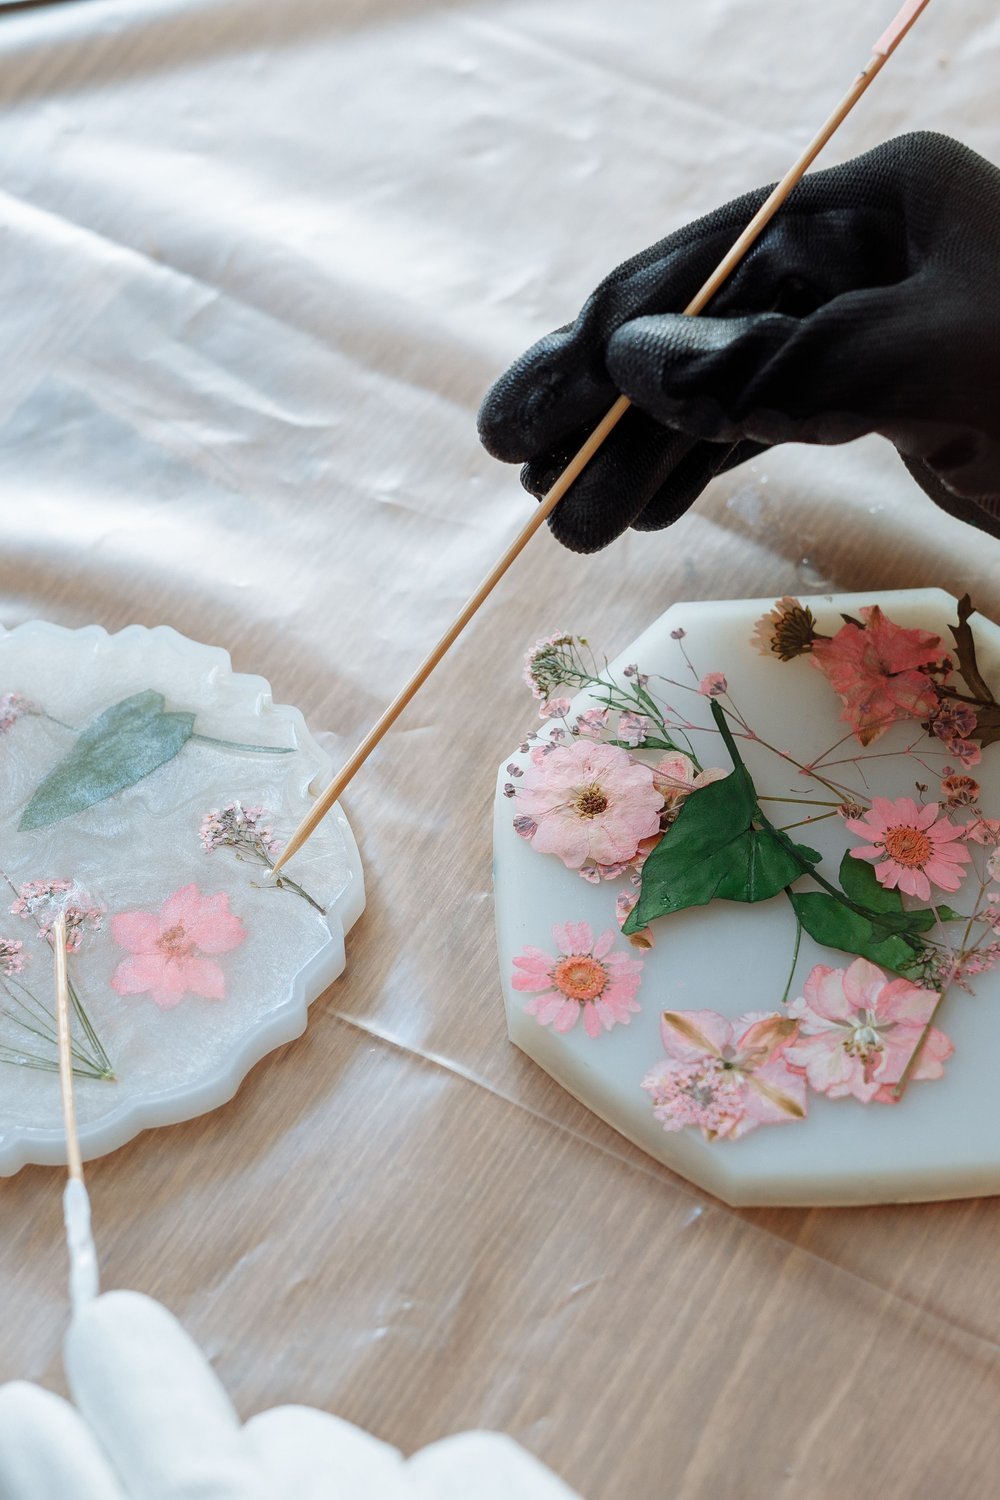
Press your flowers for at least 2–3 weeks before starting — fully dried botanicals prevent moisture bubbles from ruining your pour.
UV resin cures under a lamp in minutes, making it beginner-friendly. Epoxy resin gives you more working time and works beautifully for deeper molds.
Best mold options to explore:
- Silicone circle molds (flexible, easy release)
- Pre-made metal ornament bezels for a polished frame
- Vintage brass frames from craft stores — often under $8 for a pack
To achieve crystal-clear, bubble-free resin, warm your resin bottle slightly in warm water before mixing, pour slowly, and use a toothpick or heat gun to pop surface bubbles immediately.
This particular suncatcher diy idea really shines in finishing details. Sand edges gently with 400-grit paper, then attach a jump ring at the top.
Hang with satin ribbon, delicate chain, or twine — each option creates a completely different mood near a sunny window.
Melted Bead Suncatcher DIY in the Oven (Perler or Pony Beads)

On a slow winter afternoon, this project transforms a bag of plastic beads into glowing, jewel-like art. Pony beads and Perler beads melt in the oven into stunning translucent discs that scatter rainbow light across any room.
Bake at exactly 400°F for 20–25 minutes until fully melted and smooth. Always open a window — ventilation matters when melting plastic, full stop.
Metal cookie cutters work brilliantly as molds on a parchment-lined baking sheet. Hearts, stars, and round shapes all hold their edges cleanly once cooled.
This particular suncatcher diy technique rewards bold color choices. Try these combinations for maximum light impact:
- Cobalt blue + clear + white for a frosted ocean effect
- Orange + yellow + red for a stained-glass sunrise look
- Purple + pink + clear for soft, dreamy hues
Jewel tones packed tightly together produce the richest, most vivid results when sunlight hits them.
Macramé and Crystal Suncatcher Wall Hanging
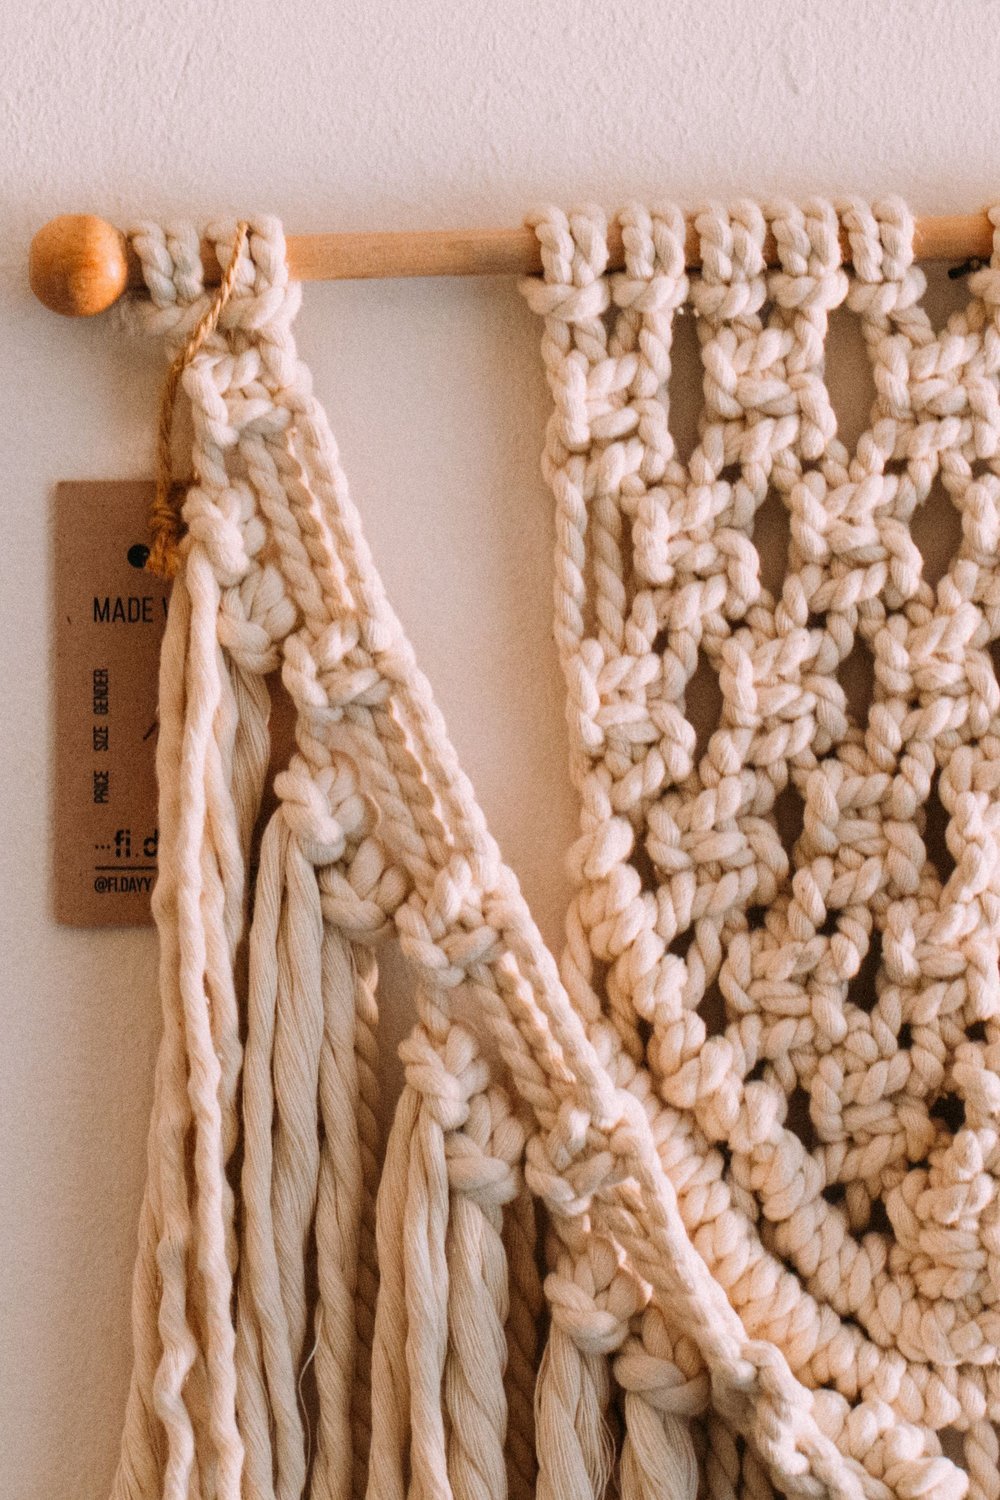
Hiring a boho wall hanging from an artisan boutique can easily cost $80–$120. This suncatcher DIY version comes together for under $20 and looks just as stunning above a window or bed.
Start by folding lengths of cotton rope over a wooden dowel using lark’s head knots — simply loop the rope over the dowel and pull the ends through. Then work square knots downward to build the classic macramé body.
Once your knotted panel is shaped, add the magic:
- Attach clear quartz points and amethyst chips using jump rings, spacing them so light catches each crystal differently
- Let some crystals hang lower than others for a layered, organic feel
- Trim the rope fringe at an angle for a finished, intentional look
Hung in a sunny window, the crystals scatter soft prisms across your walls. Displayed elsewhere, it reads as pure bohemian wall art — genuinely beautiful either way.
Sea Glass and Driftwood Suncatcher DIY for a Coastal Vibe
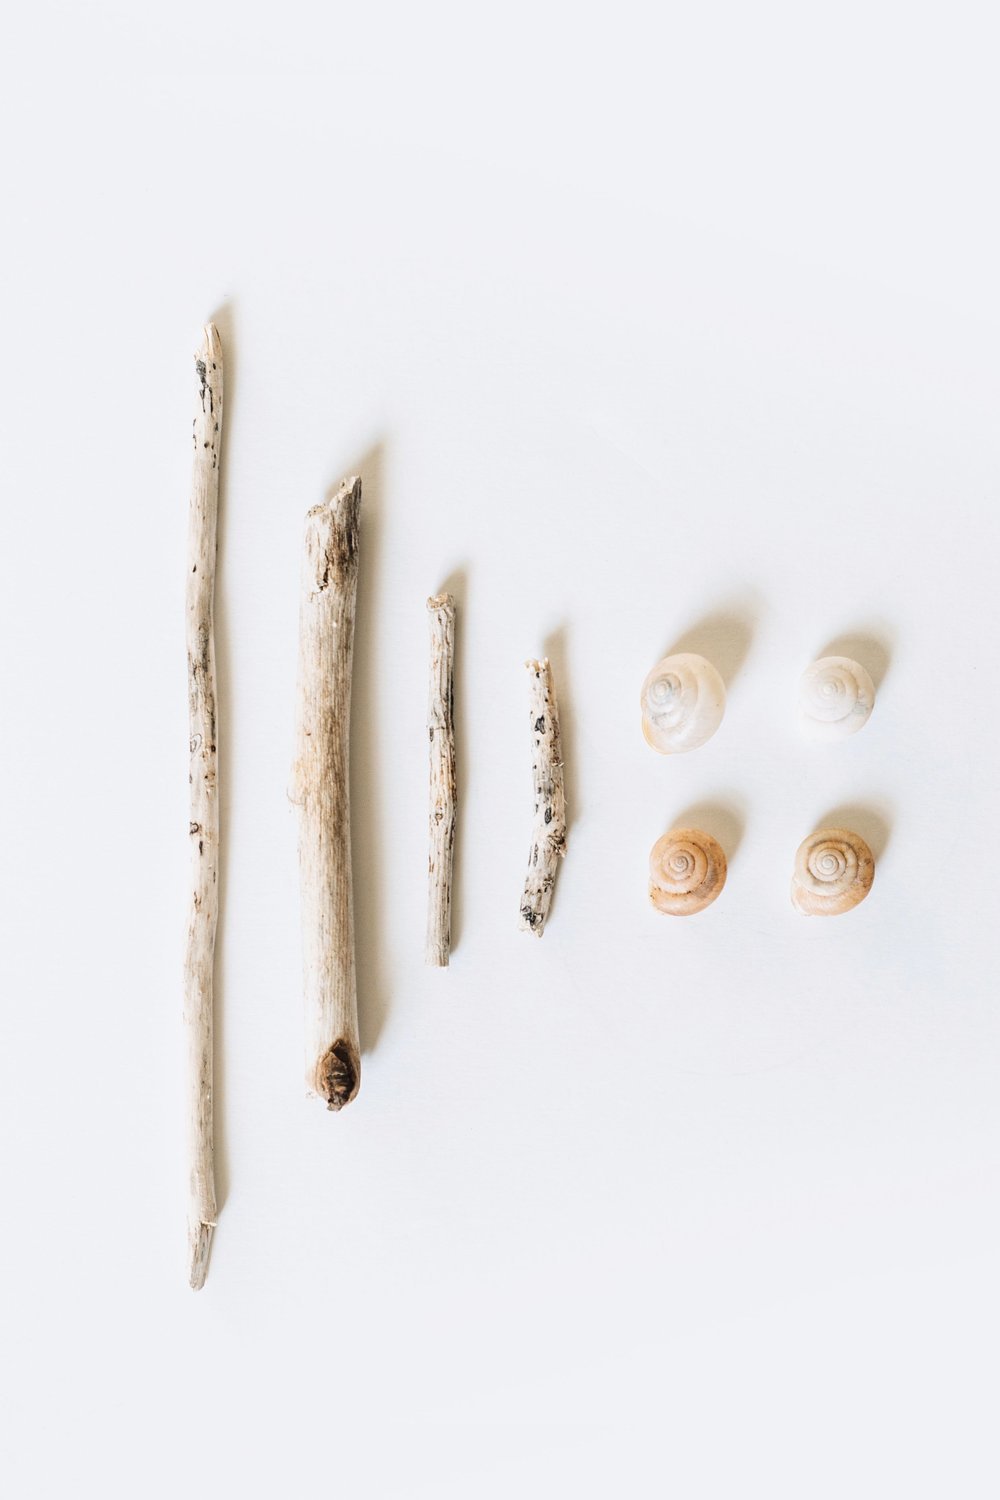
Sea glass takes anywhere from 20 to 40 years to form naturally — which makes every piece you find on the beach genuinely rare and worth showing off.
Can’t get to the coast? Tumbled sea glass from Etsy or craft stores runs about $8–$12 per bag and works beautifully for this project.
To hang each piece, you’ll need to drill through it. Use a diamond-tipped drill bit with a steady drip of water underneath to keep the glass cool and prevent cracking — go slow and let the bit do the work.
- Cut fishing line at varying lengths (6″, 10″, 14″) for a cascading effect
- Tie each sea glass piece and knot securely onto a weathered driftwood branch
- Space pieces unevenly for an organic, collected-over-time look
This suncatcher diy suits coastal, nautical, and cottagecore interiors perfectly — hang it near a window and watch it throw the most beautiful watery light across your walls.
Stained Glass Look Suncatcher DIY with Gallery Glass Paint
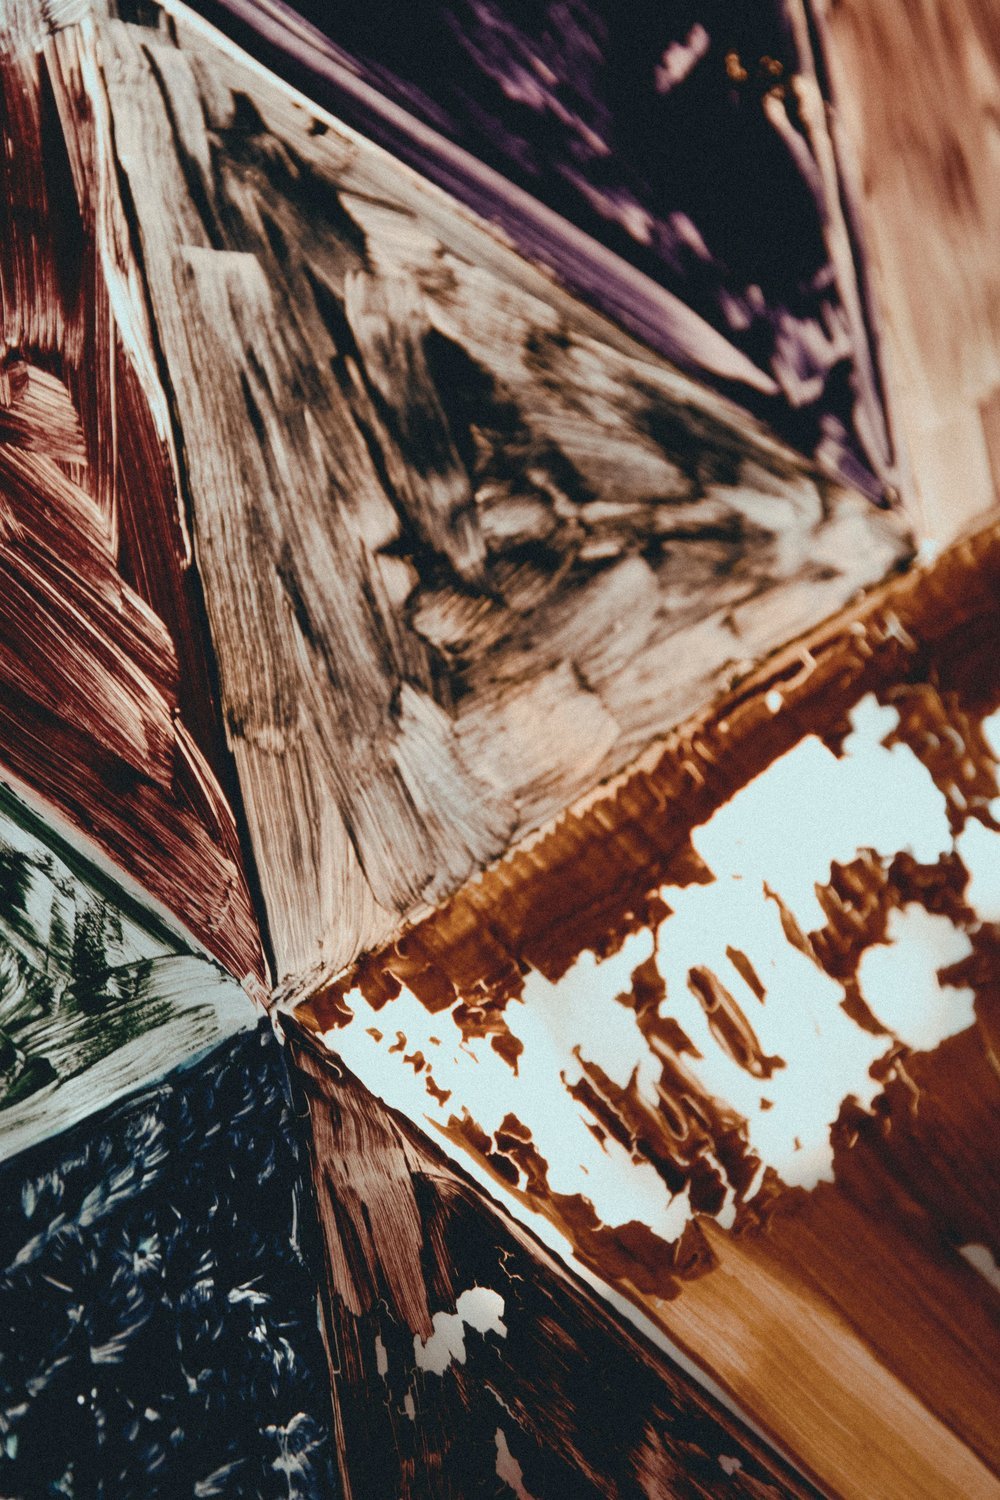
You’ve admired those gorgeous stained glass windows in old churches and wished you could recreate that magic at home. With the right supplies, you absolutely can.
Gallery Glass or Pebeo Vitrea 160 paint applied to acetate sheets or real glass circles gives you that rich, jewel-toned translucency without firing a kiln. Use a 6-inch glass circle from the craft store for a perfect starter size.
Before flooding in color, apply black outliner paint in smooth, confident lines to mimic traditional lead came. This step defines every section and gives your finished piece that authentic, structured look.
Designs that really shine through light:
- Geometric diamond grids
- Loose floral blooms
- Intricate mandala patterns
- Crescent moon and star celestial motifs
Once dry, this suncatcher diy project needs no extra sealant — Pebeo Vitrea becomes UV-resistant after oven-curing at 325°F, locking in vivid color that genuinely lasts for years.
Geometric Crystal Prism Suncatcher for Modern Minimalist Homes

Want a suncatcher that feels like gallery art rather than a craft project? This clean, architectural design delivers exactly that.
Pre-cut crystal prisms and optical glass balls suspended from a simple metal ring create a sculptural look that suits contemporary interiors beautifully. Nothing fussy, nothing overdone.
Thread each element onto clear monofilament line at varying lengths — around 6 to 10 inches — so the pieces appear to float weightlessly in mid-air. The invisible suspension is genuinely what makes this suncatcher diy project look expensive.
- Hang in south or west-facing windows to catch the longest afternoon light and throw rainbows across your walls for hours
- Use a 4-inch brass or matte black ring for a finished, frame-like silhouette
- Keep spacing between prisms intentional — negative space is part of the design
This also makes a stunning housewarming or birthday gift, especially for friends who love modern, light-filled spaces.
Boho Beaded Suncatcher DIY Mobile with Moon and Star Charms
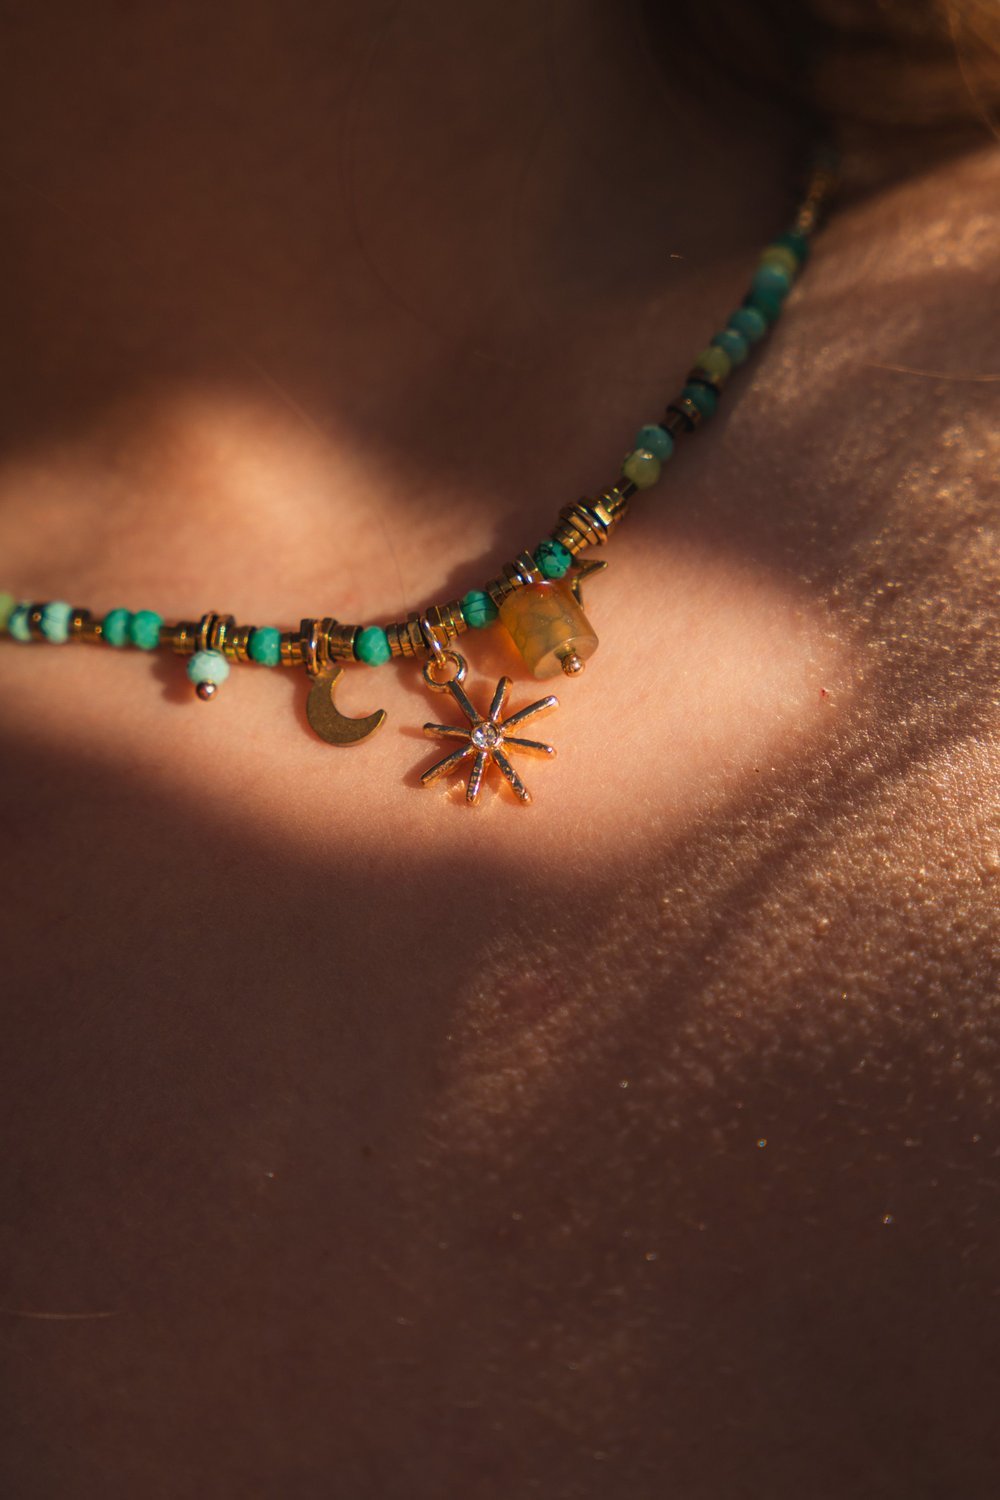
You don’t need a craft degree to pull this off — a beaded mobile suncatcher diy project like this looks impressively intricate but comes together in an afternoon.
Thread multiple strands of seed beads onto a 6-inch brass ring, spacing them unevenly for that effortless bohemian cascade. Longer center strands draw the eye downward while shorter outer strands frame the whole piece beautifully.
For color palettes, consider:
- Desert sunset — terracotta, burnt orange, dusty rose
- Midnight sky — deep navy, silver, and moody purple
- Pastel rainbow — mint, lavender, blush, and soft yellow
Moon and star metal charms anchor each strand at the bottom, catching light and swaying gently near a window.
Personalization makes this truly special. Swap in birthstone-colored beads, add zodiac charms, or thread letter beads to spell a name — turning a simple hanging mobile into a genuinely meaningful, giftable piece.
Suncatcher DIY for Beginners Using Dollar Store Supplies
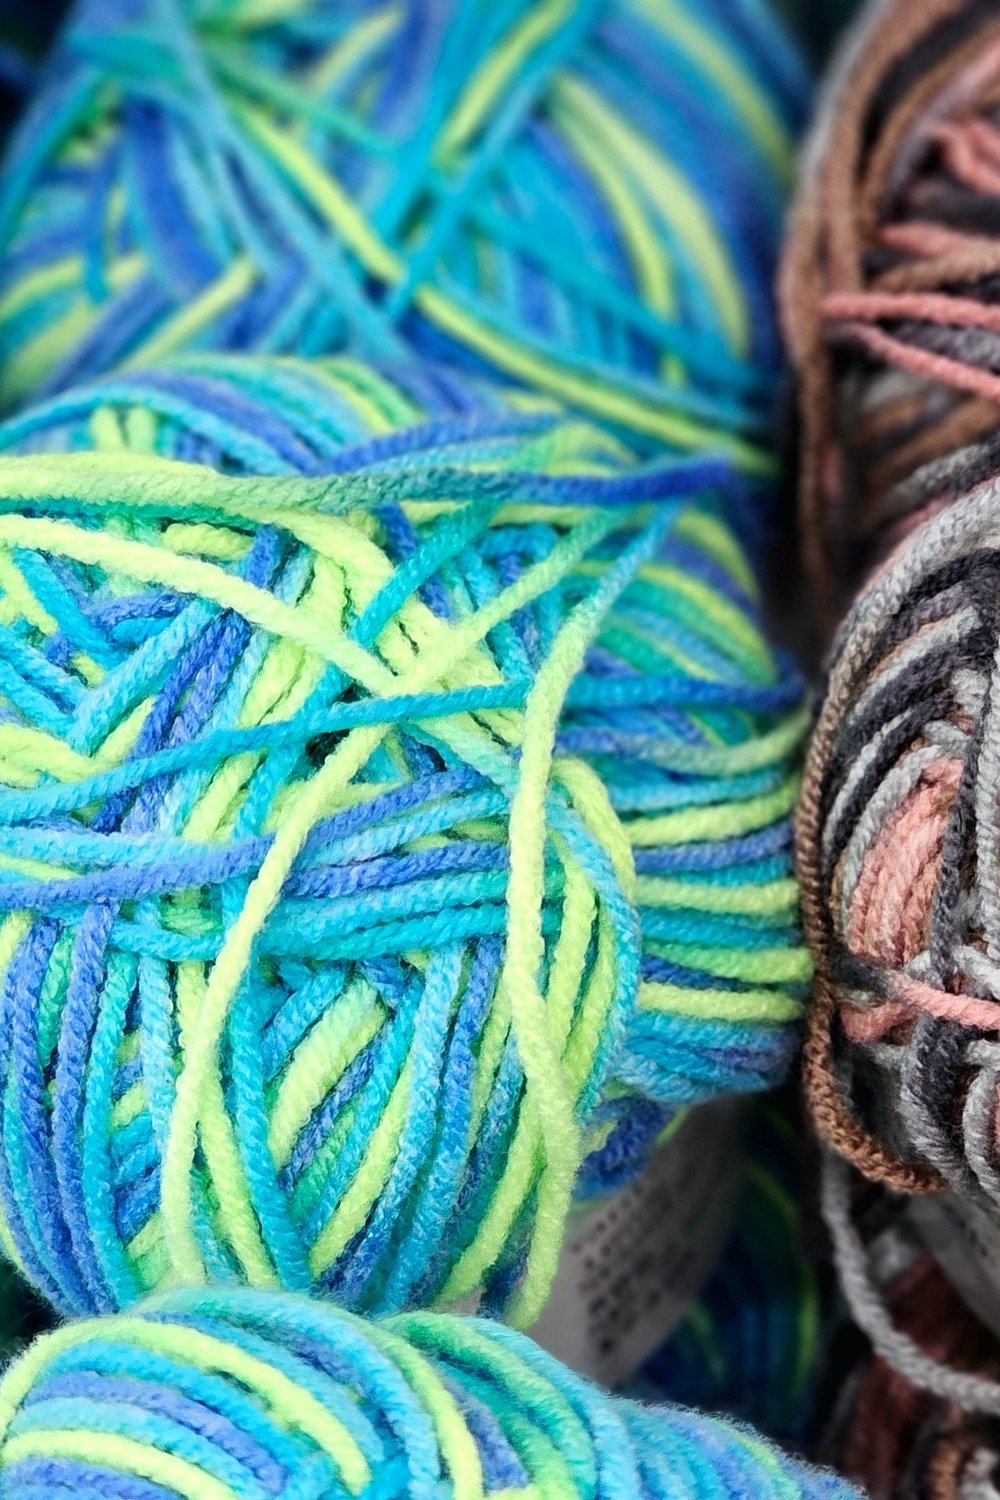
Walking past the dollar store craft aisle one afternoon completely changed how I approach window art — everything you need is right there, seriously.
A gorgeous suncatcher diy project costs under $5 when you shop smart. Grab clear plastic ornaments, acrylic paint, adhesive gems, and cellophane wrap — that’s genuinely all you need.
Two beginner-friendly projects to try first:
- Painted ornament suncatcher — pour a few drops of acrylic paint inside a clear ornament, swirl to coat, hang in a sunny window
- Gem-filled jar lid catcher — glue colorful plastic gems inside a clear lid, add a ribbon, watch the light scatter
Both take under 20 minutes and require zero special skills.
If you’re just starting out with crafting, these small wins build real confidence. Imperfect edges and wobbly gem lines? They only add charm when sunlight hits.
Nature-Inspired Leaf and Flower Suncatcher with Resin and Foliage
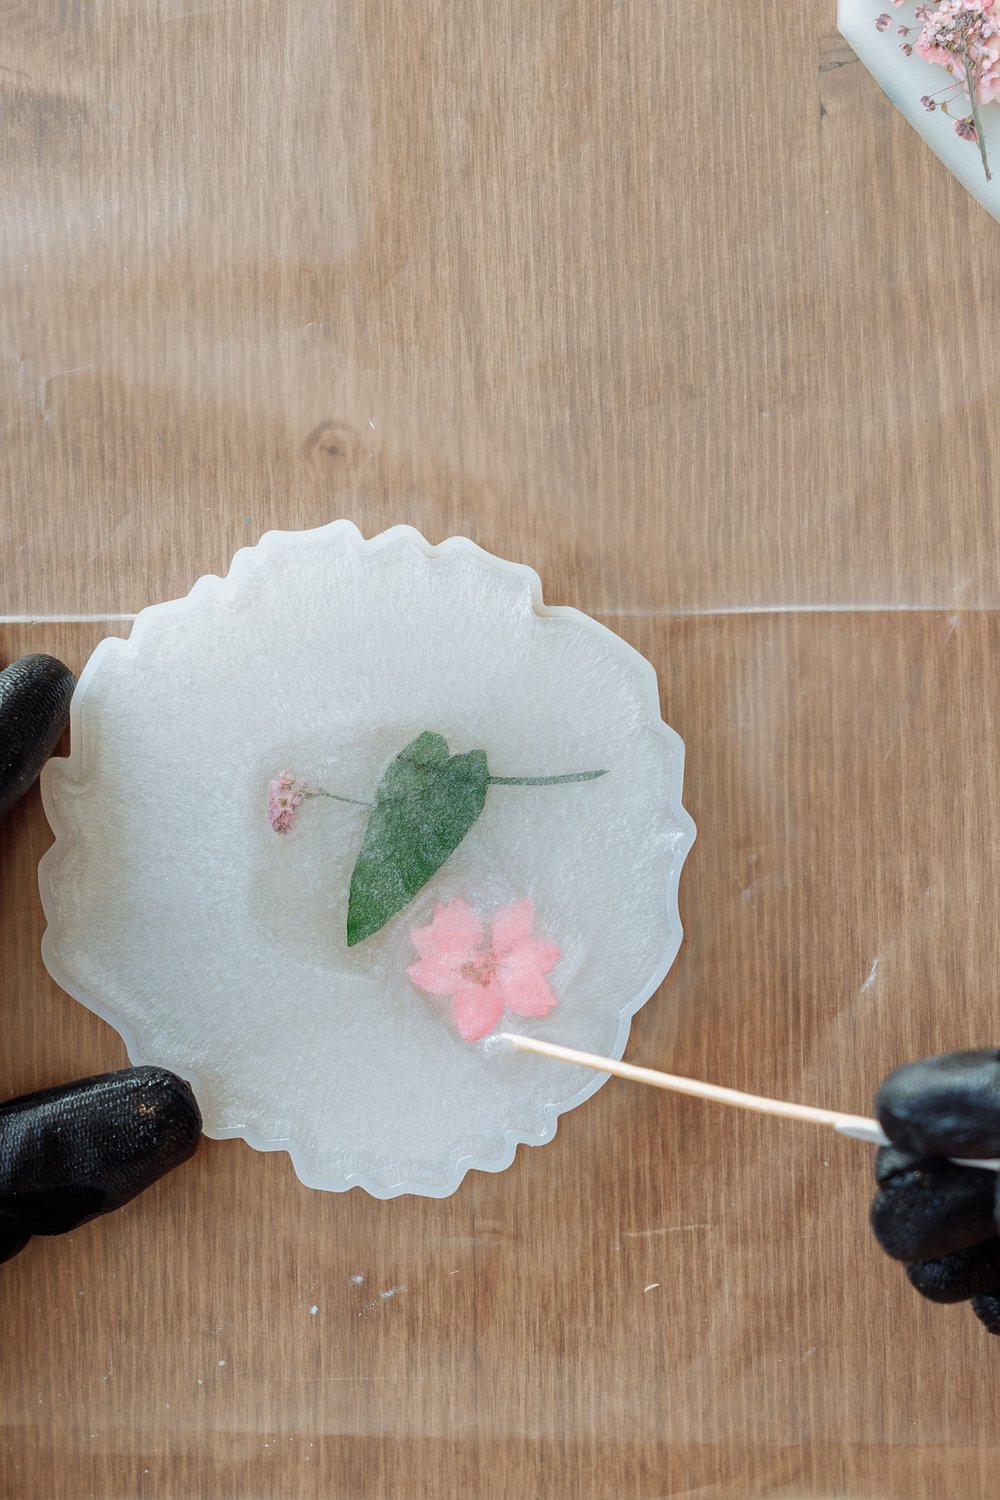
Press your botanicals between heavy books for at least 72 hours before you touch any resin — rushing this step causes trapped moisture to cloud your finished piece.
This suncatcher diy approach uses a simple but stunning layering method. Pour a thin base layer of resin, let it reach a tacky gel stage, then gently arrange your dried petals and leaves before sealing everything with a smooth top pour.
Autumn leaf suncatchers bring rich amber and crimson tones perfect for fall windowsills, while pressed wildflowers create delicate, cottage-style pieces that feel made for spring light.
To elevate any design, try this:
- Sprinkle loose gold leaf flakes onto your wet top layer
- Use a toothpick to drift them naturally around the botanicals
- Seal with a final ultra-thin resin coat to lock the shimmer in place
Gold leaf flakes cost around $8 a pack and genuinely transform a simple pressed-flower piece into something that looks boutique-worthy hanging in your window.
Upcycled CD Suncatcher DIY: Rainbow-Maker from Recycled Materials

On a bright summer morning, hang an old CD near a sunny window and watch your walls erupt in spinning rainbow light. Those scratched discs gathering dust in a drawer? They’re actually natural prism machines — the metallic layer diffracts sunlight into full-spectrum color without any modification at all.
For a more decorative finish, try these surface treatments:
- Swirl transparent glass paint across the reflective side
- Layer tissue paper decoupage for a stained-glass effect
- Dot acrylic paint in a mandala pattern, leaving gaps for light to pass through
- Leave it completely plain — honestly, it still looks stunning
Hang 3–5 crystal beads or seed-bead fringe from the bottom hole to multiply the dancing light below.
This suncatcher diy idea costs practically nothing — making it a favorite zero-waste craft project for sustainability-minded creators who want beauty without the shopping trip.
Sun and Moon Window Suncatcher DIY with Polymer Clay Accents
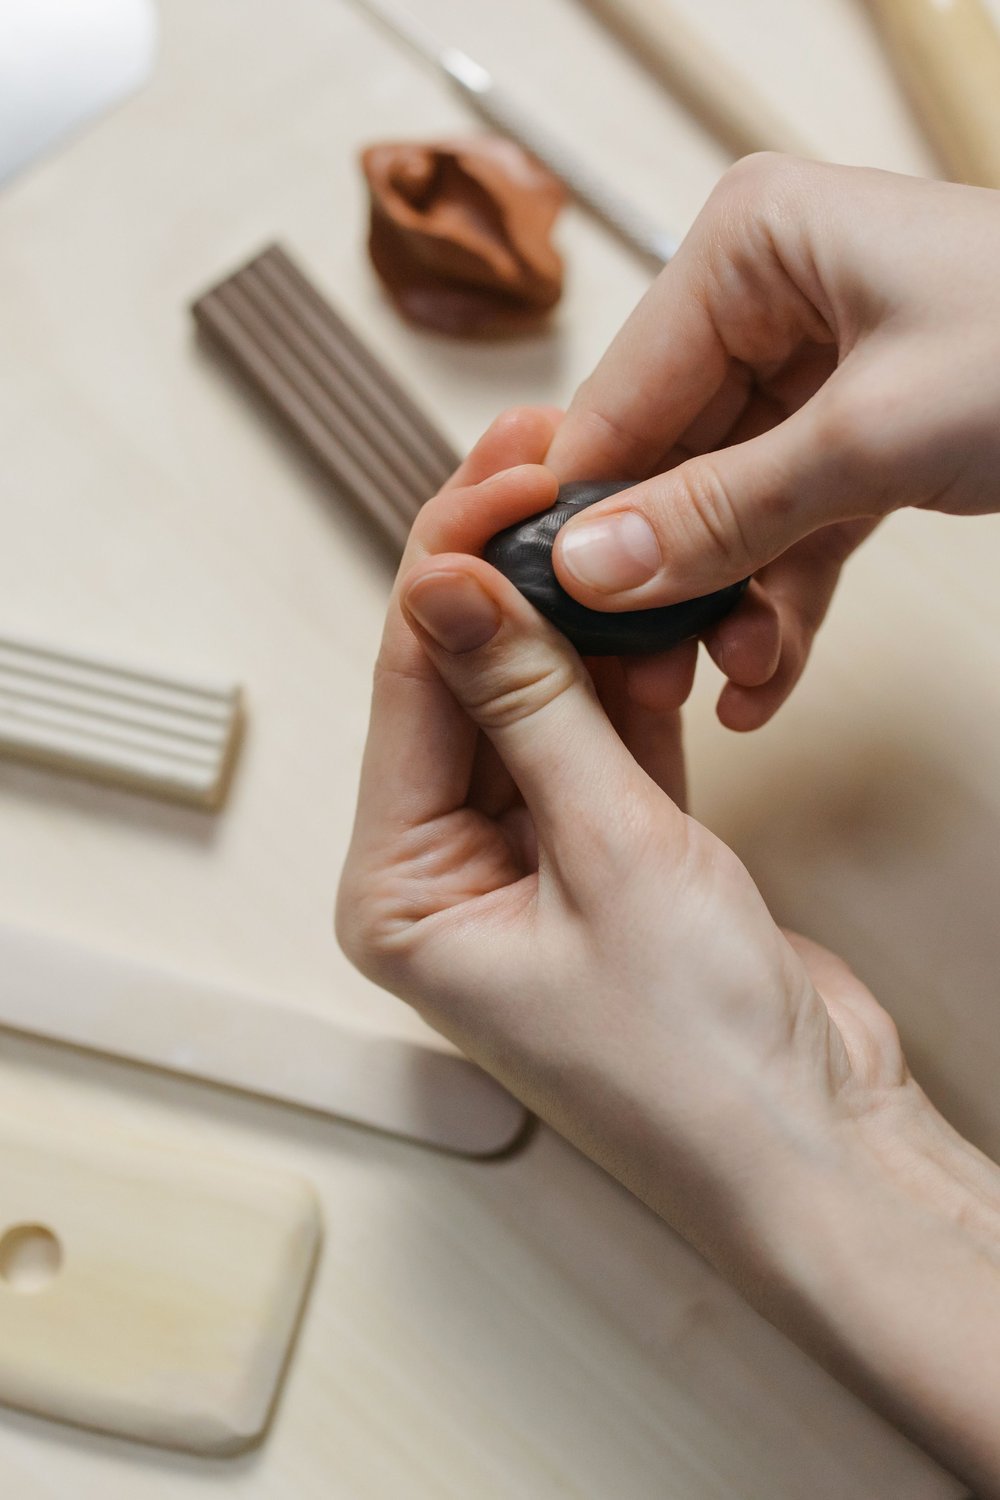
Store-bought celestial décor easily runs $40+, but this suncatcher diy costs a fraction of that using polymer clay and a handful of crystal beads.
Roll and shape crescent moons, tiny stars, and sun discs from Sculpey or Fimo clay. Bake at 275°F following your clay’s package instructions, then sand lightly for a smooth, professional finish.
Seal every clay piece with a UV-resistant varnish before assembling — direct sunlight will eventually fade and yellow unsealed clay sitting in a sunny window.
Thread your finished clay charms alongside faceted crystal beads onto copper wire or waxed cord, spacing them so light passes freely between each piece.
For color, try these two stunning palettes:
- Golden sun palette: amber, warm yellow, and burnt orange clay with citrine or topaz crystal beads
- Silver midnight palette: pearlescent white and charcoal clay paired with icy blue or deep purple crystals
Both create genuinely breathtaking window displays when afternoon light hits.
Watercolor Window Suncatcher DIY on Transparency Film

Overhead projector sheets — often found in packs of 50 for under $12 — make one of the most surprisingly beautiful suncatcher bases you’ll ever work with.
Lay your transparency film flat and drop watercolor or alcohol ink directly onto the wet surface, letting the pigments bloom and bleed into each other organically. The wet-on-wet technique creates soft, unpredictable gradients you genuinely couldn’t plan if you tried.
Once dry, cut the film into circles, leaf shapes, or abstract forms. A quick pass with a heat gun gently curves the edges and locks the ink. Add a small grommet at the top and hang it near a sunny window.
This particular suncatcher diy approach works so beautifully because transparency film diffuses light rather than simply reflecting it — the translucent watercolor layers produce a soft, painterly glow that shifts throughout the day like living stained glass.
- Use 70% isopropyl alcohol to thin inks for smoother blending
- Layer complementary colors for deeper, jewel-toned results
- Seal finished pieces with a UV-resistant spray to prevent fading
Yarn-Wrapped Dreamcatcher-Style Suncatcher with Beaded Center

You know that bare corner of your bedroom window that feels a little lifeless? This project fixes that instantly.
Start by wrapping a 10-inch embroidery hoop tightly with chunky yarn in two or three complementary colors — sunset oranges, dusty pinks, or ocean blues all work beautifully depending on your room’s palette.
Next, weave a crystal bead web pattern across the center using clear nylon thread. As you weave, thread faceted glass or acrylic beads directly into the design so light catches them at every angle.
Below the hoop, attach flowing tassels made from ribbon, craft feathers, and strung seed beads. The layered movement they create makes the whole piece feel alive whenever a breeze drifts through.
This suncatcher diy blends the spiritual roots of dreamcatcher-making with something genuinely modern — equal parts wall art, light catcher, and conversation piece.
- Use metallic or iridescent yarn for extra shimmer
- Mix bead sizes to create depth in the woven center
- Hang with suction cup hooks for easy repositioning
FAQ
What do I need to make suncatchers for beginners?
Ready to dive in but not sure where to start? Your beginner supply list is refreshingly short: clear fishing line, a wooden embroidery hoop, and a handful of glass or acrylic beads — total cost is often under $15. The easiest first project is a simple beaded hoop suncatcher, which takes about 30 minutes and needs zero specialist tools.
How do you make homemade window suncatchers?
The most beginner-friendly methods covered in this article include bead melting, resin pouring, and wire-wrapping crystals onto a frame. Each technique creates a lightweight piece you can hang with a suction cup hook or a small tension rod — no drilling required. Layering different shapes at varied heights gives the most dramatic light display across your window.
What materials make a good suncatcher?
The best materials share three qualities: transparency, strong light refraction, and durability. Glass beads, faceted acrylic gems, crystal prisms, and colored resin all catch and scatter light beautifully. For outdoor use, UV-resistant acrylic or tempered glass pieces hold up far better than standard plastic.
How do you make a crystal suncatcher?
A wire-wrapped beaded crystal suncatcher starts with a focal crystal point, which you secure using 22-gauge copper or silver wire coiled firmly around the top. Thread coordinating seed beads onto a length of fishing line, then attach several strands to a small ring or driftwood bar above your crystal. This suncatcher diy method is one of the most popular in the collection — and genuinely stunning in a sunny window.
Key Takeaways
You don’t need a craft room full of supplies to make something genuinely beautiful — a single suncatcher diy project can cost as little as $5 and completely transform a window.
- Every skill level is welcome: From simple resin pours to intricate stained glass-inspired designs, there’s a style here that fits where you are right now.
- Budget-friendly and premium options both shine: Whether you’re spending under $10 or investing in quality crystals, the results are equally stunning.
- Materials are more accessible than you think: Dollar store gems, old CDs, and basic wire are all fair game.
- One project is the perfect starting point: Pick the design that excites you most and let that first win build your confidence.
- The Pinterest community loves these: Share your finished piece — you might just inspire someone else’s living room glow-up.
Ready to keep decorating? Explore our window decor ideas, DIY home accents, and crystal home decor guides — and save this post to your Pinterest boards before you go!