17 Book Crafts That Turn Old Pages Into Art
Introduction
You can transform a single stack of paper into dozens of home accents with these book crafts diy ideas. Finding the right materials is the first step toward successful repurposed book art. When picking out thrifted books, look for a paper weight that feels slightly thicker than modern printer paper, as this prevents tearing when you fold or cut the pages. Avoid books with brittle or yellowed edges if you want your project to last for years.
You only need a few basic tools to get started with these upcycled book page projects. Keep a sharp pair of fabric scissors for clean edges and a low-temperature glue gun for quick assembly. A 1-inch foam brush is also essential for smooth decoupage applications. Whether you are creating delicate paper flowers or structured wreaths, mastering your supplies makes the process much easier. Explore these projects to give your vintage paper a second life.
Book Page Wreaths
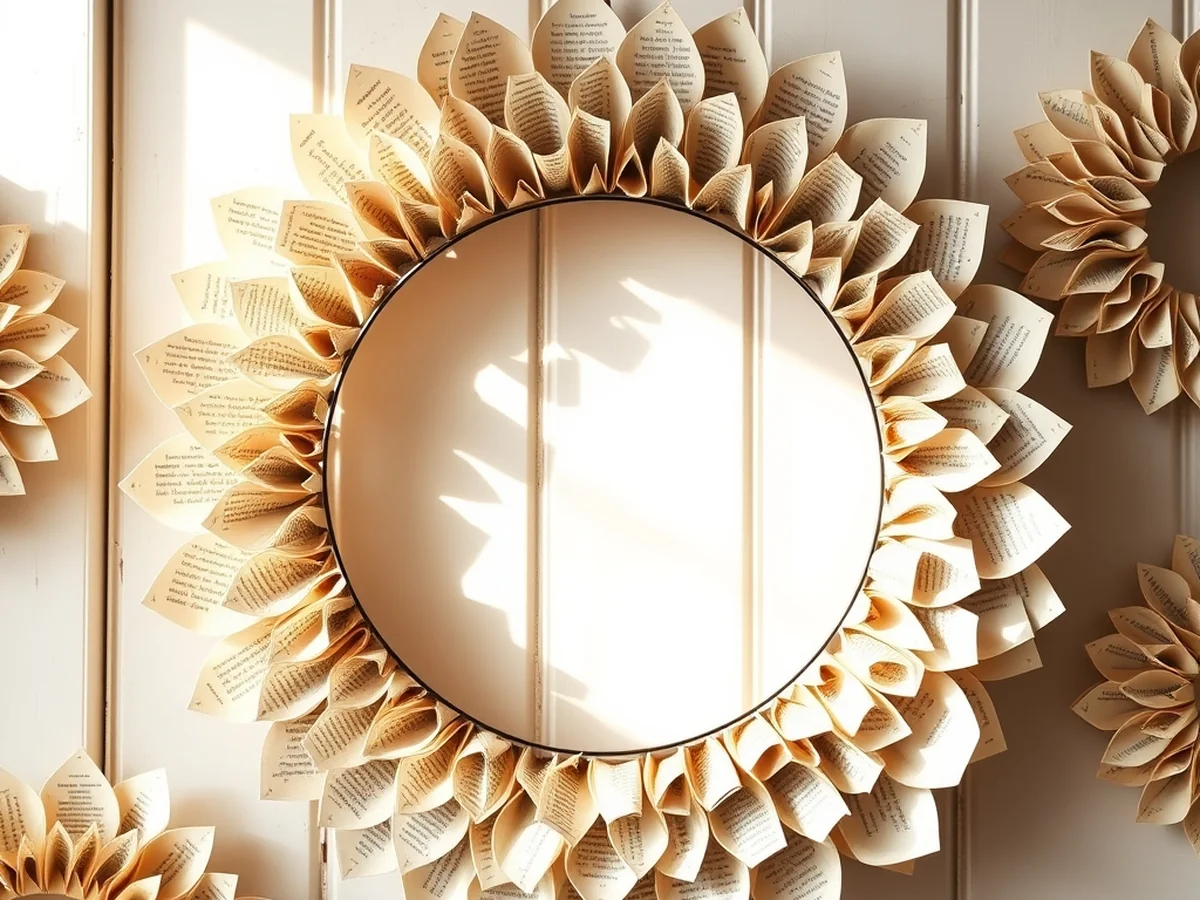
You probably have a few damaged novels collecting dust that are perfect for these book crafts diy ideas. A wreath made from vintage paper creates a soft, textured look that fits perfectly in a farmhouse or cottage style home. To start, you will need a 12-inch wire frame and about 50 individual book pages.
Creating volume is the main goal here. Roll each page into a tight cone shape and secure the edge with a dab from your glue gun. The tighter your roll, the more structural the paper becomes. Once you have a pile of cones, begin attaching pages to a wire frame by starting at the inner ring. Glue the base of each cone directly onto the wire, alternating directions to fill in gaps. Continue this process until you reach the outer edge, layering the cones to hide the metal frame completely.
One trade-off is that these wreaths are delicate. Keep them away from high humidity areas like bathrooms, as the thin paper can soften or lose its shape over time.
Paper Page Bunting
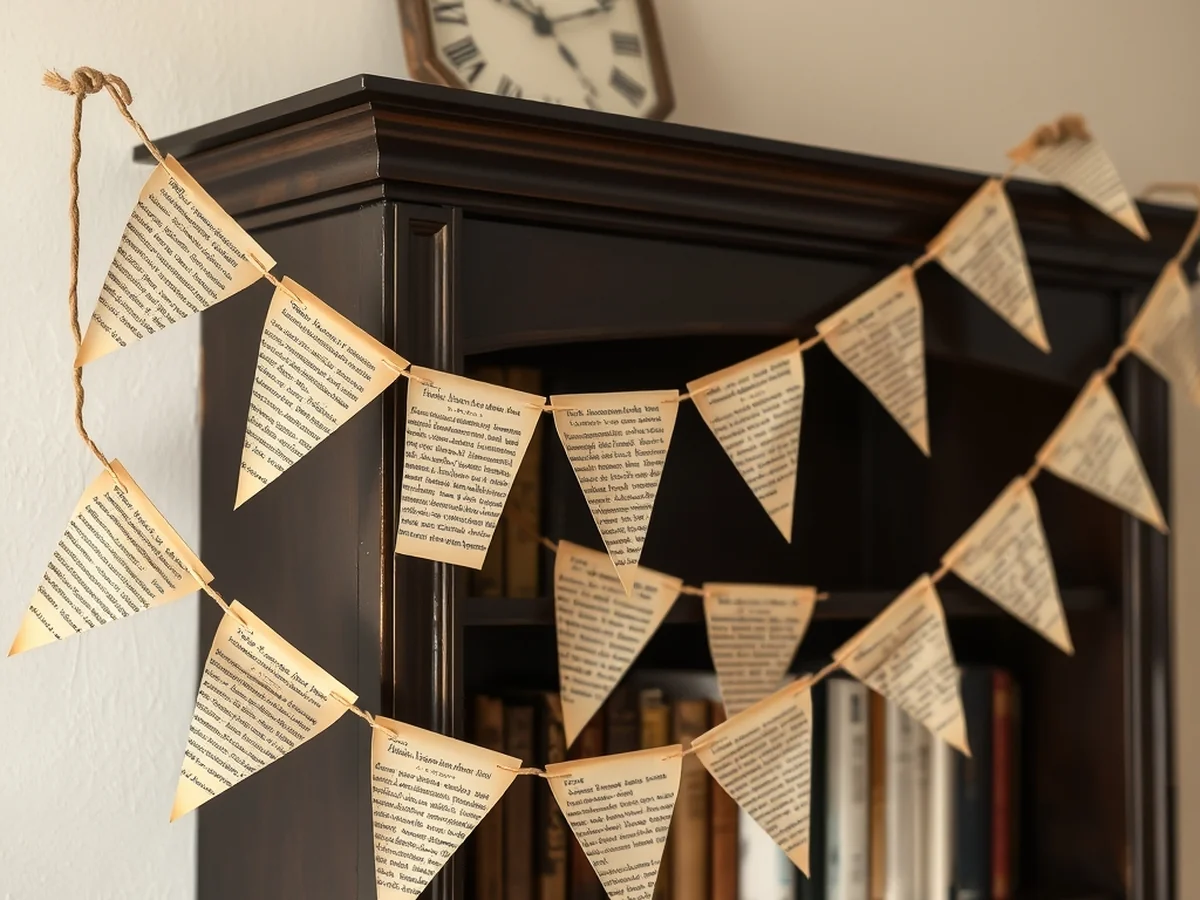
Do you want a simple way to use vintage paper for a party or shelf display? Making bunting is one of the most popular book crafts diy ideas because it highlights the beautiful typography found in old novels. Start by selecting a book with yellowed pages, as this adds a warm, authentic look to your home decor.
Use a sturdy pair of scissors to cut triangles from vintage text. A standard size is 5 inches wide by 7 inches tall for each pennant. You can use a cardboard template to keep every piece uniform. Once your shapes are ready, you need to thread pages onto natural twine. Poke two small holes at the top corners of each triangle and loop the string through the front to keep the paper flat against the wall.
- Space your triangles about 2 inches apart for a balanced look.
- Avoid using glossy pages as they reflect light and hide the text.
- Secure the ends with a small knot to prevent the paper from sliding.
This project is a great way to showcase repurposed book art without needing any glue or complex tools.
Book Page Flowers
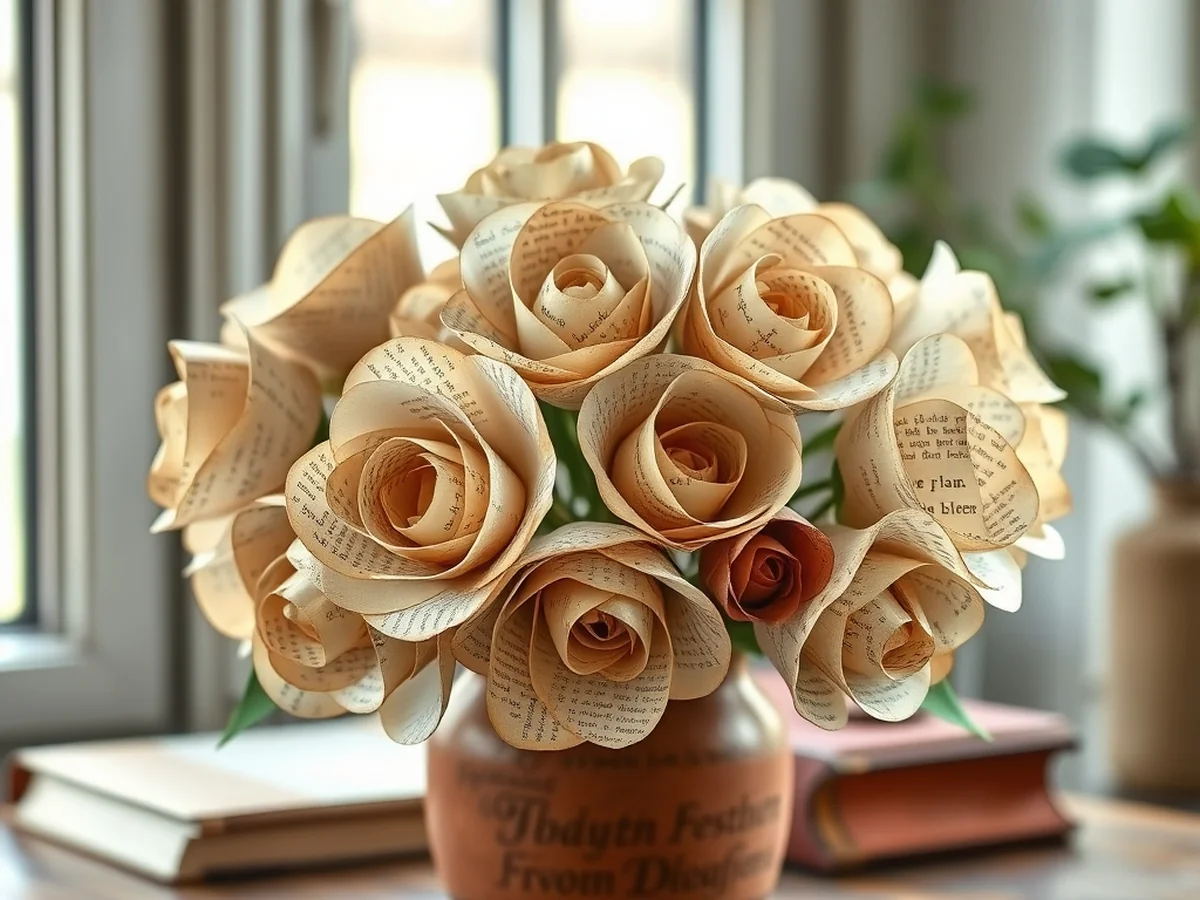
You might think paper blooms look flat and lifeless, but folding petals gives them a soft, realistic shape that mimics actual roses. These book crafts diy ideas turn brittle, yellowed paper into lasting decor for your shelves. Start by cutting circles about four inches wide from your vintage pages. Fold these circles into cones to create depth, then stack and glue them together. Using a floral wire for the stem provides the structural support needed for your flowers to stand upright in a vase. I suggest using a low temperature glue gun to attach the petals, as high heat can sometimes make thin, old paper curl too quickly. This project is a great way to use pages from a book with a damaged spine that you picked up for under $2 at a local thrift store. Once you finish the bloom, gently fluff the edges with your fingers to make it look organic. These flowers add a touch of vintage charm to any room.
Pressed Paper Ornaments
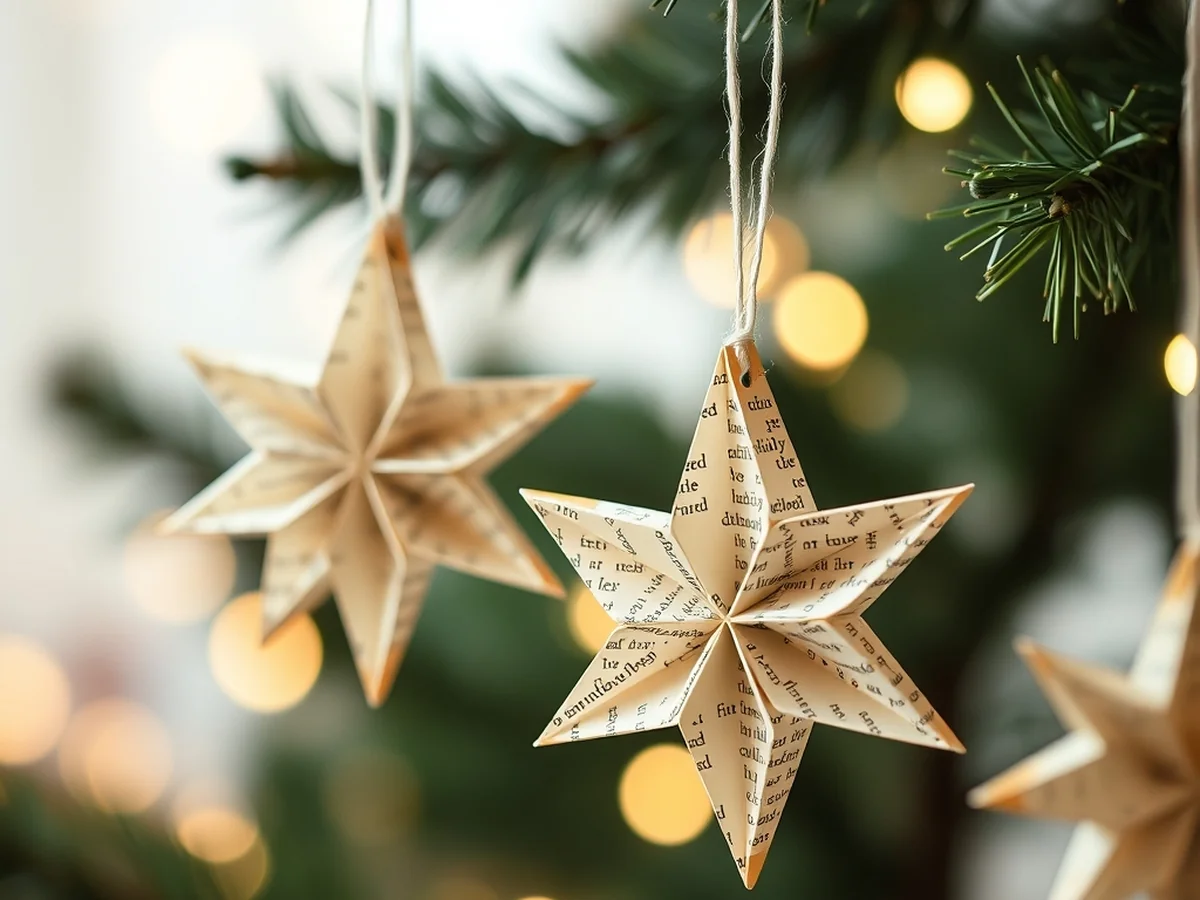
I find that stiffened book pages hold their shape much better than plain paper when I hang them on a tree or wall. These ornaments are among my favorite book crafts diy ideas because they add a vintage feel to any room without much effort. You should start by brushing a thin layer of decoupage glue over two pages pressed together to create a sturdy sheet. Once the glue dries completely, use a sharp pair of scissors to cut out simple shapes like stars or hearts. I always keep a 1-inch stencil handy to ensure my shapes stay consistent and look professional.
To finish these repurposed book art pieces, lightly drag a dark brown ink pad along the edges of your cutouts. This creates a soft, aged look that highlights the unique texture of the vintage paper. Adding this small detail makes the ornaments look like they came from a boutique rather than a craft desk. It takes about 20 minutes to make a set of five ornaments, making this a quick project for any afternoon.
Decoupage Glass Jars
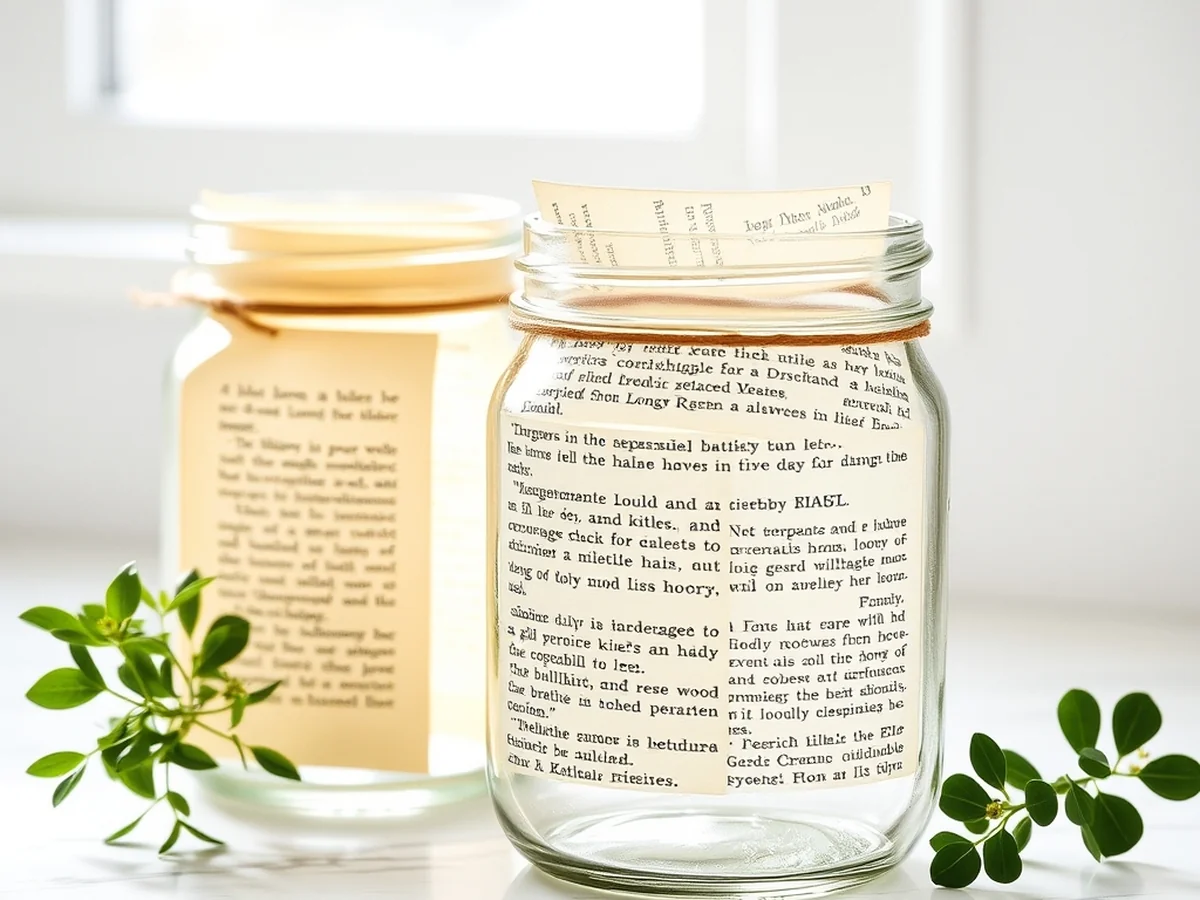
Use a soft synthetic brush to apply a thin, even coat of matte decoupage glue to your glass surface. This prevents the paper from wrinkling or tearing when you layer it. Among the many book crafts diy ideas, this project is perfect for using up yellowed pages from thrifted books that are too damaged for reading.
Start by cutting your book pages into one-inch strips or small irregular shapes. Press each piece firmly onto the glass, brushing more glue over the top to seal the edges. To smooth bubbles for a clean finish, work from the center of each paper piece outward using your fingertips or a plastic spreader. You should let the first layer dry for about 20 minutes before adding a second coat to ensure a durable seal. These jars work beautifully as rustic candle holders or desk organizers for your pens. For a professional look, keep the layer of paper thin so the text remains legible under the matte glue finish.
Simple Page Bookmarks
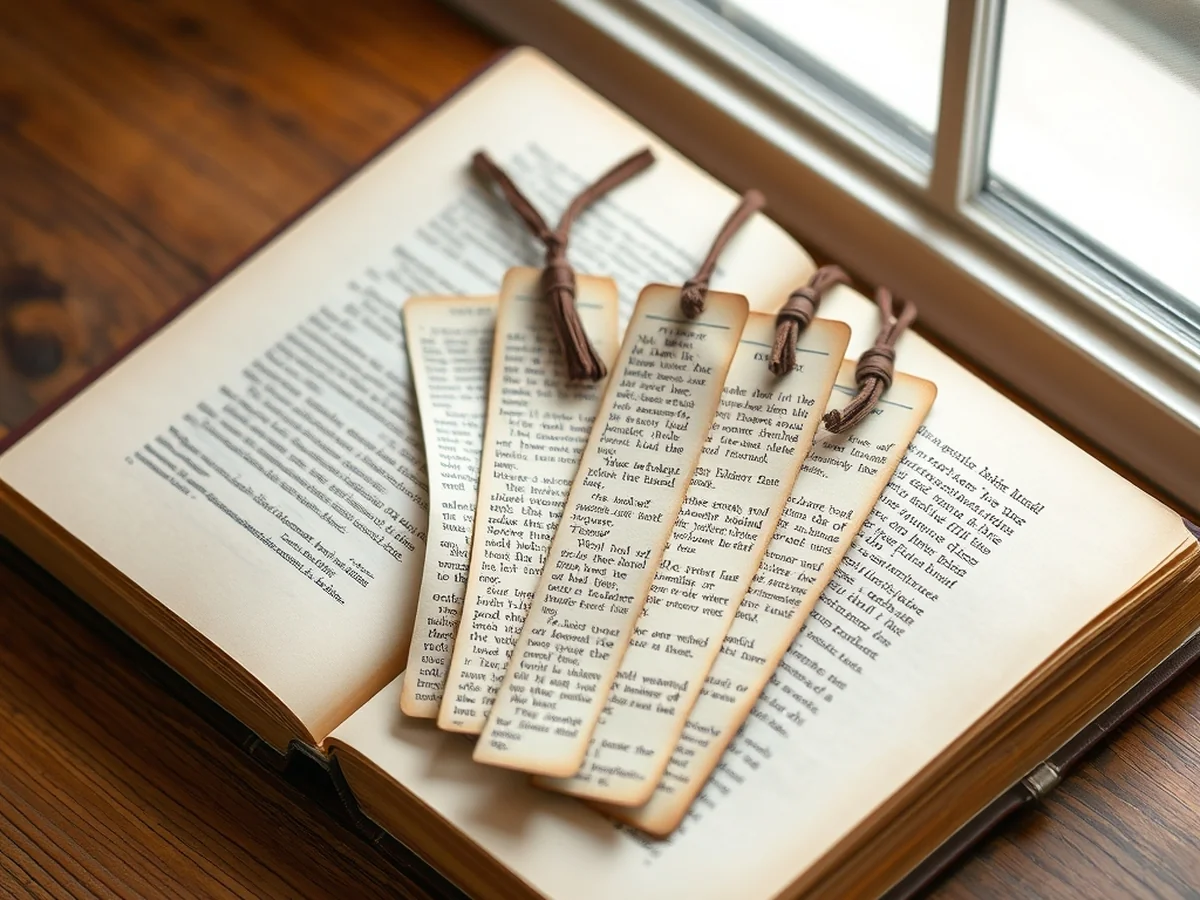
Crisp autumn afternoons are perfect for trying book crafts diy ideas that give your library a personal touch. You can easily turn loose sheets into elegant markers that protect your place without damaging your favorite novels. Start by selecting a page with interesting text or a vintage map illustration from a thrifted book.
To ensure your bookmark lasts through many reading sessions, you must reinforce the edges. Cut a strip of heavy cardstock measuring exactly 2 inches by 6 inches. Use a glue stick to attach the paper page to the cardstock backing, smoothing out any bubbles as you go. This layer prevents the thin vintage paper from tearing or curling when you slide it between pages.
- Use sharp scissors for clean edges.
- Punch a small hole 0.5 inches from the top.
- Thread a 6-inch piece of silk ribbon through the opening.
These repurposed book art pieces make wonderful gifts for fellow readers. Adding the ribbon finish creates a professional look that elevates your easy book crafts for adults collection. Keep your supplies organized in a small basket to make these quick projects accessible whenever you need a creative break.
Framed Page Art
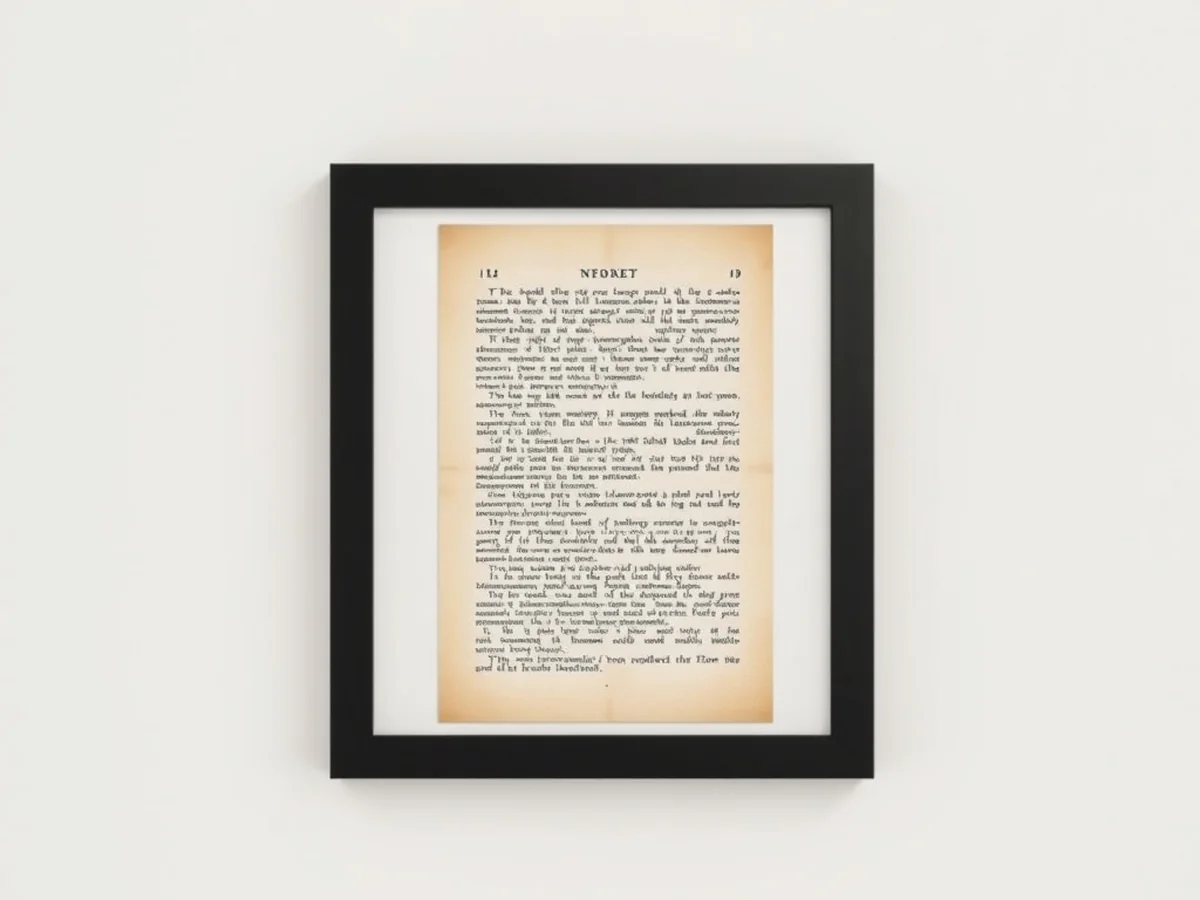
You can create gallery-style wall decor for about $5 per frame, which is significantly cheaper than buying mass-produced prints from big-box stores. This is one of the most accessible book crafts diy ideas because it requires nothing more than a few sheets of paper and basic hardware. Start by selecting pages with unique illustrations, such as vintage botanical drawings or intricate woodcut diagrams, to add instant character to your walls. I find that pages with slightly yellowed edges provide the best vintage aesthetic for this project.
Choosing frames to match your decor is the final step to making your paper art look polished rather than messy. Follow these tips to keep it looking professional:
- Use a 12 by 16 inch wooden frame to give smaller book pages a substantial presence on a large wall.
- Select thin gold or black metal frames if you want a modern look that lets the text stand out.
- Avoid using a glue gun directly on the page, as it creates lumpy areas that ruin the flat surface.
Always use acid-free tape to secure the page to your backing board to prevent long-term yellowing. This simple method turns repurposed book art into a permanent feature of your home.
Book Page Envelopes
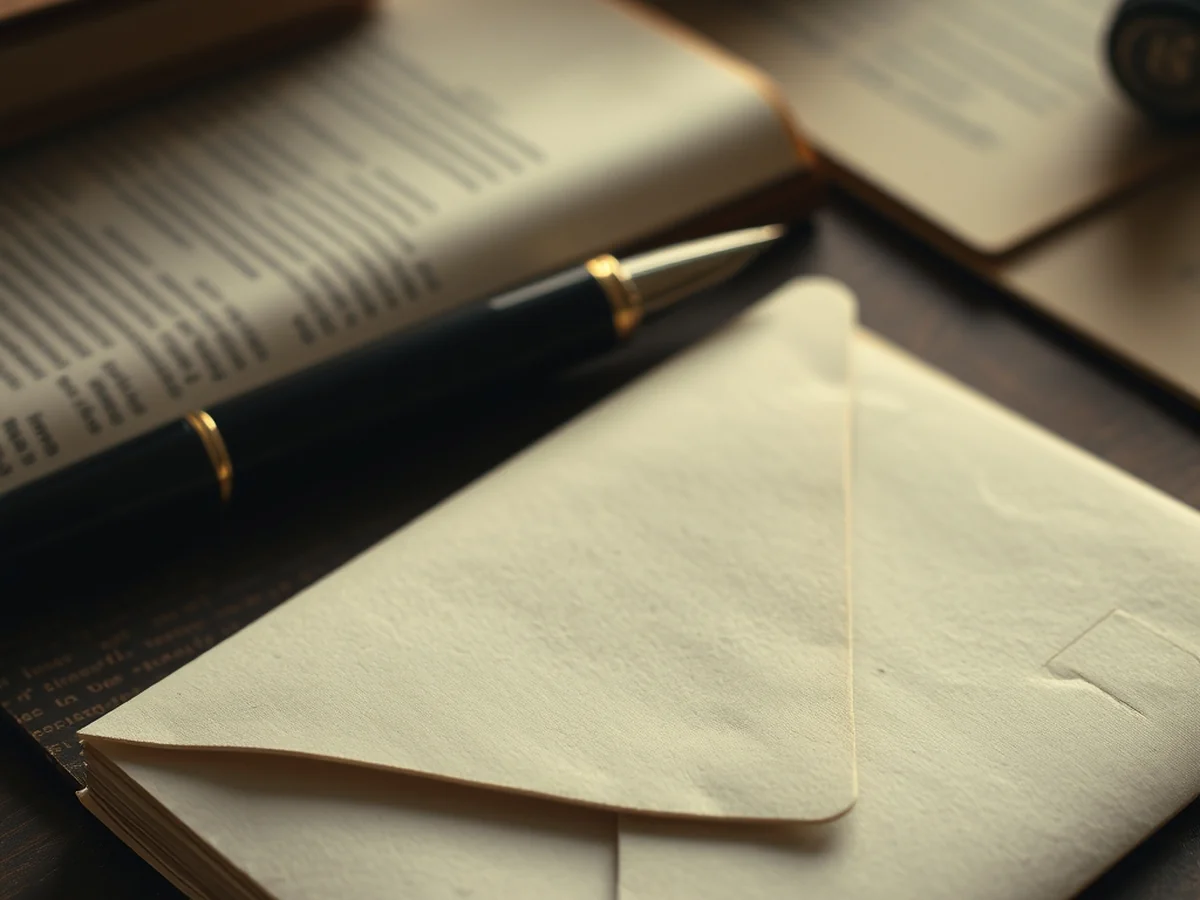
You can transform a single 8×10 inch page from a thrifted book into a custom envelope in under five minutes. These book crafts diy ideas provide a charming way to send handwritten notes that feel personal and nostalgic. Start by selecting a book with thin paper, as thicker pages often crack when you fold them tightly. Using an old envelope as a template helps you get perfect dimensions every time.
Trace the shape onto your chosen page and use sharp scissors to cut it out. Fold the side flaps first, then the bottom, and finally the top flap. A small amount of glue from a glue gun secures the edges, but keep the application light to prevent messy lumps. To add a vintage appeal, seal the back with a stamp of melted wax. These envelopes look beautiful when paired with dried flowers or twine. They are perfect for birthdays or small gifts, making your mail stand out in a stack of standard white paper.
Paper Table Runners
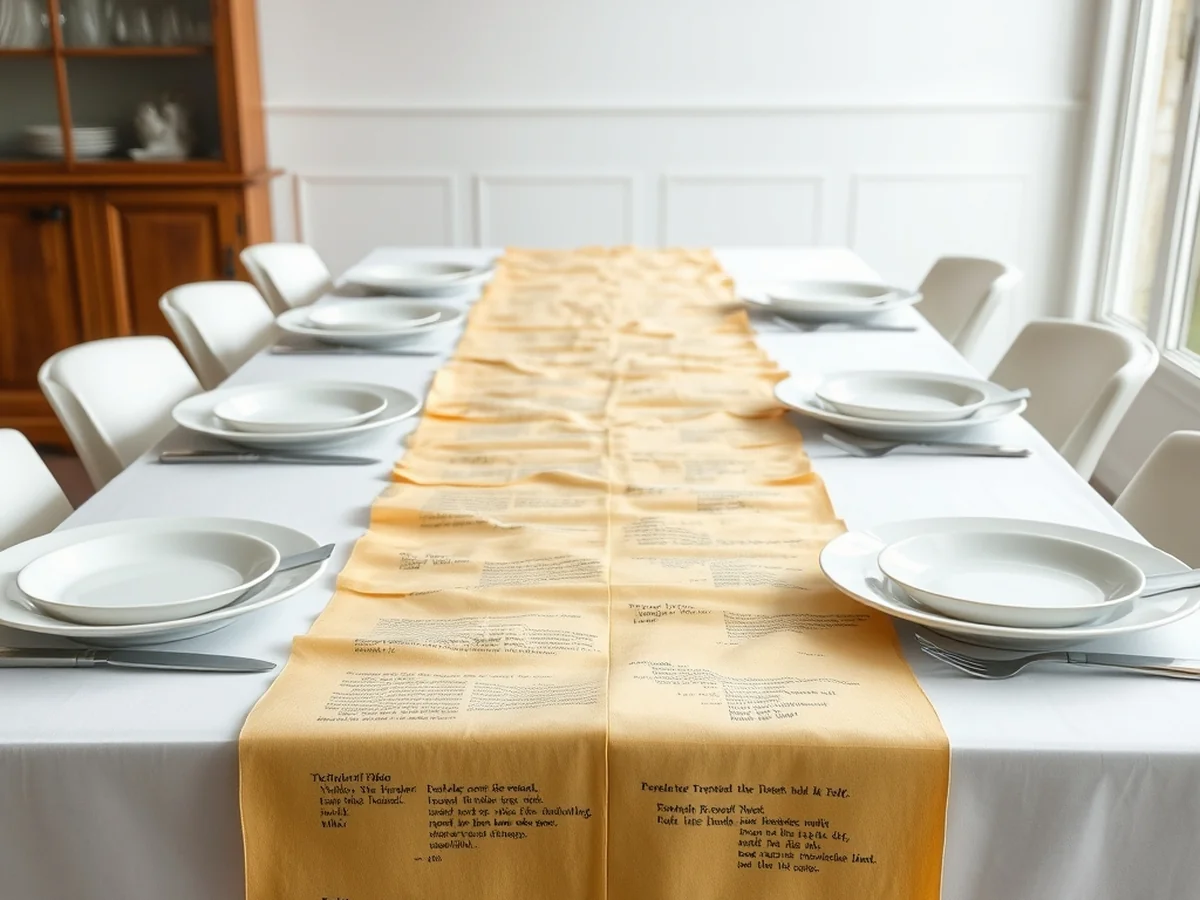
Hosting a dinner party often leaves you searching for a unique focal point that won’t break the bank. Using vintage pages for a custom runner is one of the most effective book crafts diy ideas for adding character to your dining room. To start, pick out a thrifted book with a slightly yellowed tint to achieve that warm, nostalgic look.
Start by laying pages in a consistent pattern along the center of your table, overlapping them by about one inch to create a continuous strip. I prefer using a light adhesive spray to keep them from shifting during the meal. Once the layout is secure, you must focus on protecting paper from food spills to ensure the runner lasts. Applying a thin coat of clear matte acrylic sealer over the top makes the surface water resistant. This simple step keeps condensation from glasses or accidental drips from ruining your hard work. A standard dining table usually requires about 30 to 40 individual pages for full coverage.
Book Page Coasters
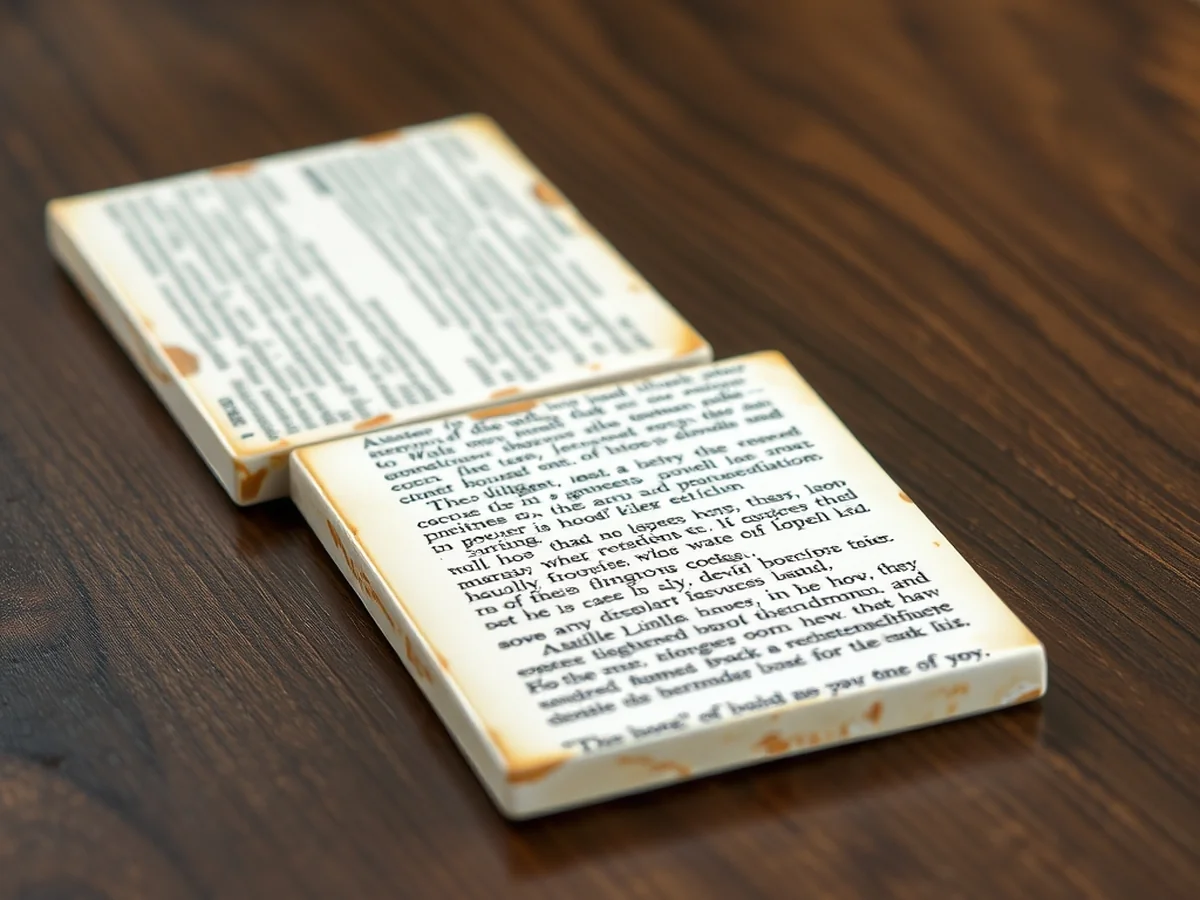
Do you want a simple way to protect your coffee table while showing off your love for literature? These coasters are among the most practical book crafts diy ideas because they turn yellowed, vintage paper into functional home accents. Start by picking up 4×4 inch ceramic tiles from a local hardware store for about $0.50 each. You will need to carefully trim your chosen text to fit the square surface exactly.
Use a thin layer of decoupage glue to seal pages onto ceramic tiles, smoothing out any bubbles with your fingers as you work. Once the paper is dry, the final step is essential for longevity. You must apply three thin coats of waterproof varnish to ensure the surface withstands condensation from cold glasses. Allow the varnish to cure for at least 24 hours before use. This process creates a durable, heat-resistant finish that prevents the ink from smearing or the paper from tearing over time.
Paper Wall Collage
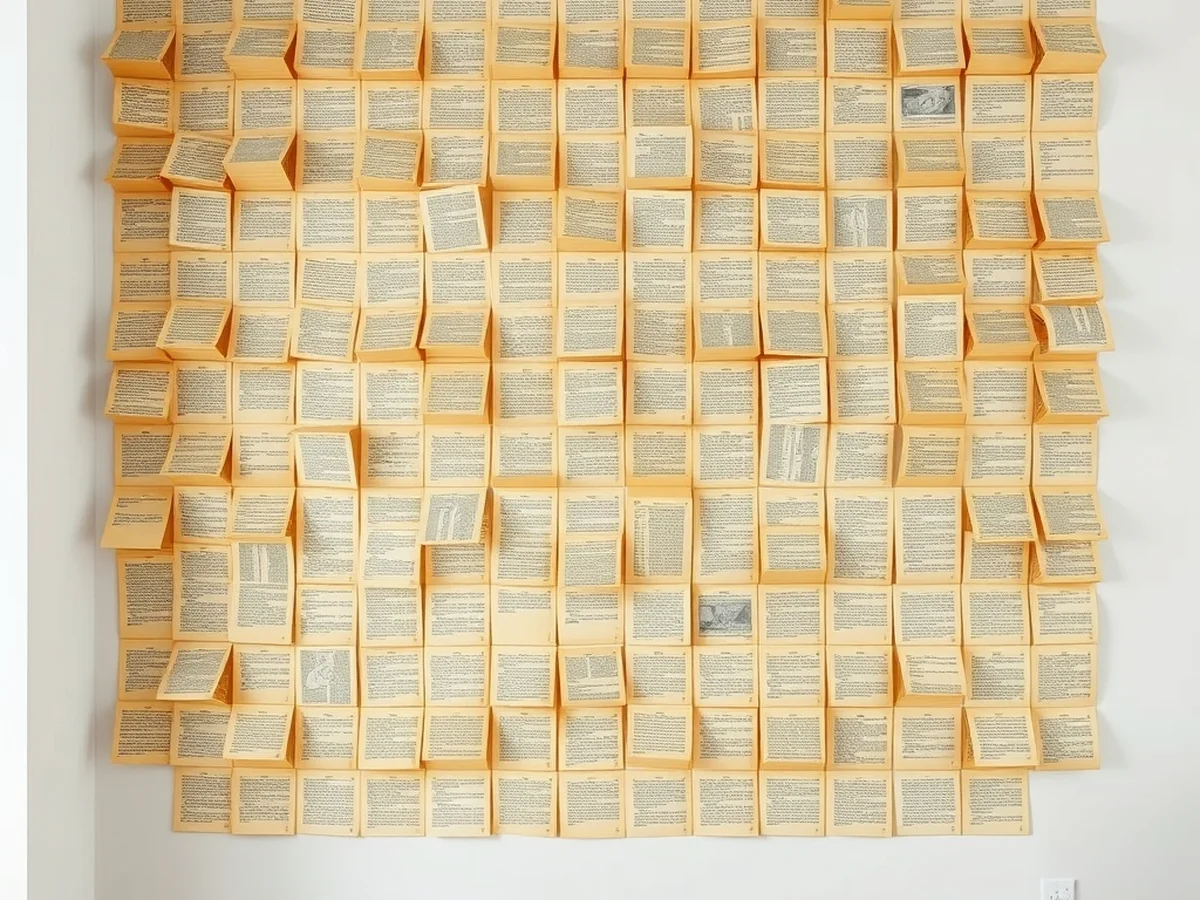
Many believe you need to glue pages directly to your paint to create a feature wall, but you should never risk permanent damage to your home. Using removable adhesive strips allows you to build a gallery of vintage paper that stays secure while remaining safe for your rental or home walls.
When picking book crafts diy ideas for your living room, look for books with a consistent paper weight and font size. I suggest using exactly 24 pages to cover a standard 2×3 foot area for a balanced, textured look. Start by laying your pages on the floor in a loose pattern. This lets you swap their positions until the layout feels organic and visually balanced before you commit to the wall. Upcycled book page projects look best when you stagger the heights and slightly overlap the edges to create a sense of movement. Press each page firmly against the wall using the strips, ensuring the corners are flat to prevent curling over time. This approach keeps your decor feeling fresh and easy to update whenever you want a change.
Book Page Planters
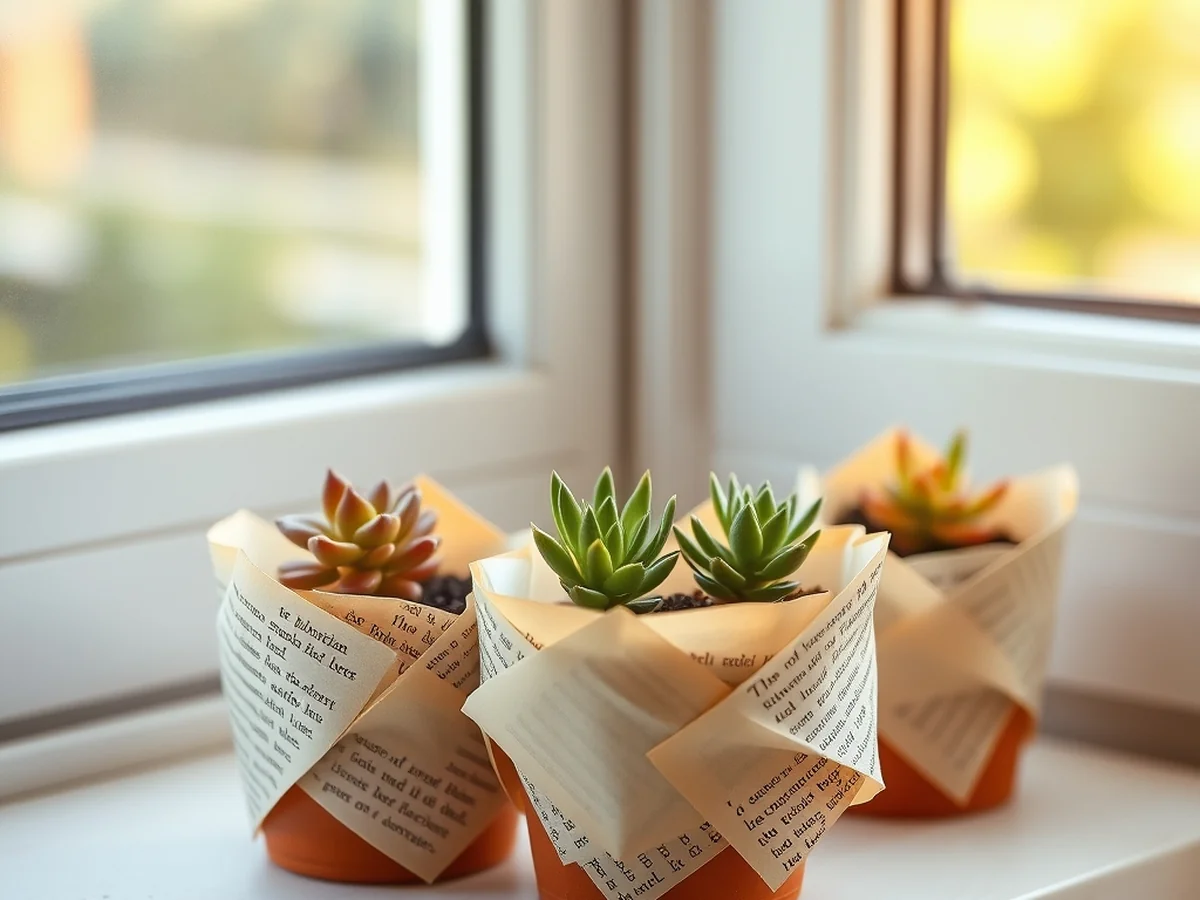
I find that wrapping a plain terracotta pot in vintage paper adds a sophisticated, literary touch to any windowsill. These book crafts diy ideas are perfect for giving thrifted books a second life as charming home accents. To start, select a book with yellowed pages for a warm, aged aesthetic.
Cut your pages into strips roughly 4 inches wide. Apply a thin layer of decoupage medium to the pot, then smooth the paper on, overlapping slightly to cover the surface. For the best result, use a clear acrylic sealer spray over the finished planter once the glue dries. This creates a protective barrier that keeps moisture from the soil and watering process from ruining your paper.
- Apply a thin, even coat of adhesive to prevent bubbling.
- Seal the finished surface to avoid moisture damage.
- Ensure the paper is completely dry before adding any plant.
Using this repurposed book art technique turns standard gardening supplies into unique conversation pieces. Just be careful not to overwater your plants, as even sealed paper can struggle with consistent dampness over time.
Page Gift Wrapping
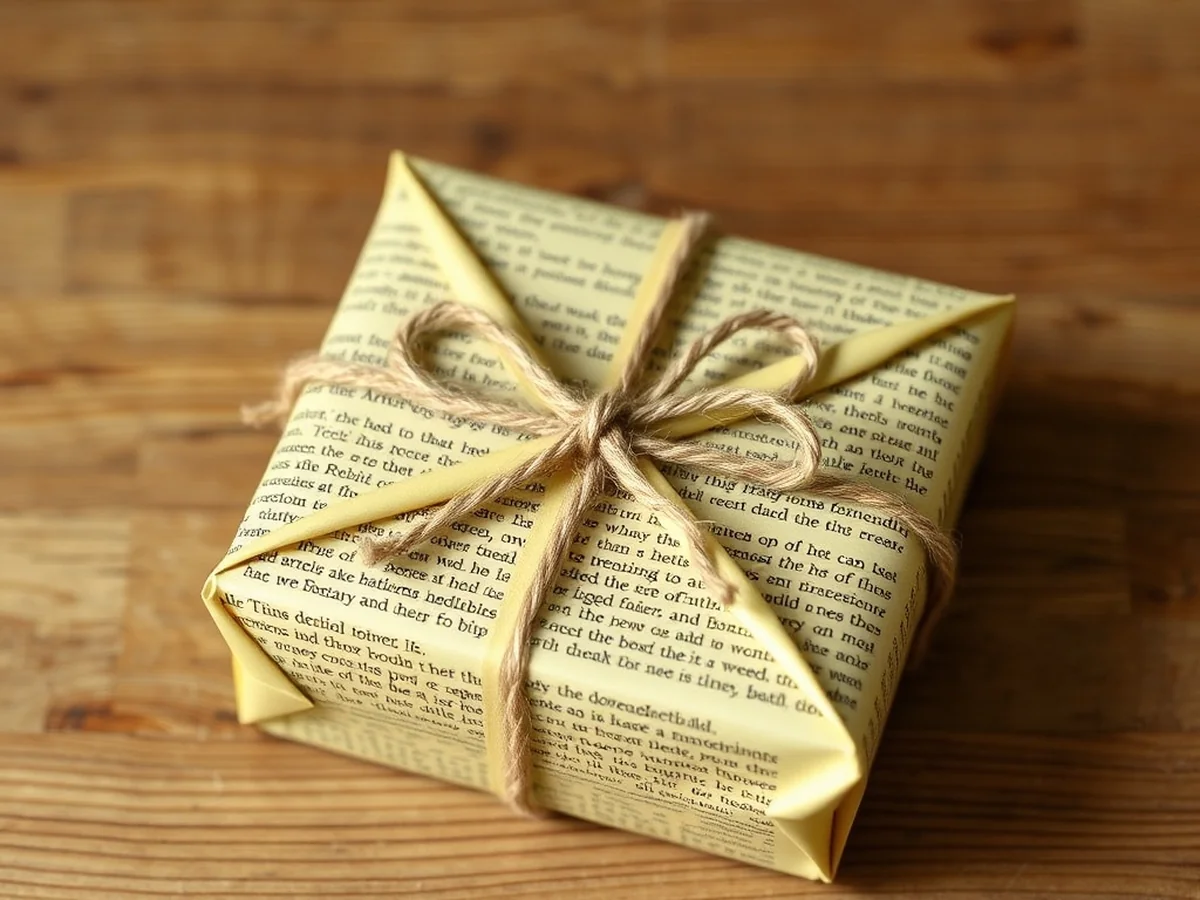
You can create custom, sustainable paper crafts by using pages from thrifted books as unique gift wrap. This approach is one of my favorite book crafts diy ideas because it adds a vintage aesthetic to any small present without costing you a cent. Simply remove a few sheets from a damaged novel, lay them flat, and wrap your box as you would with standard paper.
To give your gift a professional look, you should use a glue gun to secure the edges instead of tape. I find that pages from books printed before 1970 offer the best texture because the paper is thinner and easier to fold around sharp corners. For a special touch, tuck a sprig of dried lavender or a pressed fern under your twine. This extra detail provides natural texture that contrasts beautifully against the printed text. You can wrap a small package, roughly 4×4 inches, using just two sheets of paper. It is a simple way to practice upcycling while making your gift stand out under the tree.
Book Page Wall Art
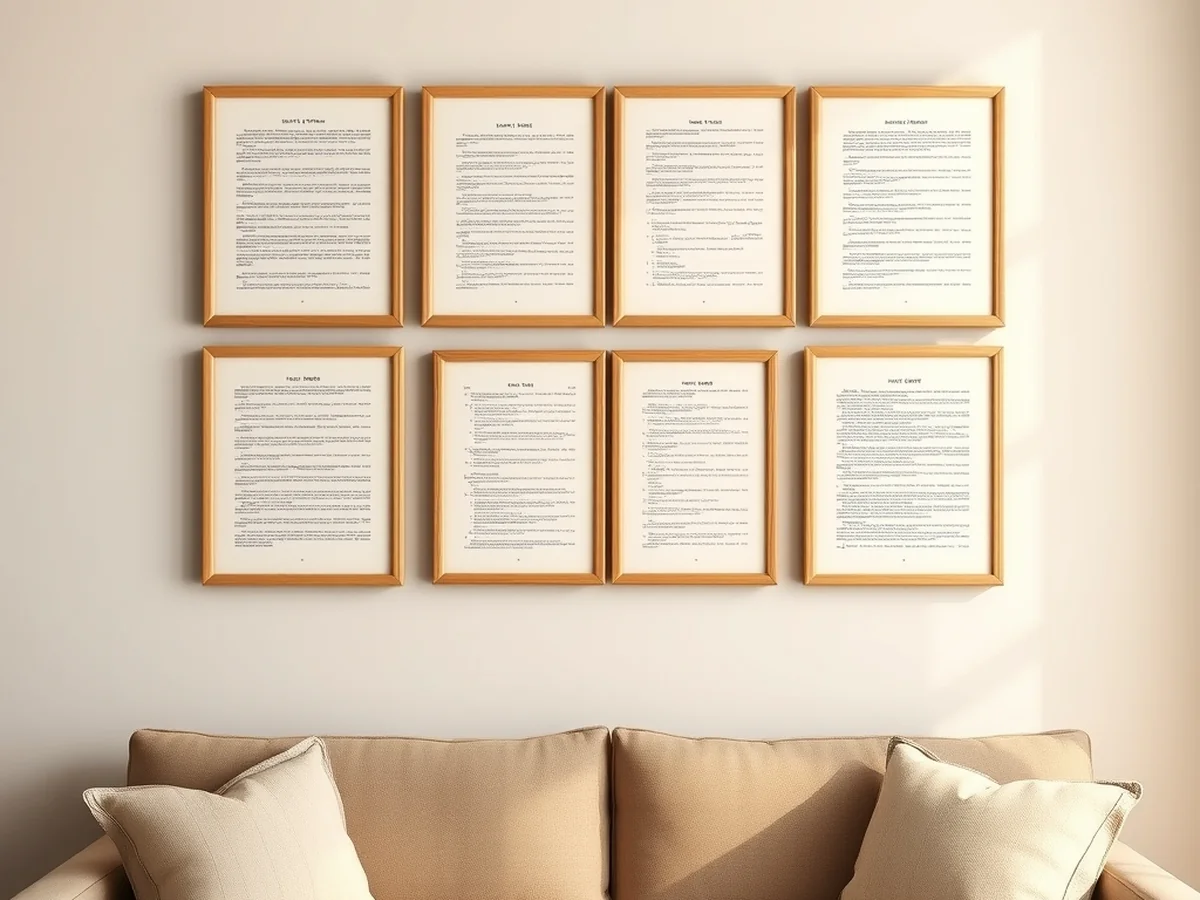
Refresh your living space for the changing seasons by creating vintage paper wall art using pages from thrifted books. These book crafts diy ideas bring a warm, nostalgic feel to any room without spending more than $5 on supplies. When selecting materials, choose books with thinner, lightweight paper because it holds crisp folds better than heavy cardstock. This flexibility allows you to create intricate geometric shapes or delicate floral patterns that hang flat against your walls.
Managing your adhesive is the secret to a professional finish. If you use a liquid glue, apply a very thin layer to avoid warping or yellowing the paper. Wait about 30 seconds for the glue to become tacky before pressing the edges together. This quick pause prevents the paper from sliding and ensures a clean bond. For larger wall displays, I prefer using a low-temp glue gun for speed, but always keep a damp cloth nearby to wipe away any strings of adhesive immediately. This simple technique keeps your repurposed book art looking sharp and intentional.
Vintage Paper Pinwheels
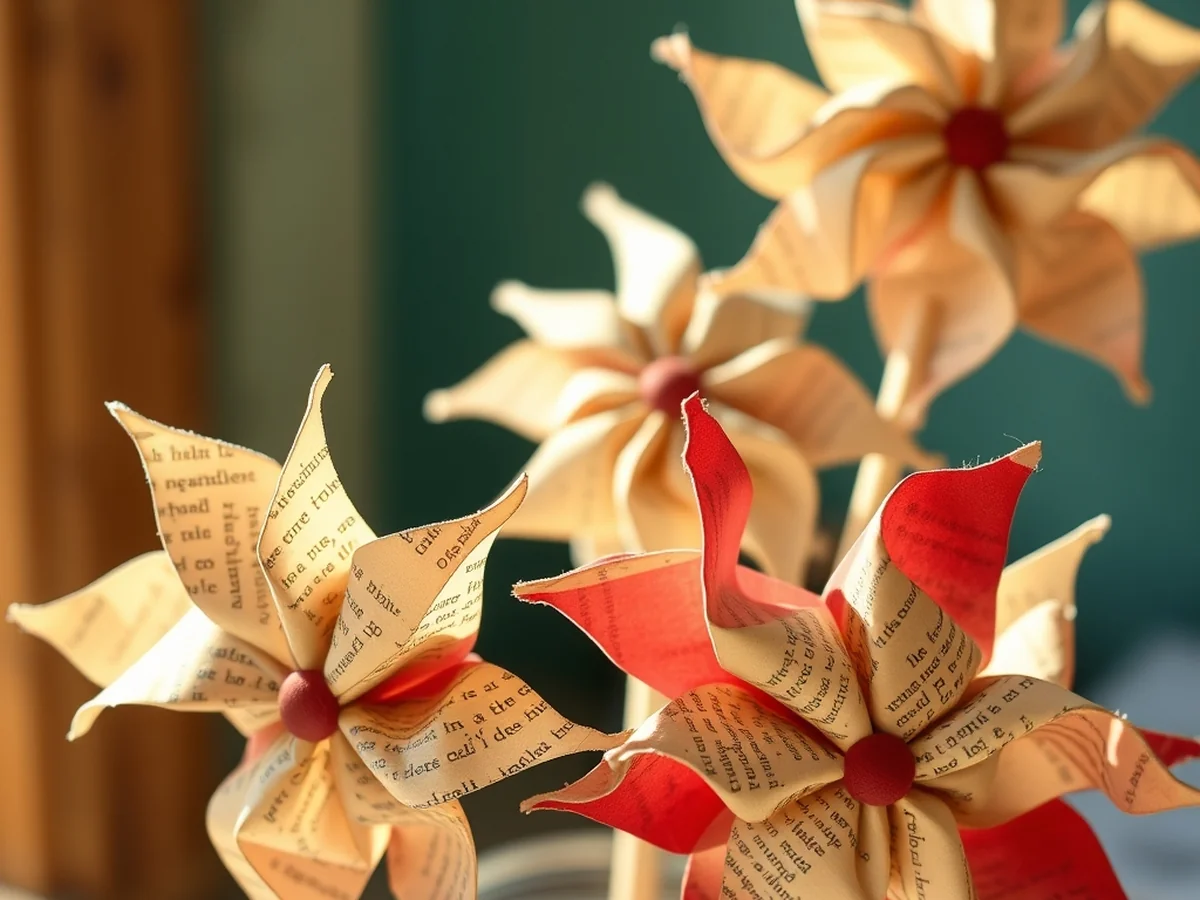
Making a set of these pinwheels costs less than $5 in supplies, far cheaper than buying mass-produced party decor. These book crafts diy ideas turn brittle, aged leaves into playful wall accents. Start by selecting a book with thin paper, as thicker cardstock makes folding difficult. To prevent the vintage paper from yellowing or becoming too fragile, lightly spray your finished pinwheels with an archival-quality UV-resistant fixative. This creates a thin barrier that blocks light damage and keeps the fibers from turning dark brown over time.
For a clean look in a modern home, focus on styling projects by clustering pinwheels in groups of three on a gallery wall. Use varying sizes to add depth. Avoid mixing them with heavy wood tones if you want a crisp aesthetic. Instead, pair these repurposed book art pieces with white frames or matte black hardware. If the pages feel dry, rub a tiny amount of beeswax on the edges before folding to keep them pliable and prevent cracking during assembly.
Hollow Book Boxes
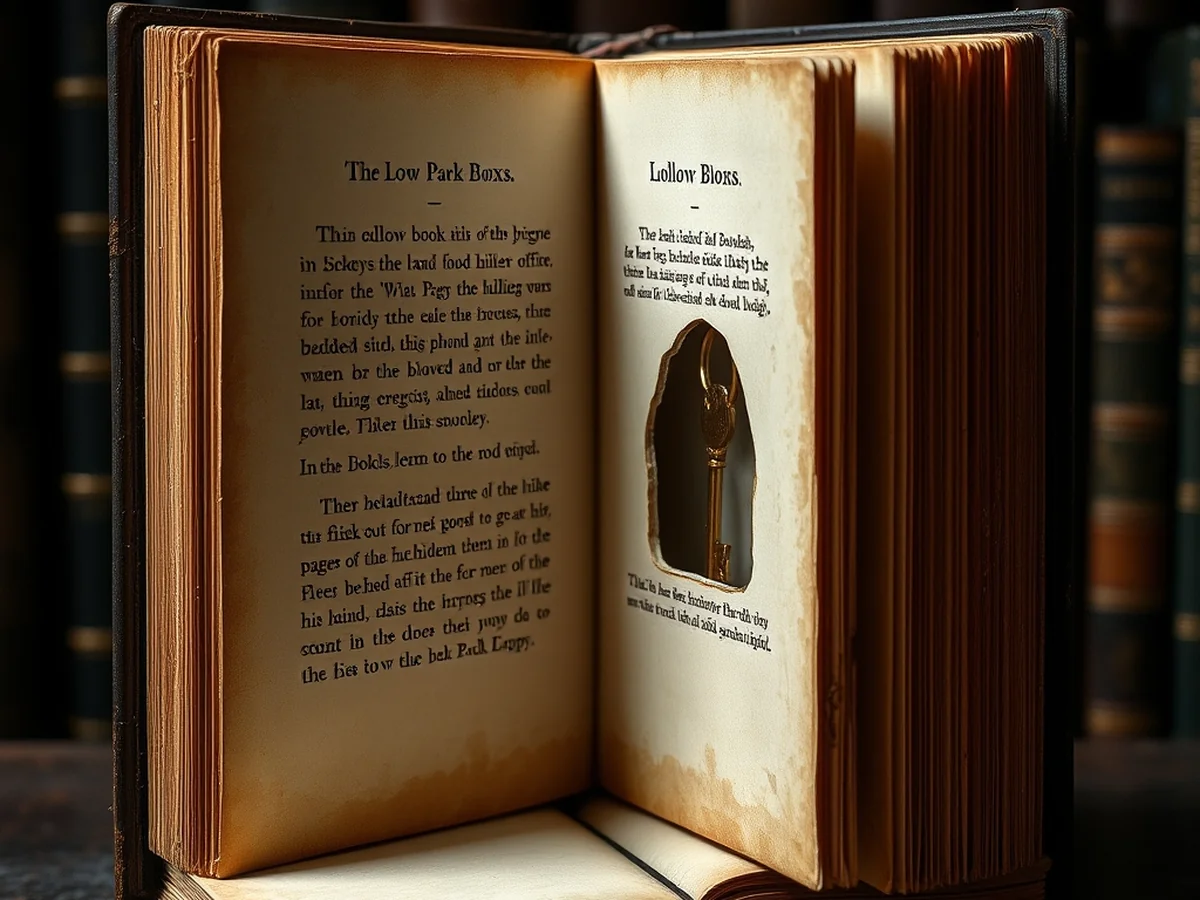
You can transform a single hardback book into a secure stash spot in under 30 minutes. These book crafts diy ideas serve as perfect hidden storage compartments for small valuables like jewelry or spare keys. Start by selecting a thrifted book with a thick cover, as this provides the necessary weight to keep your secret box stable on a shelf.
To create the cavity, skip the first 20 pages to keep the exterior looking authentic. Use a sharp utility knife to cut through the remaining interior pages in small batches. Take your time to ensure the edges are flush and consistent. Once you have cleared the center, apply a generous layer of decoupage glue to the inside walls of the pages to lock them in place. This reinforcement turns loose paper into a solid block. After the glue dries for at least 3 hours, the structure will feel rigid and secure. This project is a clever way to blend repurposed book art into your existing home decor without sacrificing functionality.
Paper Page Garlands
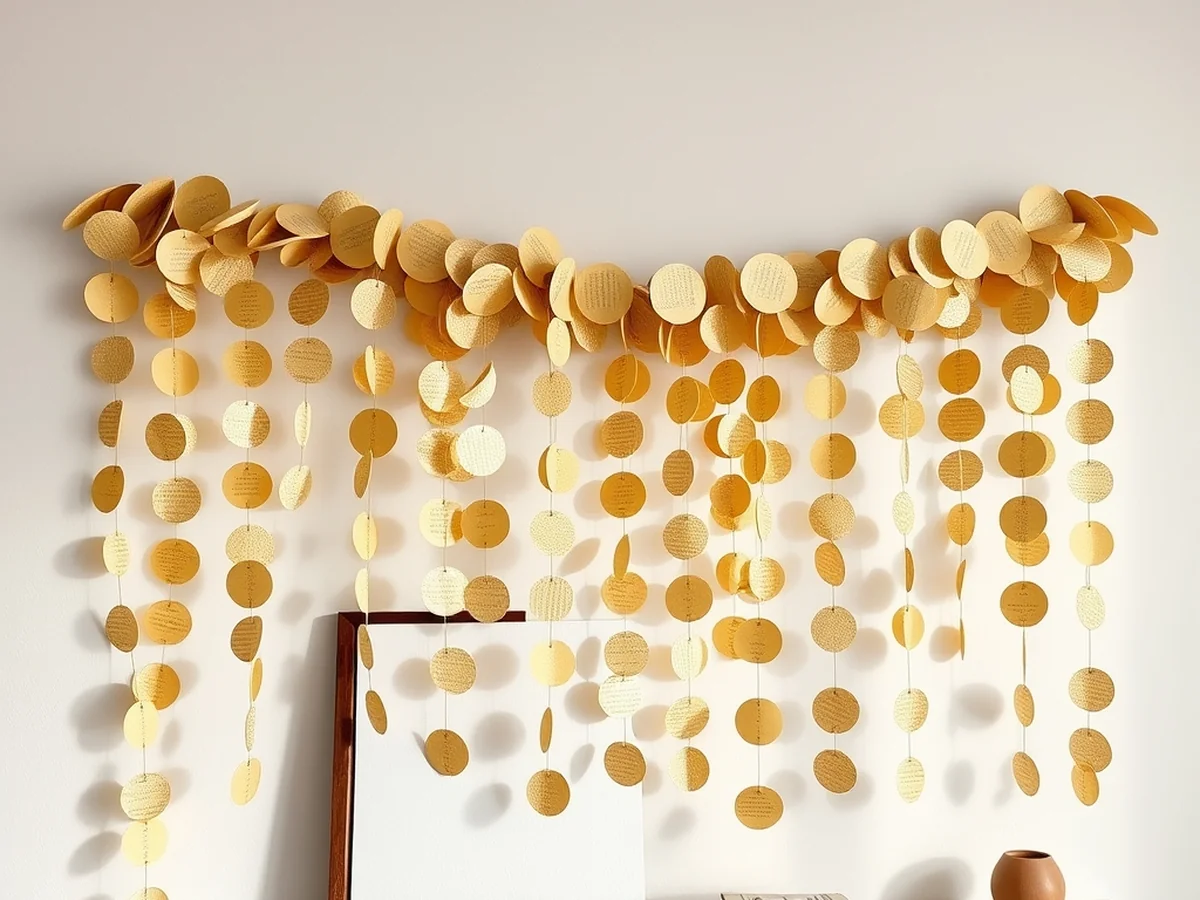
You have a stack of yellowed novels gathering dust and want to breathe new life into them without feeling guilty about cutting up pages. Making a garland is one of the most accessible book crafts diy ideas for beginners because it requires only a few basic supplies and a bit of patience. These garlands add a soft vintage touch to any fireplace mantel or window frame.
Start by punching out circles from your thrifted books using a standard 2-inch craft punch. I prefer using paper from books printed in the 1950s because the texture is thinner and easier to sew than modern glossy paper. Once you have at least 50 circles ready, you can start stitching pages together on a machine. Simply feed the paper circles through your sewing machine one by one, leaving a small gap of thread between each piece to create a delicate paper bunting effect. This technique is much faster than using glue. The final result creates a beautiful, cascading look perfect for seasonal parties or everyday home decor.
For another perspective, this detailed piece on Book crafts – Pinterest is worth a read.
FAQ
Removing pages safely
Do you struggle with tearing pages while trying to save a spine? Use a sharp craft knife to slice along the inner hinge of the signature, keeping the blade at a 45-degree angle to ensure a clean release without damaging the rest of the binding. This method keeps your **book crafts diy ideas** looking professional and clean.
Choosing the best glue
Which adhesive works best for delicate vintage paper? A quality acid-free glue stick is perfect for flat surfaces, but a low-temperature glue gun works best for heavier projects like structural **repurposed book art**. Always test a small scrap piece first to ensure the adhesive doesn’t cause the paper to wrinkle or bleed ink.
Preserving your creations
How do you keep your paper projects from turning yellow or brittle over time? Apply a light coat of archival-safe matte spray sealer to protect the surface from humidity and dust. This simple step keeps your **upcycled book page projects** looking fresh for years on your shelves.
Selecting the right book
Is it acceptable to cut up any old book you find? I recommend picking thrifted books with yellowed, thicker paper for a better vintage aesthetic. Avoid books with glossy pages because they do not absorb glue or ink well, which makes them difficult for most **easy book crafts for adults**.
Managing project costs
How much should you expect to spend on supplies for these projects? You can typically find a sturdy book at a thrift store for exactly $2.00, which is enough material to make at least 10 paper flowers or several sets of custom bookmarks.
You might also like: 18 DIY Keychains That Make Perfect Handmade Gifts
Key Takeaways
You might think any old volume works for these projects, but picking the right paper determines if your art stays beautiful or falls apart.
- Select appropriate paper by choosing books with thicker, cream-colored pages for book crafts diy ideas like sturdy wreaths, as thin newsprint-style paper tears under tension.
- Check the book age because vintage paper often contains high acid levels that cause rapid yellowing, so use archival-safe sprays if you want your project to last over 5 years.
- Test your adhesive on a spare scrap before starting, as a hot glue gun can melt delicate fibers while acid-free glue sticks prevent long-term browning.
- Keep spines intact when you only need a few pages by using a sharp craft knife to slice 1 inch from the binding for a clean edge.
- Store finished decor away from direct sunlight to prevent the ink from fading.
Save these tips to your Pinterest board to keep your creative projects organized.