17 Clay Earrings You Can Easily Make at Home
Introduction
Surprising: you can make 10 pairs of stylish earrings from about $15 of clay and findings. If you want to know how to make clay earrings at home, this guide walks you through easy projects, baking tips, finishing steps and attachment methods.
This is for beginners, crafters testing products for Etsy, and parents crafting with teens. Expect clear steps for working with polymer clay, precise curing times for a baking oven, and lightweight design ideas to keep earrings comfortable.
- Main supplies: polymer clay (Sculpey or Fimo), rolling pin, cutters, parchment paper, needle tool, blunt-tipped skewer, jump rings, earring posts, headpins, Varathane or other sealant.
- Quick safety notes: use a dedicated oven or toaster oven at 275°F, bake on parchment paper, ventilate the room, and avoid skin contact with uncured clay dust.
DIY Clay Studs
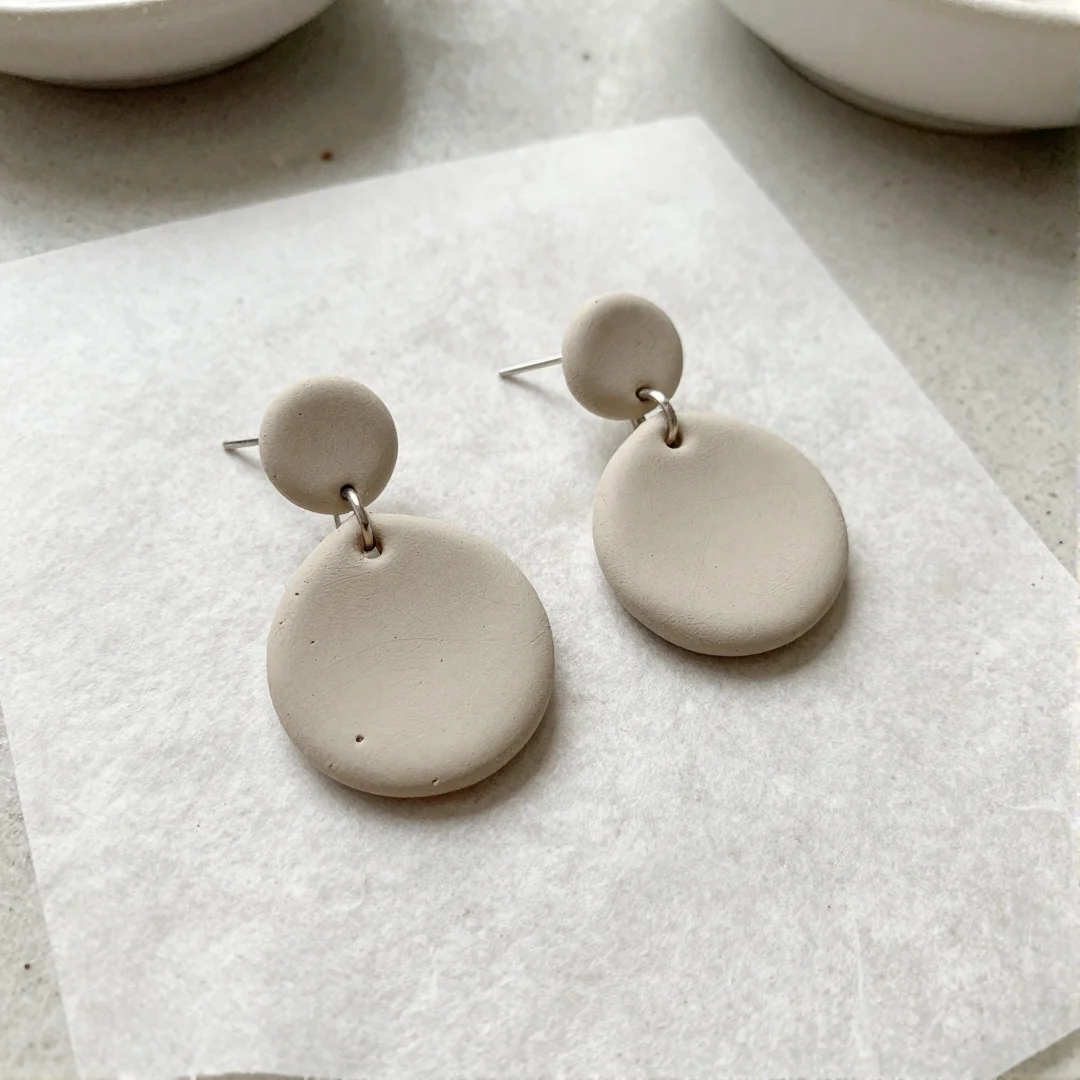
Yes. You can make tiny, lightweight clay studs at home that look shop-ready and stay comfy all day. I remember a Saturday afternoon making my first pair with a child-sized rolling pin and a cookie cutter.
Start with these basics for a simple polymer clay stud design for beginners.
- Polymer clay (Sculpey or Fimo), a small rolling pin, and 1 set of round cutters (6 mm to 12 mm).
- Earring posts, earring backs, a blunt-tipped skewer or needle tool, and parchment paper for baking.
- Optional: mica powder or acrylic paint for color, and tiny jump rings or headpins if adding drops.
- Tools for making clay jewelry: sanding paper (400 grit), varathane sealant, and a safe baking oven thermometer.
Bake at 275°F for about 15 minutes per 1/4 inch thickness for most brands, and let cool fully before attaching posts with strong jewelry glue. This covers the core of how to make clay earrings at home and follows the basic polymer clay earrings tutorial steps so beginners can succeed fast.
Mini Heart Studs
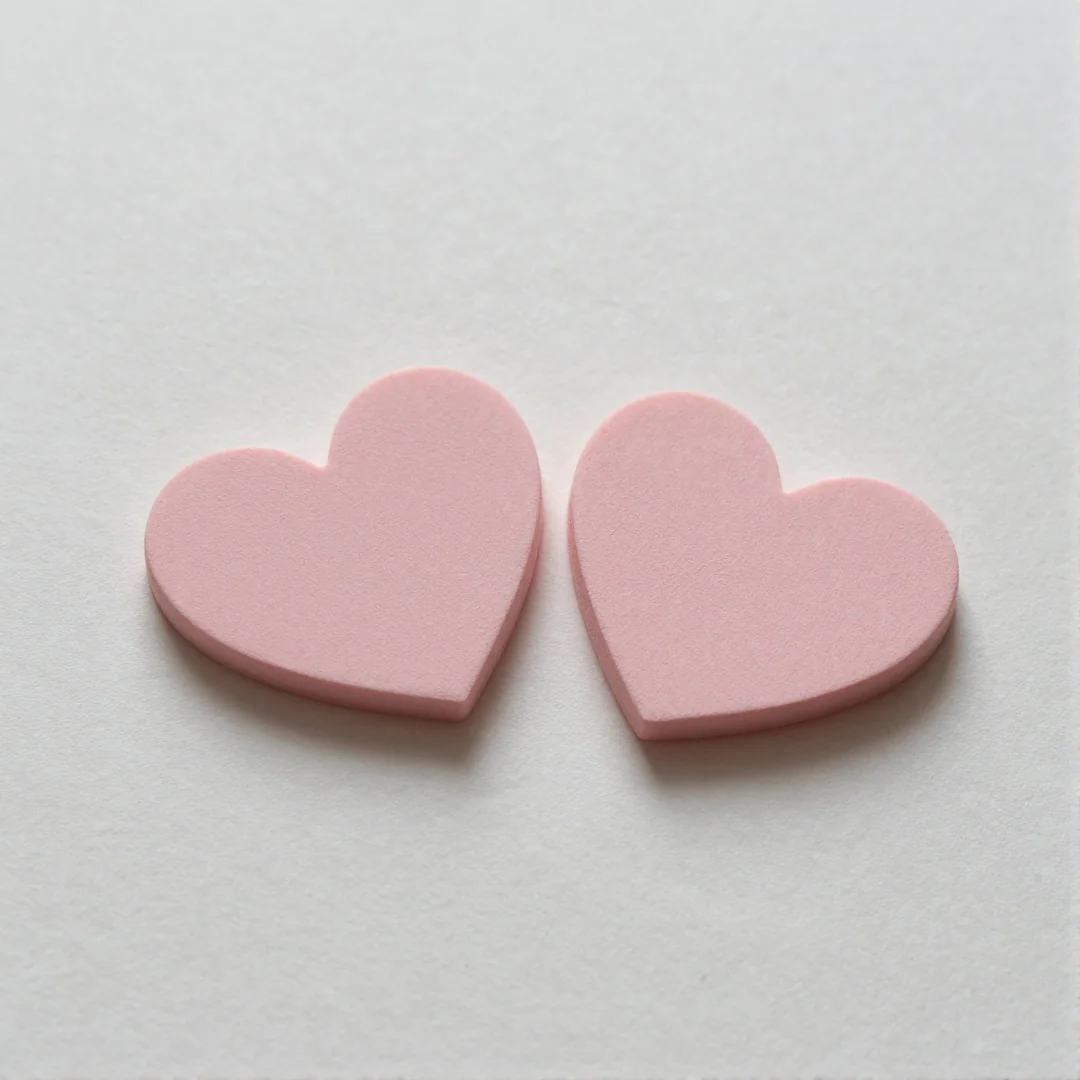
Want tiny matching hearts that look shop-ready? Start with a reliable method for shaping and conditioning so your pairs match and do not crack.
Source: papernstitchblog.com
First, condition clay until it is soft and slightly warm, about 2 minutes of kneading for a small piece or until no dry streaks remain. I like Sculpey for beginners because it softens fast.
Use a thin rolling pin on parchment paper and roll to a consistent thickness of about 2 mm. That thickness cuts cleanly and lowers the chance of cracking while baking.
- Press a small heart cutter straight down without twisting to keep edges even.
- For last-minute size tweaks, use a needle tool or blunt-tipped skewer to trim and make matching pairs.
- Work two pieces together, cutting both at once to guarantee identical shapes.
For a quick polymer clay earrings tutorial tip, mark one piece lightly with a dot so you can pair them after curing. This step helps when learning how to make clay earrings at home and keeps your sets consistent.
Classic Circle Drops
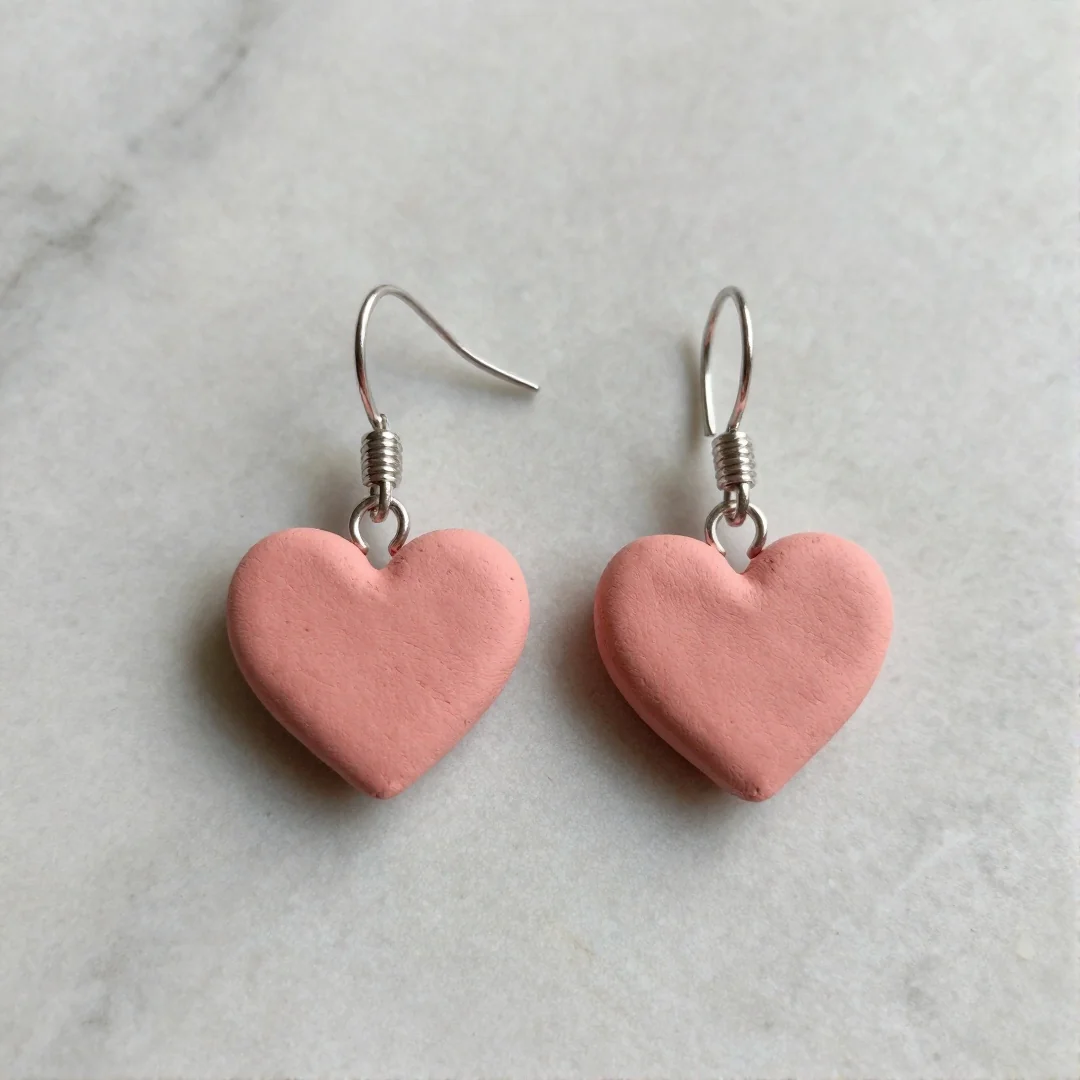
Myth: you need a kiln and fancy tools. Reality: a kitchen baking oven, a rolling pin and cutters will get you shop-ready drops.
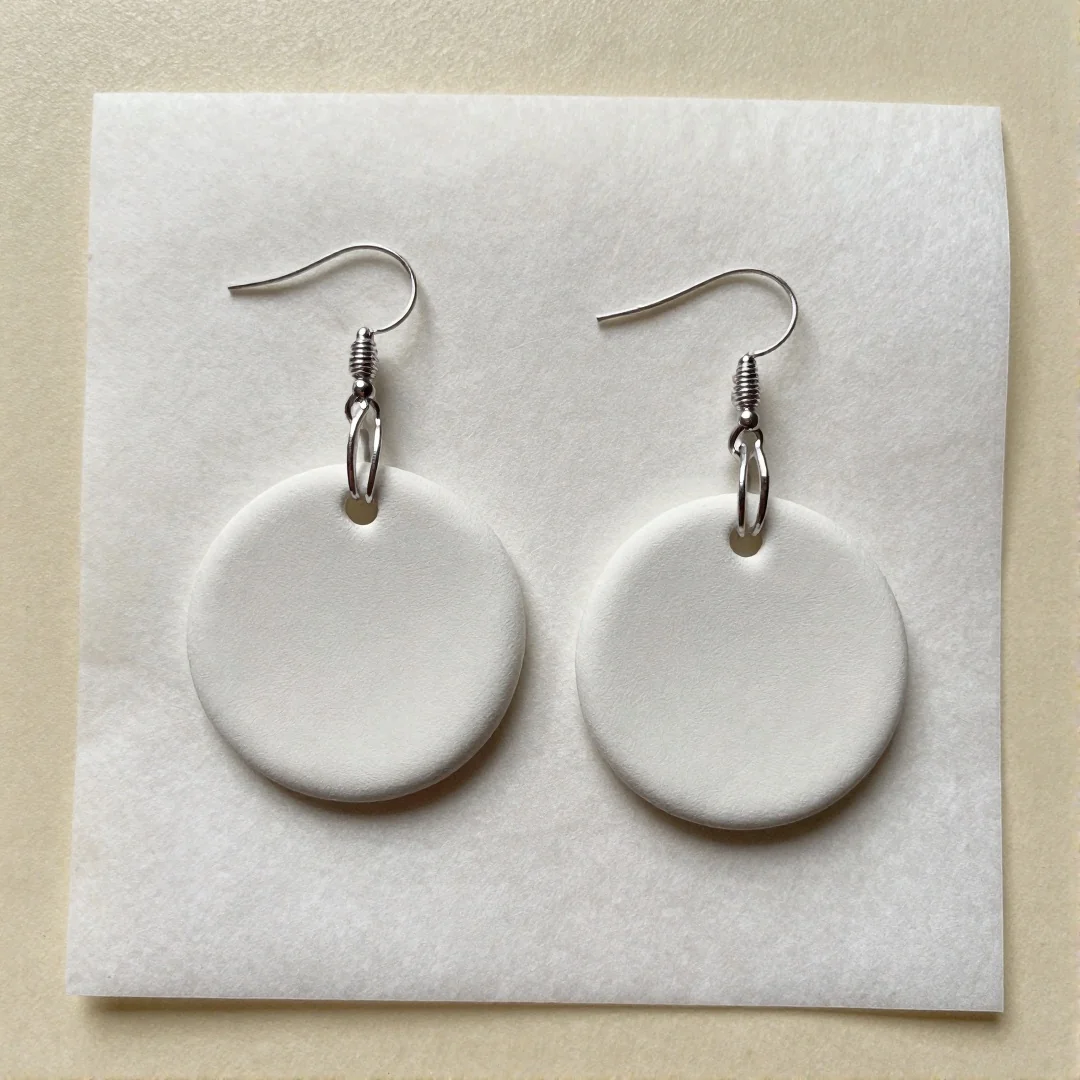
Source: raisingnobles.com
Start by conditioning polymer clay until soft, then roll to a consistent 1/8 inch (3 mm) thickness on parchment paper so both pieces match. Use a round cutter for uniform circles and a needle tool or blunt-tipped skewer to make a hole for posts or jump rings before baking.
If you want a simple polymer clay earrings tutorial, bake by brand and thickness: set the oven between 230 and 275°F and follow a rule of thumb of 15 minutes per 1/4 inch (6 mm) thickness; Sculpey and Fimo instructions vary so check the package and never exceed the top temp. Cool fully on parchment paper to avoid warping.
Attach findings with earring posts or jump rings while pieces are warm or use a tiny dab of epoxy. Finish with light sanding and a thin coat of Varathane or jewelry sealant for shine and durability.
Marbled Drop Earrings
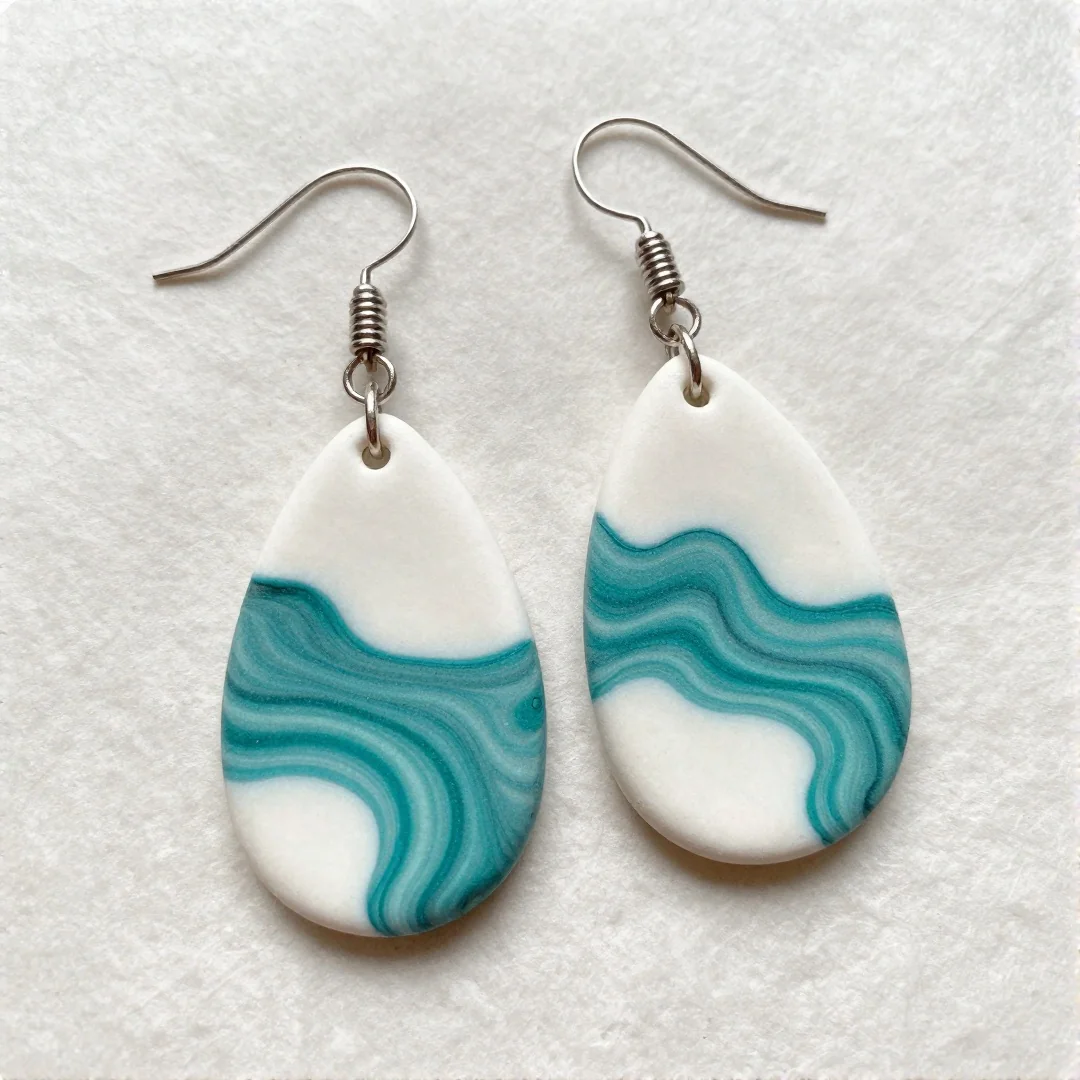
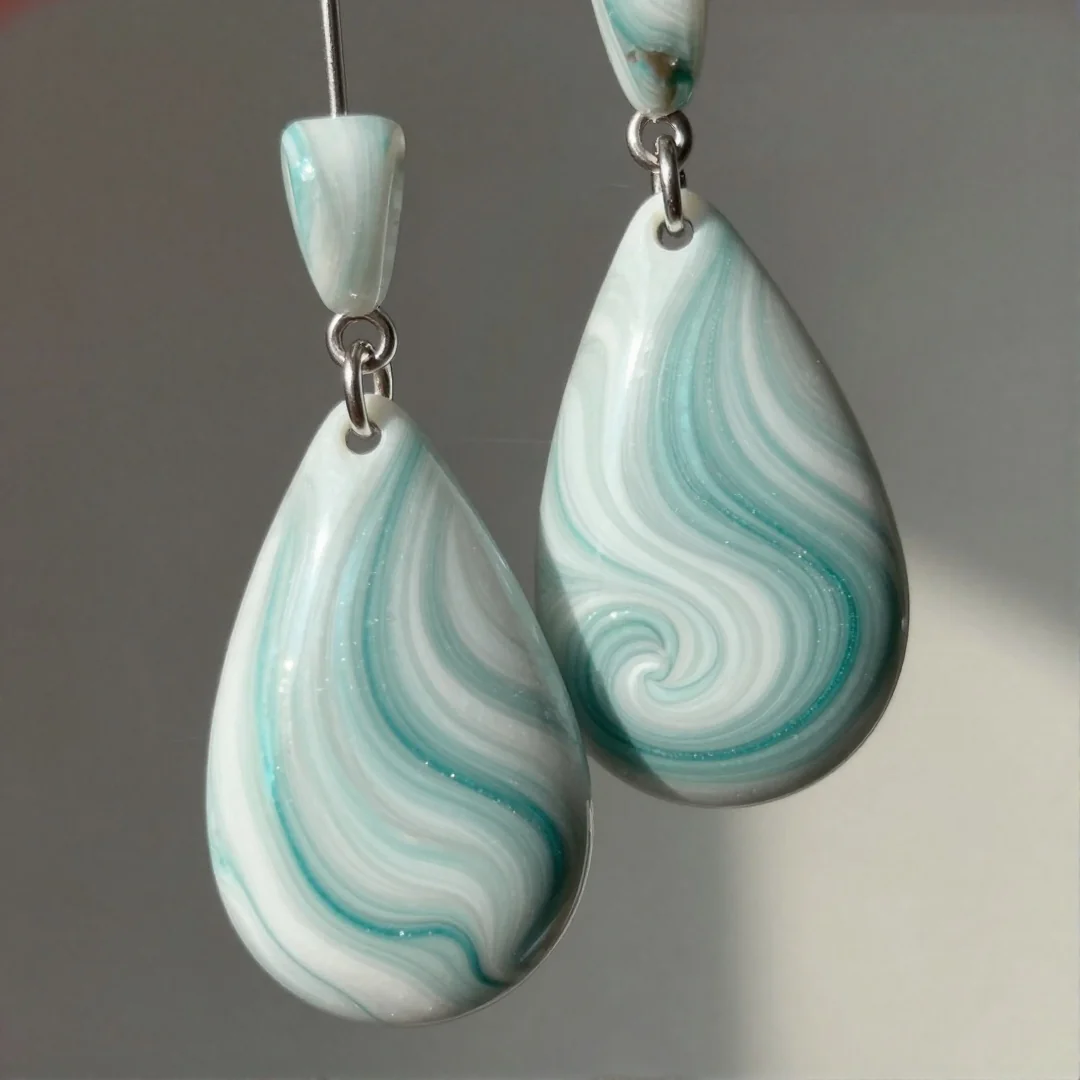
I always get a thrill when two colors swirl into something unexpected, but you need control to keep the contrast sharp. To learn how to make clay earrings at home start with one thin log of white Sculpey and one thin log of teal or black Fimo plus a pinch of mica powder for shimmer.
Roll each log with a rolling pin to about 2 mm thickness, stack and twist twice, then fold once to create veins. Use a blunt-tipped skewer to pull a few strands for extra marbling and slice with a cutter into 20 mm teardrops. Avoid overworking by stopping after 3 twists; too much kneading blends colors into mud.
Bake on parchment paper in a baking oven at 275°F for 15 minutes per 3 mm thickness. Press an earring post or embed a headpin while clay is soft to attach findings without drilling. Finish with 320 grit sanding, then a thin coat of Varathane or another sealant for durability. A needle tool helps clean holes before baking.
Textured Leaf Earrings
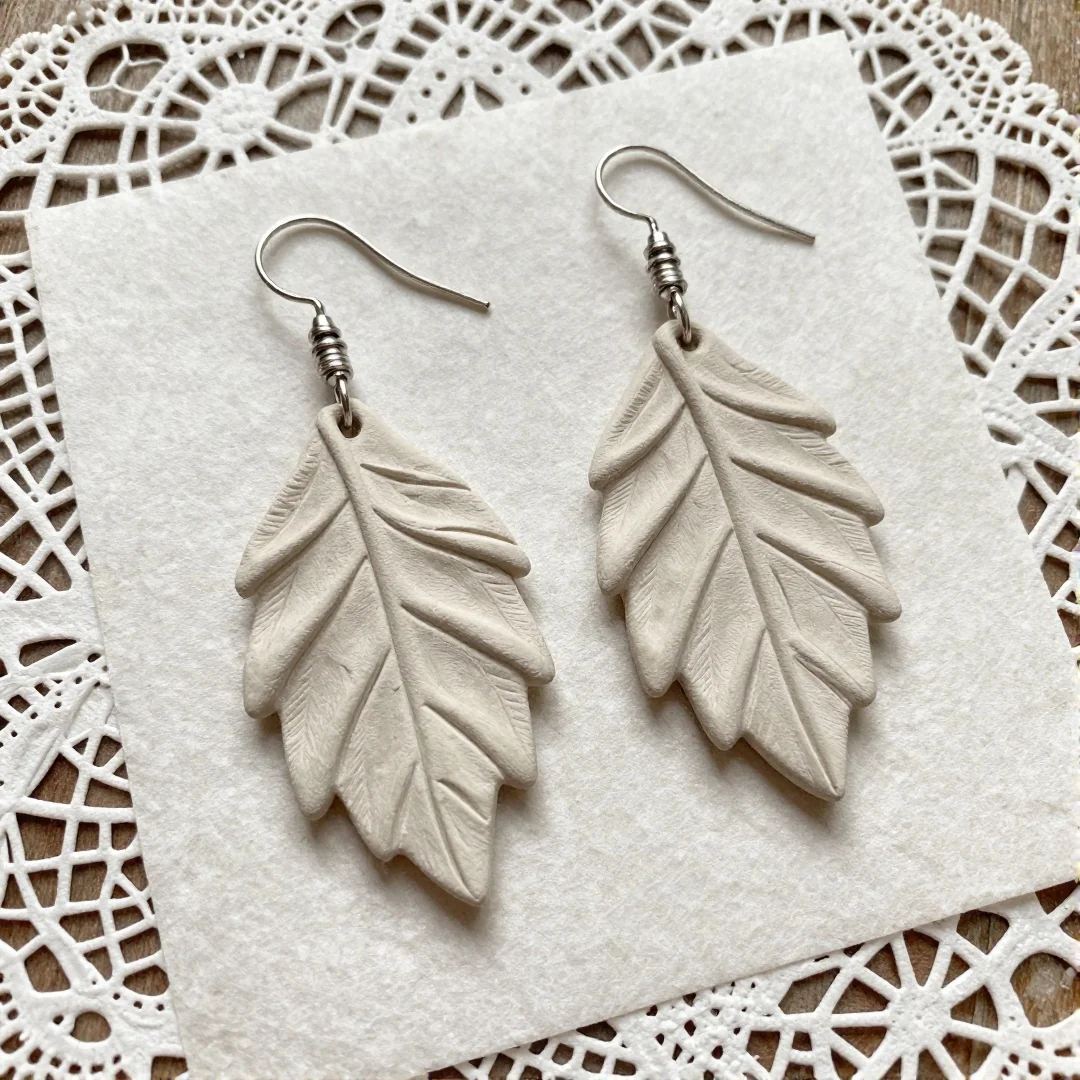
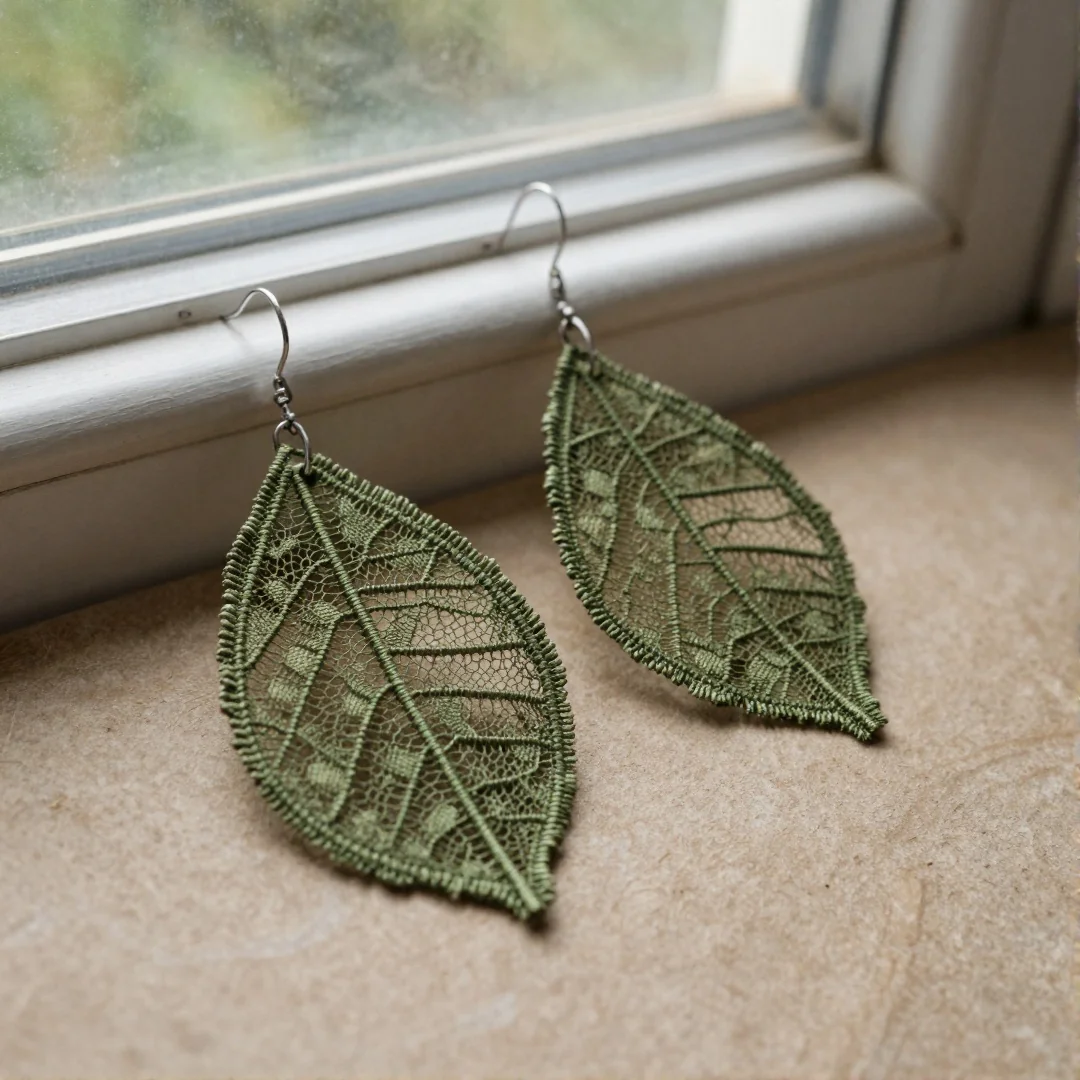
Tip: press a piece of lace or a leaf into the clay for a crisp vein pattern before cutting the shape.
Roll conditioned polymer clay with a rolling pin to about 1/8 inch thick on parchment paper, then cut leaf shapes with small cutters.
- For texture use rubber stamps, a scrap of woven fabric, or a blunt-tipped skewer to draw veins and detail.
- Try mica powder or acrylic paint rubbed into the texture for contrast; wipe excess with a soft cloth.
- Brands like Sculpey or Fimo bake well in a home baking oven at 265 to 275°F for 15 to 30 minutes per 1/4 inch thickness.
After baking, sand edges wet starting with 400 grit, move to 800 grit, then finish with 1200 grit for a silky feel.
If you want shine or protection, seal with a thin coat of Varathane or a specific polymer clay sealant; do not seal if you need to drill later, because some sealants can clog holes.
Attach findings using a needle tool or headpins, then add jump rings and earring posts for a lightweight, shop-ready pair that answers how to make clay earrings at home.
Geometric Hoops
Perfect for spring fairs, geometric hoops feel fresh and modern while staying light enough for all-day wear.
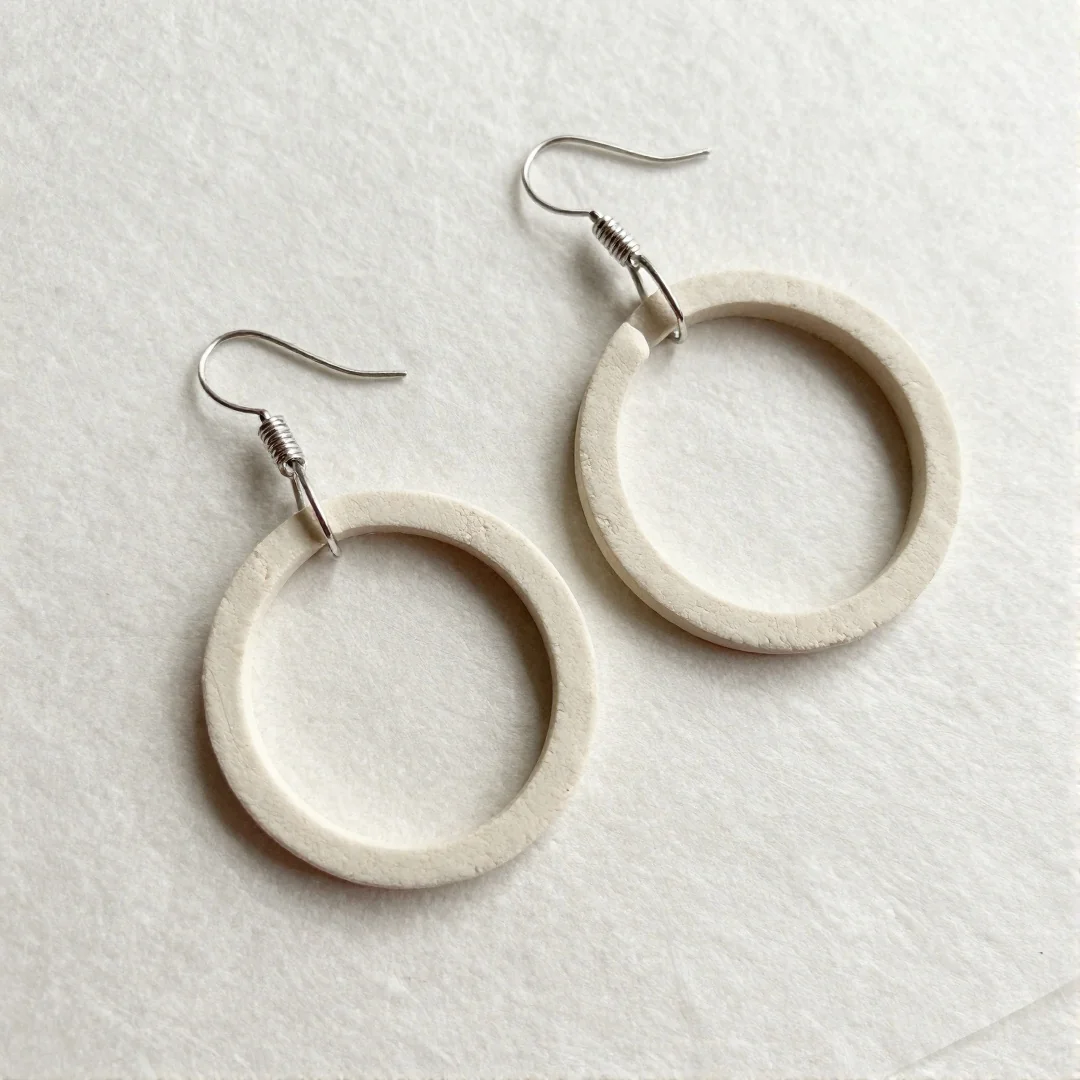
Make thin hoop shapes about 1/8 inch thick in polymer clay so they bake evenly in a baking oven and weigh under 2 grams each.
Condition clay with a rolling pin on parchment paper, cut with a small cutter or knife, and smooth edges with a needle tool or blunt-tipped skewer before curing.
- Thin and hollow: roll a 5 mm cord, shape a hoop and press seams lightly to reduce weight without losing strength.
- Surface finish: sand with 400 grit, then buff and seal with Varathane or a thin coat of acrylic for durability.
- Brands: Sculpey and Fimo handle thin sections well; test 10 minutes at your brand’s temp for small pieces.
Attachment choice matters: use jump rings for movement and lighter pull, or use headpins looped through a drilled 2 mm hole for a clean look.
Balance tip: place the hole within 3 mm of the top edge so the hoop hangs flat and avoids drooping in ears.
For a beginner-friendly polymer clay earrings tutorial, anchor findings with a tiny dab of baked clay before final cure to stop cracking.
Polymer Clay Dangles
$5 worth of polymer clay can make a pair of stacked dangles compared with $20 plus for premade metal drops. For beginners learning how to make clay earrings at home, stacked shapes add height without heavy weight.
To align holes, stack shapes on a straight headpin or a blunt-tipped skewer through parchment paper, then push pieces together and check alignment with a needle tool. Leave 1/8 inch of pin exposed for a loop or cut to length and use jump rings.
Prevent separation by using a thin smear of liquid clay between layers or lightly compressing pieces so they touch across the full seam. For textured pieces, press edges together so the join is continuous.
Curing matters. Bake Sculpey or Fimo on parchment in a baking oven at about 275°F for 30 minutes per 1/4 inch thickness, then cool fully on the tray to avoid stress cracks.
After baking, sand, buff, and attach findings with earring posts or hooks, and seal with a thin coat of Varathane or a jewelry-safe sealant for durability and shine.
Gold Leaf Accents
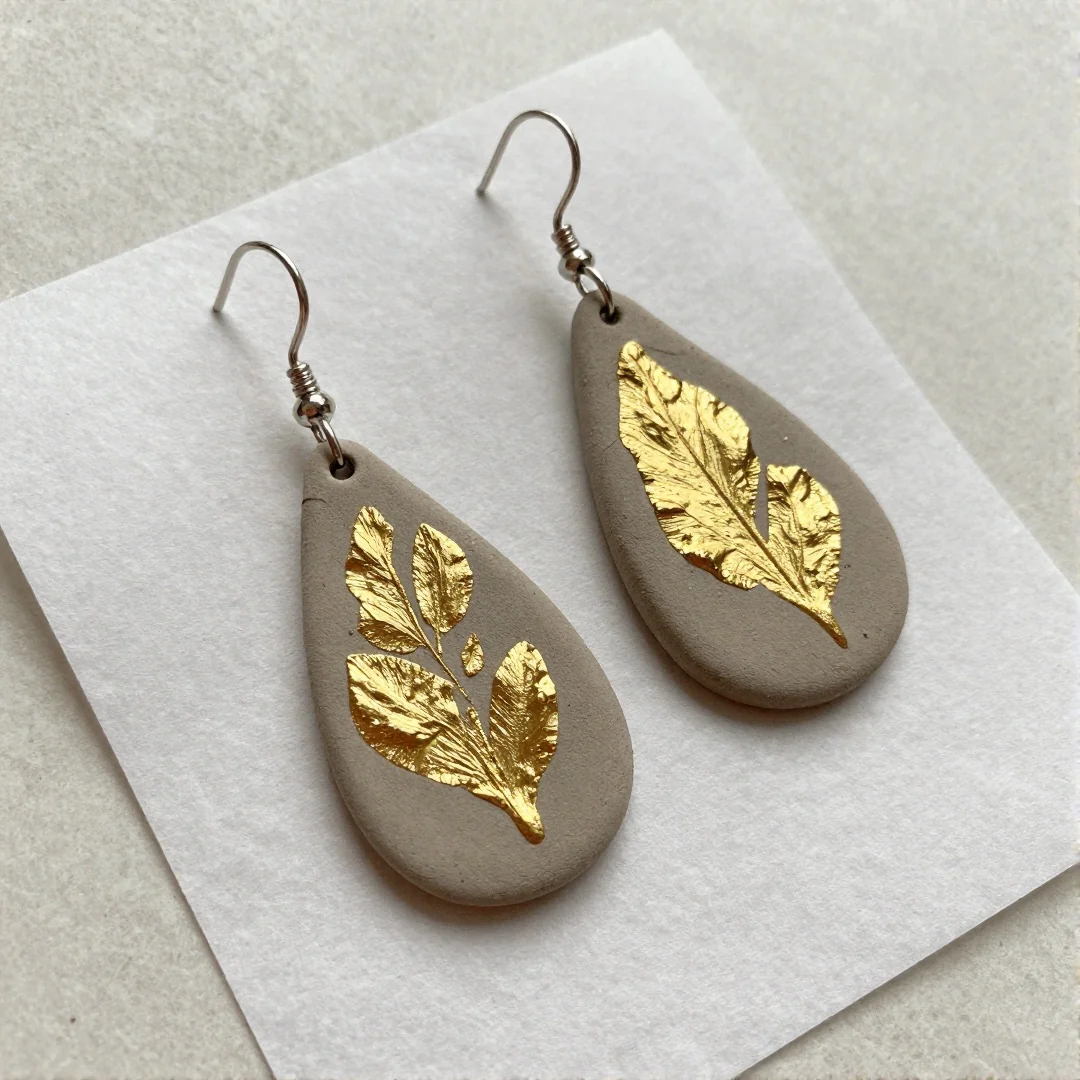
1 in 5 shoppers notice metallic details first, so adding gold leaf makes earrings look shop-ready fast.
After you bake polymer clay pieces at 275°F for 15 minutes per 1/8 inch thickness on parchment paper, wait until they cool fully before touching the foil.
Use a soft brush and a dab of clear tack adhesive or size to press 23k imitation gold leaf onto the surface. Pat gently with a blunt-tipped skewer or clean cotton to burnish the edges.
For a shop finish, seal the leaf with a thin coat of a compatible finish. This step is part of any good polymer clay earrings tutorial or guide on how to seal clay earrings.
- Varathane water-based polyurethane: durable, dries in 1 hour, avoids yellowing on light clay.
- Acrylic gloss varnish: cheap at about $6 a bottle, dries fast but may raise fine mica powder shine.
- Clear resin: ultra-durable shop look, adds weight and needs 24 hours cure.
Allergy note: avoid metal leaf with nickel impurities and choose surgical steel earring posts or gold-plated jump rings if wearers have sensitive ears.
Sculpted Flower Studs
You want a soft, detailed floral stud that still feels light and wearable, so start by layering tiny petals with a needle tool for depth and plan longer bake times for thicker areas.
Picture a kitchen table with a rolling pin, cutters, parchment paper and a block of polymer clay like Sculpey or Fimo ready to go.
Condition the clay, roll to 1.5 mm for base petals, then cut 6 to 8 tiny rounds with a 4 mm cutter and shape each petal with a blunt-tipped skewer for a cupped look.
Use a needle tool to drag veins and score the petal bases so layers stick without glue.
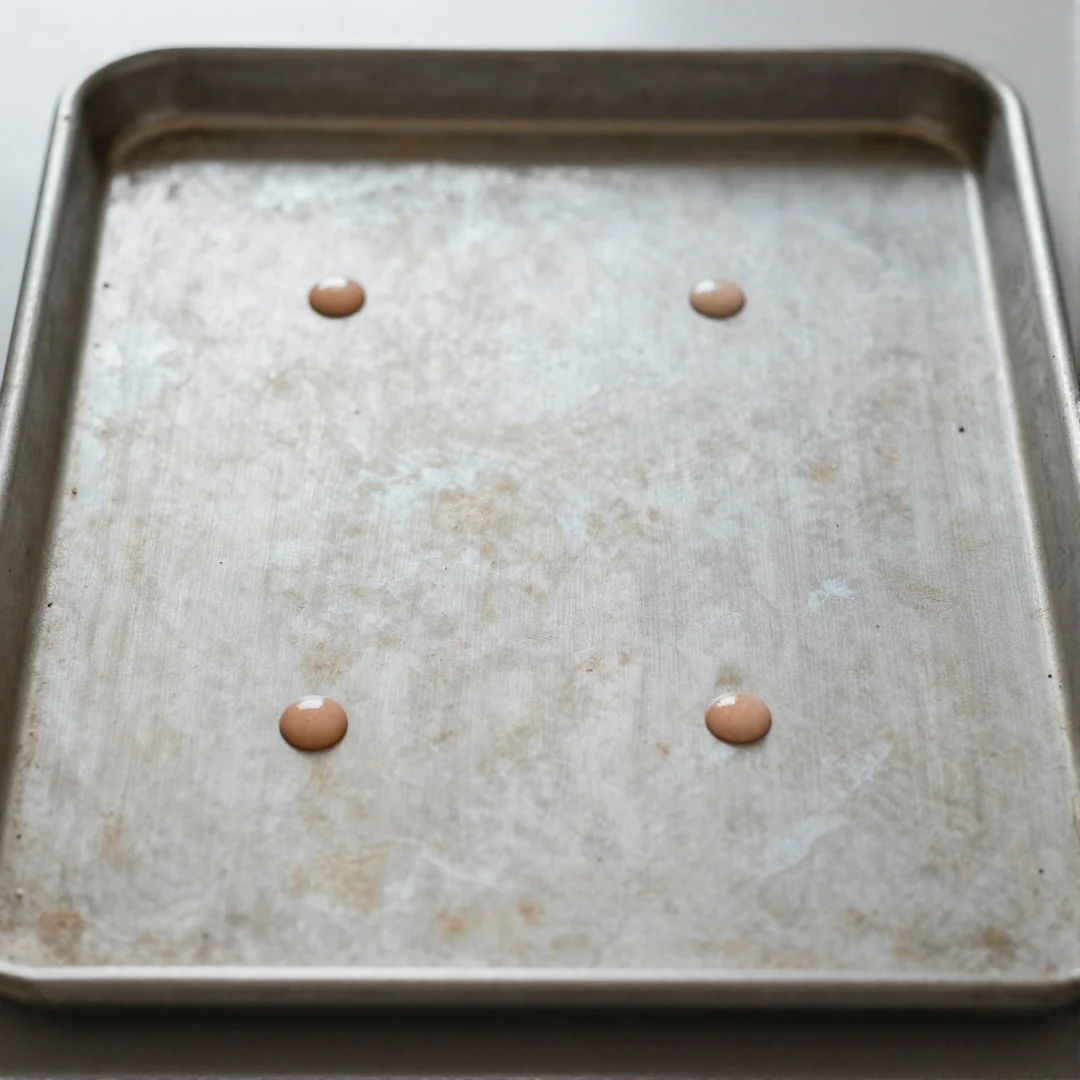
Place pieces on parchment paper on a metal tray and bake in your baking oven at 275°F for about 15 minutes per 1/8 inch of thickness; thicker sculpted centers may need an extra 10 to 20 minutes.
Attach earring posts or jump rings with headpins before final cure if embedding hardware, then sand, buff and seal with varathane or a thin acrylic sealant for a shop-ready finish.
Air Dry Options
Want to know if air-dry clay will work for your earrings?
Use air-dry clay when you want a quick, no-oven option for lightweight, simple shapes like 1/8 inch discs or studs that won’t face heavy wear. Air-dry clay is fine for costume pieces and craft projects with minimal stress on holes or jump rings.
Avoid air-dry clay for dangly, oily, or wearable pieces that need long life, water resistance, or thin connecting points. For shop-ready pairs try polymer clay like Sculpey or Fimo and a baking oven instead.
Durability differs a lot. Air-dry feels chalkier and can crack if thin or wet, while baked polymer clay cures hard and resists humidity. You’ll notice a matte, porous finish on air-dry versus a smoother surface on baked pieces.
For sealing, don’t always use heavy acrylic varnish on skin-contact areas because some prefer raw polymer with careful sanding. Good alternatives include a thin coat of varathane/sealant, food-safe beeswax, or light buffing with 400 grit then a tiny dot of clear resin for high-wear spots.
If you search for air dry clay earrings instructions pair these tips with proper tools like a rolling pin, cutters, needle tool, parchment paper, and headpins for secure attachment.
Mica Shimmer Studs
Myth: you must paint shimmer onto clay. Reality: you can mix mica powder into clay for a smooth, embedded shimmer that needs no topcoat paint. This is the fastest way to learn how to make clay earrings at home that look shop-ready.
Answer first. Stir 1 teaspoon of mica powder into 1 ounce of conditioned polymer clay until the color is even. Use Sculpey or Fimo, a rolling pin and cutters on parchment paper.
Mica changes baking slightly. Thin studs 1/8 inch thick cure well at 275°F for 15 minutes in a baking oven on a sheet of parchment paper, but dense or heavily mica-loaded pieces may need an extra 3 to 5 minutes.
Too much mica can make the surface feel dry or grainy after baking. Light sanding with 400 grit then 800 grit smooths it, and a thin coat of varathane sealant or a gloss polymer-friendly sealant evens shine.
- Tools: needle tool, blunt-tipped skewer, earring posts, jump rings.
- Tip: keep pieces lightweight so studs stay comfortable on the ear.
Polymer Clay Hoops
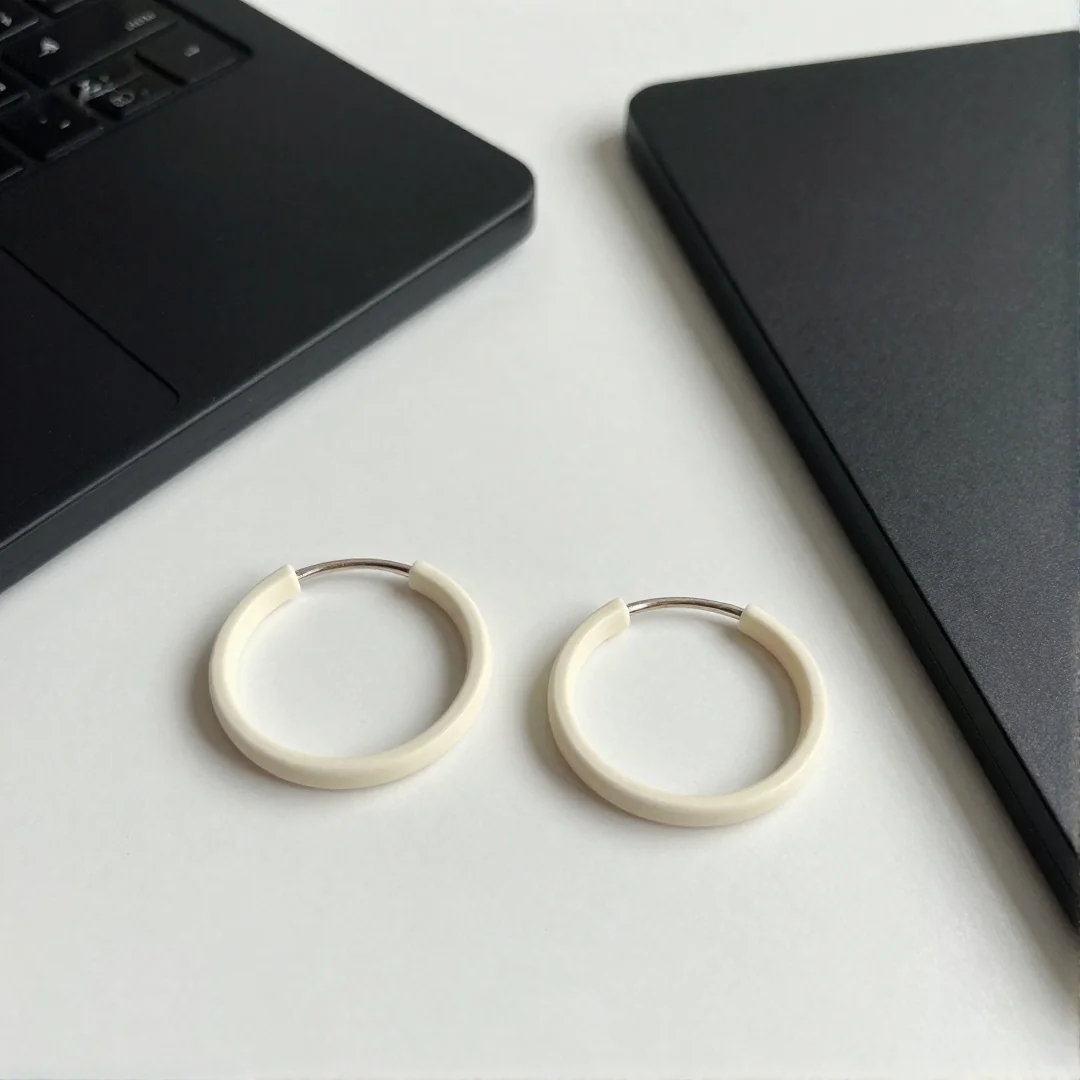
I learned fast that big solid hoops pull on ears. Hollowing saves weight and keeps them comfy.
Start with conditioned polymer clay like Sculpey or Fimo rolled to about 2 mm thick with a rolling pin on parchment paper.
- Cut two strips with cutters or a craft blade. Wrap each strip around a blunt-tipped skewer to shape a hoop, then press the seam gently with a needle tool. Hollow cores make each earring lighter and stop drooping.
- For truly hollow hoops, form a thin tube, squash it flat, then slice the hoop shape so the inside stays hollow. This uses less clay and bakes faster.
- Reinforce stress points by inserting a short headpin or thin stainless-steel wire through the baked piece before attaching jump rings or earring posts. That gives a non-cracking anchor.
- Bake on parchment in a baking oven at the brand’s recommended temp, typically 265 F to 275 F, adjusting time for thickness. Let cool fully before sanding and sealing with Varathane or a thin gloss sealant.
Lightweight Statement Pair
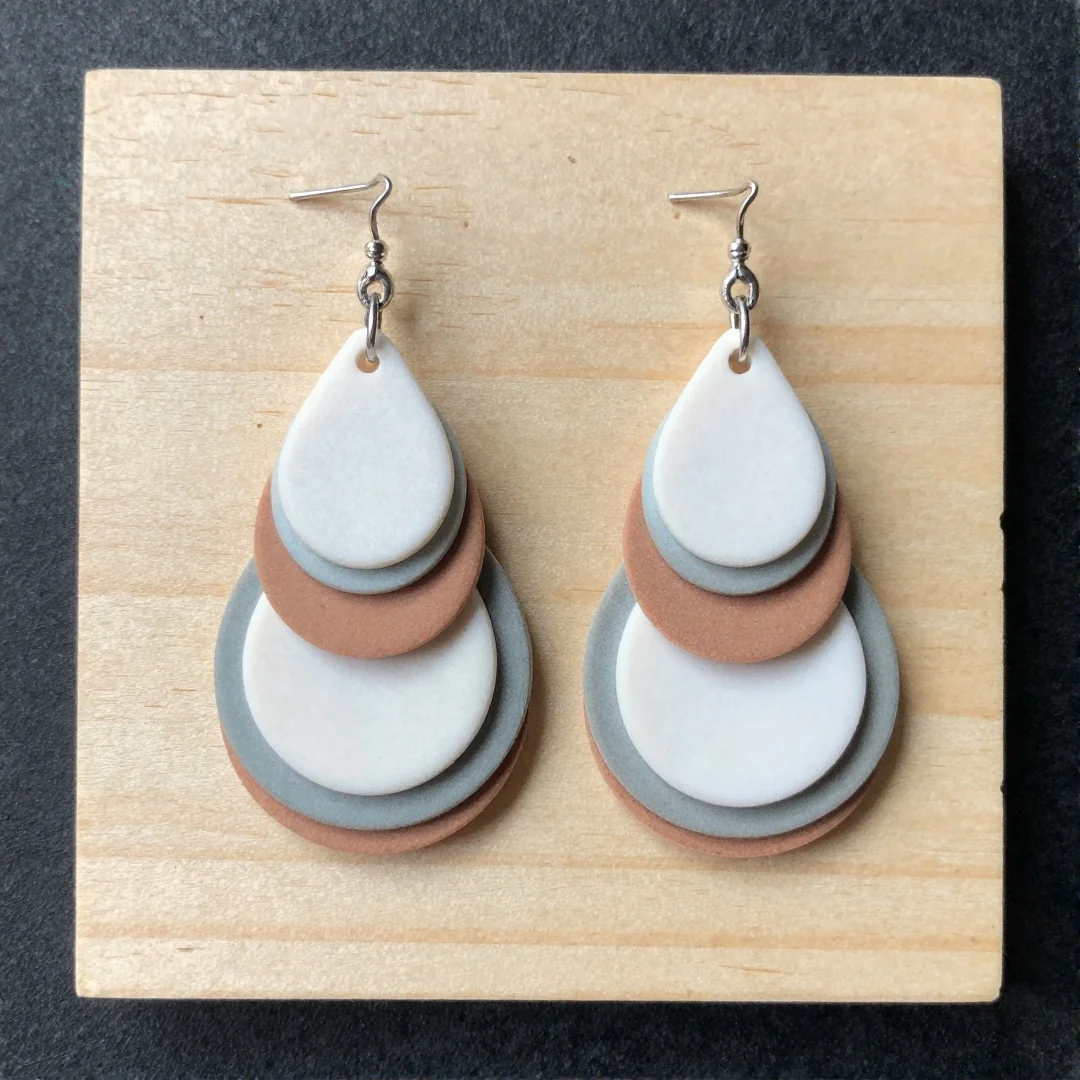
Quick tip: make shapes hollow or use cutouts so a bold pair stays light and comfortable.
Design for weight first, then for looks. Use thin layers and open shapes, and pick a lighter brand like Sculpey III over denser blocks if you want featherweight pieces.
- Keep thickness to about 3 mm for most shapes; thicker pieces need longer curing in a baking oven and add bulk.
- Aim for under 5 grams per earring to avoid ear droop; measure with a small jewelry scale as you go.
- Use polymer clay techniques from a polymer clay earrings tutorial: roll with a rolling pin on parchment paper, cut with cutters, and refine with a needle tool.
- Balance by placing earring posts or jump rings near the top third of the piece so weight sits close to the ear, not at the tip.
- For hardware use earring posts, jump rings, or headpins and secure with a tiny dab of raw clay before baking. Finish with varathane/sealant or buffing depending on the look.
This approach works whether you’re following a DIY clay earrings for beginners guide, baking Fimo, or trying marbled polymer clay effects with mica powder.
How to Attach Findings
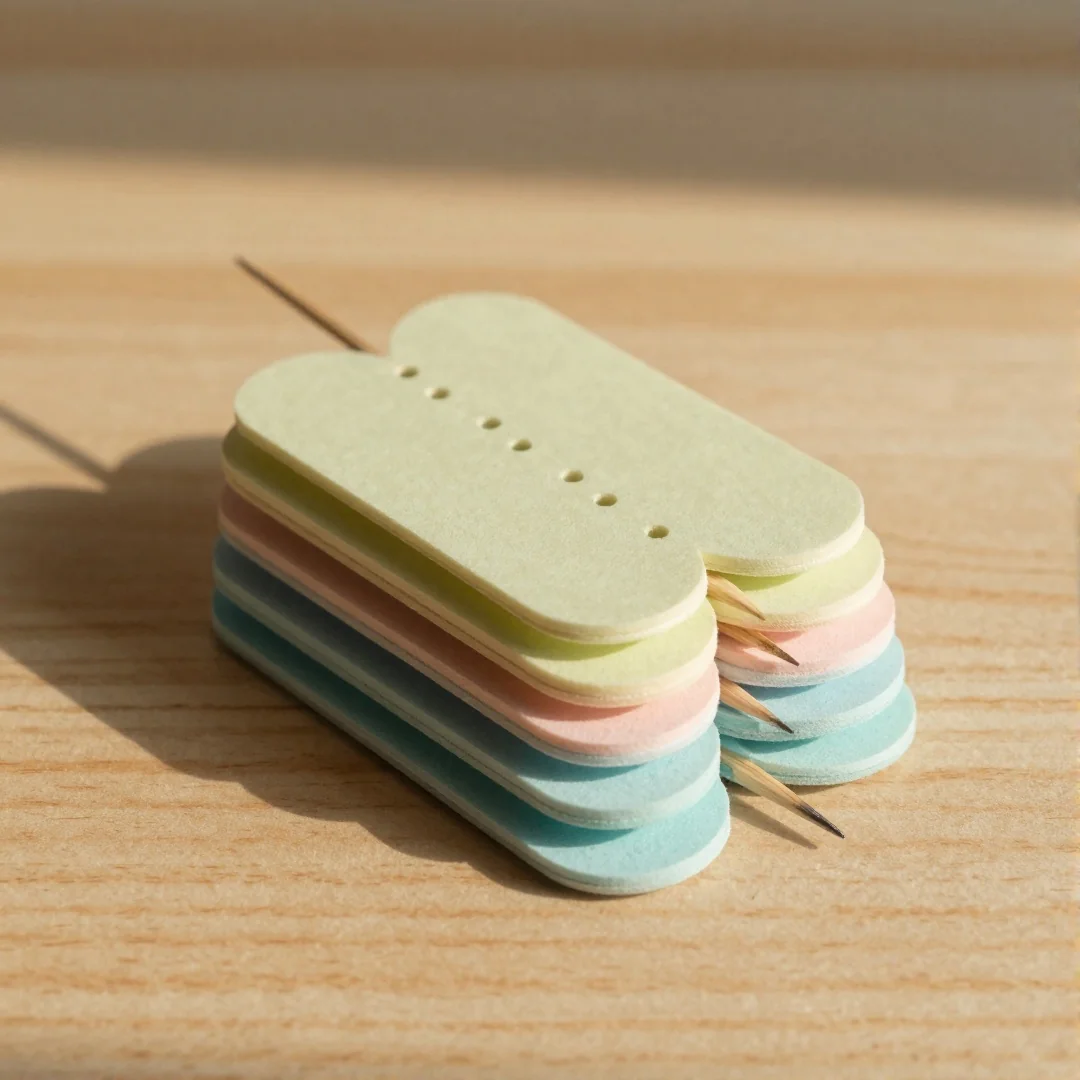
This spring try lightweight shapes so your earrings sit flat and comfy while you learn how to make clay earrings at home.
For posts: press a clean earring post into raw polymer clay until the base sits flush. Use a blunt-tipped skewer to widen the hole slightly if needed. Bake on parchment paper in a baking oven at 275°F for 15 minutes per 1/4 inch thickness. Let cool fully before glazing with Varathane or acrylic sealant.
For jump rings and hooks: bake your clay pieces first, then use a needle tool to mark the hole location. Show step-by-step photos or a visual descriptor: one close-up of the marked hole, one of the jump ring opening with pliers, one of the ring closed through the hole.
- Non-drill method: embed posts or headpins into conditioned clay before baking. Brands like Sculpey and Fimo hold metal well when pressed 3 mm deep.
- Curing tip: cool pieces on parchment paper for 30 minutes to avoid cracking. If a hole shrinks, gently re-drill with a needle tool and re-seal.
Sanding and Sealing
Cost note: a multipack of sandpaper costs about $8 and will cover dozens of pairs versus a $12 bottle of sealant that lasts for 10 to 20 earrings.
- Start coarse with 220 grit to flatten baking marks or big edges, hold pieces under a damp cloth so dust stays down.
- Refine with 400 grit to smooth curves, then 800 grit for a nearly satin feel; use a sanding sponge for concave areas.
- Finish buffing with 1200 grit or a micro-mesh pad, then rub with a soft cotton cloth for shine; a drop of olive oil brings out mica powder highlights.
For sealants pick based on use and sensitivity. Varathane water-based poly gives a thin, quick coat that costs about $10 and dries in 2 hours.
Resin gives a glassy finish and is best for market-ready glossy pieces, but it adds weight and needs careful mixing and a curing time of 24 hours.
Avoid resin or spray sealers if you or customers have skin sensitivity; instead use a thin coat of polycrylic or nonyellowing acrylic varnish and always glue posts with E6000, not resin, near the earring hole.
When you practice these steps in your polymer clay tutorial you’ll see how small changes in sanding and sealing affect wear and comfort.
Brand Comparison
1 in 4 crafters pick Sculpey first for ease of use and soft conditioning feel.
Sculpey is softer to condition, holds textures well, and cures reliably at 275°F for 15, 30 minutes depending on thickness. It is a great pick for a beginner following a polymer clay earrings tutorial.
Fimo is firmer, mixes cleaner for bright marbling, and tolerates thinner pieces without warping. It costs about $5 per 2 oz block and gives sharper detail when you use mica powder or acrylic paint for highlights.
- Firmness: Sculpey for easy conditioning, Fimo for firm pieces that keep shape.
- Color range: Fimo has more true-to-color pigments; budget brands vary.
- Bake reliability: name brands beat many budget clays for consistent curing and lower risk of sticky finishes.
For how to make clay earrings at home pick polymer clay, use parchment paper in your oven, a rolling pin and cutters, and plan attachment with jump rings or earring posts to avoid cracking when you finish and seal with varathane.
Troubleshooting Fixes
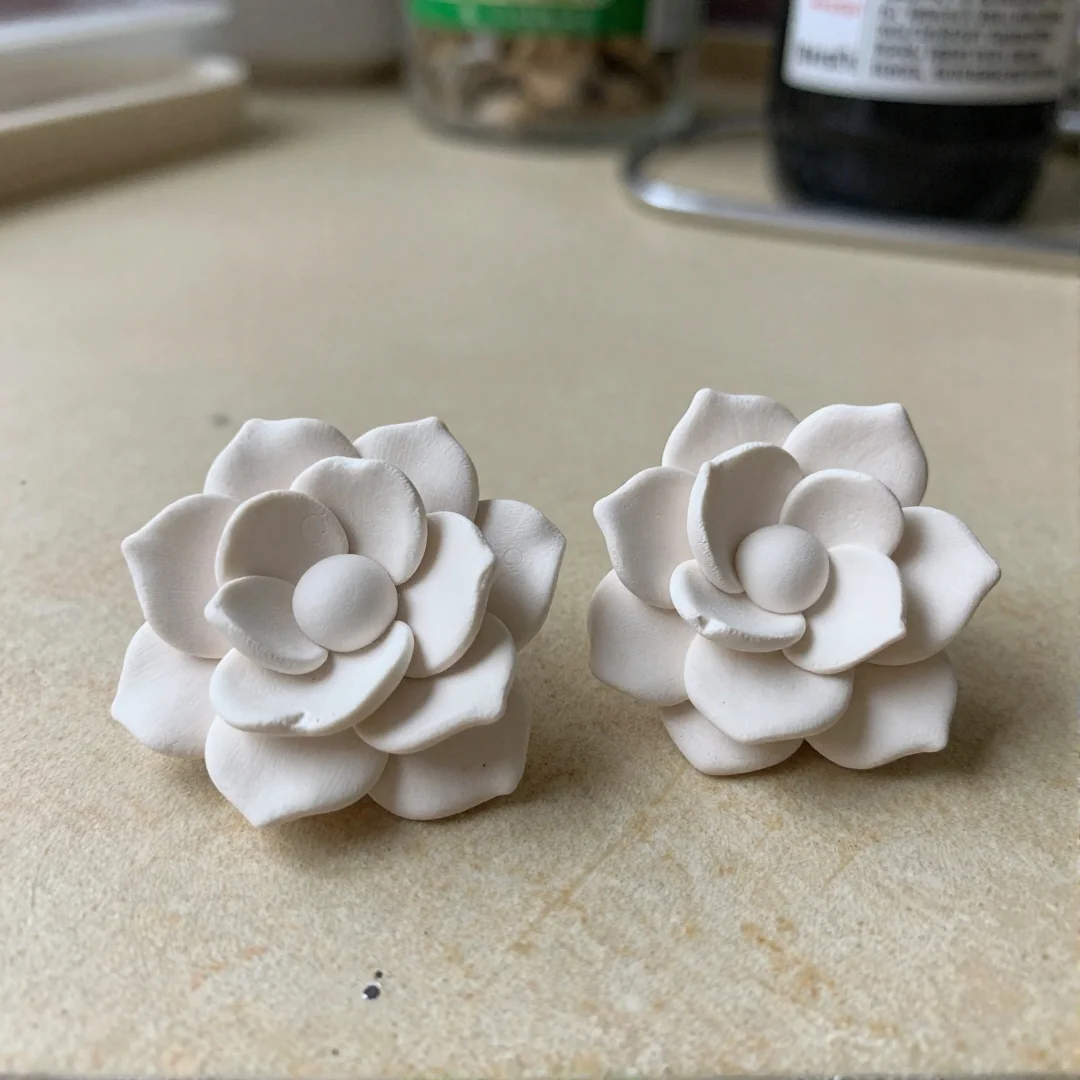
You open the oven and find one earring cracked and another sticky; it happens when you learn how to make clay earrings at home.
For cracking, check thickness first. Pieces over 1/4 inch often crack; roll to 1.5 mm for dangles and rebake at the right temp for the brand.
- Underbaked pieces feel soft or bend. Use a thermometer to confirm your baking oven reads 275°F for many Sculpey and Fimo lines, and bake about 15 minutes per 1/4 inch thickness.
- Burning or dark spots mean too hot. Calibrate oven with an oven thermometer and lower temp by 10°F, or use parchment paper and a baking tray on the middle rack.
- Sticky finish comes from incomplete baking or wrong sealant. If sticky after cooling, try a gentle 10 minute rebake on parchment, or sand with 400 grit then seal with a thin coat of Varathane or a polymer-safe sealant.
- If holes snap when attaching posts, use a blunt-tipped skewer or needle tool to pre-pierce, and insert headpins or jump rings before final bake.
Re-bake with caution. Don’t exceed brand temps, and test one piece before doing a whole batch.
For another perspective, this detailed piece on How to Make Clay Earrings + Cool DIY Clay Jewelry … is worth a read.
FAQ
What exact supplies and tools do I need?
You need polymer clay (Sculpey or Fimo), a rolling pin, cutters, a needle tool or blunt-tipped skewer, parchment paper, a small baking tray and a baking oven. For findings bring earring posts, jump rings, headpins or hooks, plus sandpaper (400 and 800 grit), mica powder or acrylic paint and a sealant like varathane.
How do I condition, shape, and cut clay for consistent pieces?
Condition by hand or with a pasta machine until clay is soft and even, then roll to a consistent thickness using guides or a 2 mm spacer. Cut shapes with metal cutters, use a needle tool to make holes, and keep matching pieces together on parchment paper for a consistent set in a polymer clay earrings tutorial.
What are correct baking temperatures and times?
Bake at the brand recommendation, typically bake at 275°F for 15 minutes per 1/4 inch thickness, checking Sculpey vs Fimo instructions since temperatures vary slightly. Use a thermometer to verify your oven and cool pieces on parchment paper to prevent warping.
How should I attach findings and avoid cracking?
Embed posts or eye pins into slightly uncured clay, or bake then glue findings with E6000; add a small backing disk of clay to spread stress. For jump rings, drill after baking with a 1 mm bit and reinforce holes with a dot of cured clay or clear glue to stop cracking.
How do I finish, keep them light, and avoid mistakes?
Sand from 400 to 800 grit, buff with a microfiber cloth, then seal with a thin coat of varathane sealant or compatible polymer clay gloss, but skip heavy sealants for sensitive ears. For lightweight earrings use 2, 3 mm thickness, hollow shapes, and measure with a small digital scale under 3 g per earring to avoid discomfort; common issues are overbaking, sticky finish from underbaking, and cracks from uneven thickness.
You might also like: 18 Wire Pumpkin Wreath DIY Ideas for Fall Decor
Key Takeaways
Myth: all clay earrings bake the same. Reality: temperatures and times depend on brand, thickness and oven type, and this matters when you learn how to make clay earrings at home.
- Follow brand bake times. Test with a 5 mm dummy piece and check Sculpey or Fimo instructions; use a baking oven and parchment paper to avoid sticking.
- Embed or attach findings before baking. Press in earring posts, headpins or jump rings when possible to skip drilling and cut cracking risk.
- Choose polymer clay for durability; use air-dry only for low-stress pieces and expect less strength than oven-cured polymer clay.
- Sand progressively. Start with 220 grit up to 600 grit and pick varathane or another sealant based on finish and allergy concerns.
- Design for lightness. Make thin, hollow or layered shapes so each earring weighs under 5 grams for comfort.
Save this to Pinterest for easy reference while you craft.