20 Cardboard Craft Ideas That Look Surprisingly Chic
Introduction
Over 90 billion cardboard boxes are produced every year — and most end up flattened in a recycling bin without a second thought. But what if that stack of Amazon boxes in your garage could become genuinely beautiful home décor?
These cardboard crafts diy ideas are exactly that kind of surprise. We’re talking wall art, storage trays, geometric sculptures, and decorative accents that honestly look like they belong on a boutique shelf — not in a recycling pile.
Beyond the aesthetics, there’s something deeply satisfying about upcycling everyday packaging into pieces you’re actually proud to display. It’s sustainable, low-cost, and far more creative than it sounds.
For another perspective, this detailed piece on Cardboard Crafts & DIY Ideas is worth a read.
Inside, you’ll find 20 projects ranging from total beginner-friendly builds to satisfying intermediate makes — no special tools required, and most cost under $5 in extra supplies. Grab those boxes. Let’s make something chic.
Why Cardboard Is the Ultimate Craft Material You’re Sleeping On
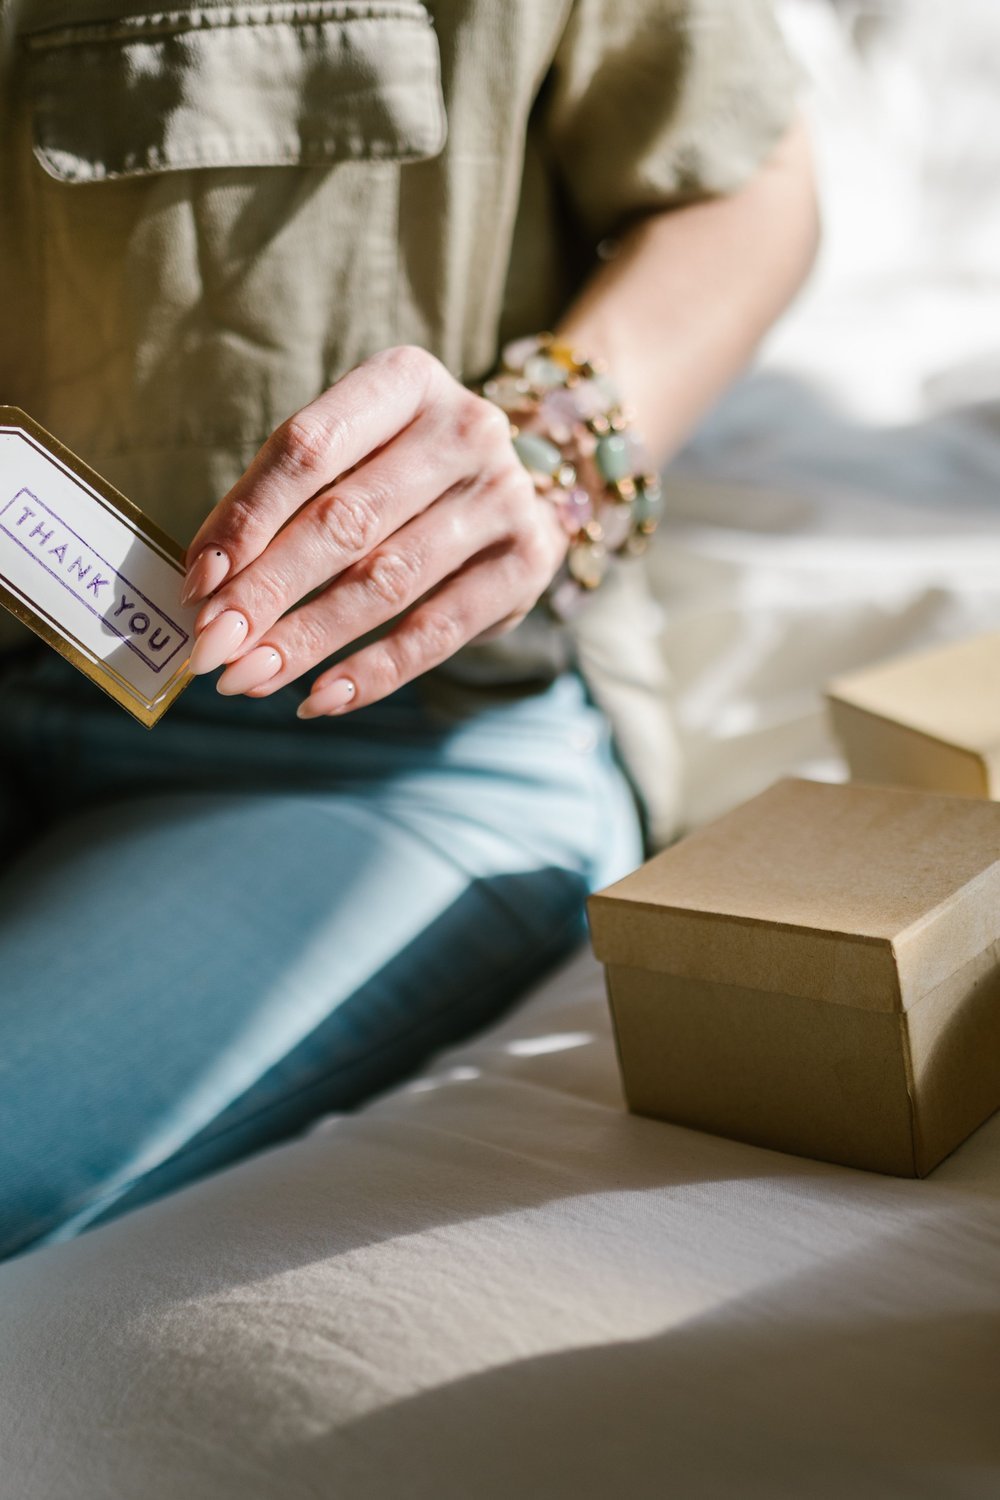
You’re about to throw away a delivery box when it hits you — that’s basically free art supplies sitting in your recycling bin.
Cardboard costs nothing and lives everywhere. It’s endlessly available, recyclable, and keeps usable material out of landfill — a genuine win before you’ve even picked up a glue gun.
Not all cardboard is equal, though. Corrugated sheets bring structural strength for 3D builds, chipboard handles intricate cutting beautifully, and kraft card takes paint like a dream. That variety is exactly what makes cardboard crafts diy ideas so endlessly adaptable.
Paint, gesso, texture paste, and embellishments all adhere surprisingly well to cardboard surfaces — no priming required for most projects.
Upcycling crafts have surged 47% in search interest since 2020. The humble cardboard box is quietly leading that creative revolution.
What You Need Before Starting Any Cardboard Project

Already eyeing a project but not sure if your junk drawer has what it takes? Good news — the supply list is shorter than you think.
Your non-negotiables: a sharp craft knife, self-healing cutting mat, metal ruler, and hot glue gun. These four tools handle 90% of cardboard crafts diy ideas you’ll ever attempt.
For adhesives, match the job to the glue:
- PVA glue — great for layering and papier-mâché
- Hot glue — instant bonds for 3D structures
- Mod Podge — seals and finishes beautifully
Elevate the final look with chalk paint or spray primer. A $4 can of spray paint transforms raw cardboard into something genuinely polished.
Free cardboard sources worth bookmarking: grocery stores, appliance shops, and your own recycling bin.
Cardboard Crafts DIY Ideas: Sculptural Wall Art Panels
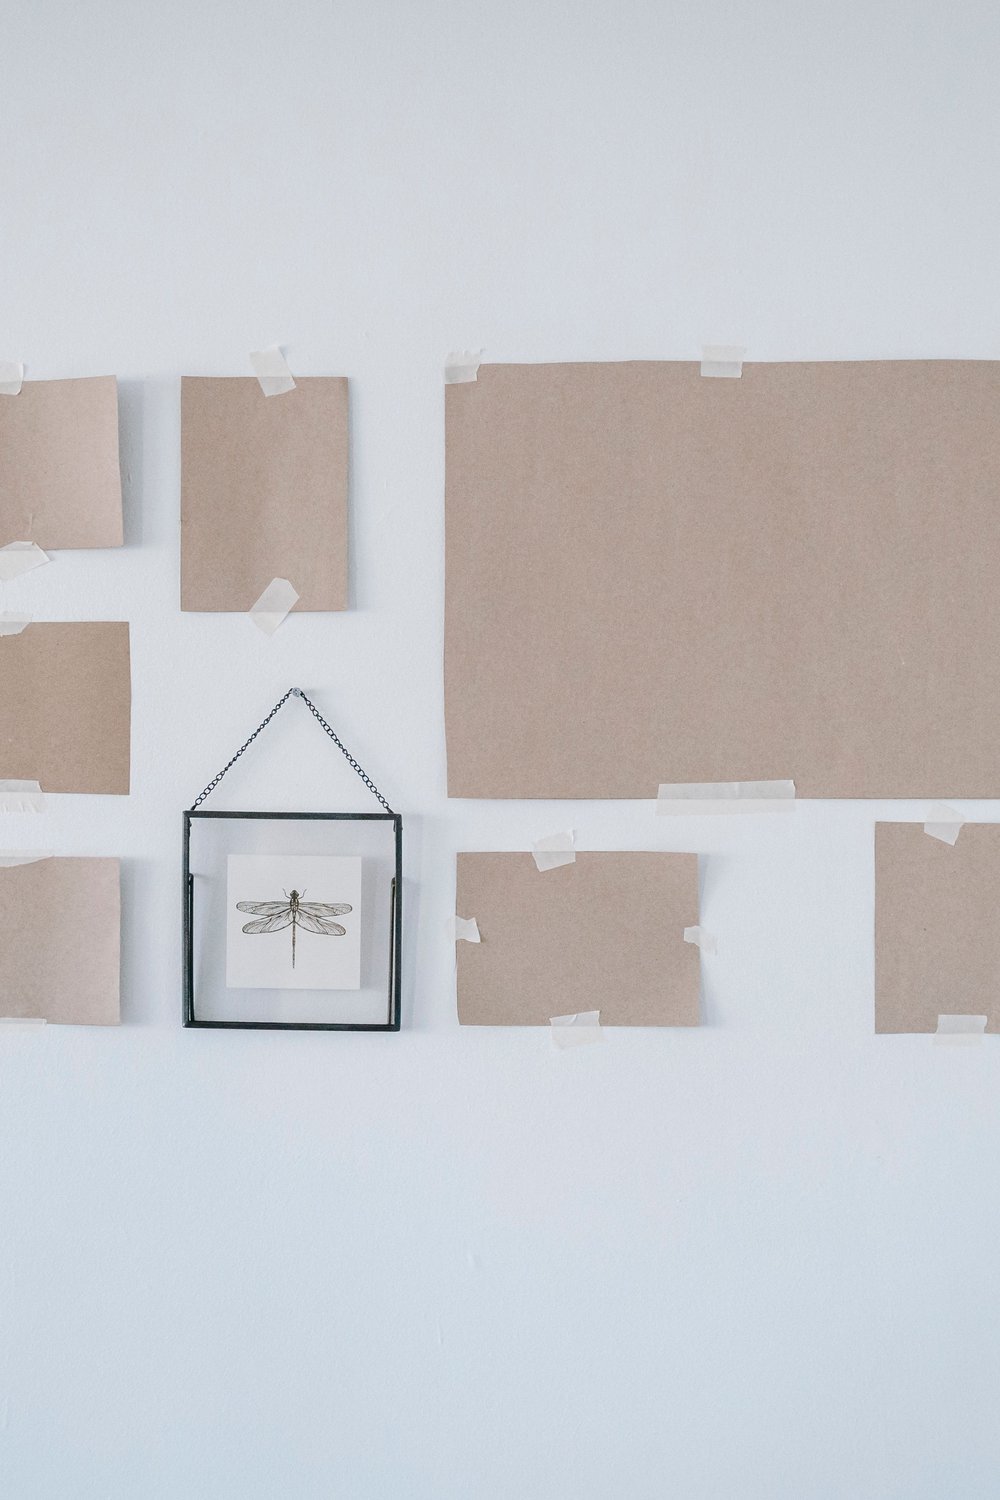
Cardboard belongs in the recycling bin — or so most people assume. Stack it, score it, and layer it correctly, and it rivals art you’d find in a boutique gallery.
To build 3D geometric wall panels, cut identical hexagonal or diamond shapes, layer them 4–6 sheets deep, and stagger each layer slightly to create satisfying dimension and shadow.
For a high-end finish, prime with gesso first, then apply metallic gilding wax or gold spray paint — a single $8 can transforms an entire panel set.
- Keep panels between 10–12 inches for flexible gallery wall arrangements
- Group odd numbers (three or five) for natural visual balance
- Mix matte black and gold finishes for contrast
Among cardboard crafts diy ideas, sculptural wall panels consistently dominate Pinterest saves — because they photograph beautifully and genuinely fool guests into thinking you spent serious money.
Minimalist Cardboard Shelf With Hidden Cable Routing
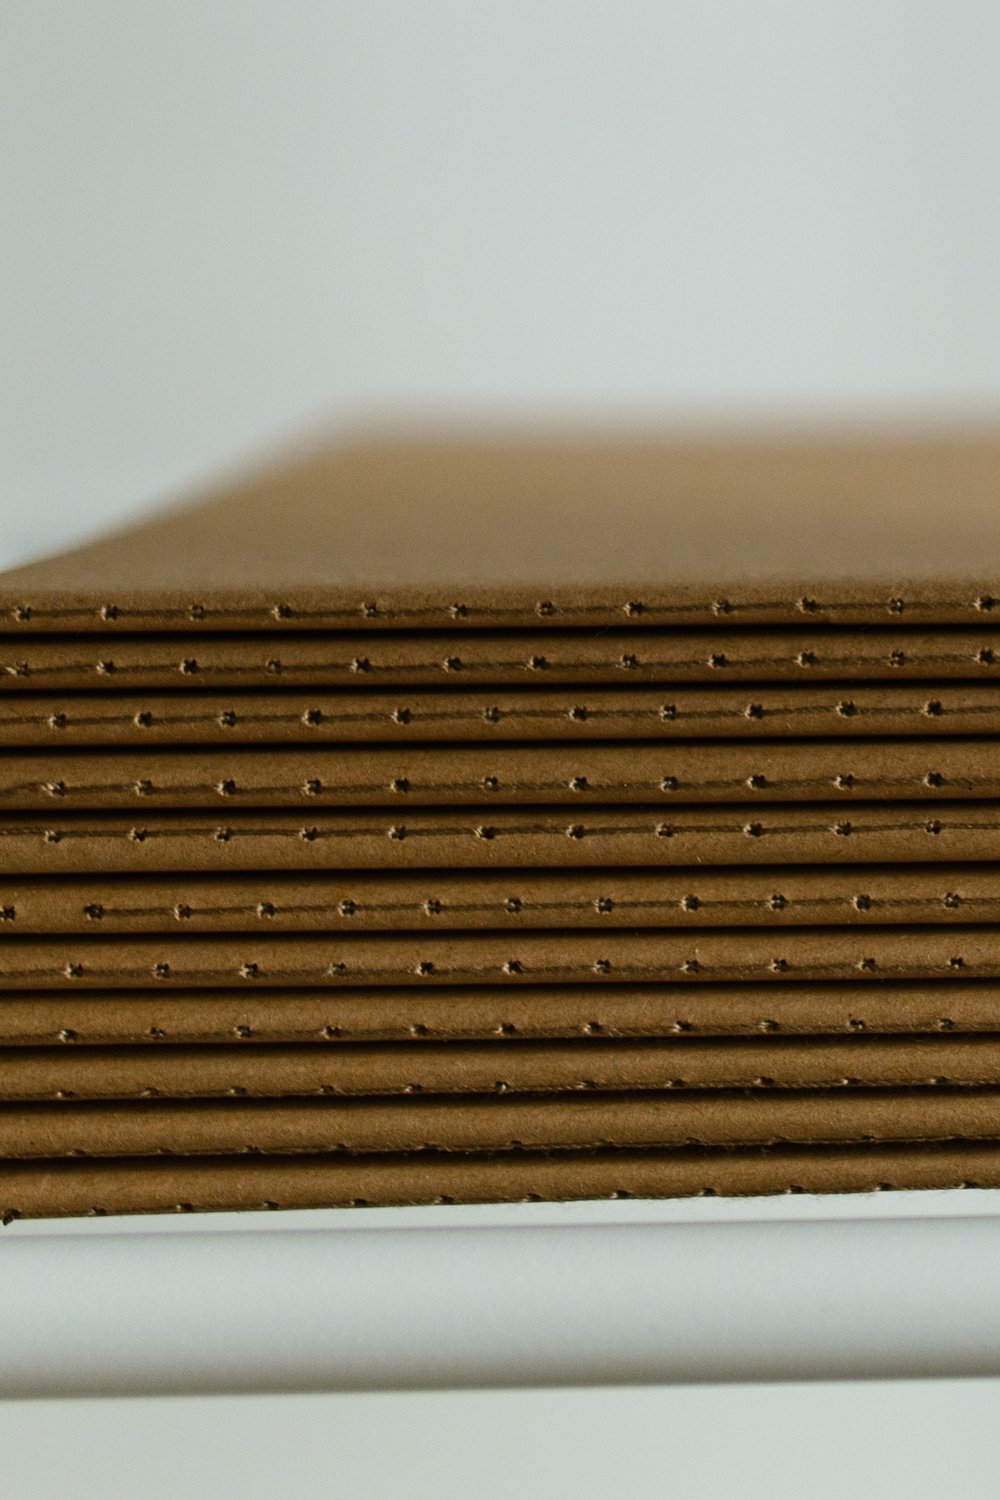
There’s something quietly satisfying about a shelf that looks like it cost £40 from a design boutique but started life as a delivery box.
Stack at least 8 layers of corrugated cardboard, gluing each with PVA and alternating the grain direction. This cross-layering creates genuine structural rigidity — far stronger than it sounds.
Before finishing, slice a narrow channel through the back layers to thread cables through invisibly. Then coat the entire surface with plaster paint or wrap tightly in wallpaper for a completely solid, store-bought appearance.
Among all the cardboard crafts diy ideas floating around, this one surprises people most. Realistically, a well-built shelf comfortably holds up to 2kg — perfect for small plants, candles, or books.
- Style with a single trailing plant and matte ceramic for a clean shelfie aesthetic
- Keep objects lightweight and evenly distributed
- Use neutral paint tones to amplify the minimalist look
Elegant Cardboard Vase With Textured Finish
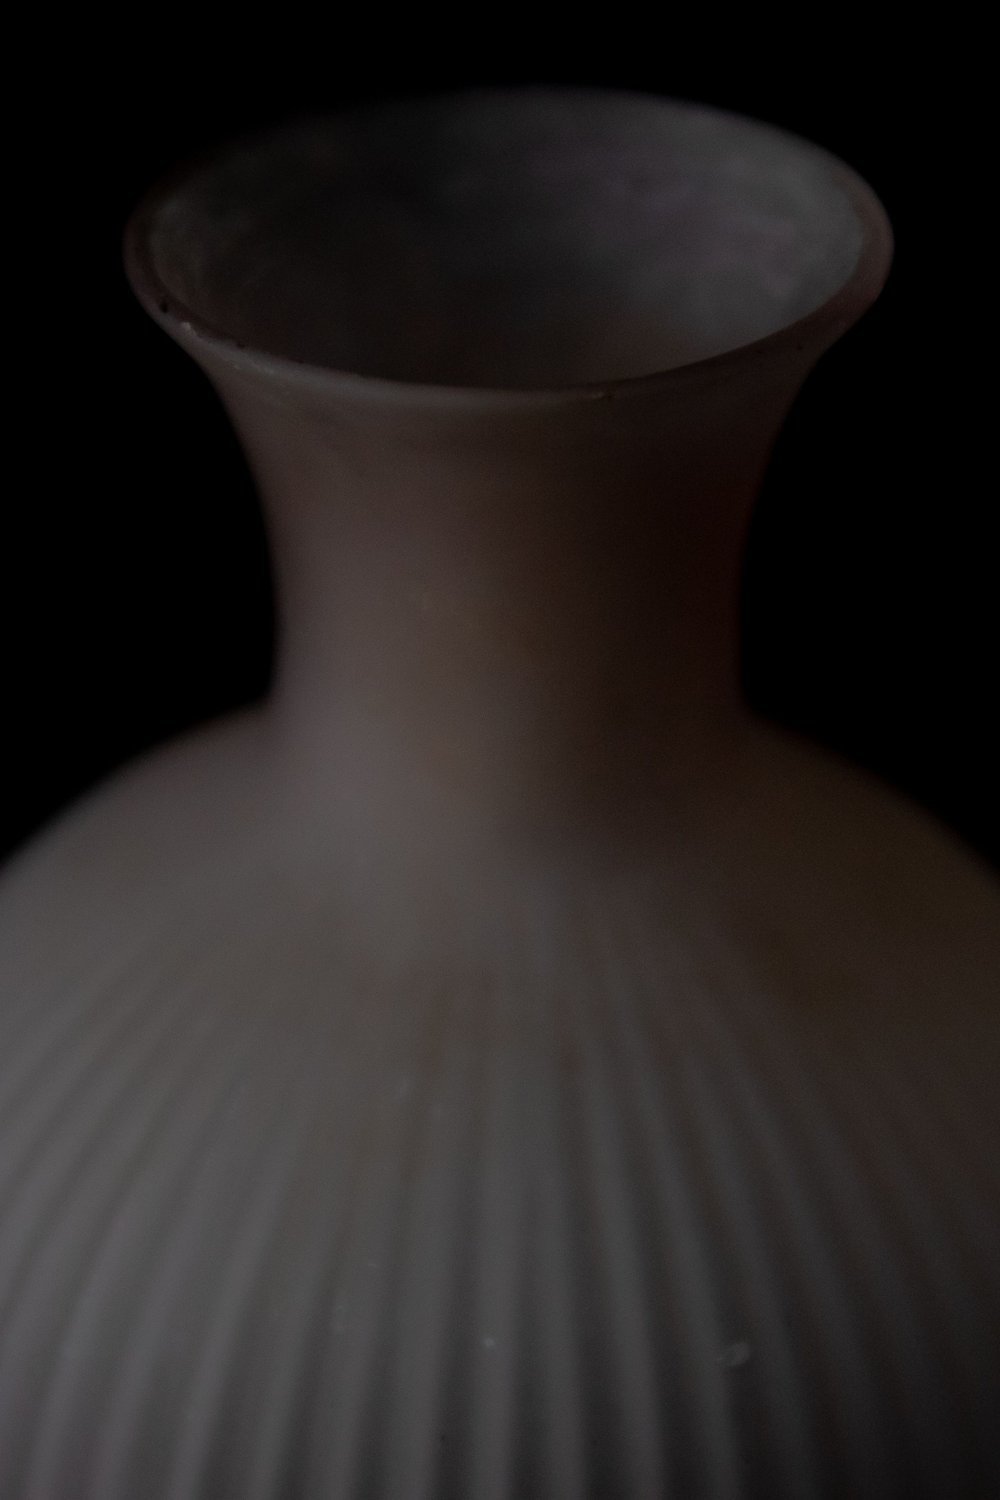
Cut cardboard strips about 1 inch wide before you start — consistent sizing makes coiling or stacking far easier and keeps your vessel shape looking intentional rather than accidental.
Wind the strips tightly from the base upward, securing each layer with strong craft glue. Building up the coiled walls slowly gives you control over the height and silhouette.
Once dry, texture is everything. Try wrapping with natural twine, layering torn tissue paper, or brushing on a thin coat of joint compound for that organic, handmade feel.
Finish with chalk paint or a terracotta spray — both run under $6 and instantly elevate the look. This is one of those cardboard crafts diy ideas that genuinely fools people.
- Style with dried pampas grass or eucalyptus for an effortlessly trendy vignette
- Cluster two or three vases at varying heights for maximum visual impact
DIY Cardboard Hexagon Organiser for Desk or Vanity
When spring-cleaning season hits, there’s no better time to rethink your desk clutter with one of the most satisfying cardboard crafts diy ideas around — the hexagon organiser.
Cut hexagon cells roughly 10cm per side from double-layered corrugated cardboard for instant sturdiness. Stack two sheets before cutting to save time.
Reinforce every joint with hot glue plus a thin strip of kraft tape inside — this keeps cells from separating after daily use.
- Line interiors with peel-and-stick wallpaper or marble contact paper for a polished, boutique feel
- Mix metallic and neutral prints across cells for visual interest
- Group three or five together for a wall-mounted honeycomb display
Mount clusters with command strips for a zero-damage gallery wall that doubles as gorgeous, functional storage.
Cardboard Shadow Box Frames for a Boho Gallery Wall

Custom shadow box frames retail for $30–$80 each — but with layered cardboard, you can recreate that same depth for almost nothing. These are genuinely some of the most impressive cardboard crafts diy ideas hiding in plain sight.
Building depth inside the frame is easier than it looks. Stack and glue 3–4 cardboard layers to create raised platforms that push your focal pieces forward beautifully.
Tuck in pressed wildflowers, vintage ticket stubs, or tiny dried botanicals. Miniature layered scenes work especially well — think tiny forests or dreamy moonlit landscapes.
For finishes, a brown acrylic wash plus dry-brushed gold mimics reclaimed wood convincingly. I’ve found two thin coats always outperform one heavy layer.
- Group odd numbers — three or five frames feel intentionally curated
- Vary heights by 2–3 inches for natural visual rhythm
- Use removable adhesive strips to rearrange without wall damage
Luxury-Looking Cardboard Trinket Box With Lid
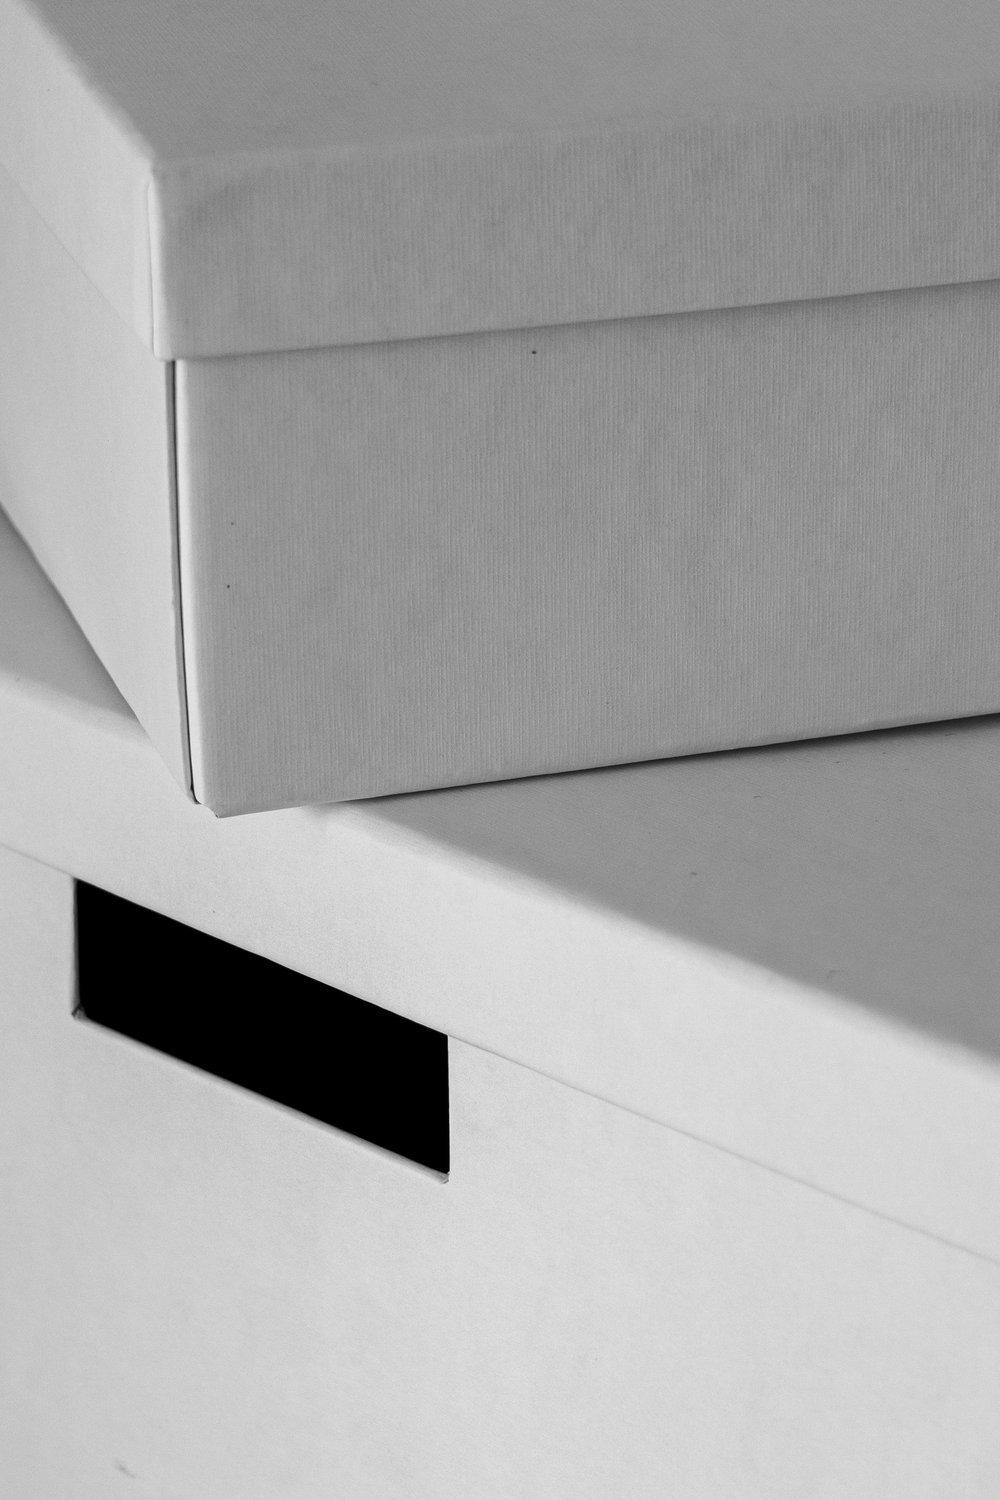
A single sheet of thick corrugated cardboard can become a gift-shop-worthy jewellery box in under two hours — no woodworking skills needed.
Start by scoring and folding clean, precise edges using a bone folder and ruler. Sharp creases are what separate a polished result from a floppy mess.
- Cut a lid panel roughly 3mm wider on each side than the base, then attach it with a narrow strip of kraft paper acting as a flexible hinge
- Cover the exterior in bookbinding paper, linen fabric, or two coats of chalk paint for an elevated finish
- Line the interior with velvet or satin scraps — even offcuts from old fabric stores work beautifully
This is one of those cardboard crafts diy ideas that genuinely fools people into thinking you spent real money on it.
Architectural Cardboard Bookends That Actually Work
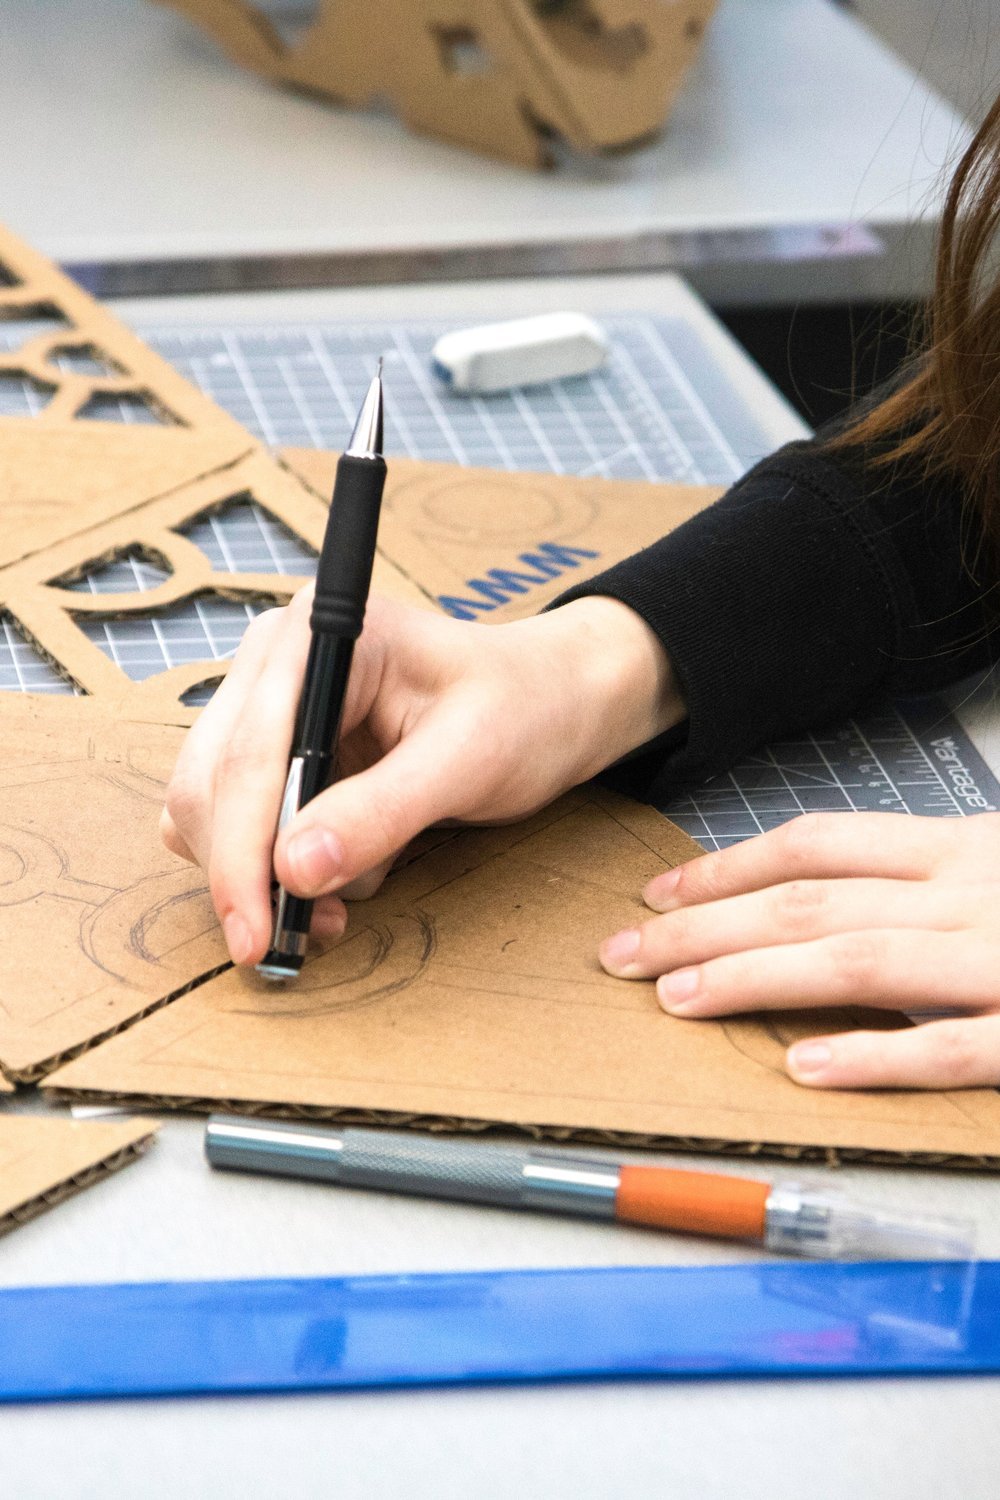
Your favourite paperbacks keep sliding sideways, and buying bookends feels like a boring errand. These sculptural cardboard bookends solve that problem beautifully — and nobody will guess what they’re made from.
The secret to bookends that genuinely hold weight? Fill the base cavity with sand or small pebbles before sealing it shut. Around 200g of sand per bookend gives you serious staying power.
- Try arches, tapered columns, or bold abstract silhouettes
- Layer cardboard pieces to build real structural depth
- Finish with faux concrete or brushed metallic paint for that gallery-worthy look
Among all the cardboard crafts diy ideas floating around, this one earns genuine compliments from guests.
Style them alongside real hardcovers and trailing plants for a shelfie-worthy vignette that looks completely intentional — because it is.
Rolled Cardboard Coasters With a Pottery-Style Look

Ever wondered how pottery-inspired home accents can cost almost nothing? These coasters prove it beautifully.
Cut corrugated cardboard into strips roughly 1cm wide, then roll them tightly into circular coasters. This is one of those cardboard crafts diy ideas that genuinely surprises people when they see the finished result.
The secret is in the gluing technique. Apply PVA glue between each layer as you roll, then press the coaster firmly under a heavy book overnight for a flat, even surface.
- Seal with resin for a glossy, waterproof finish
- Matte varnish gives a more earthy, ceramic feel
- Color-blocking with acrylic paint adds modern style instantly
- A raw, natural finish works beautifully too
Sand the edges lightly before sealing — it makes a huge difference to that polished, artisan look.
Cardboard Lampshade With Cut-Out Pattern
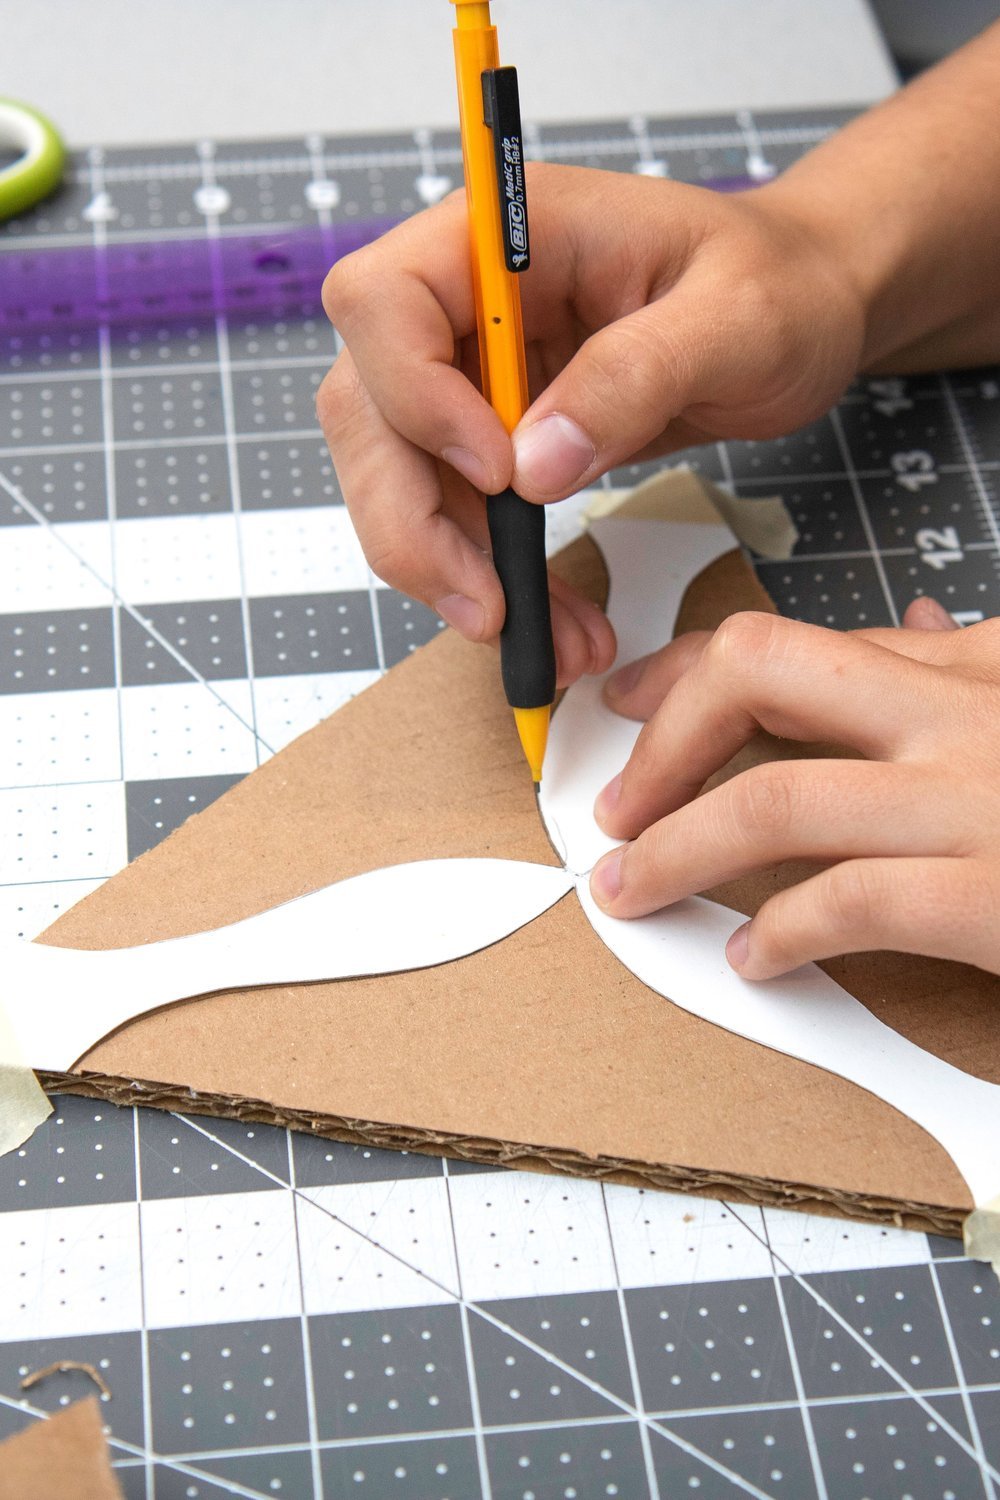
Cardboard and lighting sounds like a fire hazard — but with an LED bulb under 10 watts, it’s completely safe and genuinely stunning.
Start by sketching a geometric or floral stencil design onto thick corrugated cardboard, then carefully cut out the pattern with a craft knife. Repeating shapes — hexagons, leaves, stars — create the most dramatic effect.
Roll the panel into a cylinder and secure it around a wire or PVC ring frame. This keeps the shade’s shape rigid and gives it a polished, intentional finish.
Among all the cardboard crafts diy ideas you’ll try, this one surprises people most. When you switch the light on, the cut-outs cast intricate shadow patterns across your ceiling and walls — the shadows become living decor that shifts subtly as the evening light changes.
DIY Cardboard Planters That Mimic Terracotta Pots
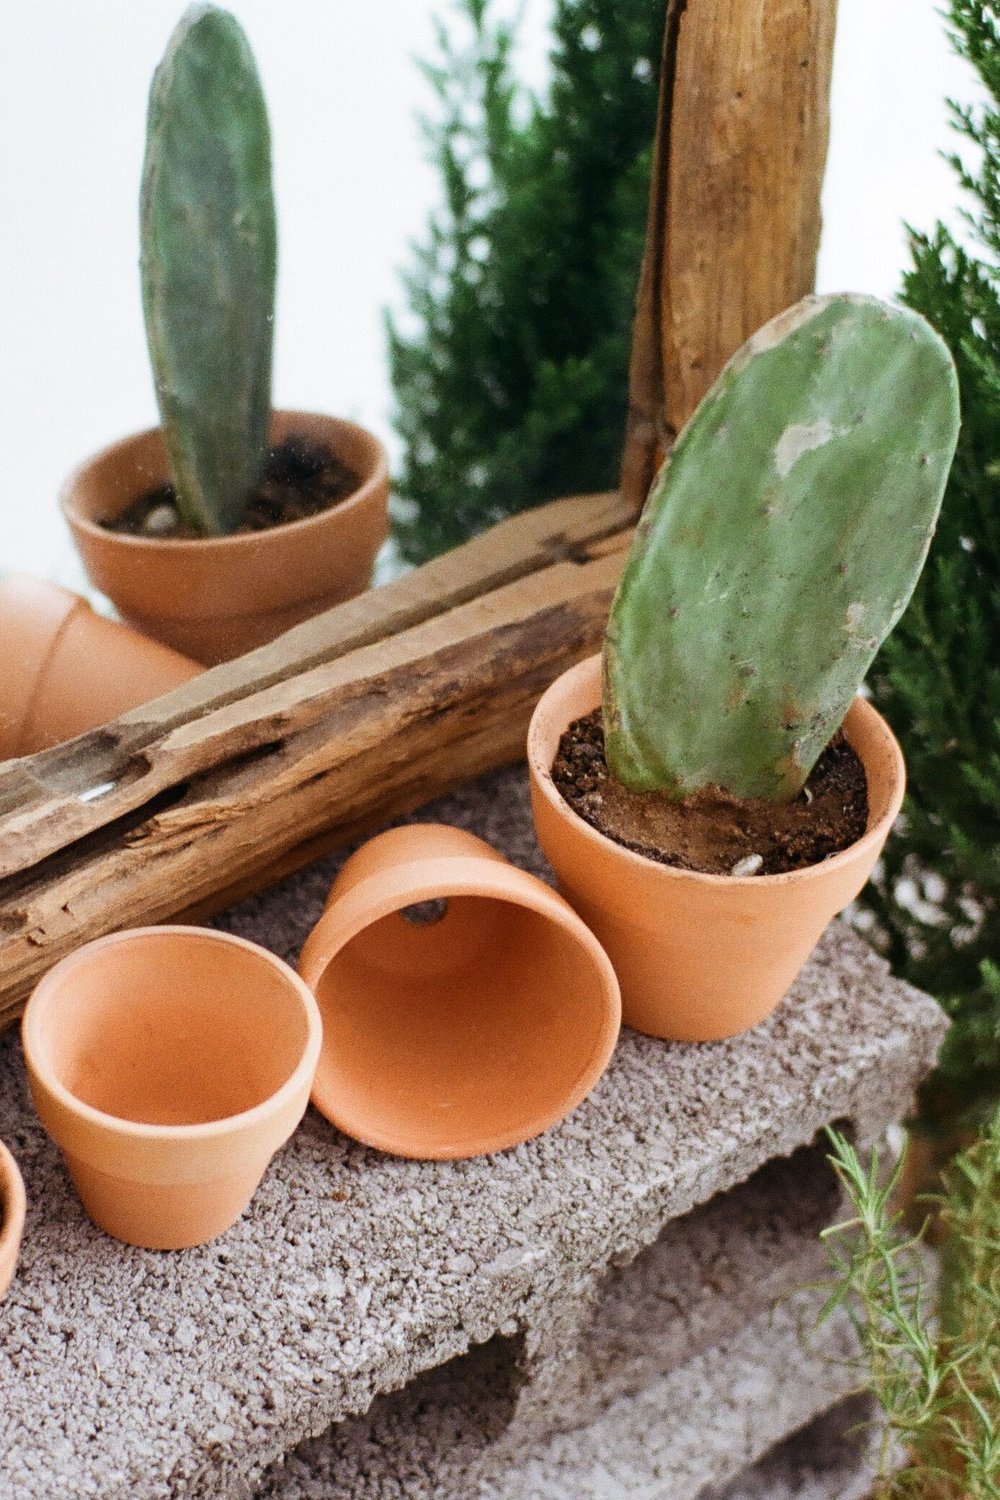
Honestly, some of my favourite cardboard crafts diy ideas have come from staring at an empty cereal box and a pot of joint compound.
Start by layering three to four sheets of cardboard inside your box shape, sealing every interior seam with Mod Podge or PVA glue. This creates a surprisingly water-resistant lining that holds up beautifully.
Once dry, spread joint compound over the exterior with a palette knife. That rough, slightly uneven finish is exactly what gives it that authentic terracotta texture.
Paint in warm terracotta, dusty sage, or soft cream — a single $3 craft paint pot covers several planters easily.
Best plant pairings for these pots:
- Succulents and cacti
- Air plants (no soil needed)
- Trailing ivy for a lush, cascading effect
No-Sew Cardboard Backdrop Board for Photos and Reels
Tape two large cardboard sheets together along the long edge before you start — it creates a seamless surface without any visible joins.
This is honestly one of the most underrated cardboard crafts diy ideas for content creators. Cut your panels to roughly 60×90cm for a versatile backdrop that fits most flat-lay and reel setups.
Cover the surface with peel-and-stick wallpaper, stretched fabric, or a coat of trending paint — terracotta, sage, and warm ivory are performing brilliantly right now.
To make it foldable, score lightly down the centre and reinforce the fold with wide cloth tape. It stores flat under a bed or behind a door.
- Perfect for product photography and flat lays
- Ideal backdrop for Reels, TikToks, and Shorts
- Doubles as a kids’ party photo wall
Cardboard Advent Calendar House With Drawers
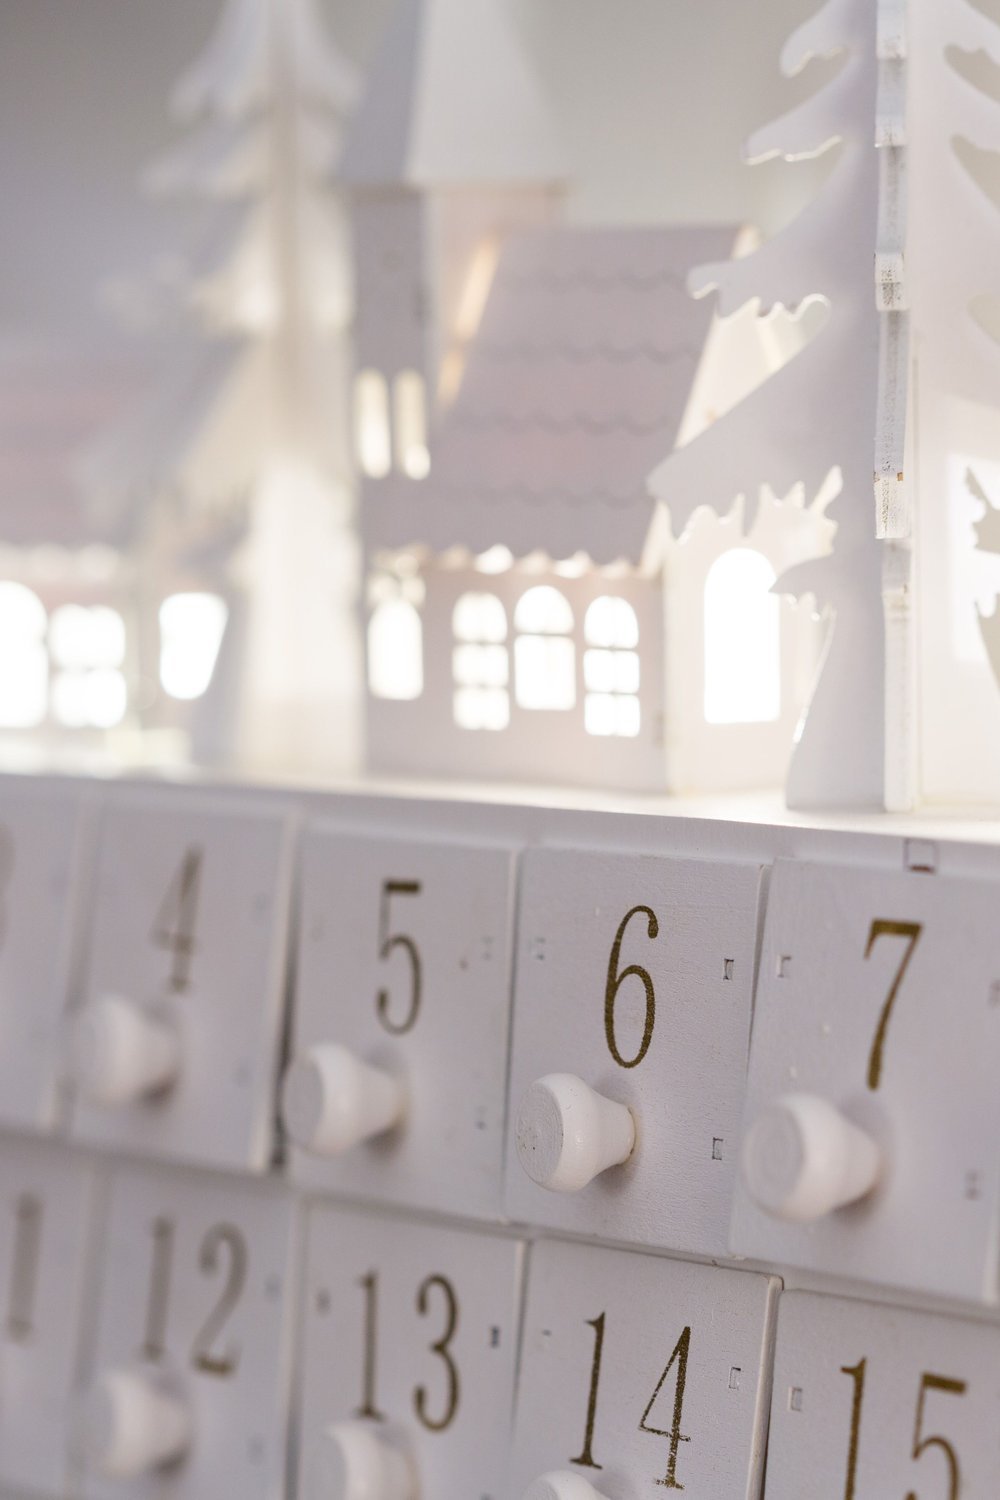
When December rolls around, this charming advent house becomes the most-talked-about decoration on the shelf — and it costs under $5 in materials to build.
Start by collecting 24 small matchboxes or folded cardboard tubes to form your drawer facade. Arrange them into a house shape, staggering sizes to create a realistic cottage feel.
Number and decorate each drawer with festive stamps, washi tape, or hand-painted details before gluing everything to a sturdy backing board.
- Cut tiny arched windows from spare card and highlight with gold paint
- Add a pointed roof peak using a folded triangle of corrugated cardboard
- Seal everything with matte varnish so it survives storage
Among all the cardboard crafts diy ideas in this collection, this advent house genuinely earns its place year after year — just refill the drawers each November and it’s ready to shine again.
Woven Cardboard Basket With Handles
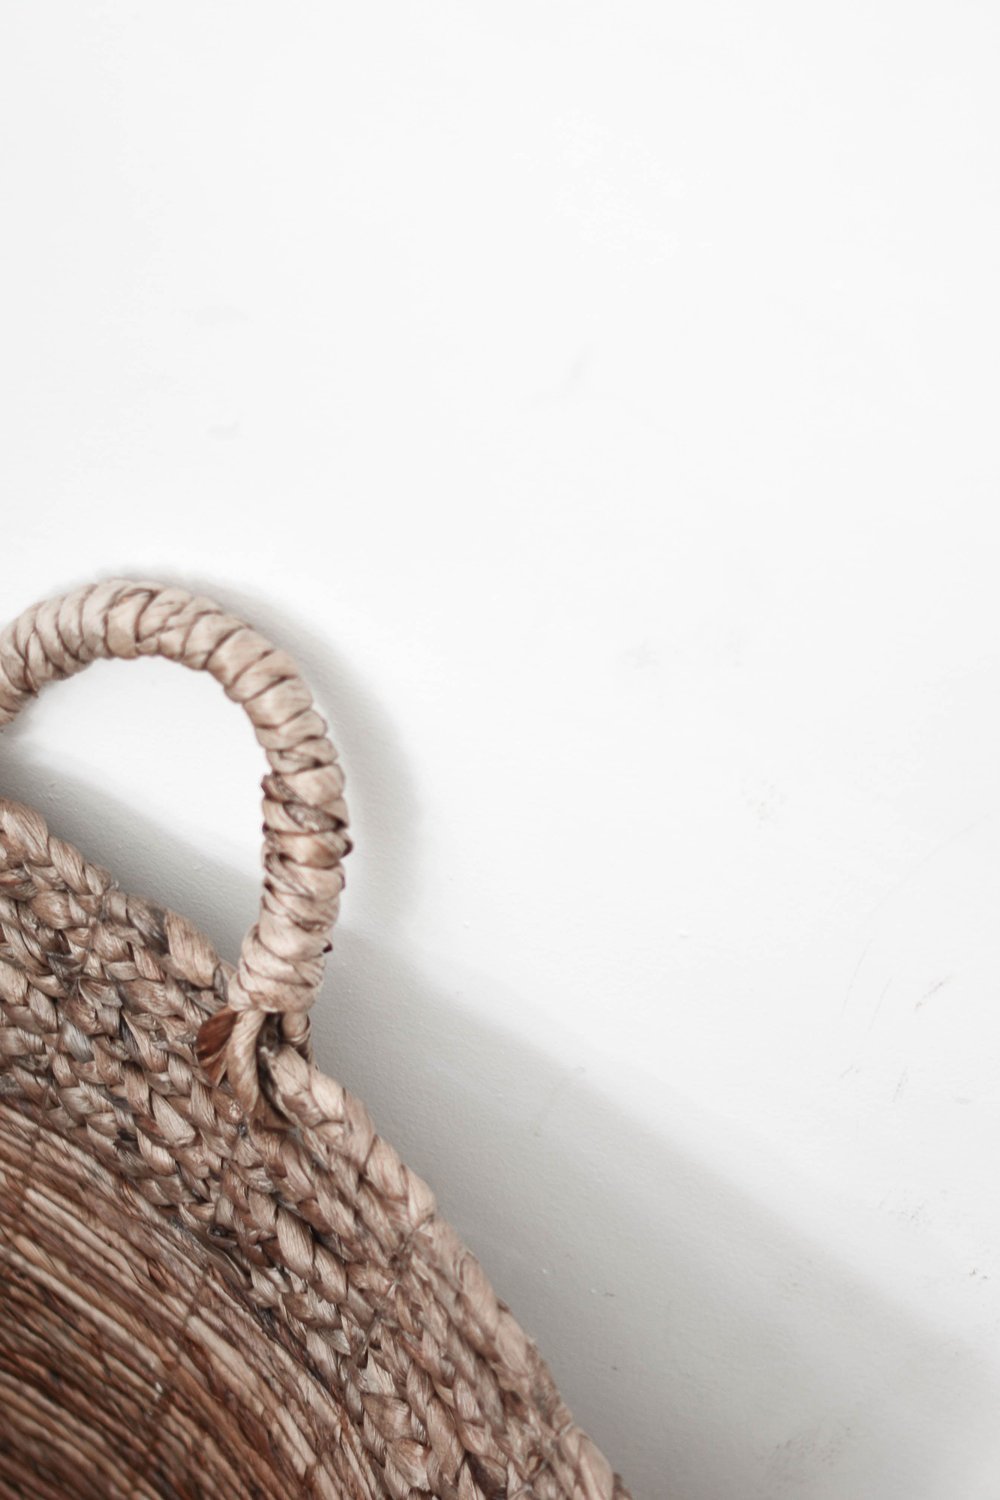
A wicker basket from a boutique can cost $30 or more — this version costs almost nothing and looks just as charming on a shelf or kitchen counter.
Start by cutting a sturdy piece of corrugated cardboard into a circle or rectangle for your loom base, then slice vertical slits about 1cm apart around the edges. Weave long cardboard strips horizontally through these slits, working row by row upward.
- Narrower strips (around 1cm) create a tighter, more refined weave
- Wider strips give a relaxed, boho-market feel
- Roll and wrap a thick strip into a sturdy handle, securing it firmly at both sides
Among all the cardboard crafts diy ideas out there, this one rewards patience beautifully. Finish with natural dye, diluted paint, or twine wrapping for that earthy, artisan-market aesthetic.
Cardboard Letter Marquee Signs With LED Lights

A single marquee letter can cost $40–$80 in stores — yet cardboard crafts diy ideas like this one deliver the same glow for almost nothing.
Start by printing your chosen letter at full size, tracing it onto thick corrugated cardboard, then cutting cleanly with a sharp craft knife and fresh blade. Dull blades tear edges, so swap them out often.
Use a skewer or small drill bit to punch evenly spaced holes across the face, then thread warm fairy lights or LED strands through from behind.
For the front finish, try mirror card for serious glam, kraft paper for rustic charm, or a coat of metallic paint. Each gives a completely different mood.
- Style on a bedroom shelf or mantel
- String along a kids’ room gallery wall
- Layer multiple letters to spell a name or word
Easy Cardboard Crafts DIY Ideas for Earrings and Jewellery
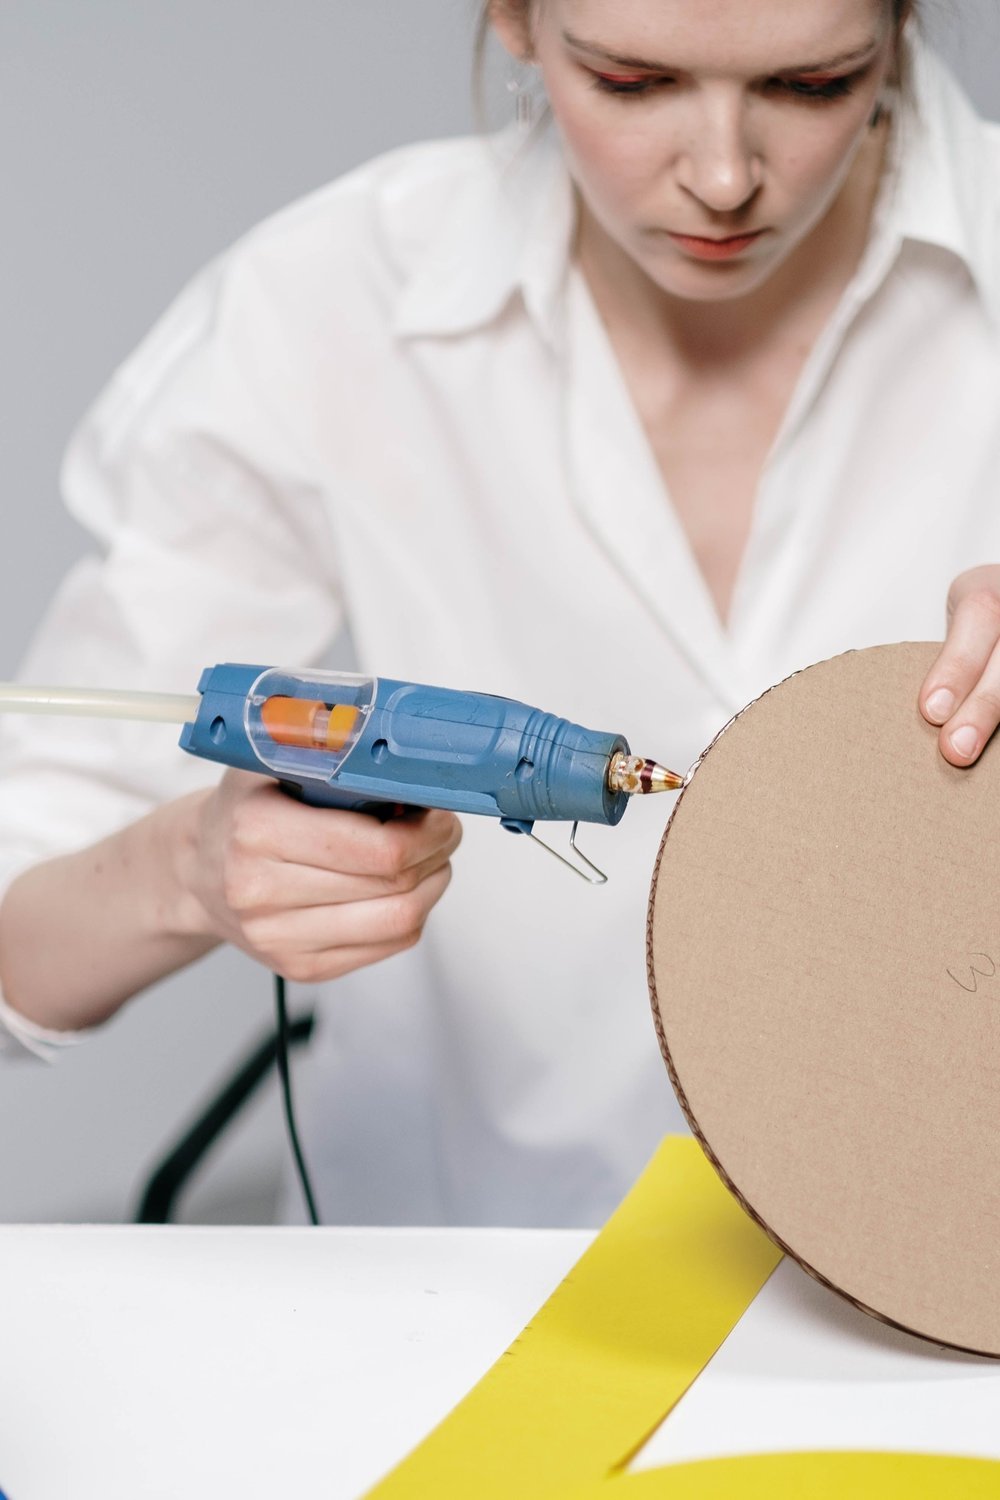
You spot a gorgeous pair of geometric earrings online for $45 — then realise your recycling bin holds everything you need to make something just as stunning.
Cereal box cardboard is the sweet spot here. Cut lightweight geometric shapes — hexagons, crescents, elongated diamonds — keeping pieces under 4cm to avoid drooping.
Seal both sides with Mod Podge before decorating. This single step is what separates flimsy attempts from earrings that actually last.
Then comes the fun part. These cardboard crafts diy ideas really shine with gold foil, acrylic paint, or a thin resin pour that gives an almost-ceramic finish.
- Sand edges smooth before sealing
- Use a pin to pierce holes cleanly
- Attach earring hooks with jewellery pliers for a secure, professional finish
Lightweight and genuinely wearable — people will never guess the secret ingredient.
Miniature Cardboard Room Box as a Decorative Accent
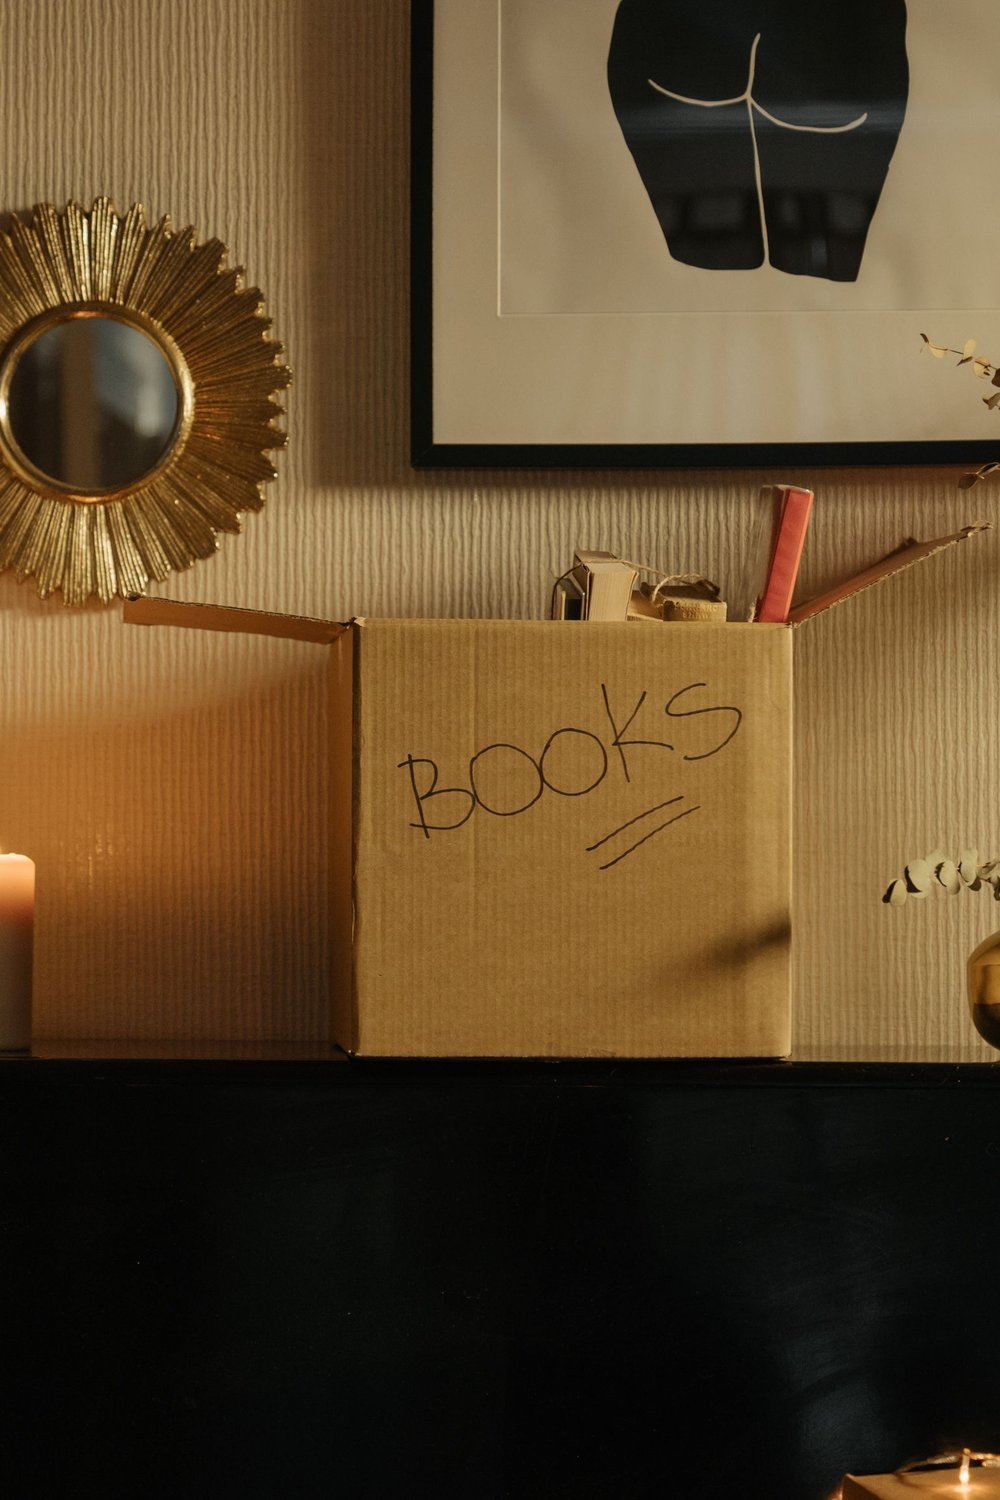
Have you ever wanted to create an entire world inside a shoebox? A miniature room box does exactly that — and it looks genuinely stunning on a shelf.
Start with a sturdy cardboard box (around 30cm deep works perfectly) and divide the interior into walls, floor, and ceiling. Scaled miniature furniture cut from layered corrugated cardboard adds incredible dimension.
For surfaces, try these paint and paper techniques:
- Tissue paper pressed with watered-down PVA for realistic wallpaper texture
- Dry-brushed grey paint to mimic concrete or stone flooring
- Tiny printed fabric scraps for rugs and soft furnishings
These little scenes double beautifully as photography props for flat lays or product shots.
Among all cardboard crafts diy ideas trending right now, miniature room making is exploding — and honestly, it’s one of the most rewarding creative rabbit holes you’ll fall into.
Cardboard Pegboard Organiser Panel for Any Wall
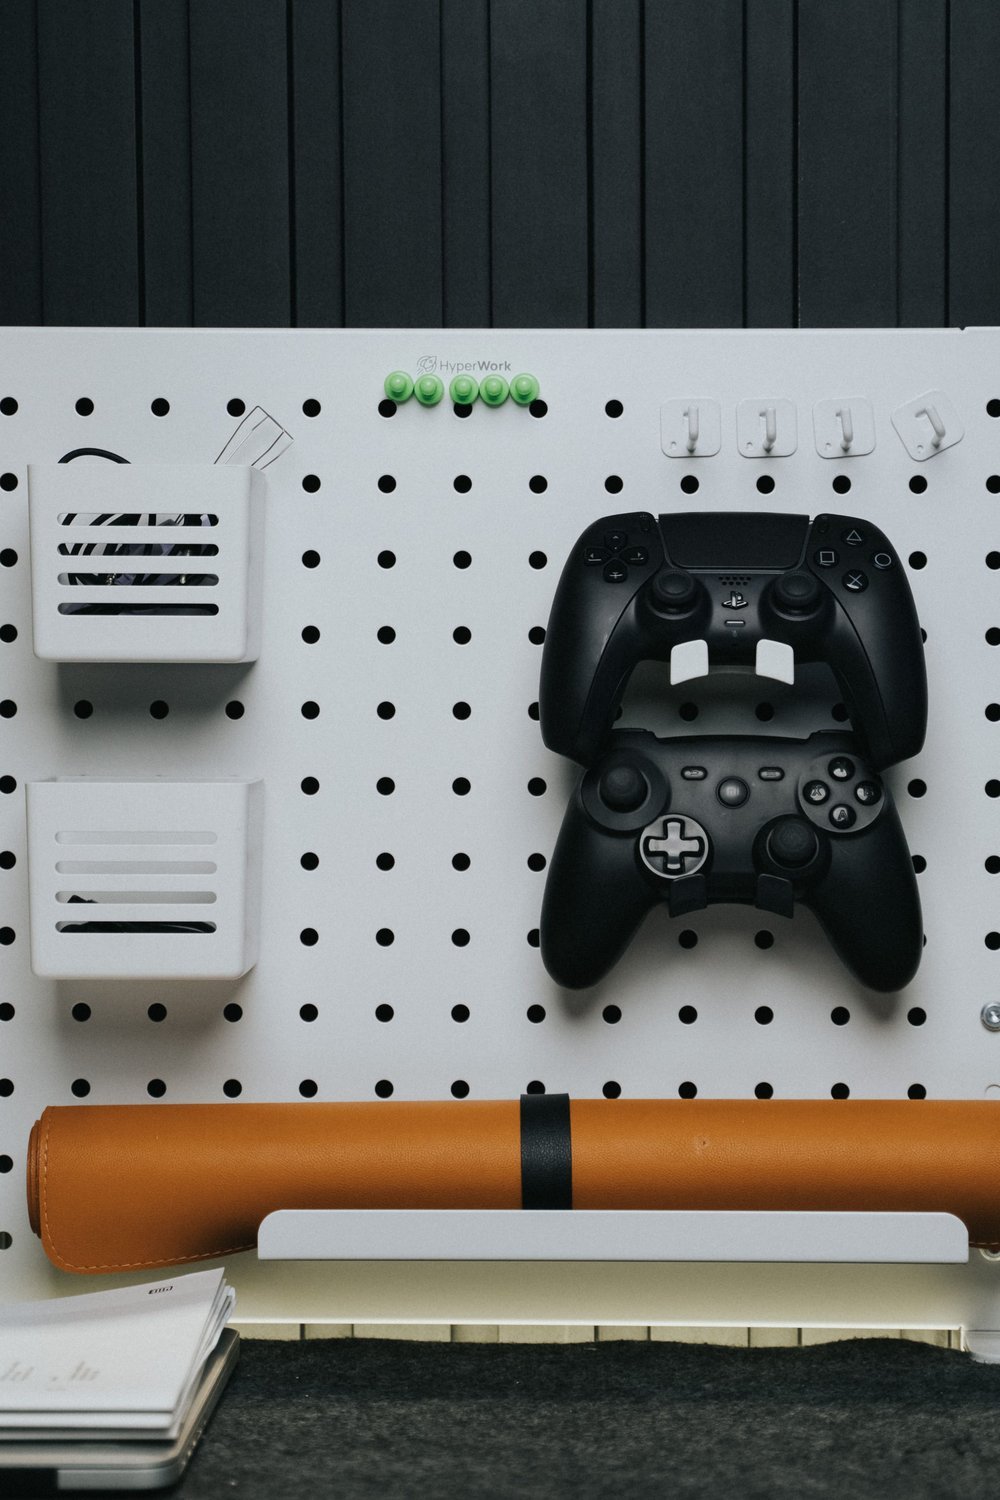
Pegboards don’t have to come from a hardware store costing £40+. A stack of flattened boxes, layered and glued together, creates a surprisingly rigid, mountable panel that holds real weight.
Aim for at least four sheets thick, then use a dowel or drill to punch evenly spaced peg holes roughly 2 inches apart across the entire surface.
This is honestly one of the most satisfying cardboard crafts diy ideas — especially once you hit it with matte black spray paint. The transformation is genuinely shocking.
- Sand edges lightly for a cleaner finish
- Use folded cardboard strips as custom hooks and mini shelves
- Seal with Mod Podge for extra durability
Mount it with heavy-duty adhesive strips and style with plants, tools, or stationery for a wall display that looks intentionally designed.
Corrugated Cardboard Wall Clock With Minimal Design
There’s something quietly satisfying about turning a humble material into something you’d genuinely hang in your living room — and this clock does exactly that.
Cut a clean 30cm circle from thick corrugated cardboard using a sharp craft knife and a drawn template. Mount a basic clock mechanism kit through the centre — these run about $4–6 online and include hands, a battery compartment, and fitting hardware.
Layer small cardboard rectangles as raised hour indices around the face. They add dimension without clutter — that minimal, architectural feel people obsess over.
- Finish in matte black, raw kraft, or brushed gold spray paint
- Sand edges lightly for a clean, intentional look
- Natural textures photograph beautifully under warm lighting
Among all the cardboard crafts diy ideas in this collection, this one earns the most double-taps — the graphic silhouette is made for Pinterest flat-lays and shelfie shots.
FAQ
What is the hottest craft trend right now?
Sustainable and upcycled making is having a serious moment. From thrifted textile art to cardboard crafts diy ideas, eco-conscious creativity is dominating Pinterest boards and craft communities alike — people want beautiful results without the wasteful footprint.
What counts as a 5-minute craft?
Any project you can finish before your coffee goes cold. Quick cardboard wins include geometric coasters (just cut, layer, seal), lightweight statement earrings, or a small folded gift box — all achievable in under five minutes with basic scissors and glue.
Are cardboard crafts actually inexpensive?
Genuinely, yes — most projects cost under $1 when you raid your recycling bin. Cereal boxes, shipping cartons, and toilet roll tubes are completely free starting points. Add a pot of paint you already own and you’re crafting for almost nothing.
What glue works best on cardboard?
It depends on your project. PVA glue is ideal for layering and papier-mâché-style builds since it dries flexible and strong. Hot glue is your go-to for quick structural joins and 3D shapes. Mod Podge pulls double duty as both adhesive and a protective sealant — perfect when you want a polished, finished surface.
Can beginners really pull off chic cardboard projects?
Absolutely — the material is forgiving, easy to cut, and endlessly reworkable. I’ve found that a coat of chalk paint transforms even the roughest cardboard piece into something that looks intentional and stylish.
You might also like: 19 Paper Plate Crafts Kids Will Love to Make
Key Takeaways
As we head into a new season of creative living, these cardboard crafts diy ideas prove that beautiful home décor doesn’t require a big budget or fancy materials.
- Cardboard is endlessly versatile — from wall art and storage boxes to furniture accents, it adapts to almost any style or space.
- Sustainability matters: repurposing cardboard keeps waste out of landfill and gives everyday packaging a gorgeous second life.
- The cost is practically nothing — most projects cost under $5 in supplies, making this one of the most accessible crafts around.
- Chic results are absolutely achievable — the right paint, texture, or finish transforms plain cardboard into something that looks genuinely designer.
- Start with one beginner-friendly project and build your confidence before tackling more ambitious pieces.
- Share your creativity — finished something gorgeous? Drop a photo in the comments or tag us!
Save this post to your favourite Pinterest board so these ideas are always within reach when inspiration strikes. ✨