18 DIY Canvas Art Painting Ideas You’ll Want to Copy
Introduction
A single blank canvas costing under $5 can completely transform a bare wall — and you don’t need a single art class to make it happen. DIY canvas art painting is one of the most satisfying ways to add personality, colour, and warmth to any space in your home.
Whether you’re a total beginner or someone who’s dabbled with brushes before, there’s something here for every skill level and style.
Inside this guide, you’ll discover 18 fresh and creative ideas — from simple abstract designs you can finish in an afternoon to richly textured techniques that look like they belong in a gallery.
For another perspective, this detailed piece on 120 Canvas Art Ideas is worth a read.
No art degree. No expensive supplies. Just a little inspiration, a few basic materials, and the confidence to put brush to canvas and make something uniquely yours.
Ready to turn those empty walls into a reflection of your personality? Let’s dive in.
What You Need Before Starting Any DIY Canvas Art Painting Project
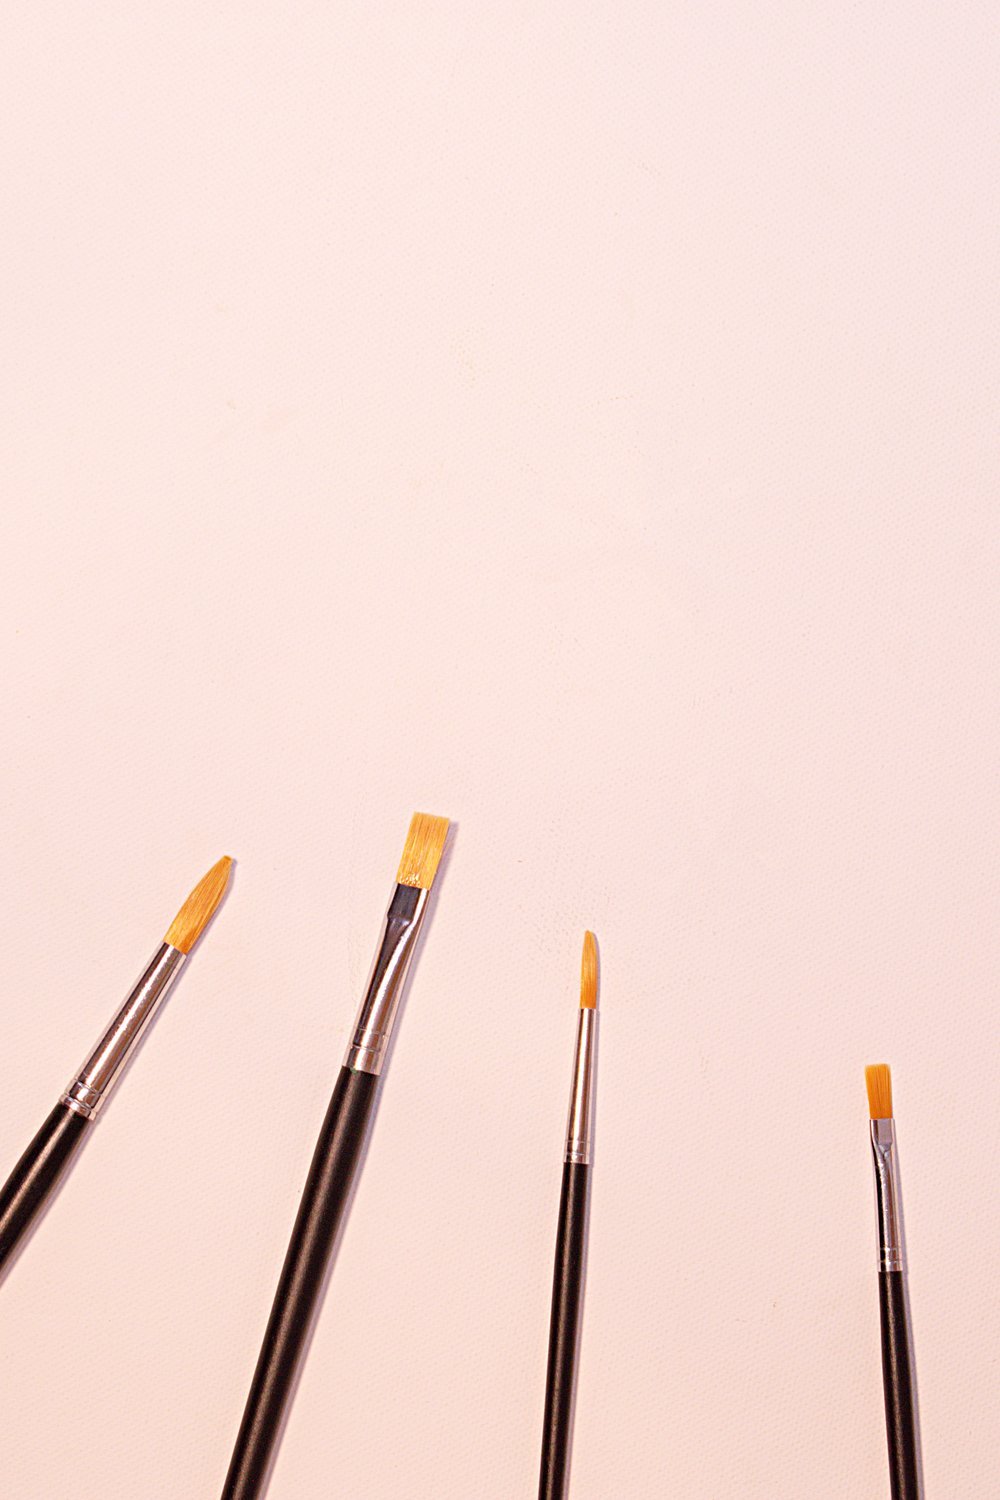
You’ve pinned the inspiration, cleared the kitchen table, and you’re ready to paint — then you realise you’re missing half the supplies. Sound familiar? A little prep goes a long way.
Here’s your essential supplies checklist to grab before you begin:
- Stretched canvas (8×10″ is perfect for beginners)
- Acrylic paints in primary colours plus white and black
- A basic brush set (flat, round, and detail)
- Gesso for priming raw canvas surfaces
- Painter’s tape for clean edges and geometric designs
- A simple palette or disposable plate
For technique, canvas weight matters more than most people expect. Lightweight canvas (around 7oz) suits dry brushing and sketching; heavier cotton duck handles thick, layered acrylics beautifully.
The good news? You can launch your first diy canvas art painting project for under $30 — starter acrylic sets, budget brushes, and value-pack canvases from craft stores make it genuinely accessible.
Abstract Fluid Pour Painting on Canvas
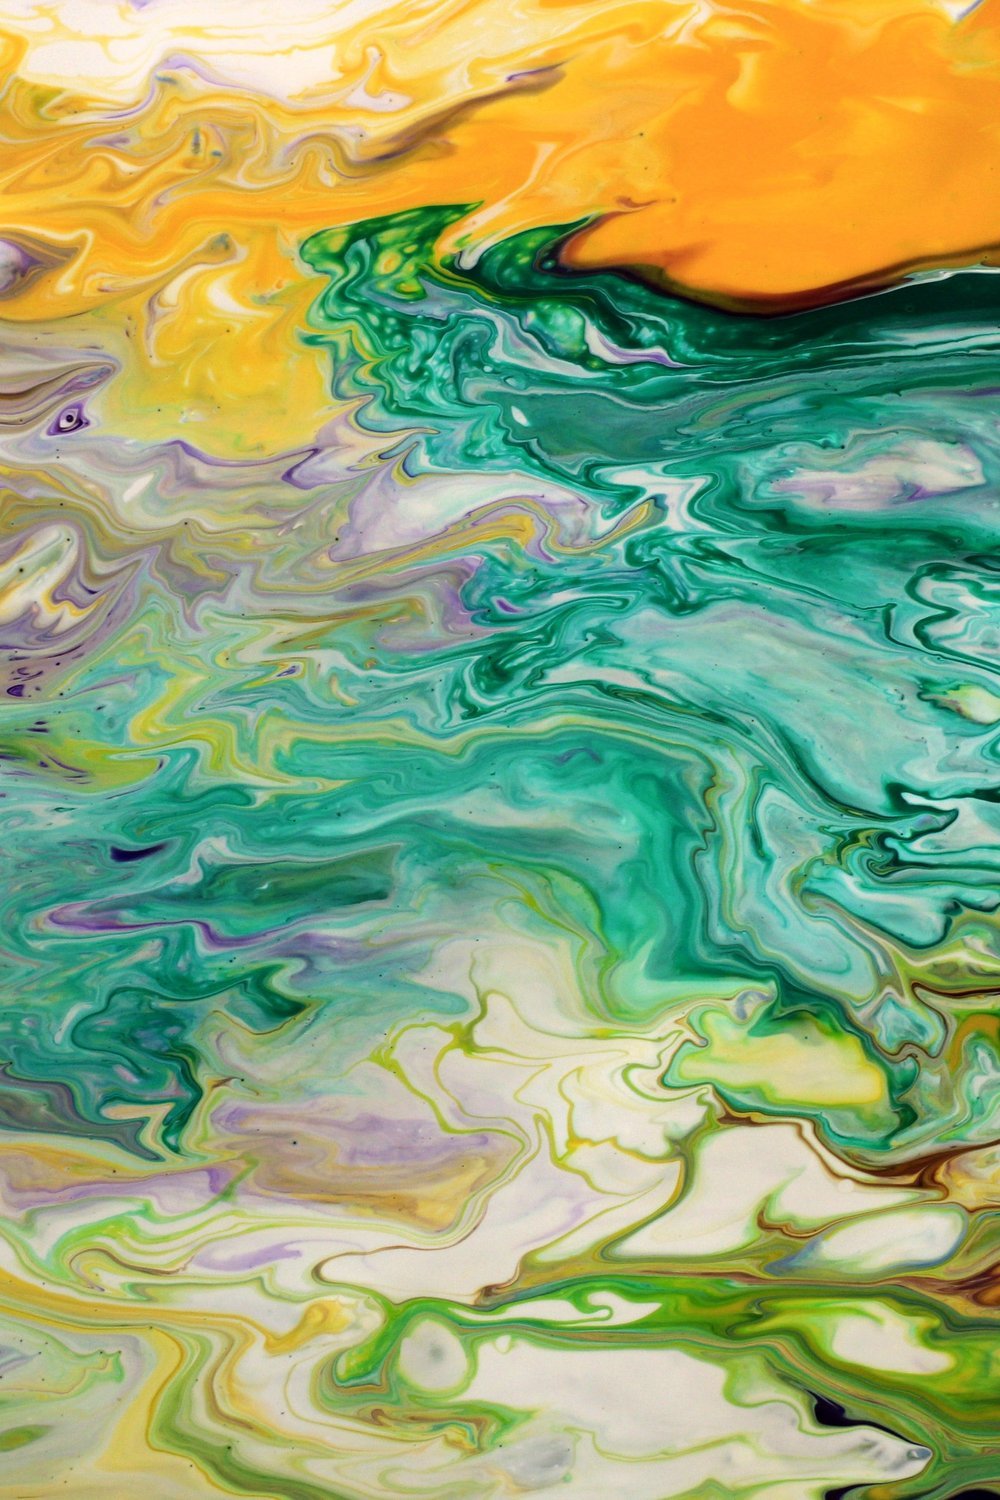
Have you ever watched paint flow and blend on its own, creating something that looks like it belongs in a gallery? That’s exactly the magic of acrylic pour painting.
To get started, mix your acrylic paint with pouring medium at a 2:1 paint-to-medium ratio — this gives beginners the most consistent, workable consistency. Add 2–3 drops of silicone oil per color to trigger those gorgeous, organic cell formations.
This diy canvas art painting technique requires almost no artistic experience, just a willingness to let the paint do its thing. Tilt your canvas slowly in different directions and watch the colors merge naturally.
Color palette selection makes or breaks the result. Try these combinations for a cohesive, polished look:
- Navy, teal, and gold for a luxe, moody effect
- Blush, cream, and terracotta for soft, earthy warmth
- Black, white, and one bold accent color for dramatic contrast
Minimalist Line Art DIY Canvas Painting
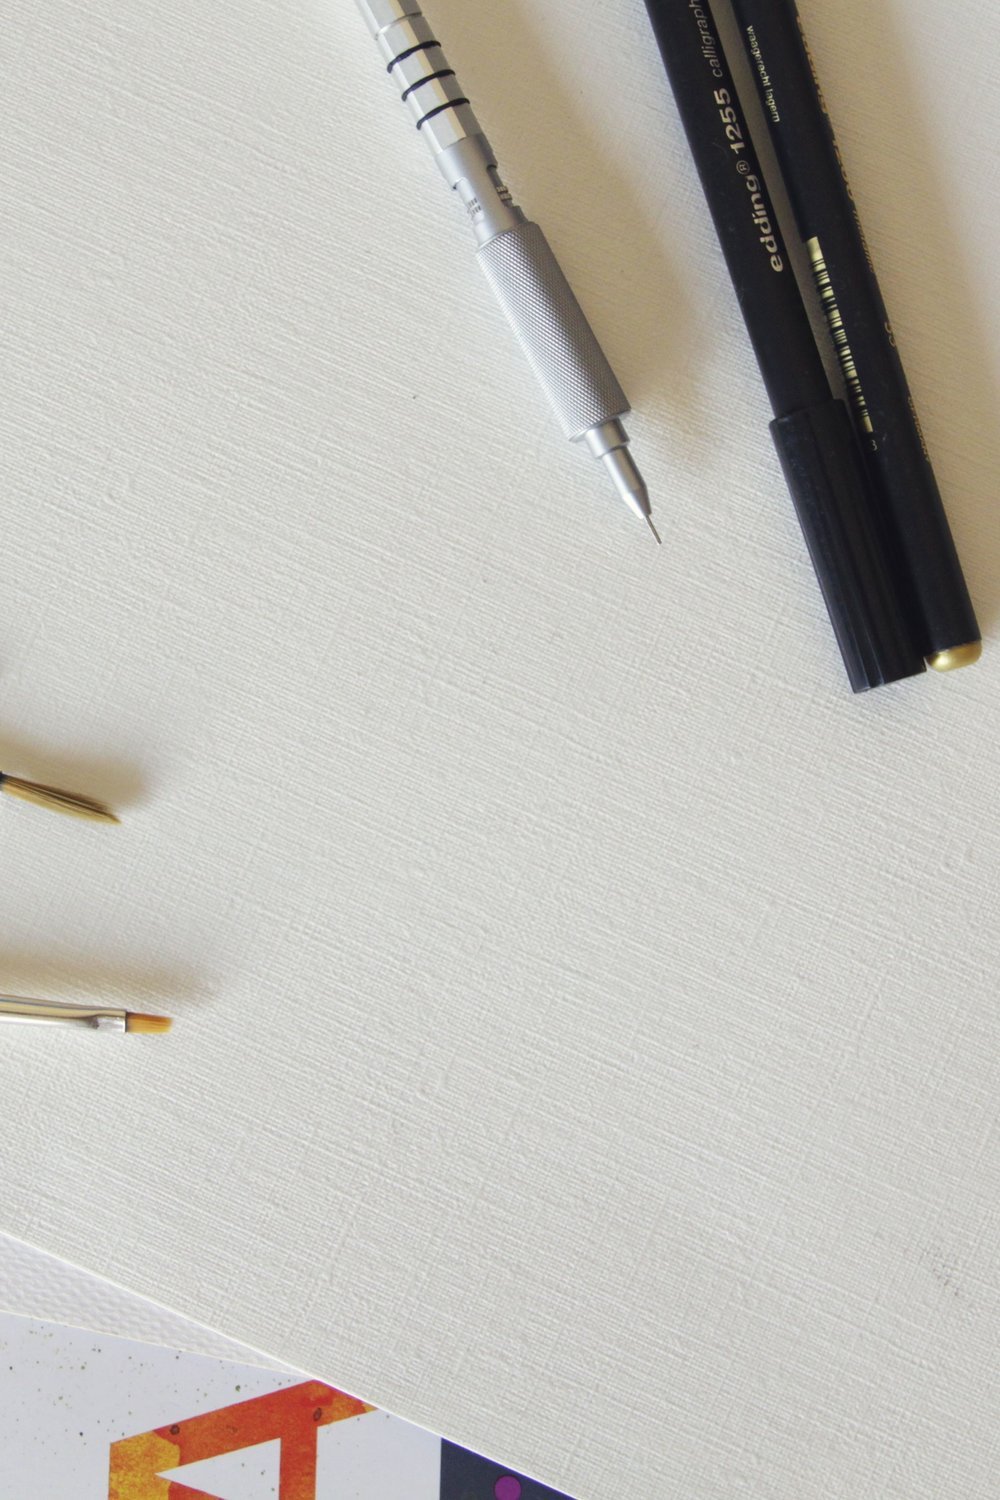
Simple doesn’t mean boring. Some of the most striking wall art comes down to a single confident brushstroke on a blank canvas.
For this style of diy canvas art painting, use a fine-tip paint pen or a size 2 liner brush to create continuous single-line portraits, botanical outlines, or clean geometric shapes. Slow, deliberate strokes give you the most control.
These color combinations consistently deliver that gallery-worthy feel:
- Black on white — timeless and endlessly versatile
- Gold on navy — dramatic and luxe-looking
- Terracotta on cream — warm, earthy, and very on-trend
I’ve found that framing makes or breaks minimalist pieces. A simple thin black or natural wood frame — around £15–£25 — instantly elevates the finished look.
Leave generous negative space. That breathing room is exactly what makes minimalist line art feel intentional rather than unfinished.
Textured Canvas Art with Joint Compound
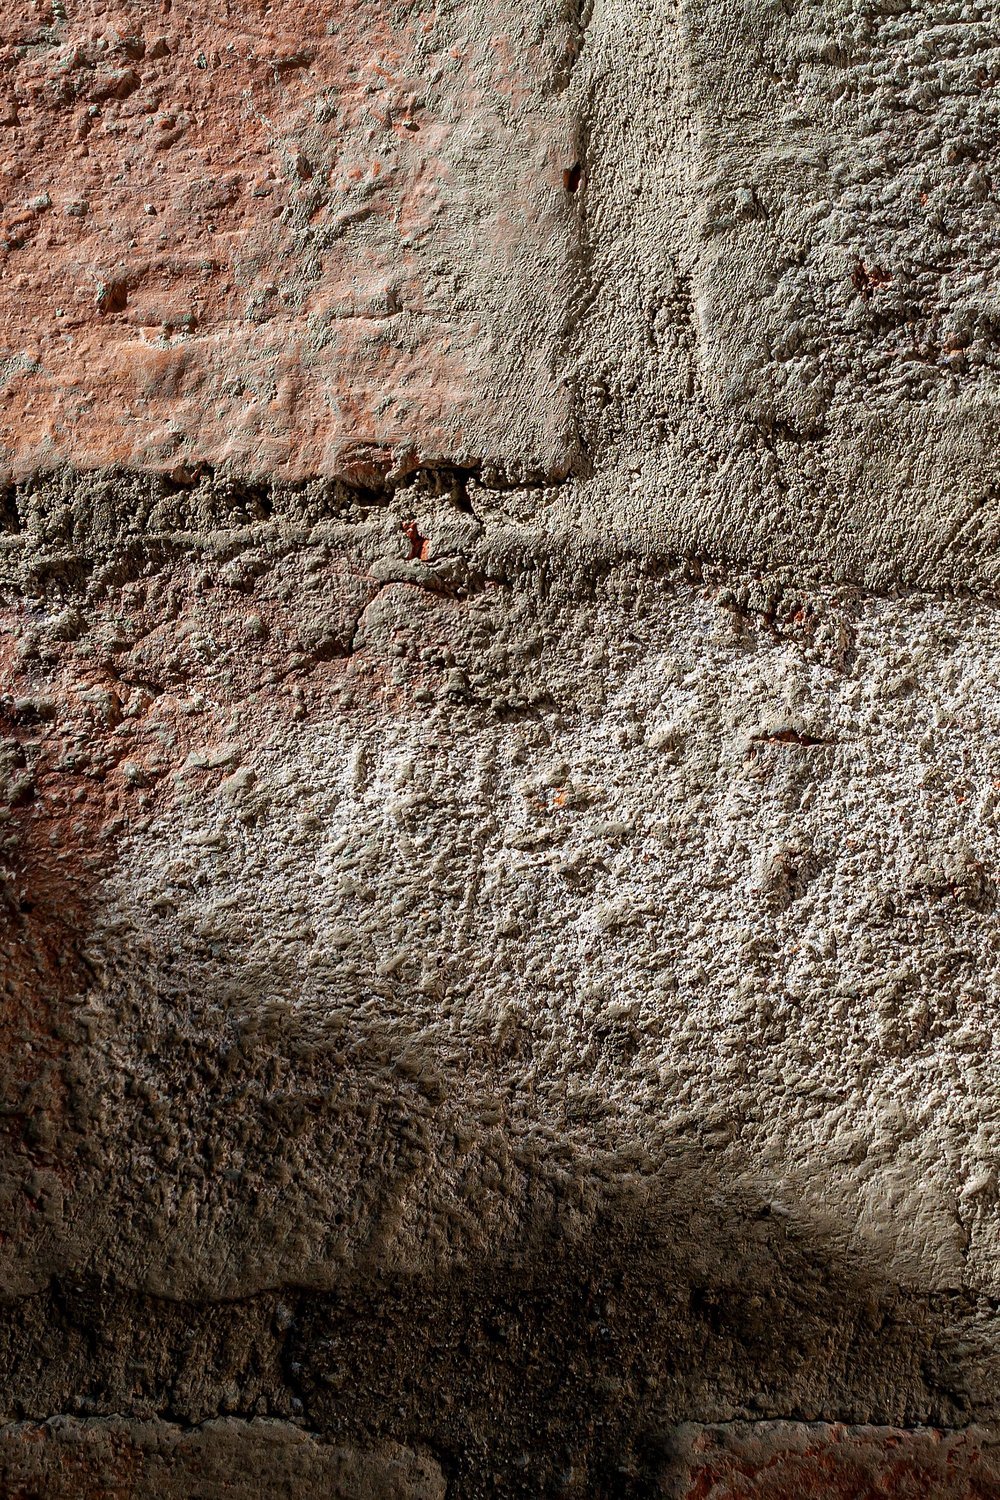
Walk past any high-end home décor store and you’ll spot those gorgeous plaster-effect wall pieces priced at $80 or more — this technique recreates that look for just a few dollars.
Joint compound is a total game-changer for adding sculptural, three-dimensional depth to a flat canvas. It dries hard, takes paint beautifully, and gives your diy canvas art painting a luxury finish that looks genuinely expensive.
Here’s how to do it:
- Spread joint compound onto your canvas in uneven layers — thin in some spots, thicker in others
- Let each layer dry completely before adding the next
- Sand lightly for a smoother finish, or leave rough for more drama
- Paint over with acrylics, then dry-brush a lighter shade across raised areas
Your tool choice shapes everything. A palette knife creates sharp ridges, a trowel sweeps broad waves, and an old credit card pulls clean, architectural lines across the surface.
Botanical Leaf Print Canvas Painting
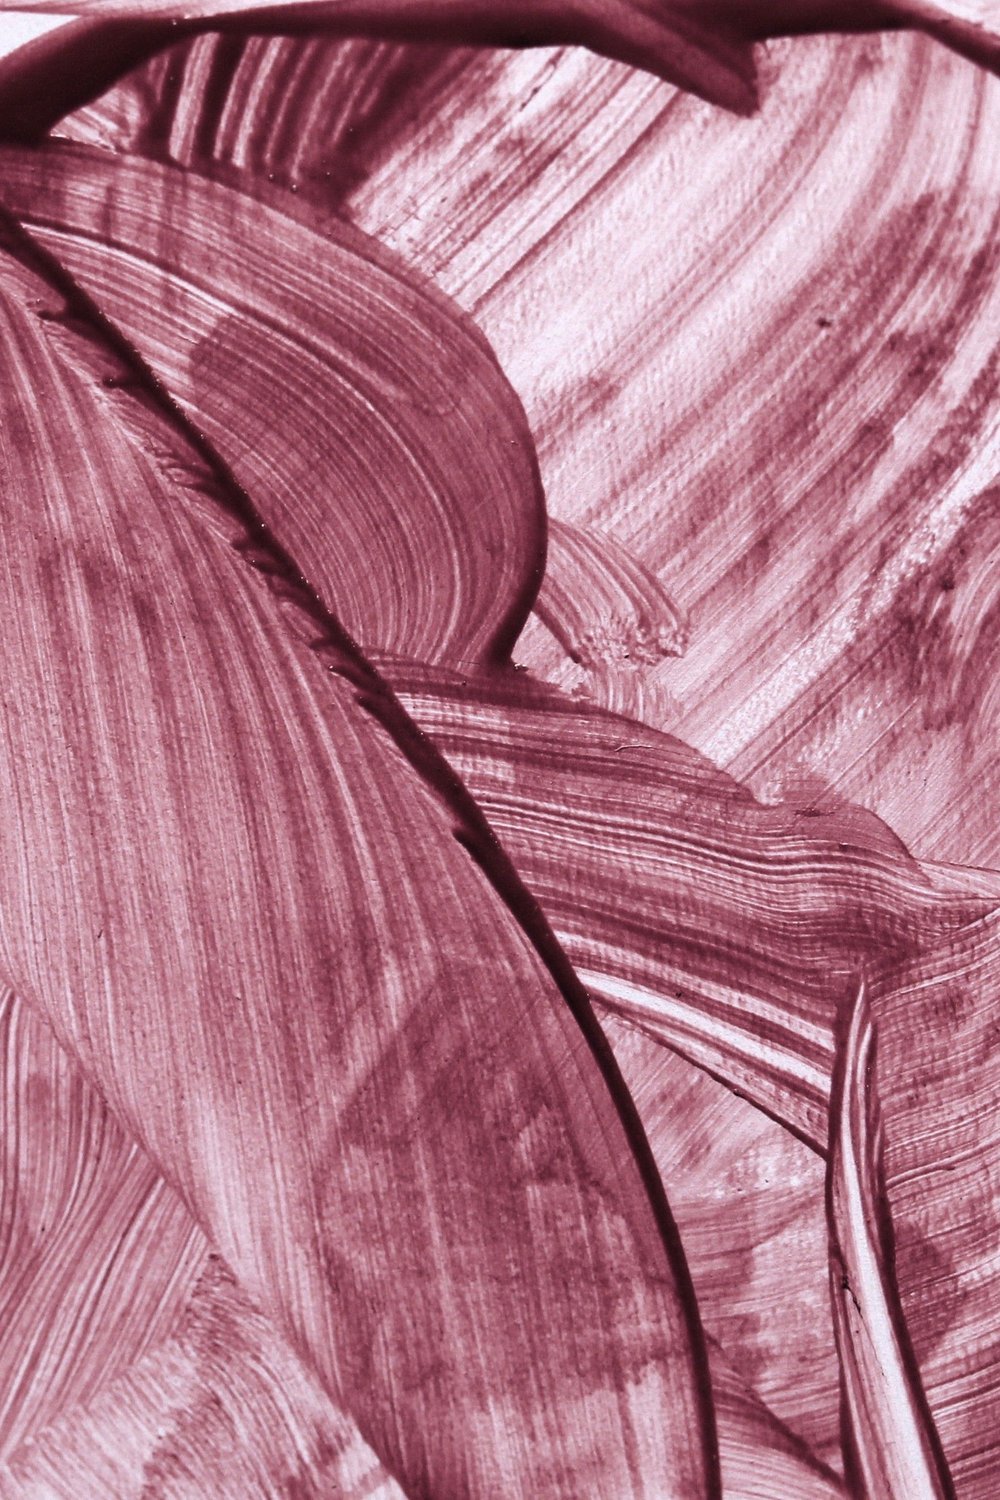
Press freshly picked leaves between paper towels for 10 minutes before painting — this removes moisture and gives you sharper, cleaner impressions every time.
This is honestly one of the most satisfying approaches to diy canvas art painting because nature does most of the design work for you. Grab a few leaves from your garden or local park and you’re already halfway there.
Best leaves for crisp prints include ferns, maple, oak, and eucalyptus — anything with pronounced veins. Use acrylic paint thinned slightly with water for even coverage without clumping.
Apply paint to the leaf’s underside, press firmly onto your canvas, then peel back slowly for a beautifully detailed print. A 16×20 inch canvas gives you plenty of room to experiment with layering.
For a cohesive botanical series, stick to a limited palette of two or three colours across all pieces:
- Vary leaf sizes but repeat the same tones
- Leave intentional negative space for an airy, gallery-worthy feel
- Mix overlapping prints with isolated single leaves for visual rhythm
Ombre Gradient Sunset Canvas Art
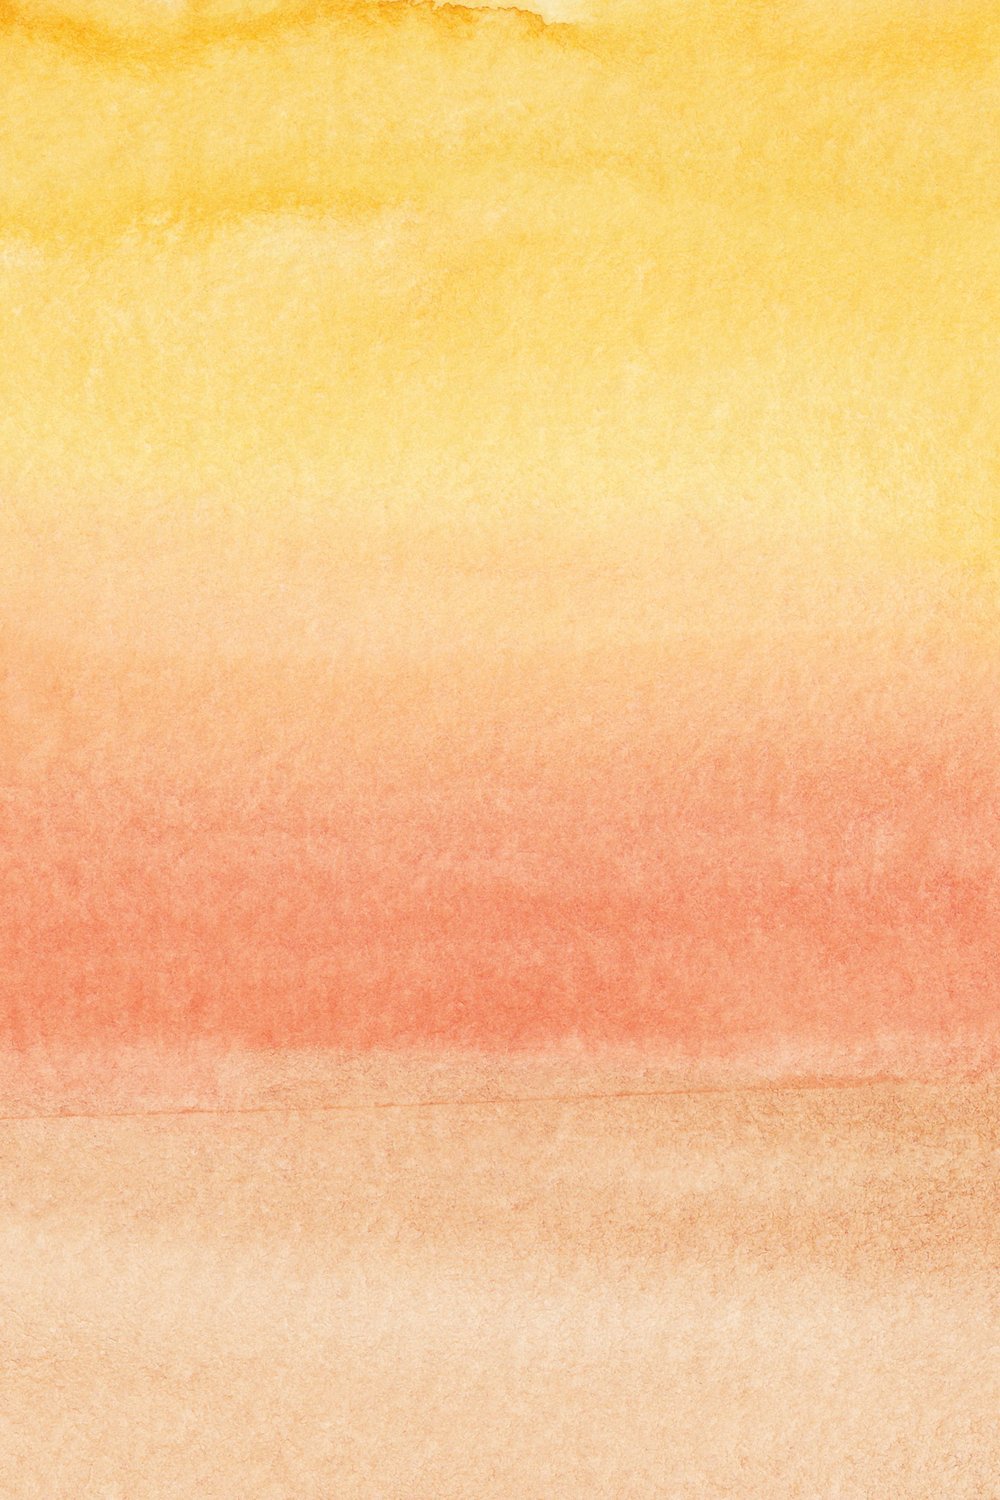
Summer evenings have a way of stopping you mid-scroll — and this diy canvas art painting captures exactly that golden-hour magic on a 16×20 inch canvas.
Blending colors seamlessly is easier than it looks. Work wet-on-wet with a dry flat brush or a sea sponge, using small circular motions where two colors meet to feather the transition naturally.
Choose your palette based on the mood you want:
- Sunset: Cadmium Yellow, Coral Pink, Burnt Sienna, Deep Violet
- Ocean: Turquoise, Cerulean Blue, Aquamarine, Navy
- Desert: Peach, Terra Cotta, Dusty Rose, Warm Sand
I’ve found that layering colors in thin passes prevents muddy edges far better than one heavy application.
Scale up effortlessly — the same technique works beautifully as a dramatic statement piece or a small bedside accent.
Gold Leaf Accent Canvas Art for Glamorous Walls
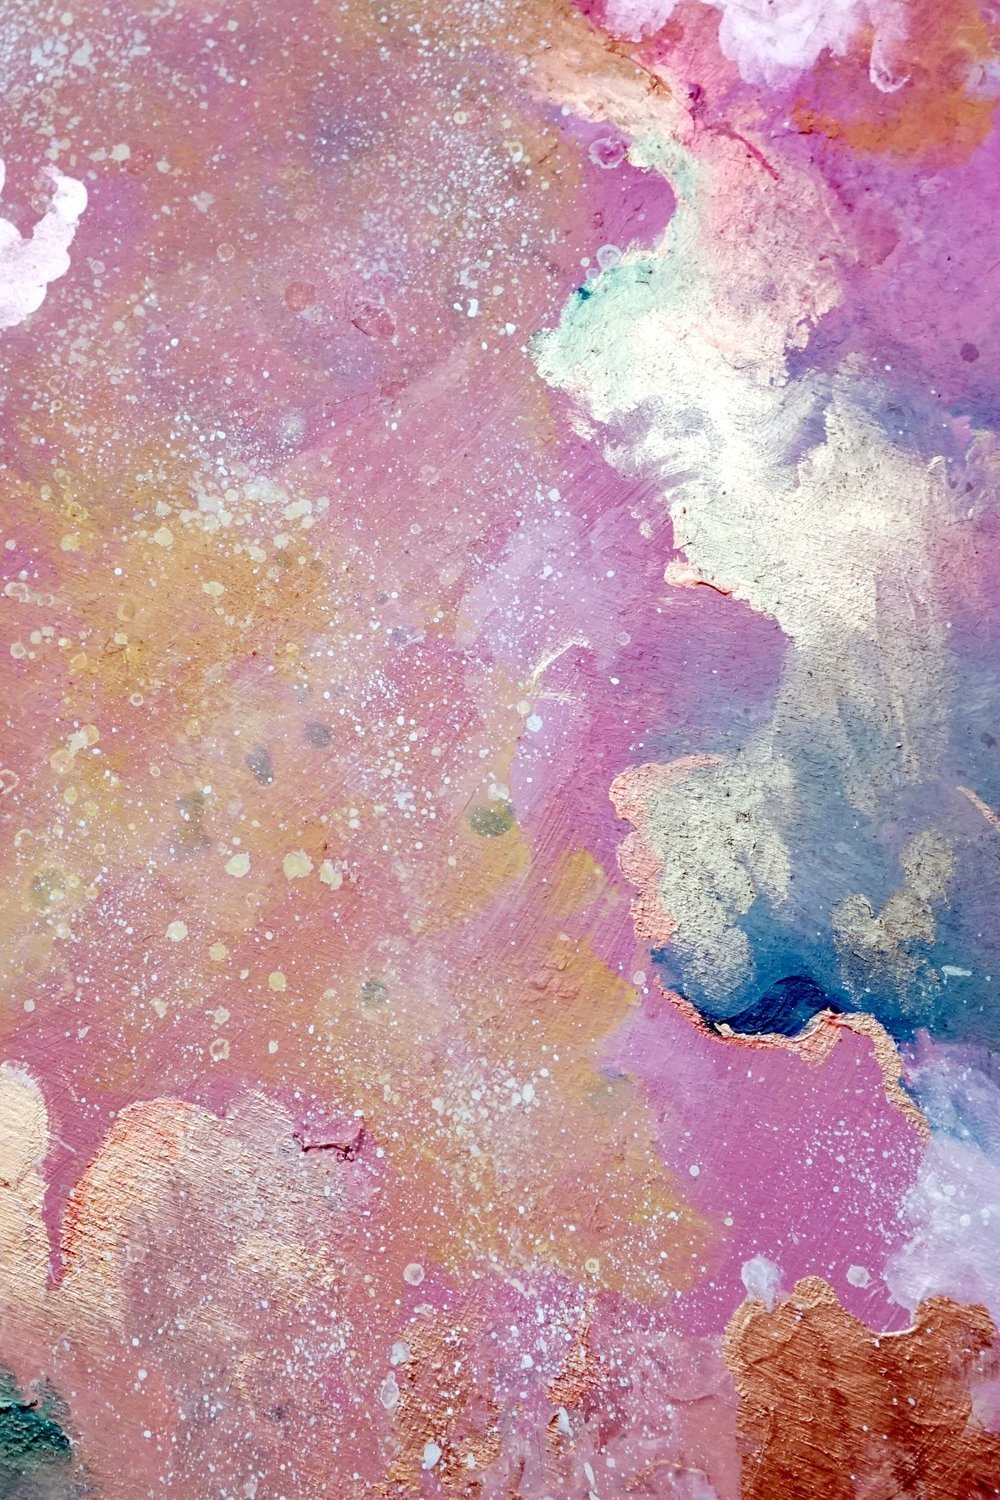
A sheet of imitation gold leaf costs around $8 for a pack of 25 sheets — a fraction of what a metallic statement piece runs at a home décor boutique. This is one diy canvas art painting idea that genuinely looks expensive without the price tag.
Start with a deep matte background — charcoal, navy, or dusty sage work beautifully. The contrast between a flat matte base and metallic gold accents is what gives this technique its editorial, gallery-worthy feel.
To apply the gold leaf, brush adhesive sizing onto your canvas in loose, organic strokes, let it tack up for 15 minutes, then gently press the leaf sheets on top. Tear away the excess for that effortlessly undone finish.
- Seal with a non-yellowing matte varnish to protect the leaf
- Avoid water-based sealers directly on bare gold leaf — they lift it
- Layering torn pieces adds beautiful depth and texture
Easy Watercolor-Effect Acrylic Canvas Painting
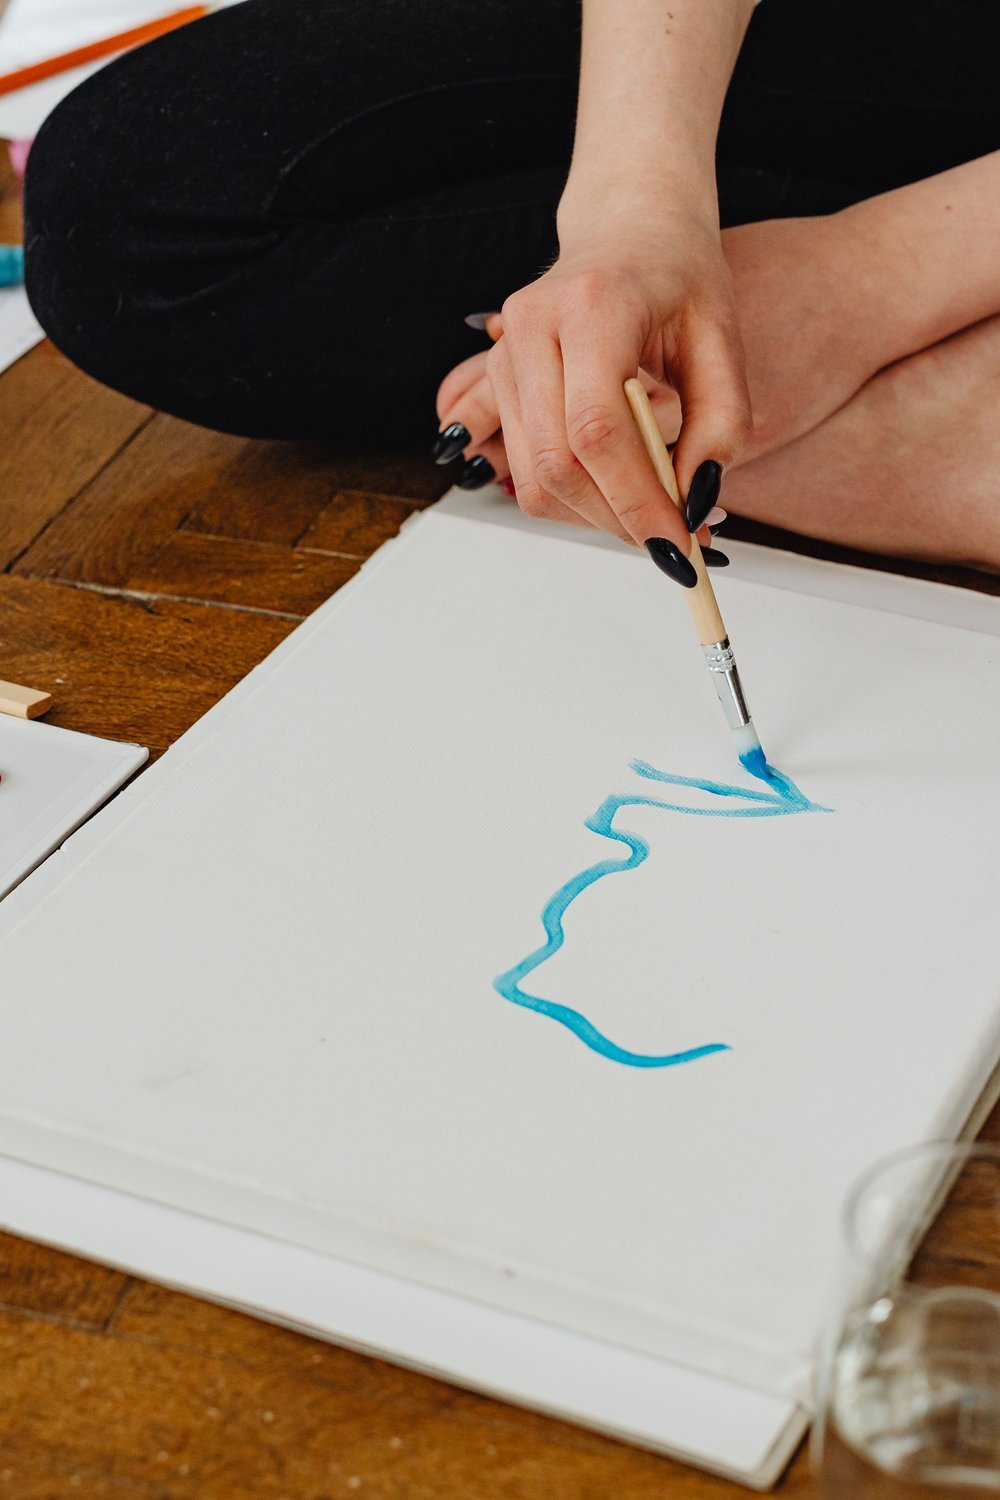
Acrylics dry up to 40% darker than they appear wet — but dilute them enough, and they behave almost exactly like watercolors, giving you that soft, luminous finish without the unpredictable mess.
To get the effect, mix your acrylic paint with water until it reaches a milky, almost translucent consistency. Heavily diluted acrylics flow beautifully across canvas, layering into gentle washes of color.
For loose florals or dreamy landscapes, try the wet-on-wet technique — dampen your canvas first with clean water, then drop in diluted color and let it bloom naturally. Don’t overbrush. Trust the paint.
- Use a wide, soft flat brush for smooth color blending
- Keep a spray bottle nearby to rewet the surface
- Student-grade acrylics work perfectly here — a basic set costs around $12
This is honestly one of the most forgiving approaches to diy canvas art painting, making it ideal if you’re just starting out and want gorgeous results fast.
Geometric Tape Resist Canvas Painting Ideas
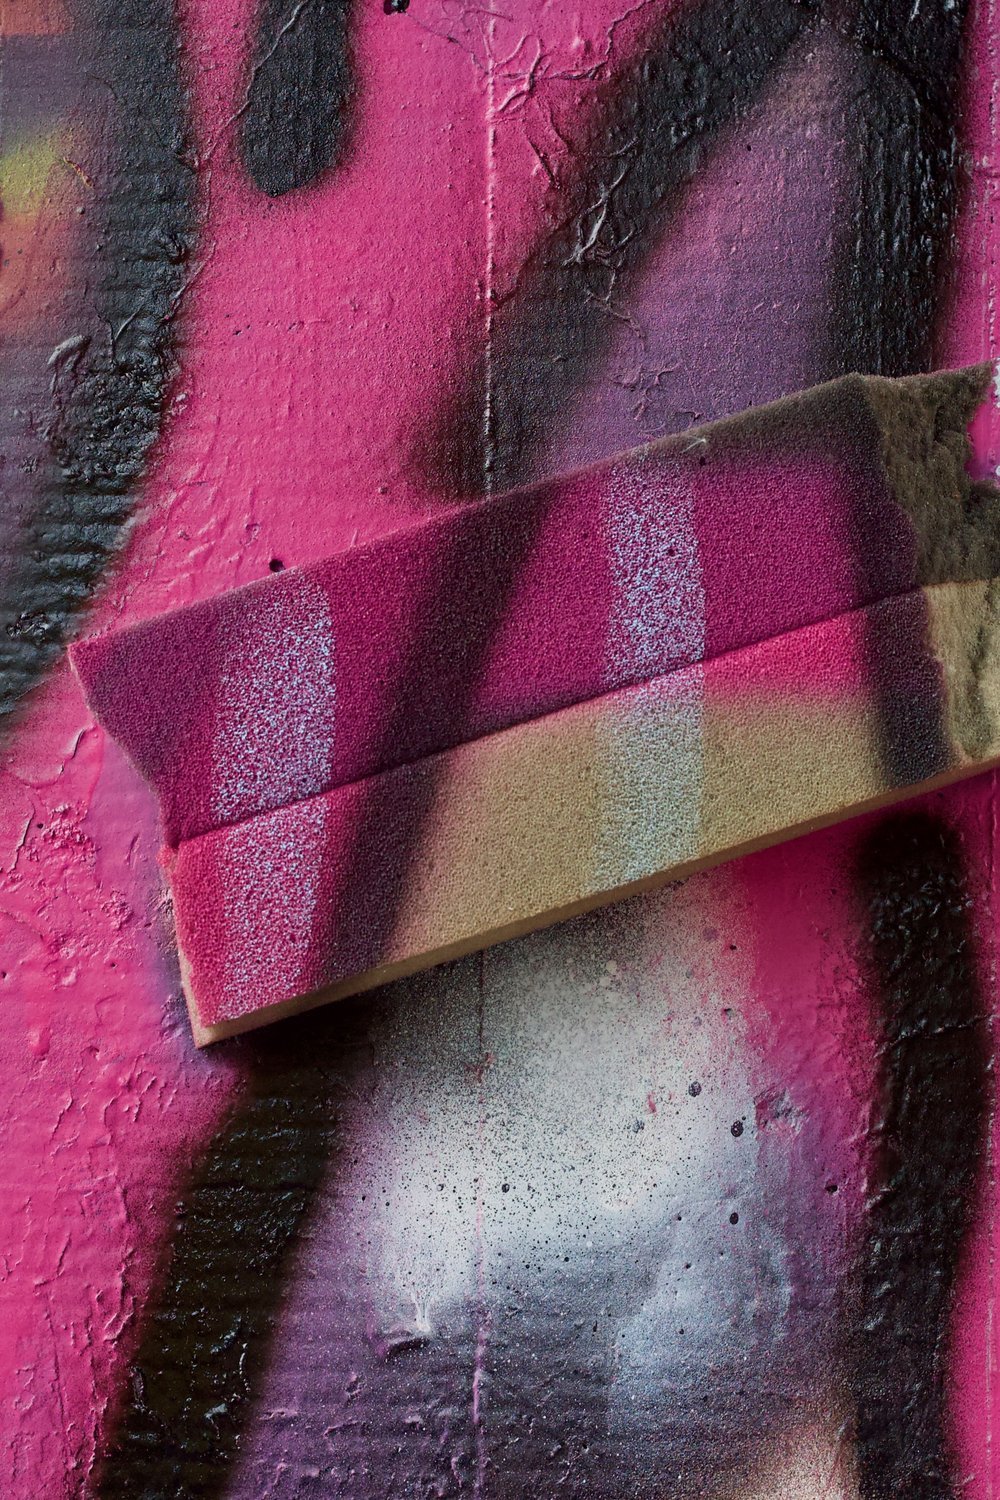
You’ve seen those crisp, gallery-worthy geometric prints in home décor stores — and quietly thought, “I could make that.” You absolutely can, and painter’s tape is your secret weapon.
Press strips of 1-inch painter’s tape firmly onto your canvas to map out triangles, diamonds, or abstract polygons. The key is burnishing every tape edge with your fingernail so paint can’t bleed underneath.
For the cleanest results, layer your lightest colors first, let each coat dry fully, then work toward darker shades. Remove the tape while the final layer is still slightly tacky — not wet, not bone dry.
This diy canvas art painting technique shines brightest with smart color choices:
- Bold two-tone blocking — navy and white, black and terracotta — feels modern and striking
- Multi-color gradient fills add depth by blending three analogous shades across neighboring triangles
- A matte sealer ($8–$12) locks everything in without dulling those satisfying sharp edges
Celestial Moon Phase Canvas Art
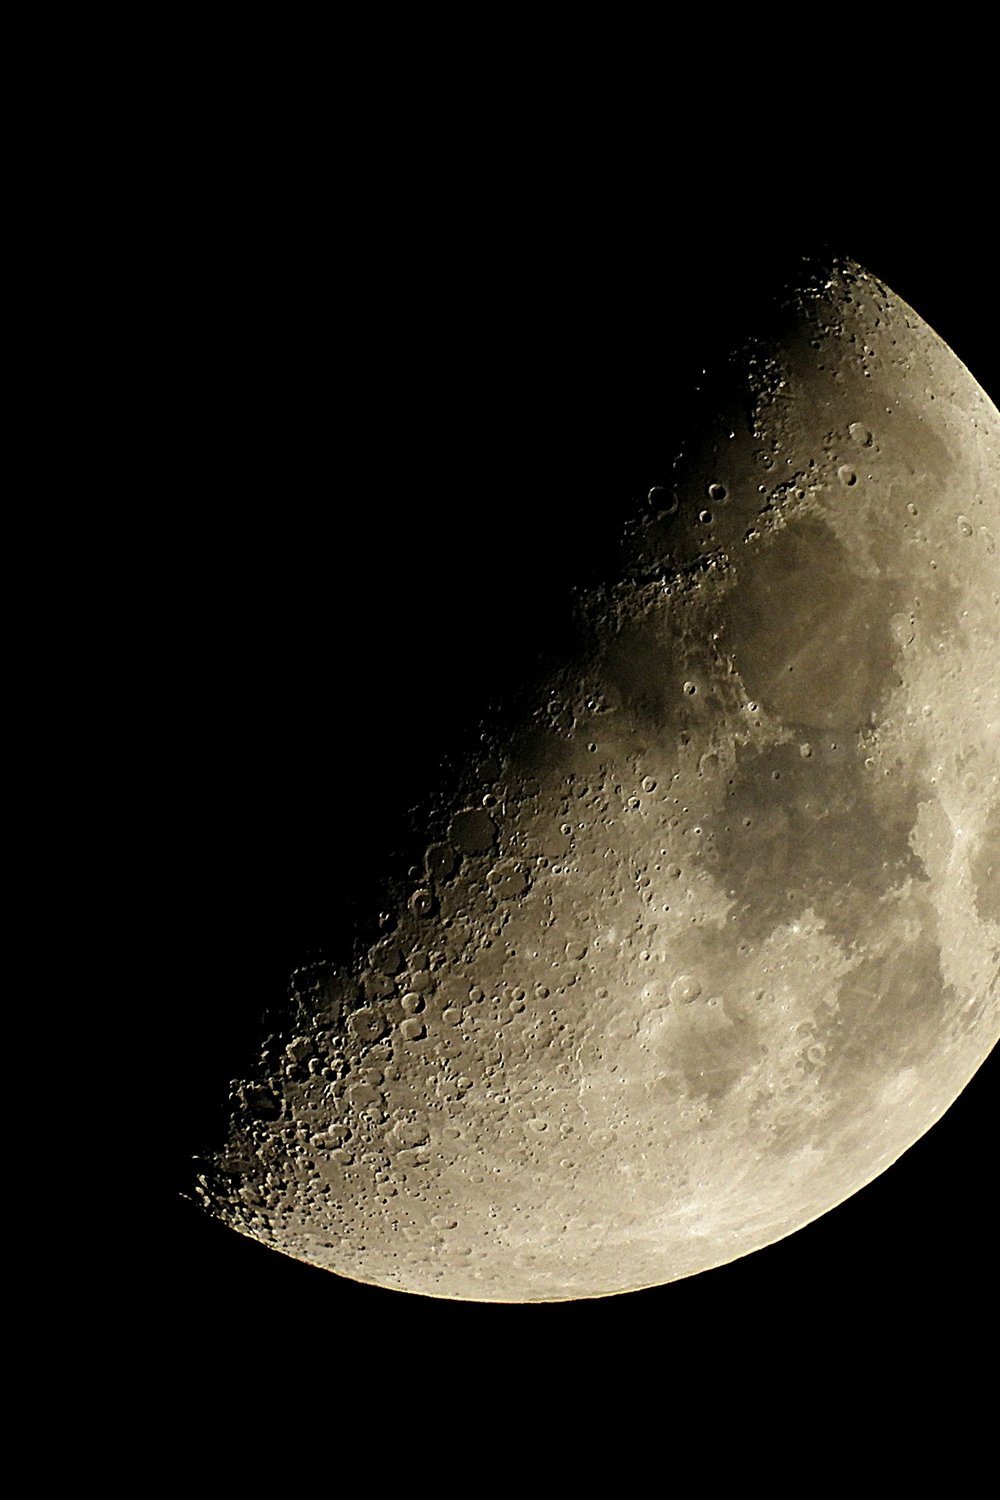
Have you ever looked up at the night sky and wished you could capture that moody, mystical atmosphere on your walls? This moon phase design does exactly that.
Paint a series of moons across one wide canvas or five small 6×6-inch canvases arranged in a row. A moon phase series feels gallery-worthy but takes surprisingly little technical skill to pull off.
For perfect circles, raid your kitchen drawer. Mason jar lids, cups, and bowls make flawless stencils — no art supplies needed.
- Build your background in deep midnight blue or charcoal black first
- Layer moons in ivory, warm white, and brushed silver
- Add fine gold or silver dots around each phase for a starfield effect
This particular diy canvas art painting idea works beautifully in bedrooms and reading nooks. Metallic and deep-space color palettes give even the simplest shapes an expensive, ethereal finish.
Impasto Thick Paint Floral Canvas Art
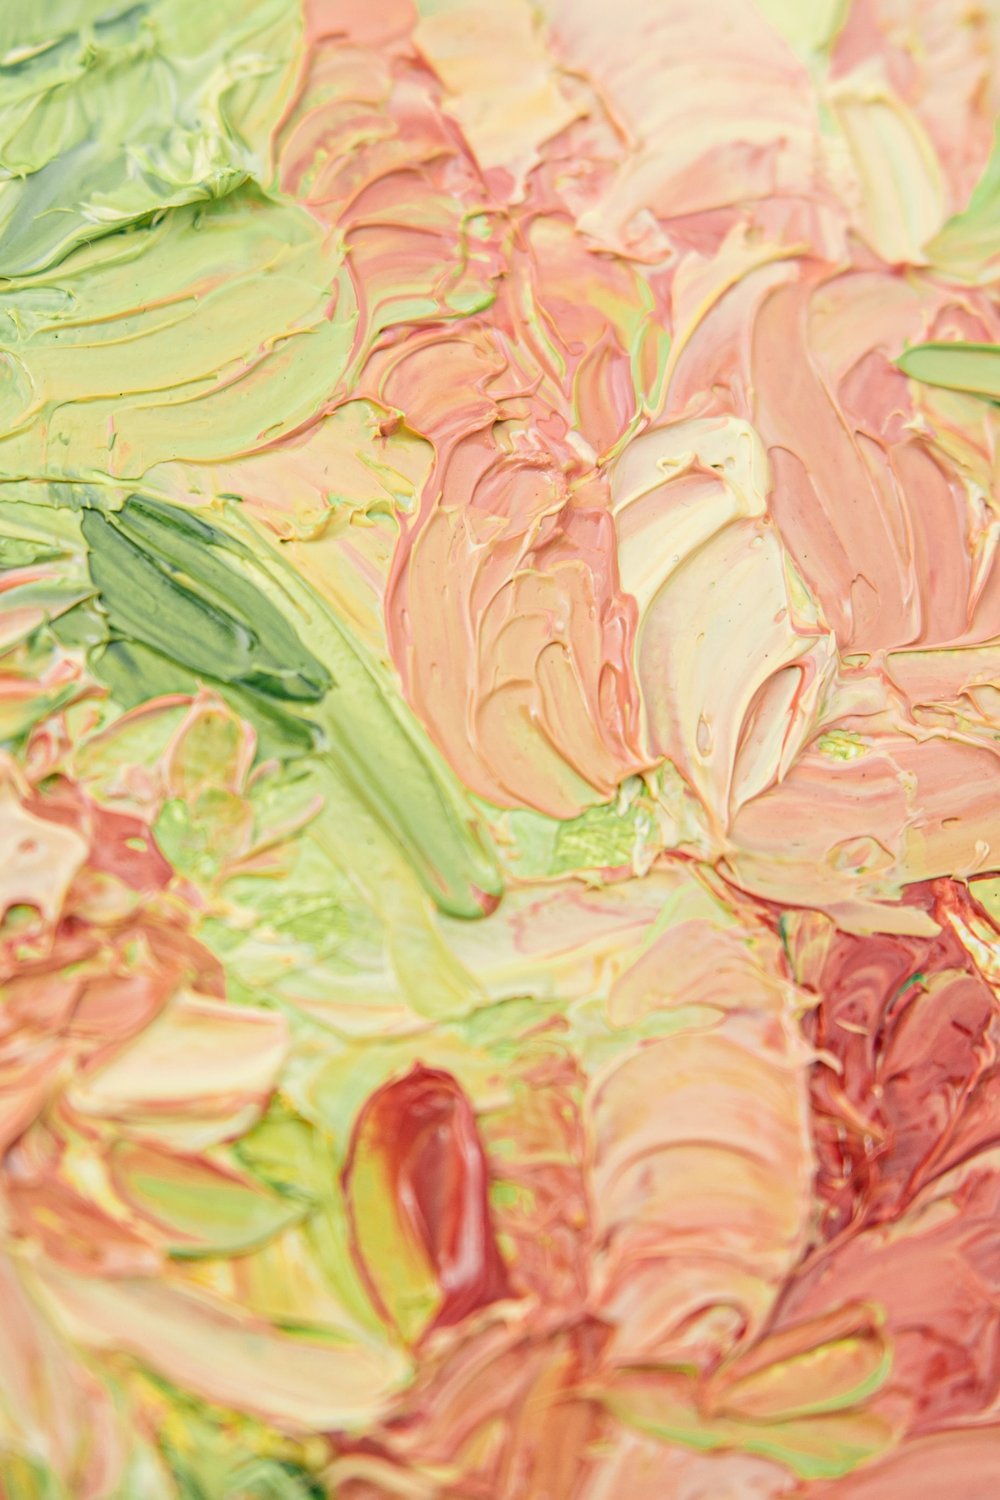
You might think you need expensive oil paints for impasto florals — actually, heavy-body acrylic paint works beautifully and dries in a fraction of the time.
This is genuinely one of the most rewarding styles of diy canvas art painting you can try. Load your palette knife generously and press, drag, and twist to build petals with real dimension and attitude.
Best palette knife shapes for each flower:
- Rose petals — small teardrop or diamond knife for curved, overlapping strokes
- Sunflowers — long straight blade for crisp, confident pulls
- Poppies — flexible round-tip knife for soft, thin-edged layers
Apply each color layer at least 4–6mm thick and wait 45 minutes between layers. This prevents colors from dragging into each other and turning muddy.
I’ve found working light to dark keeps the whole composition vibrant and surprisingly three-dimensional.
Boho Macrame-Inspired Canvas Painting
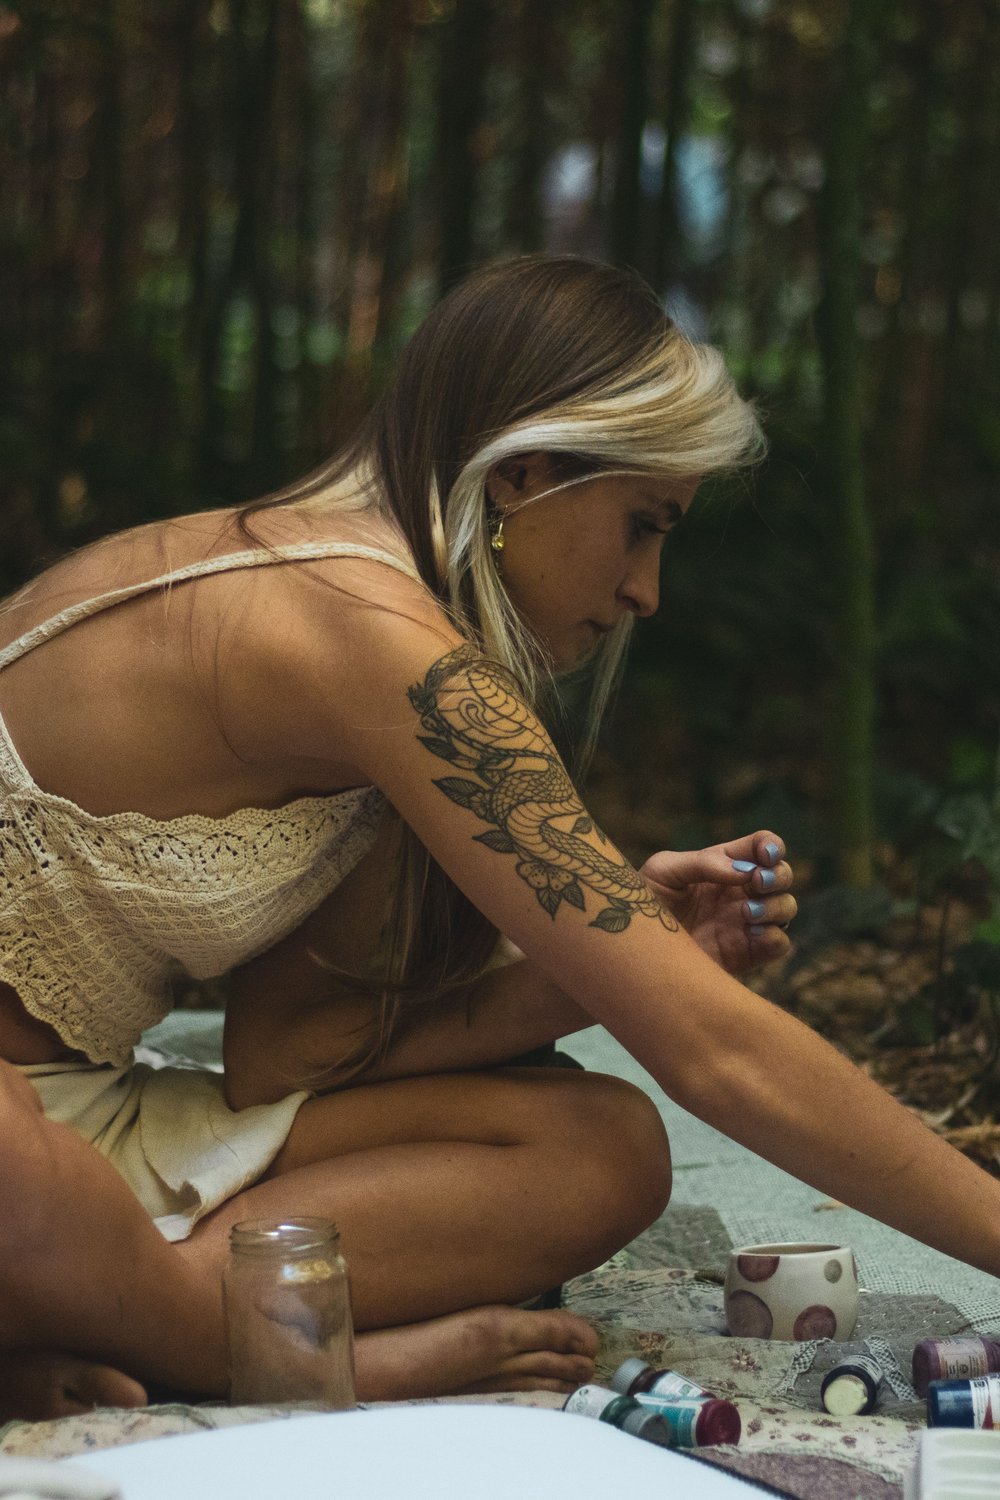
There’s something about woven wall art that instantly makes a room feel collected and cozy — and you can capture that same magic with just a brush.
Use acrylic paint to mimic knotted rope, dangling fringe, and interlaced weave patterns directly on canvas. Thin horizontal lines, looping knots, and tassel-like strokes are surprisingly easy to paint freehand once you study a reference image.
For colors, stick to a warm neutral palette — think terracotta, cream, sandy beige, and muted sage. A 16×20 inch canvas gives you enough room to layer textures without the composition feeling cramped.
This style of diy canvas art painting pairs beautifully with natural materials in your space:
- Rattan furniture and woven baskets
- Linen throw pillows and curtains
- Raw wood shelves or driftwood accents
Hang it low or lean it against a wall for that effortless lived-in boho vibe.
Mountain Landscape Silhouette Canvas Art
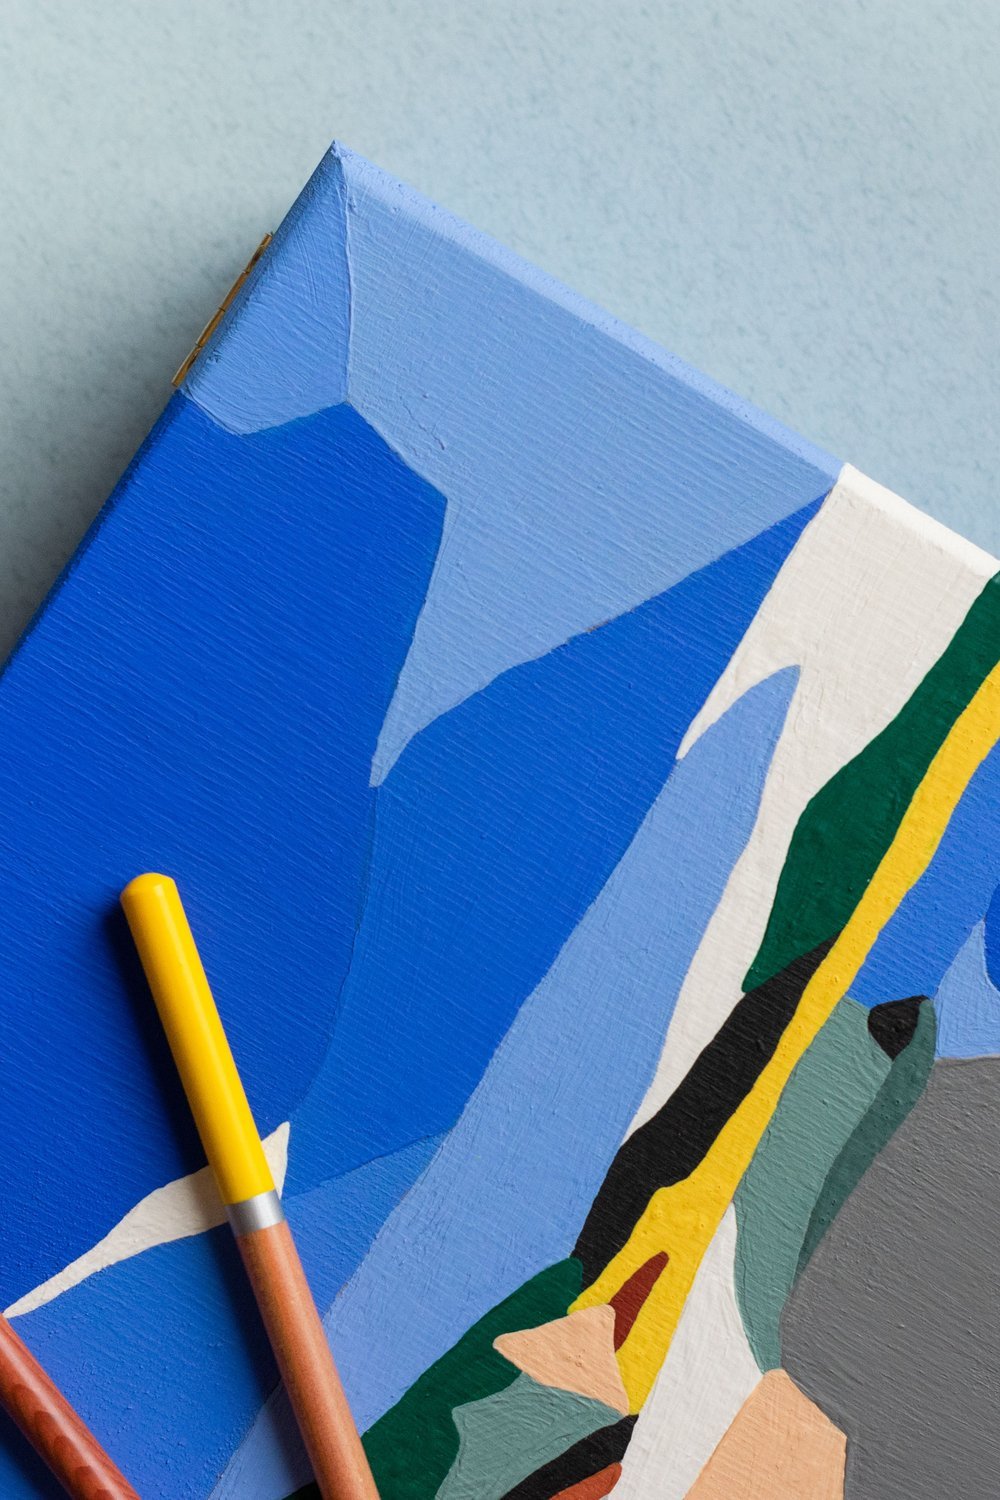
Tape off your horizon line before you pick up a brush — it’s the single step that keeps everything clean and professional-looking.
This style of diy canvas art painting works beautifully because the technique is forwardly simple: layer your colors light to dark, building atmospheric depth from a warm sunset gradient down to deep midnight silhouettes. A standard 11×14-inch canvas gives you plenty of room to work without feeling cramped.
Start with your lightest sky tones, blending while still wet. Once dry, paint each mountain or tree layer progressively darker, letting the shapes overlap naturally. That subtle depth creates a moody, cinematic quality that looks genuinely impressive.
Try these stunning variations:
- Snow-capped peaks with icy blue-purple tones
- Dense pine forests fading into misty silhouettes
- Desert mesas at golden hour with warm terracotta hues
Abstract Expressionist Brushstroke Canvas Painting
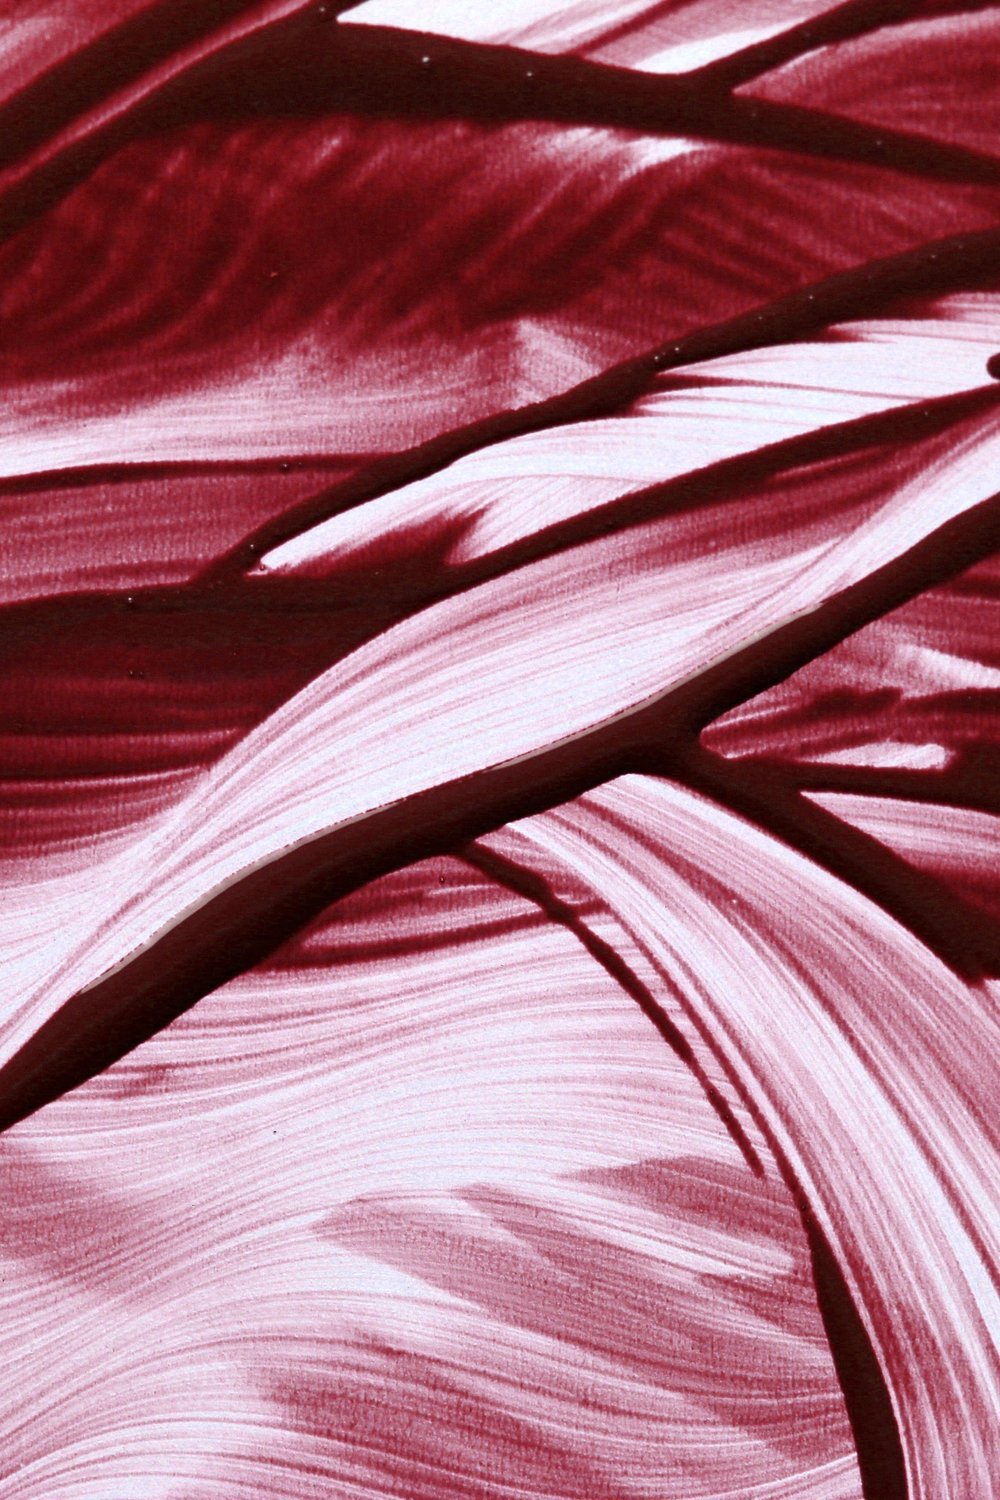
On a rainy afternoon, there’s nothing more satisfying than loading a wide brush with paint and letting it move freely across a blank canvas — no rules, just feeling.
Bold, gestural brushstrokes are the heart of this style. Drag, sweep, and layer paint intuitively, letting emotion guide each mark rather than careful planning.
To keep things from feeling chaotic, limit yourself to 3 colors maximum plus white. A tight palette creates natural harmony even when your application is loose and spontaneous.
Knowing when to stop is genuinely the hardest part of this diy canvas art painting style. Step back every few minutes — the moment the piece feels slightly unfinished is usually exactly right.
- Use a palette knife alongside brushes for varied texture
- Let layers dry partially before adding new strokes
- Trust your instincts over perfectionism
Personalized Quote Typography Canvas Art
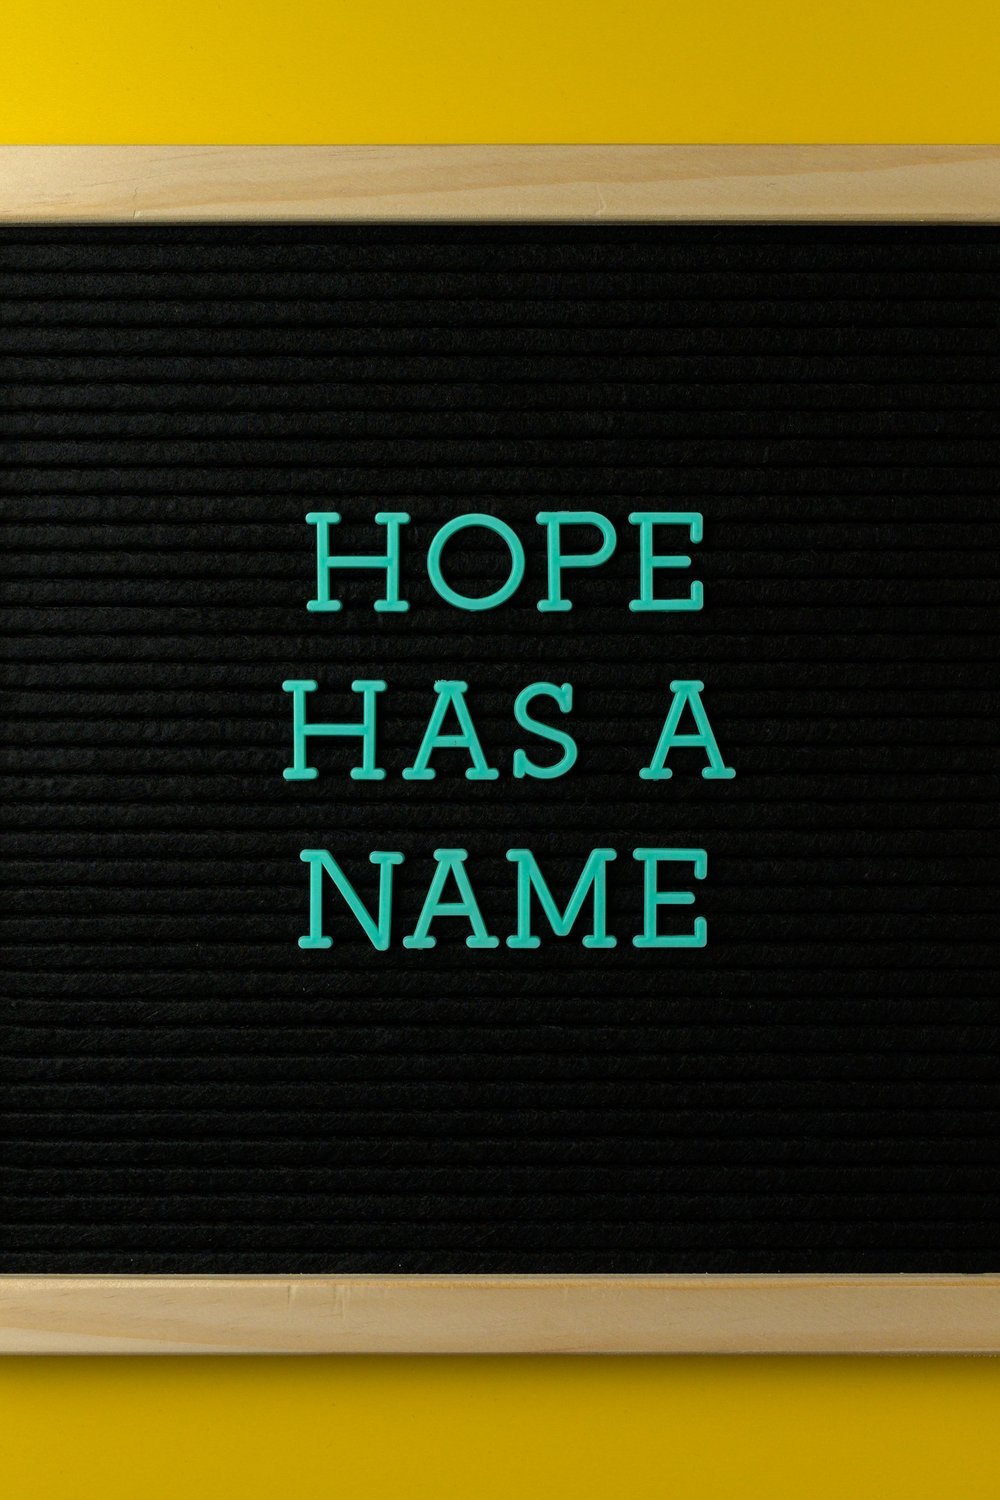
Custom quote prints in home decor stores regularly sell for $40–$80. Making your own diy canvas art painting costs a fraction of that — and you get exactly the words that mean something to you.
Planning your letter layout on paper first is the step most beginners skip. Sketch your quote in rough columns, decide on line breaks, and measure your canvas so nothing feels cramped or lopsided.
Hate freehand lettering? The chalk transfer method saves you completely. Print your chosen font, flip it chalk-side-down onto the canvas, trace firmly, and lift — a perfect outline ready to paint.
For font style, consider the mood you’re going for:
- Serif fonts — timeless, gallery-worthy elegance
- Brush script — flowing, warm, handmade feel
- Bold block lettering — graphic, modern, high contrast
Each style completely changes the energy of the finished piece.
Marbled Canvas Art Using Shaving Cream or Nail Polish
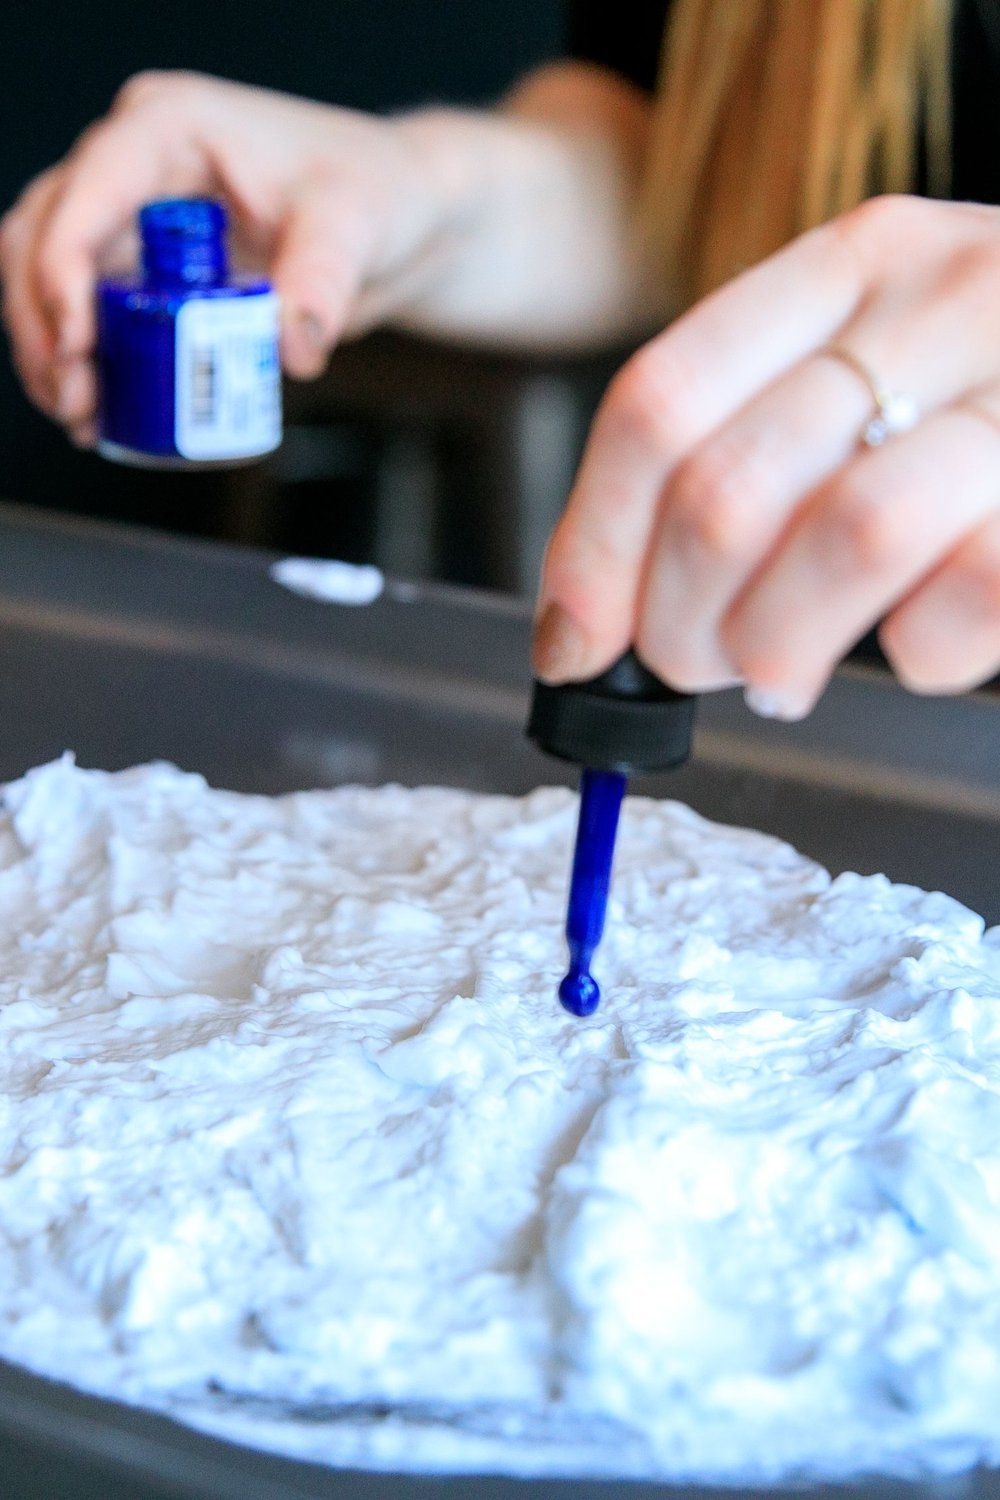
Marble effects that look like they cost $200 at a boutique gallery can actually be achieved for under $8 in supplies — and the results are genuinely jaw-dropping.
Both marbling methods produce stunning swirls, but they work very differently. The shaving cream technique gives you slower, more controllable patterns, while the water nail polish float creates sharper, more delicate veining.
For the shaving cream method, spread a half-inch layer across a tray, drip acrylic paints on top, and swirl gently with a skewer. Press your canvas face-down, lift, then scrape away the foam to reveal the pattern underneath. This is one of the most satisfying diy canvas art painting projects you’ll ever try.
To preserve those vivid swirls long-term:
- Seal with a UV-resistant matte or gloss varnish once fully dry
- Avoid direct sunlight to prevent fading
- Frame without glass so the texture stays visible and tactile
Ocean Wave and Beach-Inspired DIY Canvas Art Painting
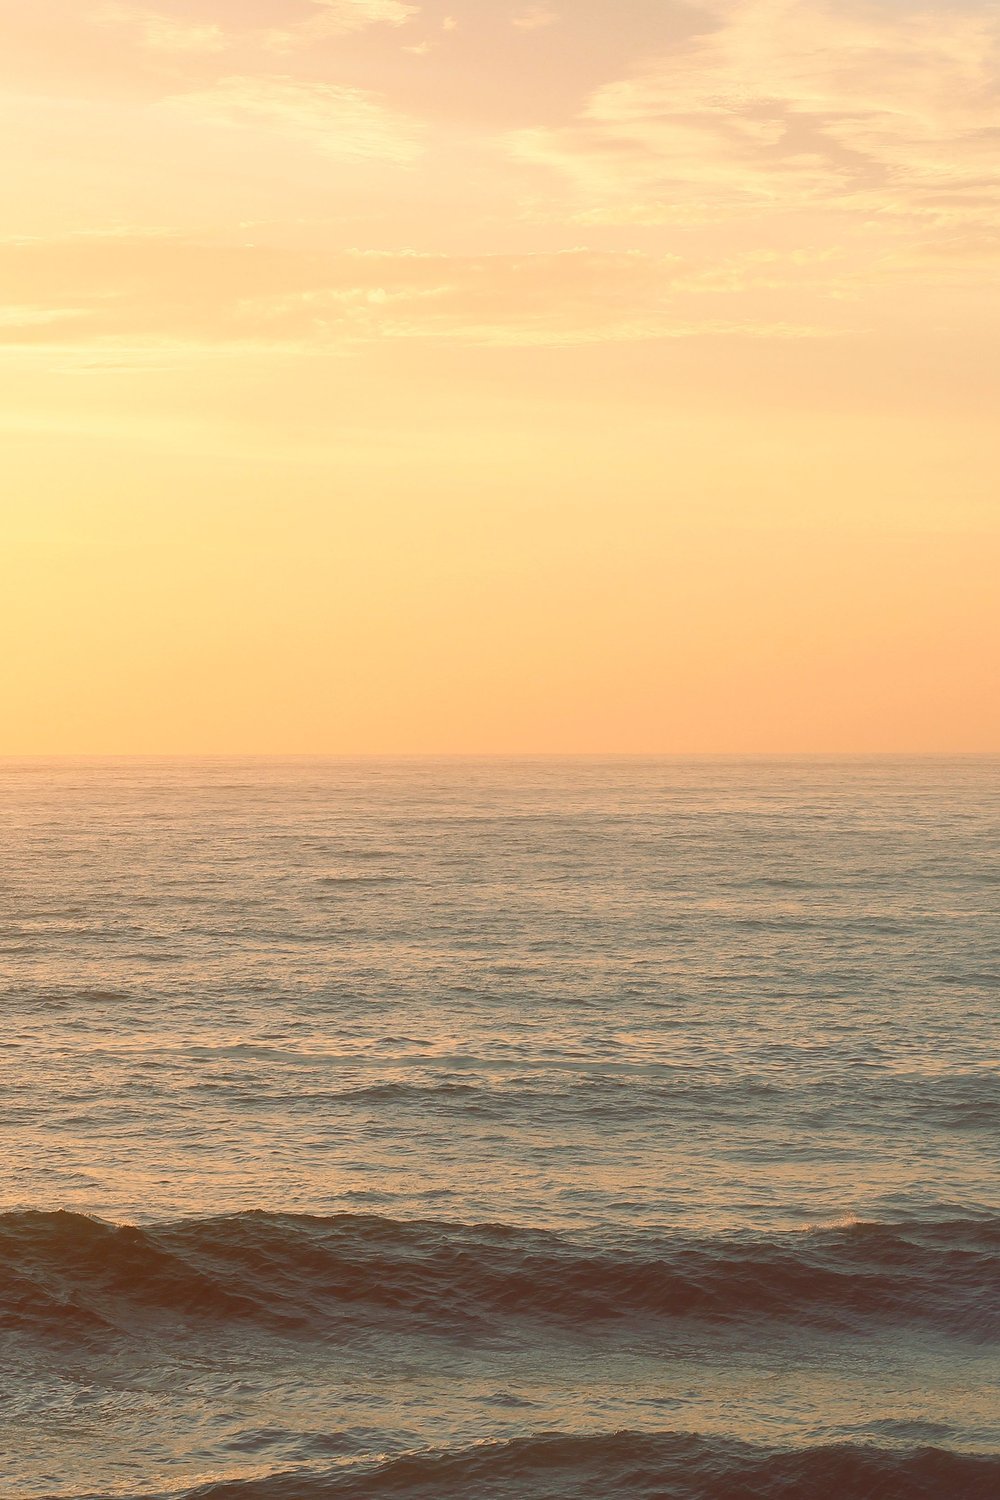
You close your eyes and picture that perfect shoreline — now imagine waking up to it every morning on your bedroom wall. That feeling is absolutely achievable at home.
Layering translucent blues and greens is the secret to capturing real water movement. Apply thinned acrylic washes in successive coats, letting each dry fully before adding the next deeper tone.
For realistic wave crests, dry brush a sea sponge loaded with titanium white across your peaks. The broken, uneven texture mimics seafoam beautifully without any special tools.
- Use a palette of seafoam, navy, sandy beige, and warm white
- A 16×20 inch canvas works perfectly — usually under $8 at craft stores
- Pair with driftwood or whitewashed frames for a coastal feel
This relaxed, breezy style of diy canvas art painting suits beach houses, bathrooms, and any space craving that calming coastal energy.
DIY Canvas Art Painting for Kids: Simple and Fun Family Projects
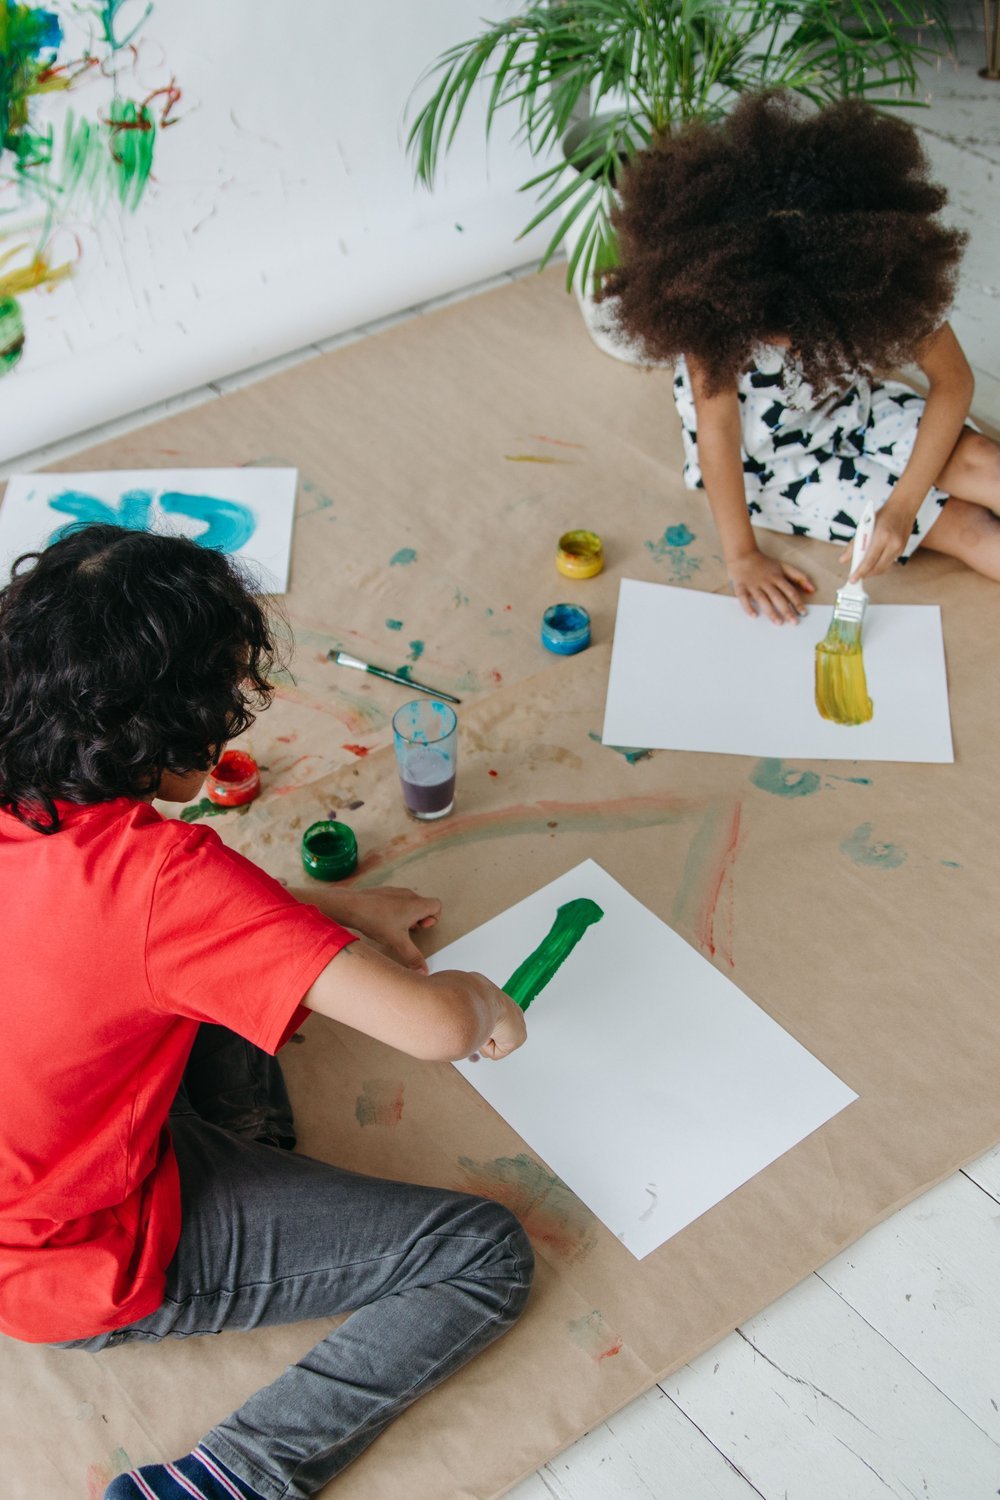
Want to keep little ones creatively busy while making something genuinely beautiful for your walls? These kid-friendly projects are easier than you think.
Age-appropriate techniques like fingerprint art, foam stamping, and splatter painting require zero brushwork skills — making them perfect for toddlers through tweens. An 8×10-inch canvas hits the sweet spot for small hands.
- Fingerprint art: press, twist, let dry, add pen details
- Stamping: cut sponges or use potato halves for bold shapes
- Splatter painting: tape a drop cloth down and let them go wild
Always choose non-toxic, washable acrylic paints — brands like Crayola and Apple Barrel are affordable and widely available. This style of diy canvas art painting genuinely doubles as a memory-keeper.
Group several finished pieces in matching frames to create a children’s gallery wall that grows with your family — surprisingly heartfelt and endlessly conversation-starting.
FAQ
How do I make my own canvas painting at home?
You don’t need formal training to create something beautiful — just a few basic supplies and a little patience. Gather your canvas, acrylic paints, and brushes, then apply a coat of gesso to prep the surface. Sketch your design lightly in pencil, build up colour in thin layers, and finish with a sealer once everything is completely dry.
What are some creative DIY canvas painting ideas?
There’s genuinely something for every skill level in diy canvas art painting. From mesmerising fluid pour techniques and raised textured plaster designs to pressed botanical prints and minimalist line art — the 18 ideas in this article cover a wide range of styles, budgets, and difficulty levels worth exploring.
How can I make my own art canvas?
Store-bought canvases are convenient, but stretching your own is surprisingly straightforward and budget-friendly. Wrap pre-cut canvas fabric tightly over a wooden stretcher frame, securing it with staples every 2–3 inches around the back edges. A basic DIY stretched canvas can cost under $5 in materials — a great option if you paint regularly.
Is it necessary to gesso a canvas?
Skipping gesso won’t ruin your painting, but it does make a noticeable difference — raw canvas absorbs paint unevenly and can cause colours to look dull. Gesso seals and primes the surface, giving your paint something smooth and consistent to grip. Most canvases sold today are pre-primed, so an extra coat is helpful but not always essential.
You might also like: 19 Paper Plate Crafts Kids Will Love to Make
Key Takeaways
Walking away with a finished piece you actually love? That feeling never gets old — and these ideas make it genuinely achievable.
- 18 styles, one post: From abstract pour painting to botanical prints, every diy canvas art painting idea here covers a different skill level and aesthetic.
- Beginner-friendly by design: Each technique is broken down so that prep, patience, and a little practice are all you really need.
- Budget-conscious creativity: Most projects can be started for under $15 in supplies.
- Start small, build confidence: Picking just one idea first is always the smartest move.
- No artistic background required: Texture, colour blocking, and simple stencilling deliver stunning results without technical drawing skills.
- Share and inspire: Your finished piece might be exactly what someone else needed to see.
Save this post to your Pinterest boards so you can revisit these ideas whenever creativity strikes — you’ll want to come back to it.