18 DIY Newborn Photo Ideas You Can Do at Home
Introduction
You only have about 14 days to capture that tiny, curled-up newborn stage before your baby starts stretching out and becoming more alert. Taking diy newborn pictures at home is the best way to document these fleeting moments without the stress or high cost of a professional studio session. When you photograph your baby in your own living room, you gain total control over the environment, which makes it much easier to work around nap times and feeding schedules.
Staying at home provides the comfort and convenience your baby needs to stay calm during the shoot. You won’t have to pack a heavy diaper bag or worry about an unfamiliar space. By using simple newborn photography tips for beginners, you can turn your nursery or a sunny corner into a professional-looking backdrop. This approach ensures your baby feels secure while you create at home baby photoshoot ideas that look clean, timeless, and deeply personal.
Natural Window Light
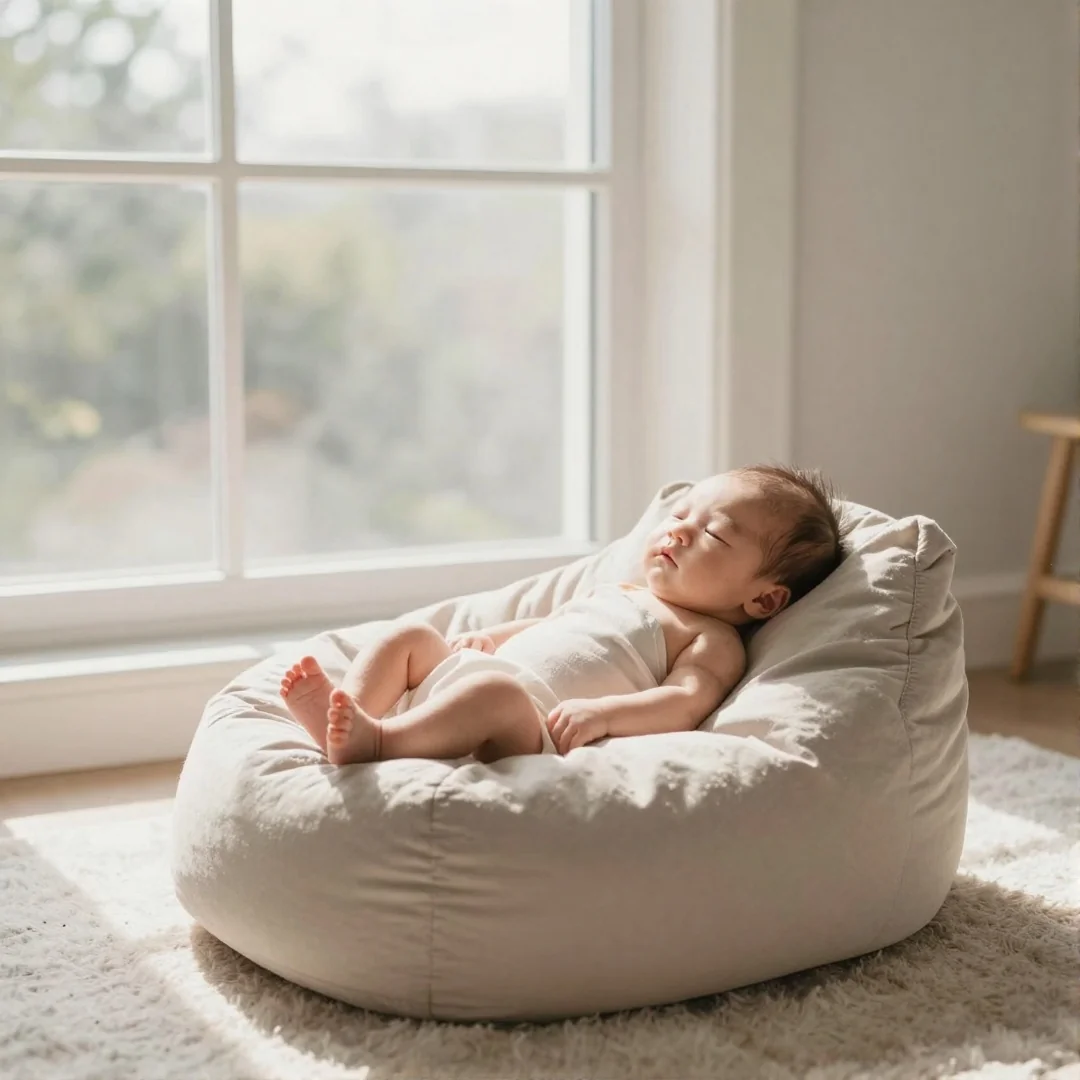
You don’t need expensive studio gear when you have a bright room to capture professional looking baby photos. The best lighting for diy newborn pictures at home comes from a large window that lets in soft, indirect sunshine. Position your baby on a soft textured rug or a posing beanbag about three feet away from the glass. This specific distance creates a gentle glow across the skin without creating harsh, distracting shadows.
Avoid direct sunlight, as it can cause squinting or high-contrast shadows that hide delicate features. If your window is too bright, tape a thin white sheet over the glass to diffuse the light. I have found that shooting during the morning, usually around 10 am, provides the most consistent brightness. Here are a few ways to keep your lighting soft and steady:
- Angle the baby so light hits their face evenly from the side.
- Use a white muslin blanket to bounce extra light into shadowed areas.
- Turn off all overhead lamps to prevent messy yellow color casts.
Plain Muslin Backgrounds
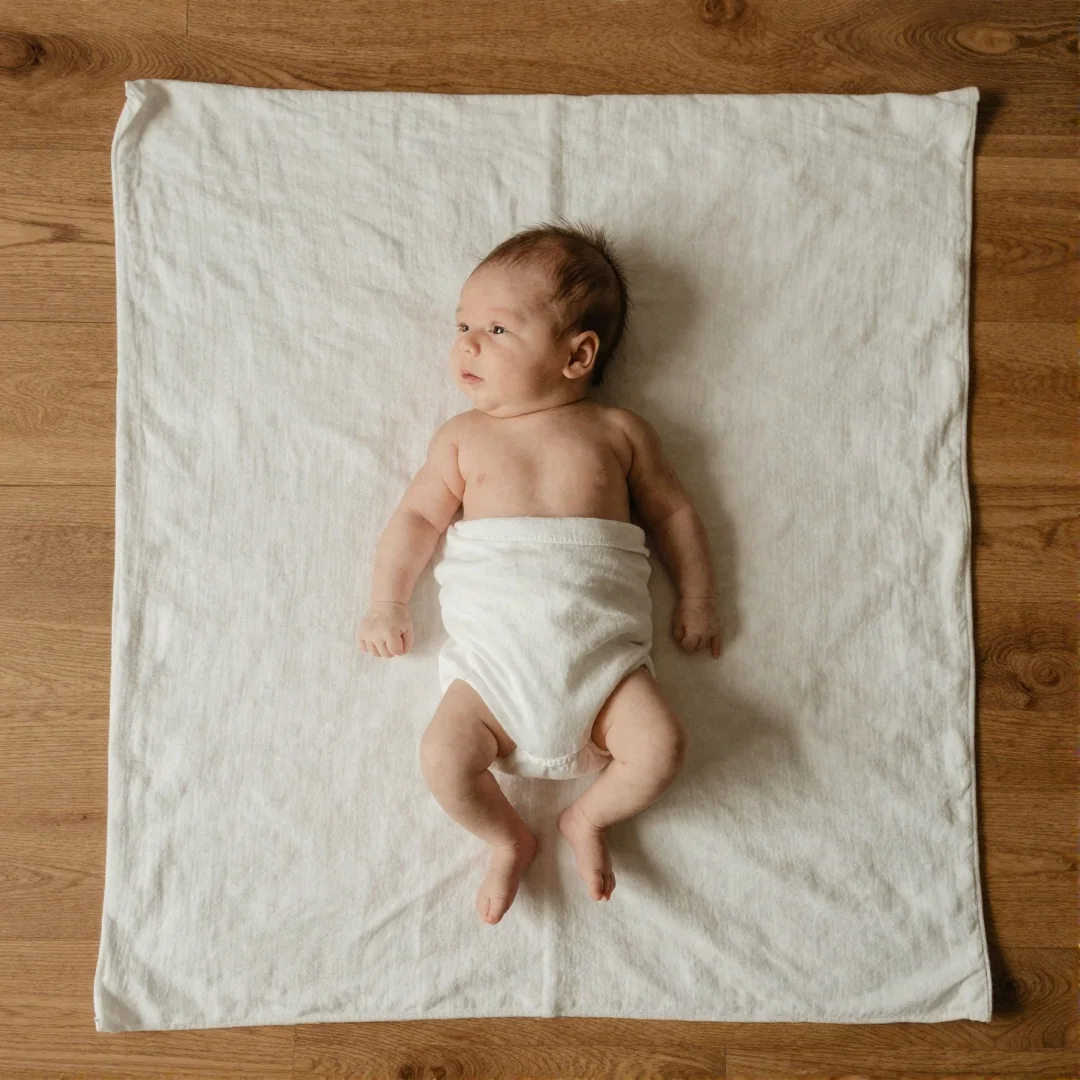
Do you want to create a professional look for your diy newborn pictures at home using simple items you already own? Using a neutral muslin blanket is the easiest way to keep all the attention on your baby instead of a busy background.
Start by finding a flat surface like a hardwood floor or a sturdy table near a window. Lay down your fabric and secure it firmly. You should tuck the edges of the blanket under a posing beanbag or heavy books to create a smooth, wrinkle-free surface. This tension prevents distracting shadows and ensures your final images look clean. I suggest sticking to a neutral color palette like cream, beige, or soft grey, as these tones mimic professional studio backdrops. If your fabric is 100 percent cotton, it will have a gentle texture that adds depth to your photos without overwhelming the scene. Just make sure the material is large enough to cover at least a 4-foot area for consistent framing.
Knitted Wrap Styles
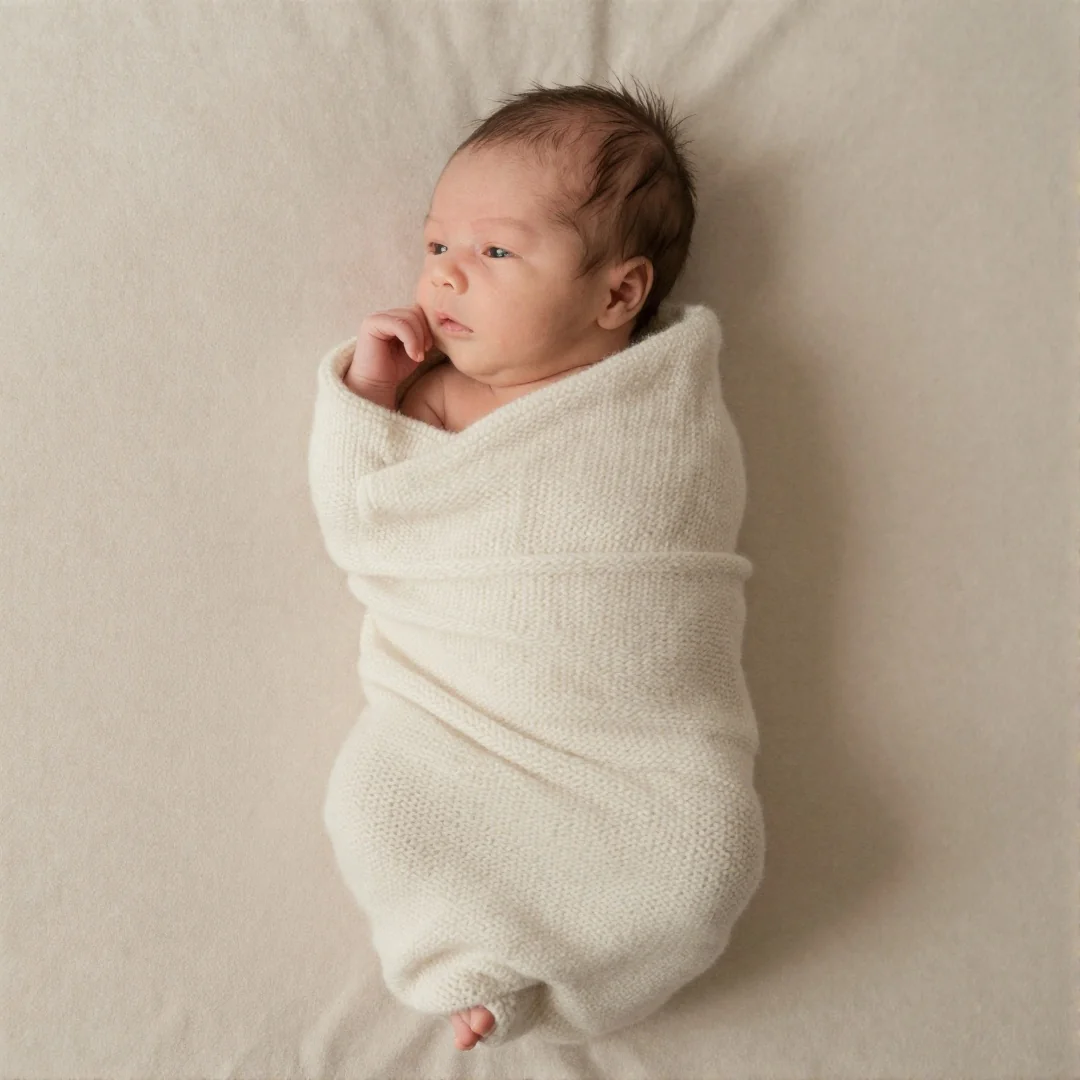
You might think a tight swaddle is essential for newborn photography, but loose layering often creates a more organic, peaceful look for diy newborn pictures at home. A soft wrap should gently contour the baby rather than pinning their limbs into a rigid position. I find that using a high-quality wool blend allows for enough stretch to keep the baby cozy while maintaining a snug and secure feeling. This approach ensures you capture those delicate features without causing any distress or restricting natural movement.
Start by laying your wrap flat and placing the baby in the center before folding the edges over their shoulders. Keep the fabric loose around the hips to allow for full range of motion. You can pick up a versatile 15-inch wide cotton-knit wrap for around $12 to ensure the texture stays soft against sensitive skin. By keeping the baby relaxed, you avoid the need for complex posing techniques that require professional assistance.
White Onesie Portraits
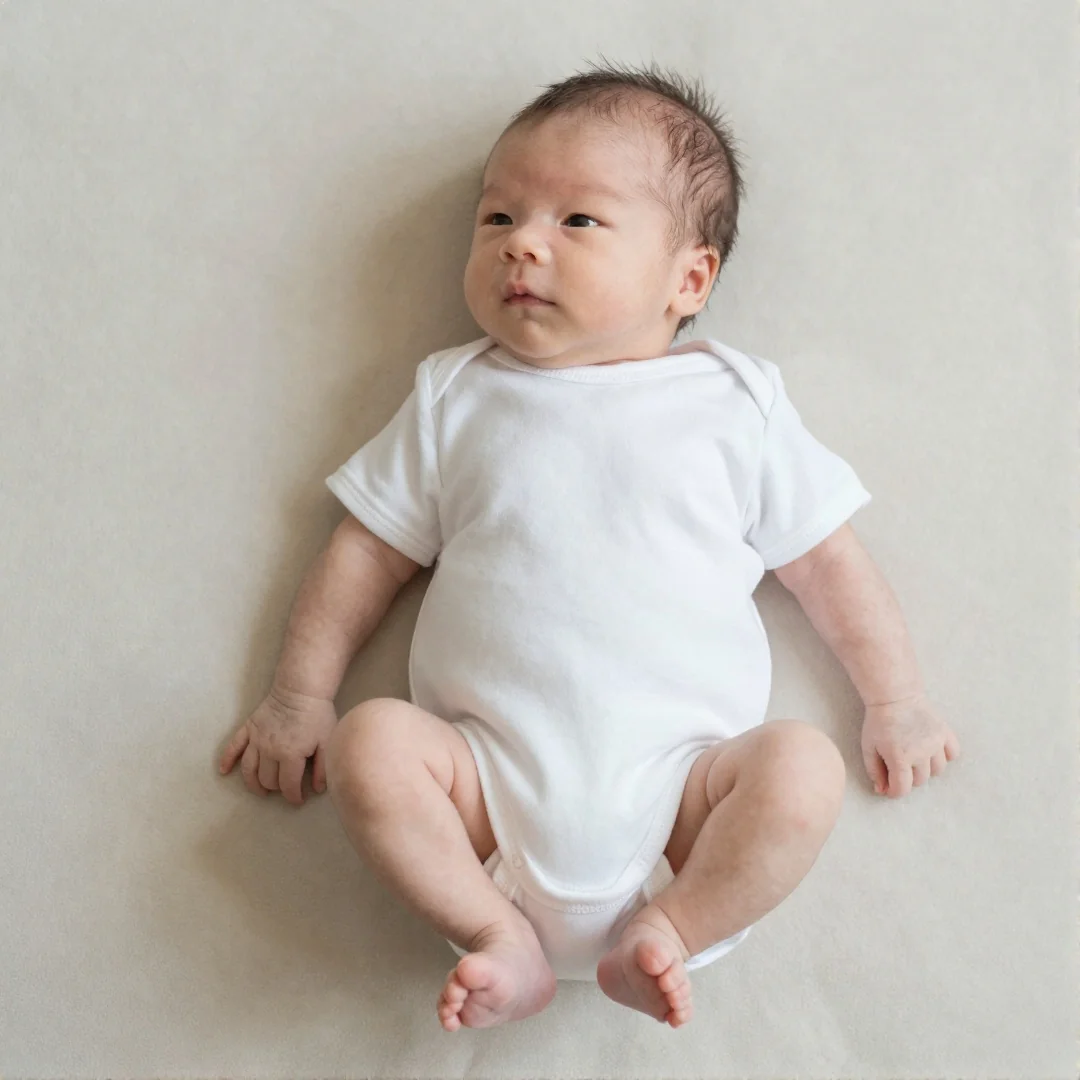
I have found that a simple white onesie creates the most timeless look for your baby. By choosing plain clothing, you remove all distractions so that the focus stays entirely on your infant. This choice is perfect when you want to capture delicate features like tiny toes or soft skin textures without busy patterns getting in the way.
When you take diy newborn pictures at home, a basic cotton outfit creates a clean and professional aesthetic. It works well with a neutral color palette, allowing you to use simple backgrounds like a soft textured rug or a white muslin blanket. I suggest keeping the room temperature around 75 degrees Fahrenheit to ensure your baby stays comfortable while wearing only the thin fabric. This approach makes it easier to focus on your simple newborn poses for parents without worrying about clothing adjustments. The minimalist style ensures these images stay classic for years to come.
Soft Textured Rugs
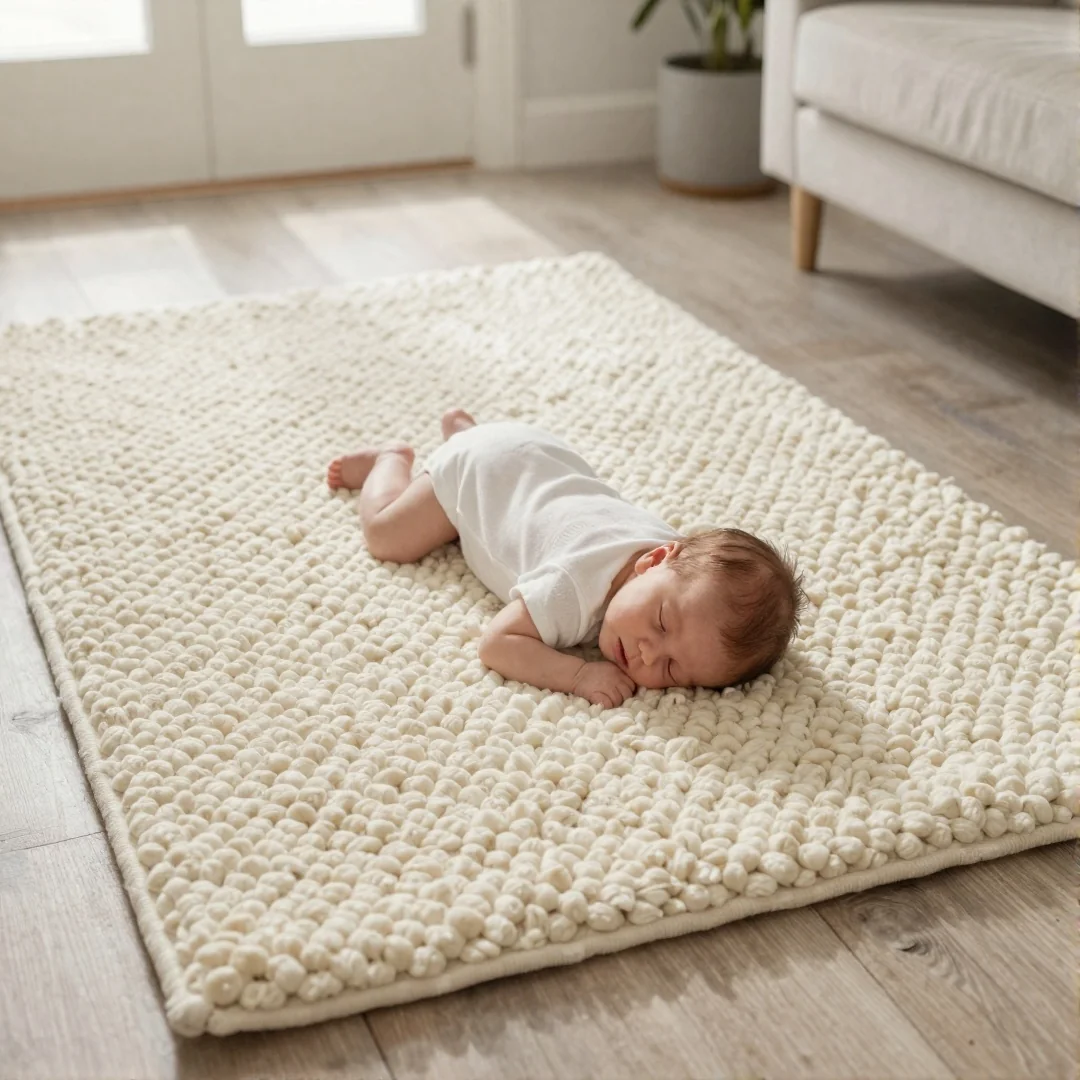
Use a soft textured rug as the base for your setup to add immediate depth and warmth to your photos. When planning diy newborn pictures at home, choosing a rug with a high pile or chunky weave creates a professional look without needing expensive props. A simple faux sheepskin rug costing around $25 works perfectly to provide a cozy, high-end feel.
Safety is the most important part of your diy newborn photoshoot setup. Never place your baby directly on a hard floor. Always layer the rug over a stable, flat surface like a firm mattress or a low-profile posing beanbag to keep the baby secure. Ensure the area is within three feet of natural window light to keep your images bright and clear. If the rug has a non-slip backing, that is an extra layer of protection. Keep a close eye on the baby at all times to prevent any rolling or movement during your session.
Wooden Crate Setups
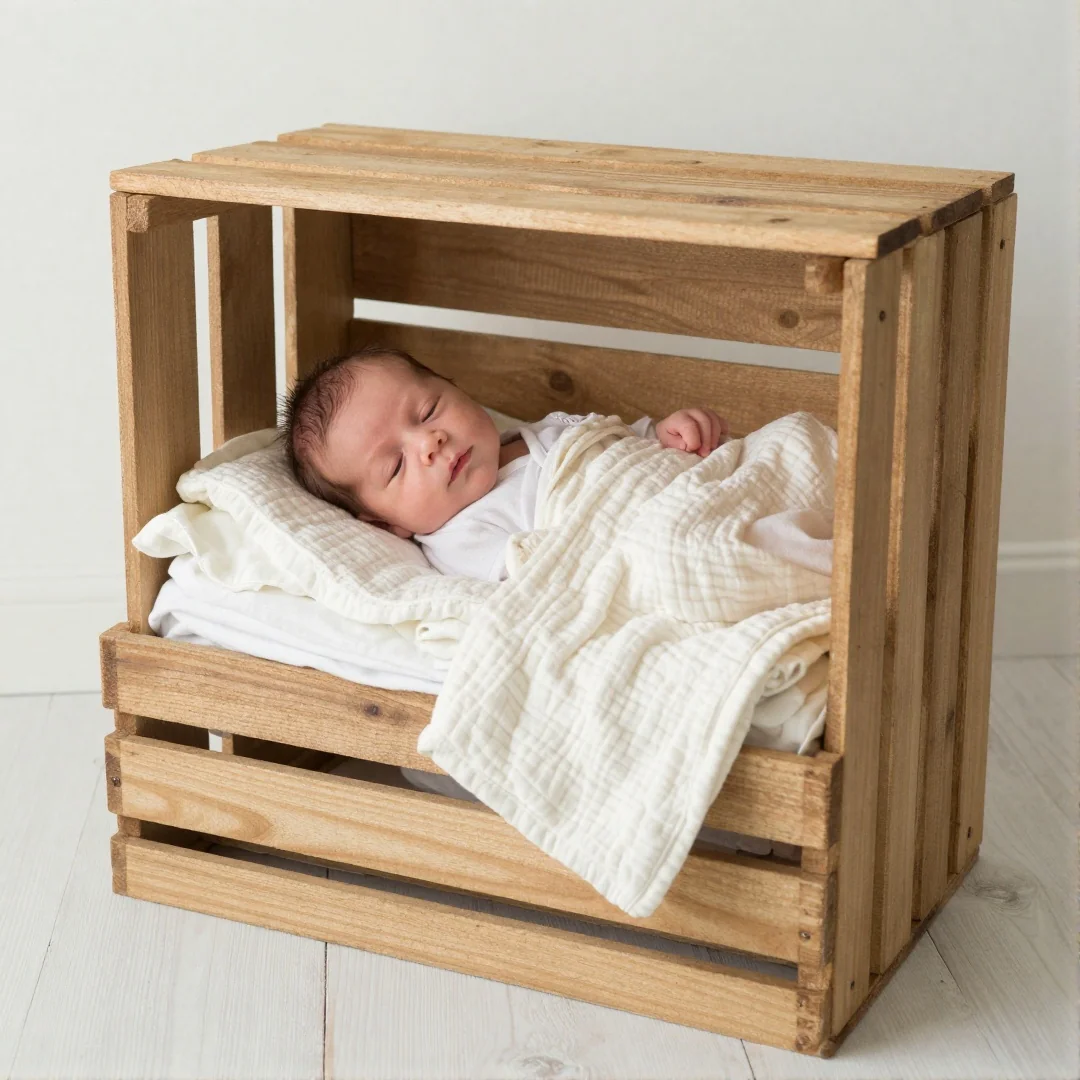
A rustic wooden crate makes a charming base for diy newborn pictures at home during the cooler autumn months. Start by placing your crate on a completely level floor to prevent any wobbling while you work. I suggest folding three layers of thick muslin blankets to line the bottom of the container. This padding creates a soft nest that keeps the baby secure and elevated enough for your camera angle. You can drape a knitted wrap over the edges to soften the wood and add texture to your shot. Always keep a space heater nearby to maintain a warm temperature inside the crate, as newborns lose body heat quickly when undressed. Using a crate that is at least 18 inches wide provides plenty of room for safe posing without feeling cramped. This simple setup relies on natural window light to highlight the soft features of your infant.
Wool Basket Nests
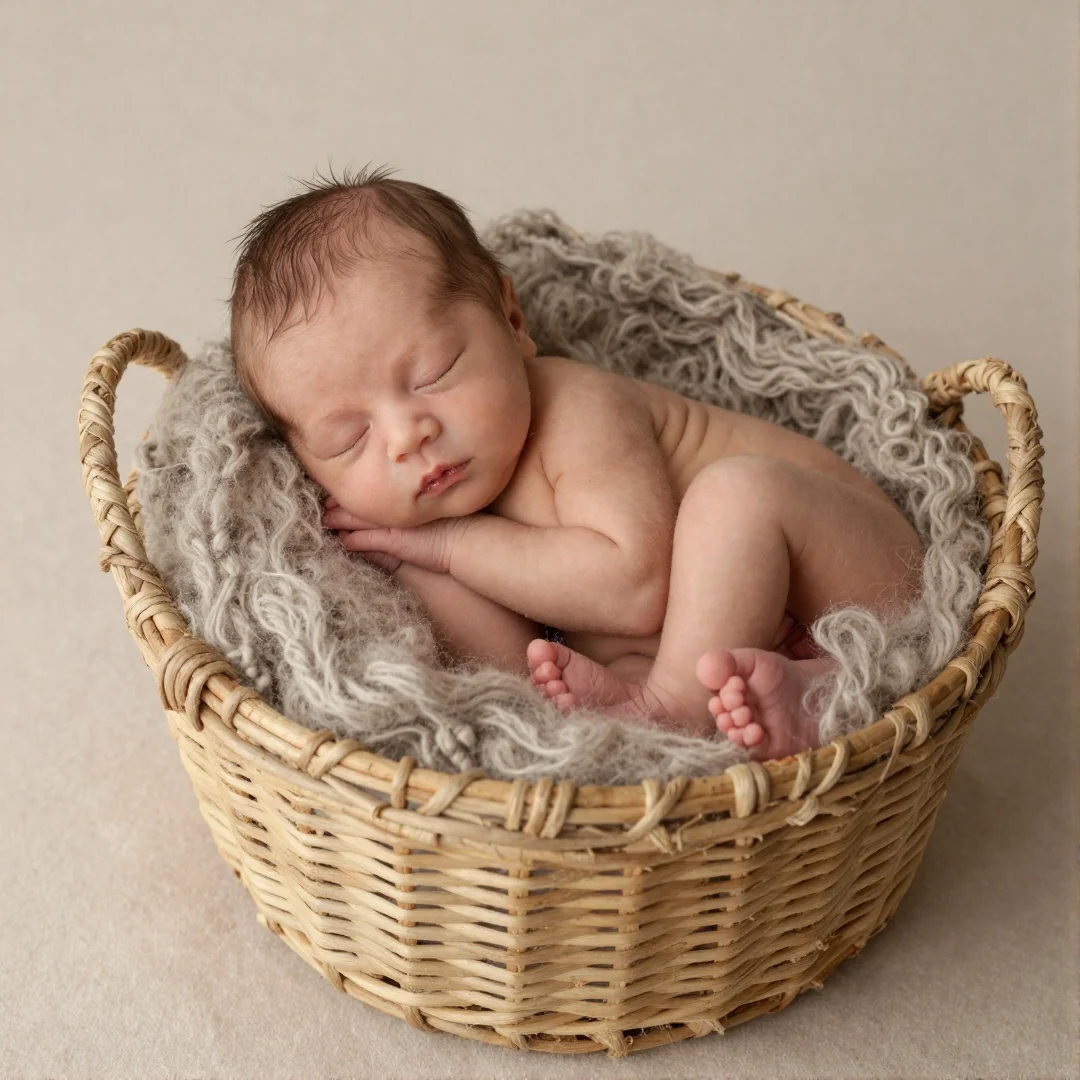
Professional studio sessions often cost upwards of $300, but you can achieve a similar aesthetic for under $20 when you gather props yourself for diy newborn pictures at home. A sturdy wool basket creates a cozy, organic look that frames your baby beautifully. Before placing your infant inside, run your hand along the entire inner rim to ensure there are no splinters, nails, or sharp edges that could irritate delicate skin. If you find any rough spots, cover them with a layer of felt or fine-grit sandpaper.
To keep the baby comfortable, you must use soft fillers at the base of the container. I prefer layering two or three thick muslin blankets or a sheepskin rug inside the basket to create a supportive, elevated surface. This ensures the baby stays positioned within the frame so you can capture simple newborn poses without them sinking too deep. Always place your basket on a flat, stable surface near a source of natural window light for the softest shadows.
Parent Hand Details
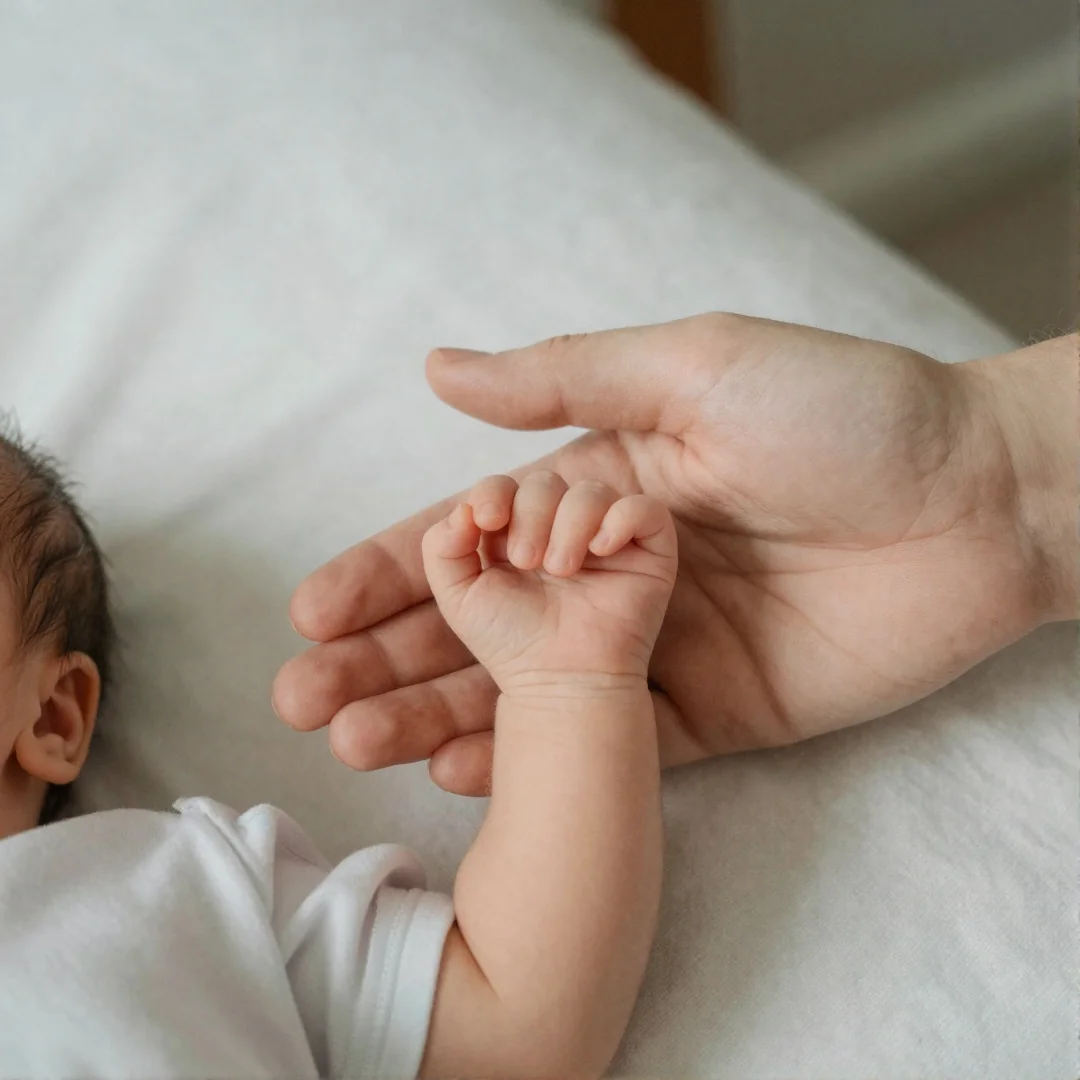
A newborn baby’s hand is usually less than 3 inches long, making it the perfect scale to highlight against your own skin. Focusing on this size difference creates some of the most emotional diy newborn pictures at home you can capture. Place your hand flat on a bed or soft surface and gently nestle your baby’s tiny palm against your index finger. This simple pose showcases the physical bond between you and your little one without needing complex setups.
Use natural window light to illuminate the scene, as it softens the skin texture and highlights the delicate features of their fingers. If you are learning newborn photography tips for beginners, try using a macro setting on your smartphone to pull focus directly onto the connection between your hands. Ensure the room is warm, perhaps by using a space heater, so your baby stays relaxed while you experiment with simple newborn poses for parents to get the framing just right.
Macro Feature Shots
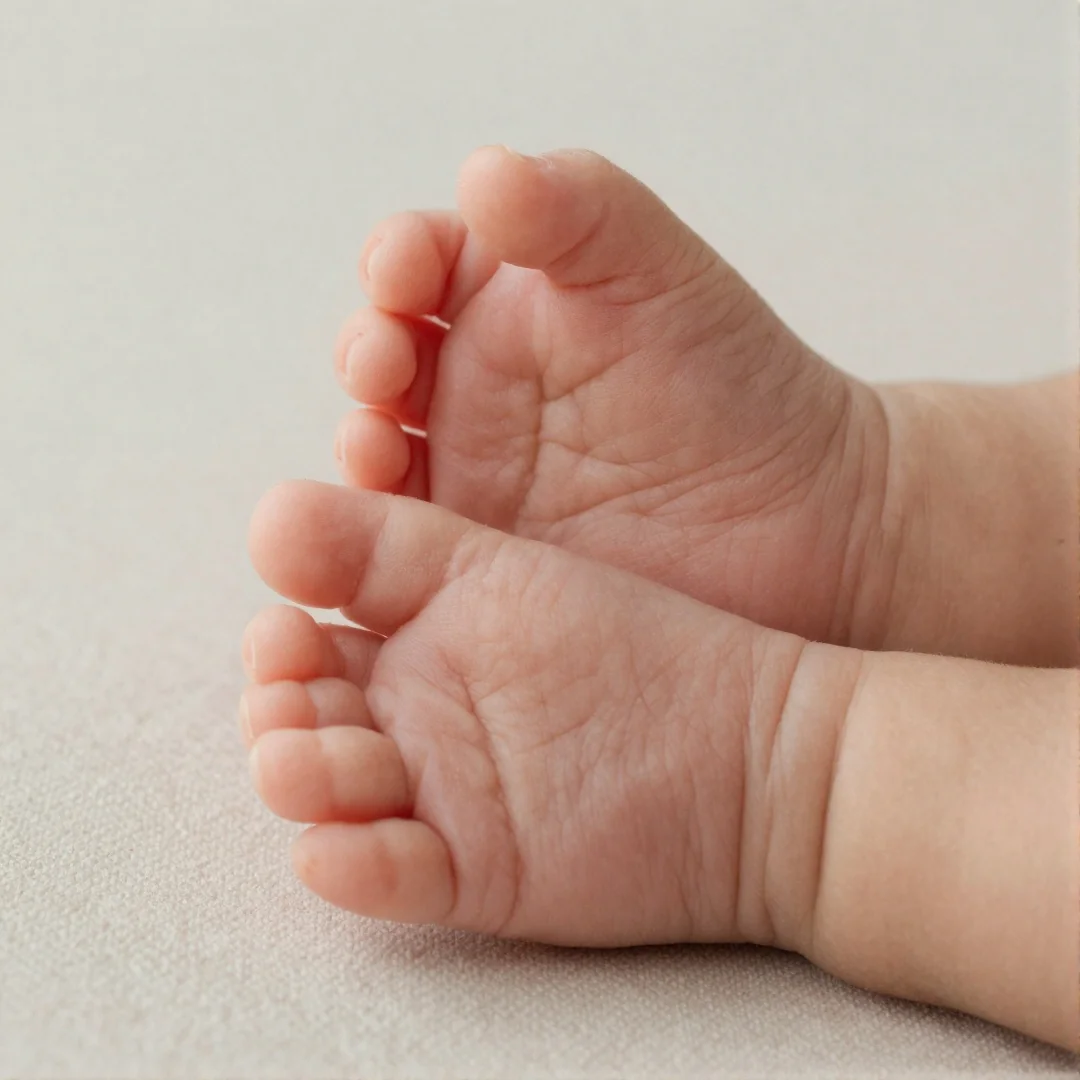
You don’t need a expensive camera to capture the tiny details that make diy newborn pictures at home special. Focus on those sweet fingers and toes while your baby is in a deep sleep. These small features change so quickly, so capturing them during the first 14 days is a must.
Use your phone zoom feature carefully to get a clear shot without getting too close and casting a shadow. If you are using a smartphone, tap the screen on the baby’s skin to lock the focus and adjust the exposure. I find that placing the baby on a soft textured rug helps keep the focus sharp on the skin while blurring the background for a professional look.
- Get within 6 inches of the baby to highlight the delicate texture of their skin.
- Use natural window light to avoid harsh shadows on tiny fingernails.
- Turn off your flash to keep the baby calm and comfortable.
Sleeping Baby Angles
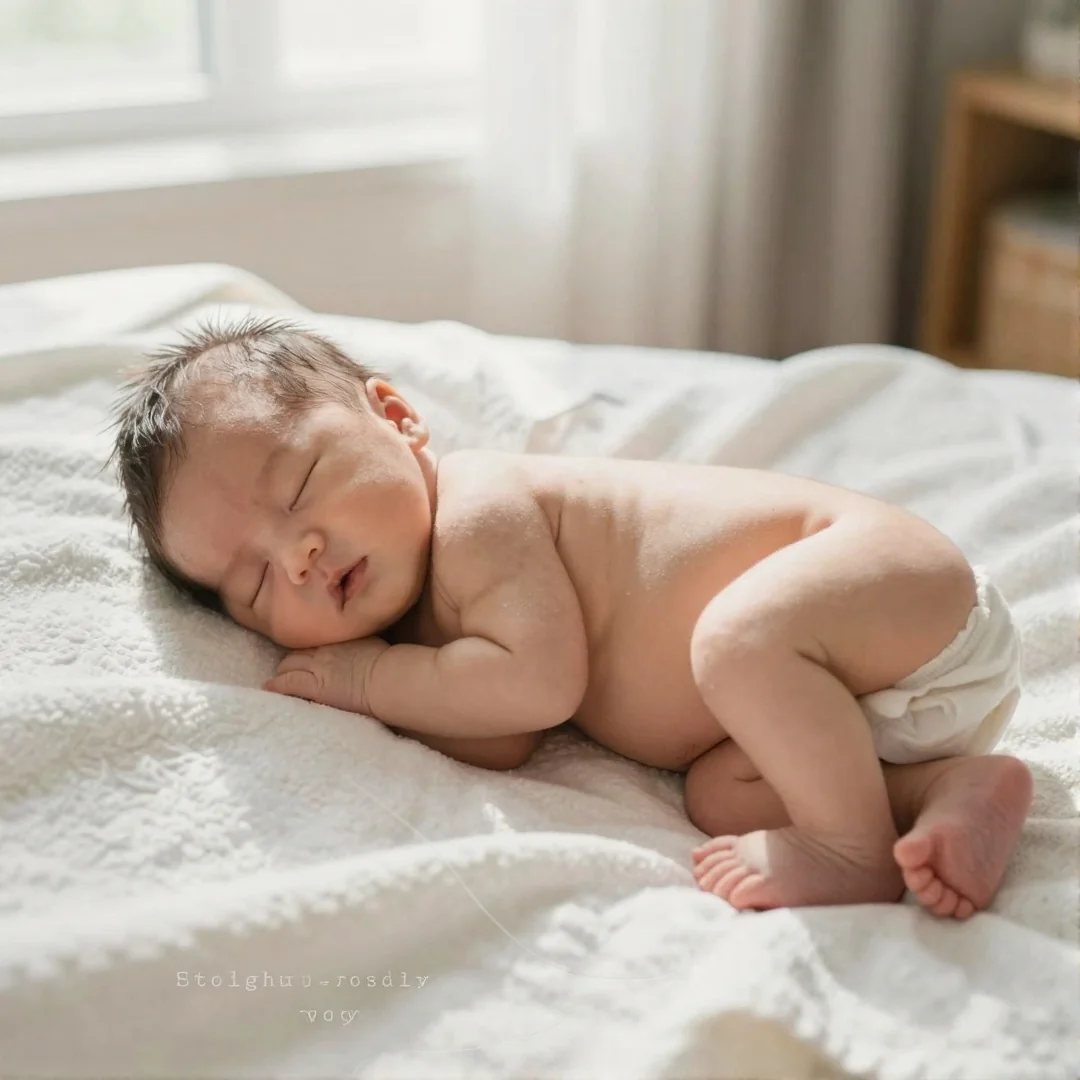
Do you want to capture peaceful portraits while your little one is fast asleep? The best time to start your diy newborn pictures at home is right after a full feeding, when the baby is in a deep milk coma. A satisfied infant is much more likely to stay settled for at least 30 minutes, giving you plenty of time to adjust your camera angles.
I always keep a white noise machine running nearby to mask household sounds that might startle the baby. If you don’t own a dedicated device, a simple smartphone app playing static or rain sounds works just as well. Keep the room temperature around 75 degrees Fahrenheit to ensure your baby stays warm and relaxed while you focus on simple newborn poses. Using a neutral color palette with soft muslin blankets helps keep the focus on the baby rather than the background. You will find that these quiet, sleepy moments result in the most natural and professional looking shots.
Sibling Pose Safety
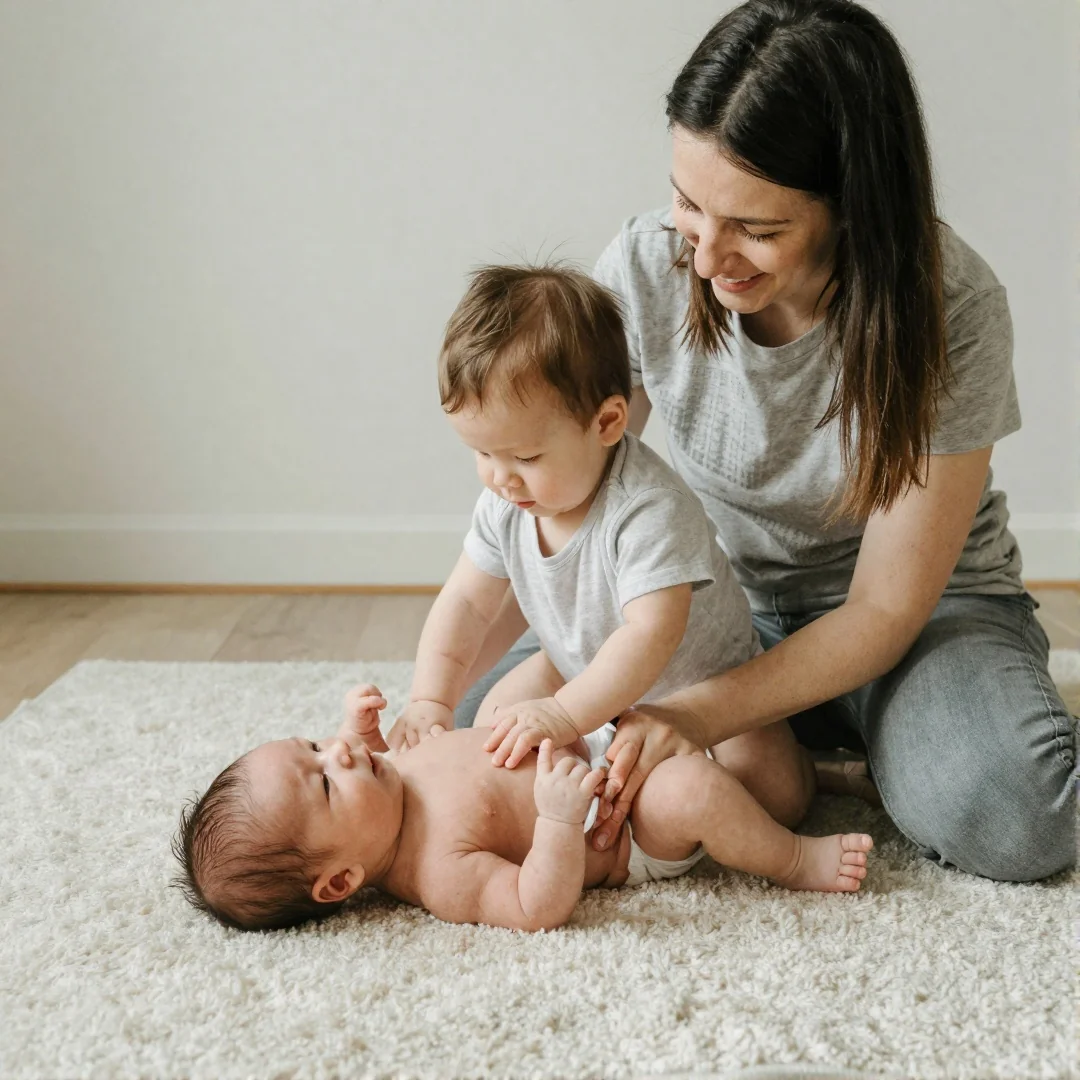
Many parents assume toddlers can hold a newborn on their own for diy newborn pictures at home, but this is a dangerous myth. In reality, a toddler has limited motor control and cannot safely support a fragile infant without constant adult intervention. When you want to capture a sibling shot, always have an adult standing within two feet of the children at all times to act as a spotter.
The safest approach involves having the older sibling lie down on a soft textured rug or a posing beanbag while the baby is placed carefully beside them. Never ask a young child to hold the baby while standing or walking. Instead, use these steps to keep everyone secure:
- Keep the sibling low to the ground to prevent accidental falls.
- Always place a hand under the baby’s head and neck to provide essential support.
- Use a neutral color palette with muslin blankets to tuck the baby firmly into a stable position.
If the sibling gets restless, stop the session immediately. Safety is more important than getting the perfect shot.
Pet Interaction Photos
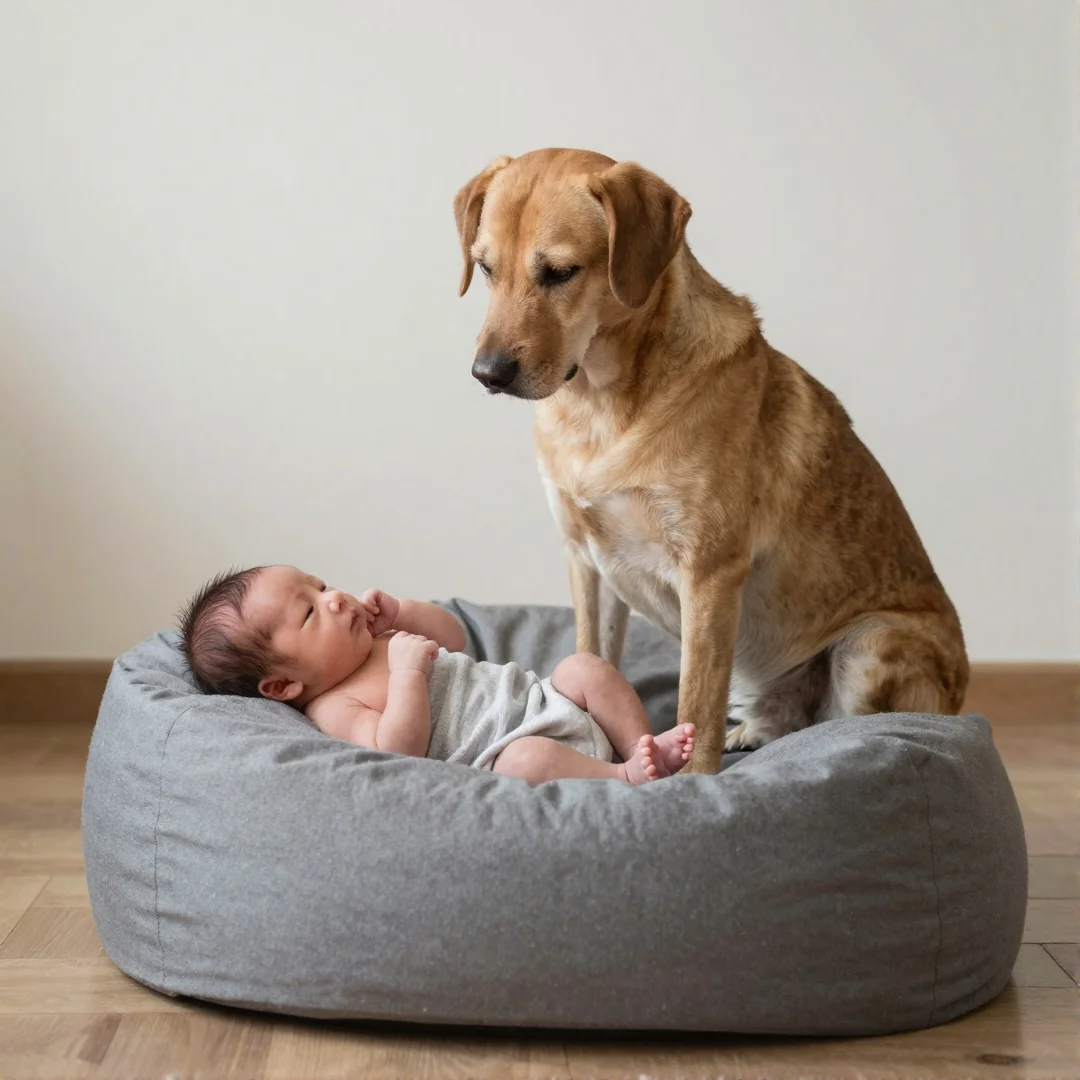
I have learned that pets often feel confused by the new scent of a baby, so keeping them calm is the first step when you capture diy newborn pictures at home. Never allow a pet to roam free near your posing beanbag during the session. Even the most gentle dog should remain at least 3 feet away from the infant at all times. Use a helper to hold the leash just outside the frame so you can focus on the camera.
- Supervision is mandatory because animals can react unpredictably to sudden movements or sounds.
- Place your baby securely in a wool basket or on a firm surface rather than letting a pet sit directly against them.
- Capture the connection from a distance using a zoom feature to keep the scene relaxed.
Always prioritize baby safety during posing over getting the perfect shot. If the pet seems anxious, end the interaction and try again another day.
Essential DIY Lighting Gear
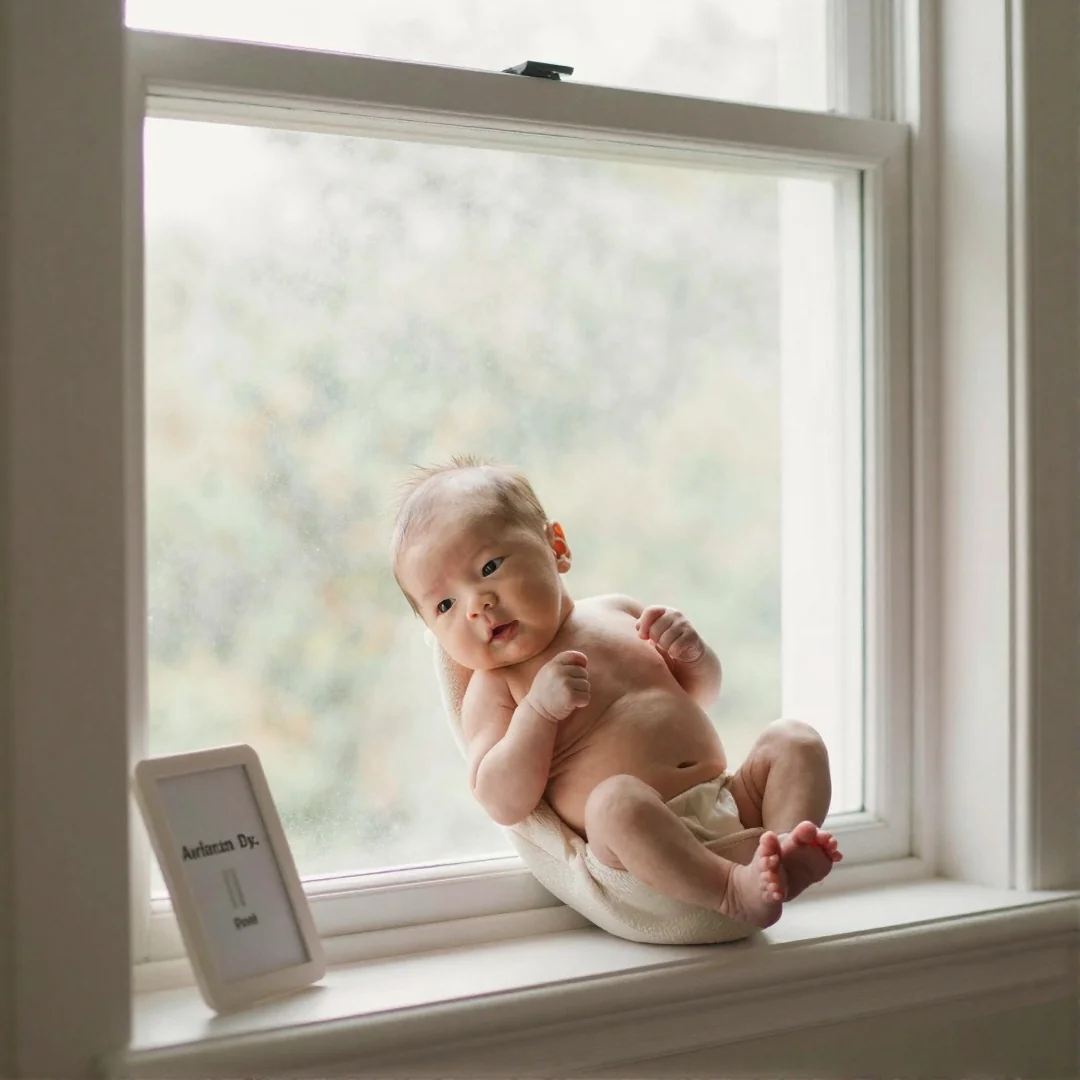
Position your natural window light as the primary source for your session. You don’t need fancy strobes to capture diy newborn pictures at home because soft, indirect sunlight creates the most flattering glow on delicate skin. Find a spot within 3 feet of a large window and turn off all overhead lamps to prevent messy color casts.
If the light is too harsh, tape a thin white bedsheet over the window to act as a diffuser. You can build a diy newborn photoshoot setup by placing a posing beanbag or a firm couch cushion near this window. If you lack a professional reflector, use a piece of white poster board, which costs about $2 at any craft store, to bounce light back onto the baby’s face and fill in any deep shadows. Keep your newborn photography tips for beginners simple by prioritizing steady, bright, and consistent morning light for the best results.
Smart Phone Camera Settings
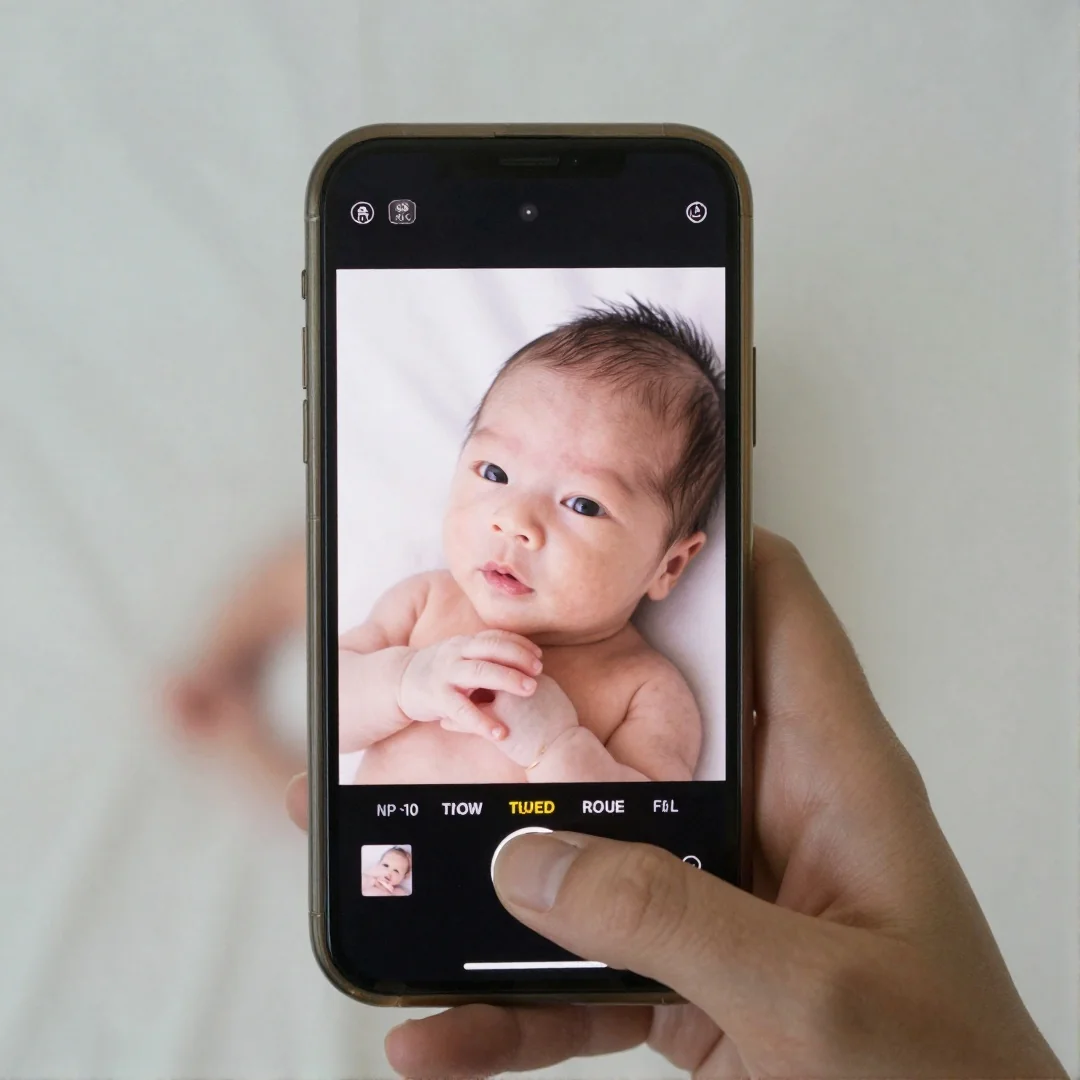
Soft morning light is the best friend for diy newborn pictures at home during the spring months. When you set up your camera, tap the screen on your baby’s eyes and hold your finger down to lock focus. This prevents your phone from hunting for a focus point while the baby wiggles. If the result looks too dark, slide the sun icon upward to adjust exposure until the skin tones look bright and creamy. Aiming for a slightly overexposed look helps hide skin blotchiness.
You should also toggle your exposure compensation manually if you have a newer smartphone. Reducing your shutter speed slightly in a well lit room keeps the image sharp without needing a flash. I usually keep my phone at a distance of 12 inches to ensure the face stays in sharp focus while keeping the background soft. These simple tweaks ensure your images look crisp even without a professional lens.
Mobile Editing Apps
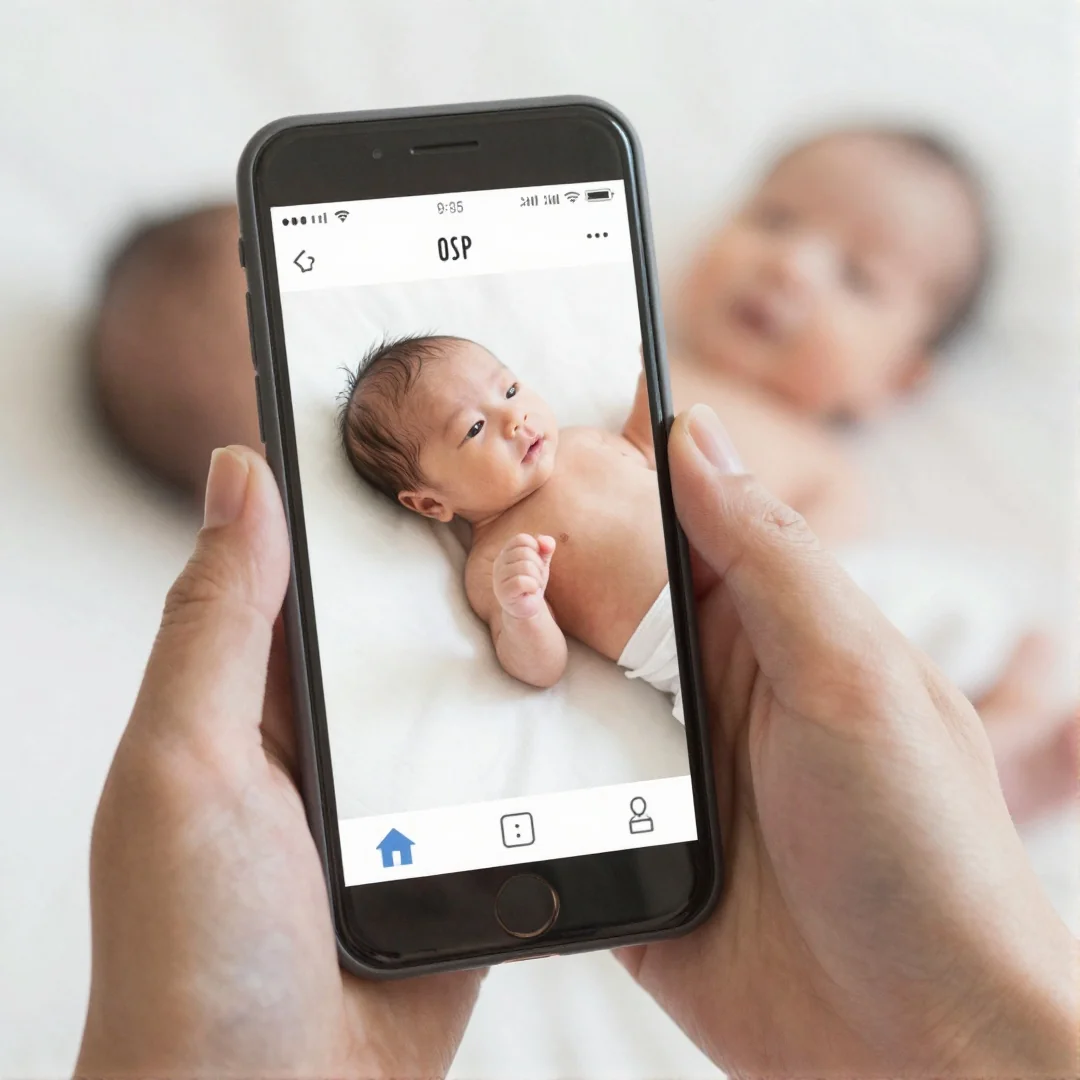
Professional editing software costs over $10 a month, but free mobile apps provide everything you need to polish your diy newborn pictures at home. You can achieve a clean and bright aesthetic without paying for expensive subscriptions or complex desktop programs.
Start by balancing white levels to brighten your images. Most photos taken near natural window light can look slightly yellow or gray. Use the warmth or temperature slider in apps like Lightroom Mobile to pull out those creamy, soft tones. If your baby is wearing a white onesie, adjust the white balance until the fabric looks crisp and neutral rather than tinted.
- Use the healing brush tool to remove distractions like stray threads on your knitted wraps or dust on the posing beanbag.
- Keep your edits subtle by reducing the strength of filters to 30 percent.
- Ensure skin tones remain natural by avoiding high contrast settings that make infant skin look blotchy.
These simple adjustments help your photos look professional and intentional.
Newborn Posing Beanbags
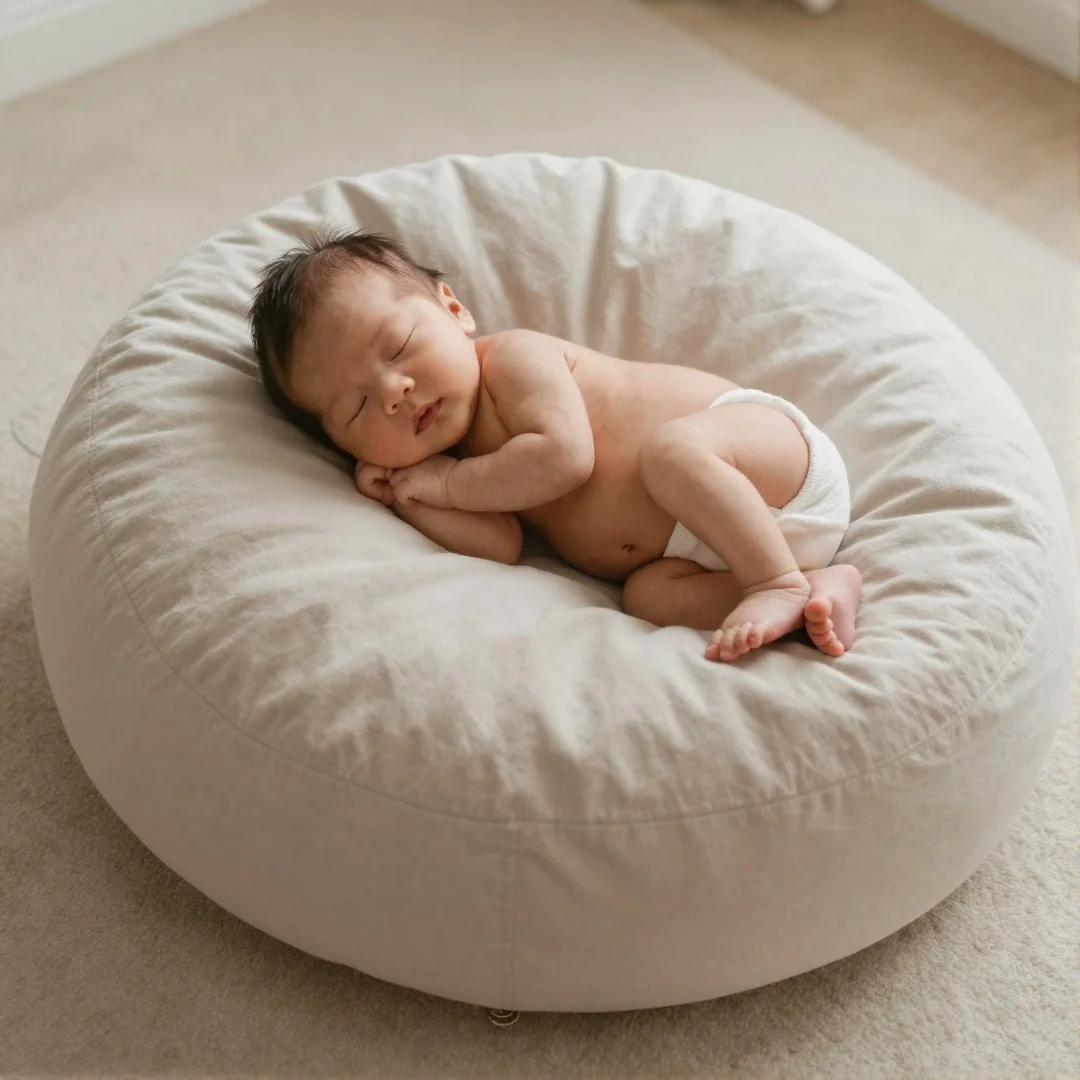
A standard beanbag chair is the most versatile tool you can own for **diy newborn pictures at home**. You can pick up a basic, unfilled beanbag cover for around $25 and stuff it with spare pillows or soft towels to create a firm platform that supports a baby’s natural, curled-up fetal position.
To ensure safety, always place your beanbag on the floor away from furniture edges. Use soft muslin blankets layered over the top to create a smooth, wrinkle-free surface that mimics a professional studio backdrop. If the baby starts to roll or shift, use rolled-up towels under the blanket to build supportive edges around their body. This keeps them centered and secure while you experiment with simple newborn poses. Keep a space heater nearby to maintain a warm room temperature, as this helps the baby stay sleepy and relaxed throughout your session. Always have a spotter within arm’s reach whenever the baby is on the posing beanbag.
Tripod Setup Tips
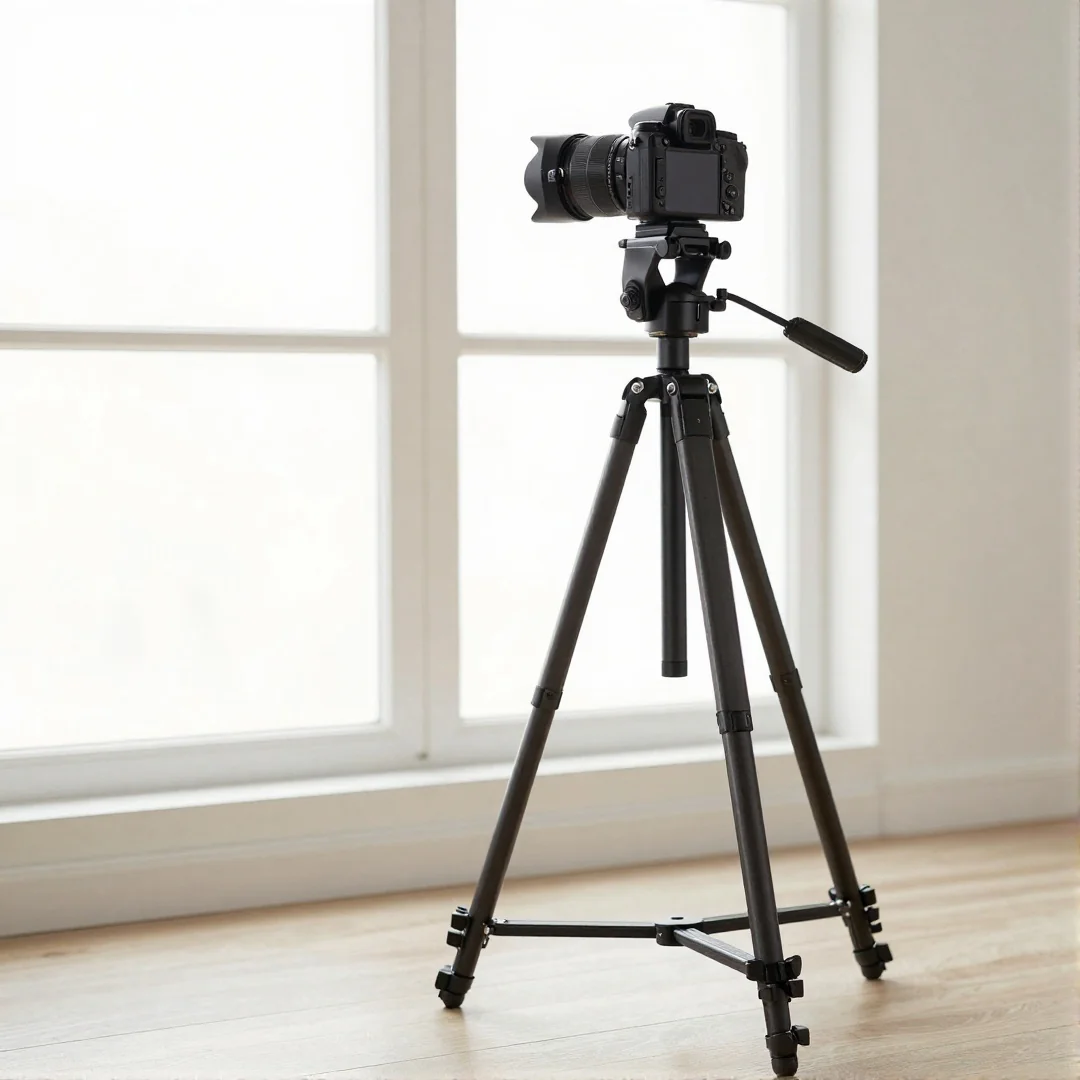
You are trying to balance your phone while soothing a fussy baby, but the angle keeps slipping. Using a sturdy tripod is the easiest way to ensure your DIY newborn pictures at home stay crisp and sharp. Even a basic model costing around $25 will keep your camera perfectly still, which is essential if you are shooting in a dim room and need a slower shutter speed.
To get yourself in the frame, use the self timer function on your camera app. Most phones allow for a 10 second delay, giving you enough time to settle into a comfortable position next to your baby. I find it helps to set your focus manually on the spot where the baby will be lying before you hit the timer. This prevents the camera from accidentally focusing on the background instead of your little one. Always check that your tripod legs are locked tight on a flat, soft textured rug so they don’t shift during the shoot.
Creative DIY Prop Ideas
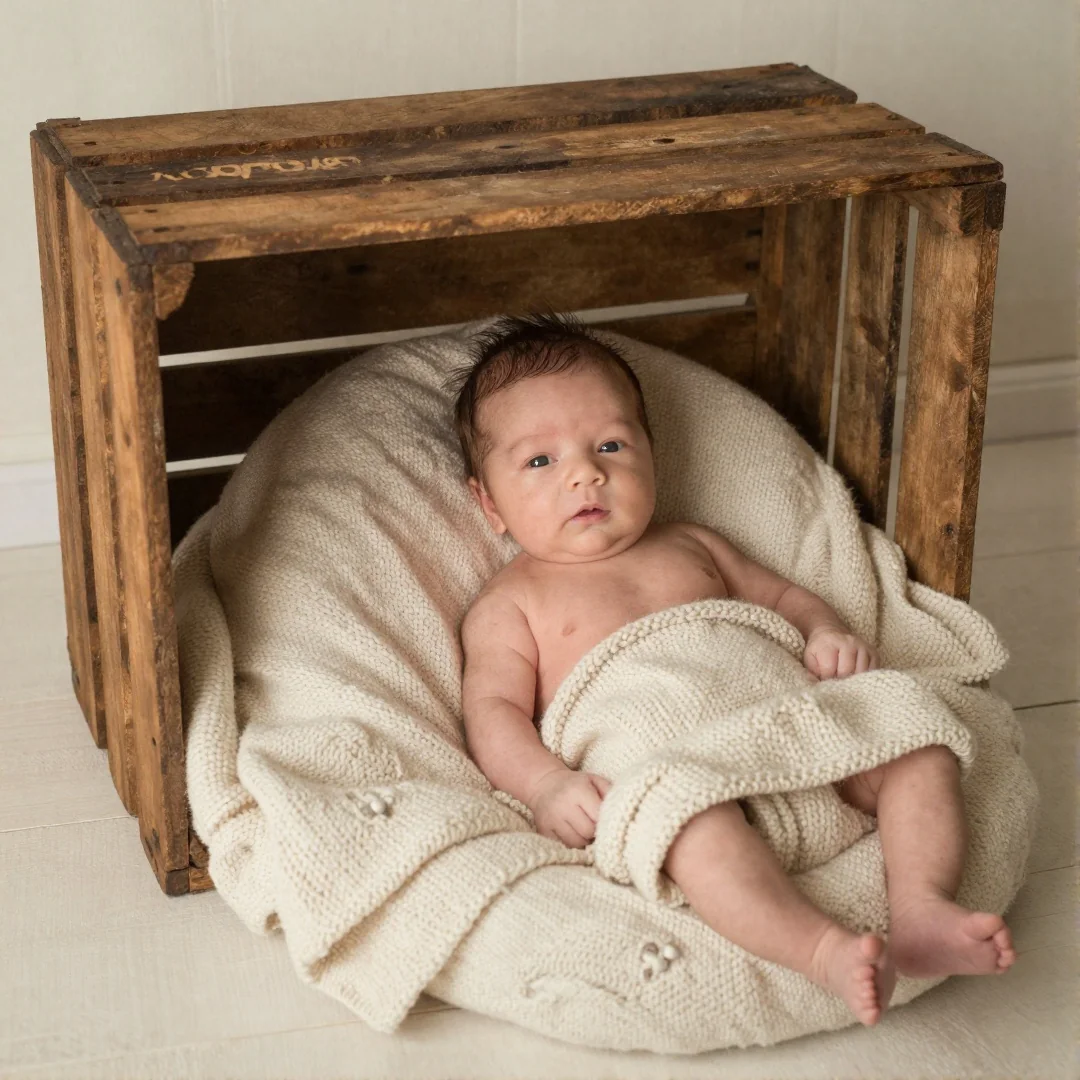
Do you want to add a personal touch to your diy newborn pictures at home without spending a fortune? The best props are often things you already own, like a vintage wooden crate or a soft knitted wrap handed down from a grandparent. Using items with sentimental value makes the images feel unique to your family story. When you pick props, try to stick to a neutral color palette so the focus stays on your baby rather than the background. Keeping your theme simple prevents the setup from feeling cluttered or overwhelming. I suggest limiting your scene to just two main textures, such as a muslin blanket paired with a soft wool basket. This approach creates a cohesive look that is easy to manage while your baby is sleeping. Aim to spend less than $15 on any new fabric or textured filler you might need for the shoot.
For another perspective, this detailed piece on How To Take Your Own DIY Newborn Photos In 2026 is worth a read.
FAQ
When is the best age for photos?
Many parents think they need to capture images within three days, but the first 14 days are actually the sweet spot for **diy newborn pictures at home**. At this age, babies spend most of their time sleeping and are much easier to pose in a **neutral color palette** while curled up on a soft textured rug.
How do I keep the baby safe?
Your baby should never be left unattended on a **posing beanbag** or inside a **wooden crate** during your session. Always keep a spotter within arm reach, and double check that your **space heater** is at least 3 feet away from the fabric to prevent overheating.
What if the baby keeps crying?
If your little one becomes fussy, stop the session and use a **white noise machine** to help them settle into a deep sleep. I have found that taking a 15 minute break to feed or cuddle usually fixes the mood better than trying to force a pose.
How do I manage nap transitions?
Plan your shoot around the natural rhythm of your baby, ideally right after a full feed when they are most likely to enter a milk coma. If you notice them stirring, switch to simple lifestyle shots in your arms instead of trying to move them into a complex **knitted wrap**.
Can I get studio quality lighting?
You do not need expensive flashes, as **natural window light** provides the softest glow for your images. Clear a space near a large window and turn off all overhead lamps to avoid color casts on the **white onesie** your baby is wearing.
You might also like: 20 DIY Baby Toys That Support Early Development
Key Takeaways
I have learned that the best shots happen when you stop chasing perfection and start following your baby’s cues during your diy newborn pictures at home.
- Prioritize baby comfort above all else because a relaxed infant makes for much better photos than a perfectly posed but fussy one.
- Practice extreme patience during your session, as you should budget at least 2 hours to allow for plenty of feeding and soothing breaks.
- Use natural window light to get that soft glow, avoiding direct sun that creates harsh shadows on delicate skin.
- Maintain room warmth by running a small space heater to keep the temperature around 78 degrees so your baby stays cozy while undressed.
- Keep poses simple by using a white onesie or soft muslin blankets to create a timeless look without needing expensive gear.
Save these tips to your Pinterest board to keep your photoshoot plan handy.