17 Baby Blankets You Can Sew Step by Step
Introduction
A handmade gift costs less than $20 in materials but carries a value that store bought items cannot match. Learning how to sew a baby blanket step by step allows you to create a personalized, safe, and soft heirloom for any newborn. This guide helps you navigate everything from picking the right textiles to mastering your machine.
Before you start, you must understand your sewing machine settings. A standard straight stitch set to a 2.5mm length works best for most cotton projects, while a zigzag stitch helps manage stretchy minky fabric. Safety is the priority here, so always use non-toxic thread and ensure your seam allowance is secure to prevent loose threads. By following these beginner sewing projects for babies, you will gain the confidence to handle fabric prep, sharp corner turning, and finishing techniques that ensure your blanket lasts through years of washes.
Simple Flannel Blanket
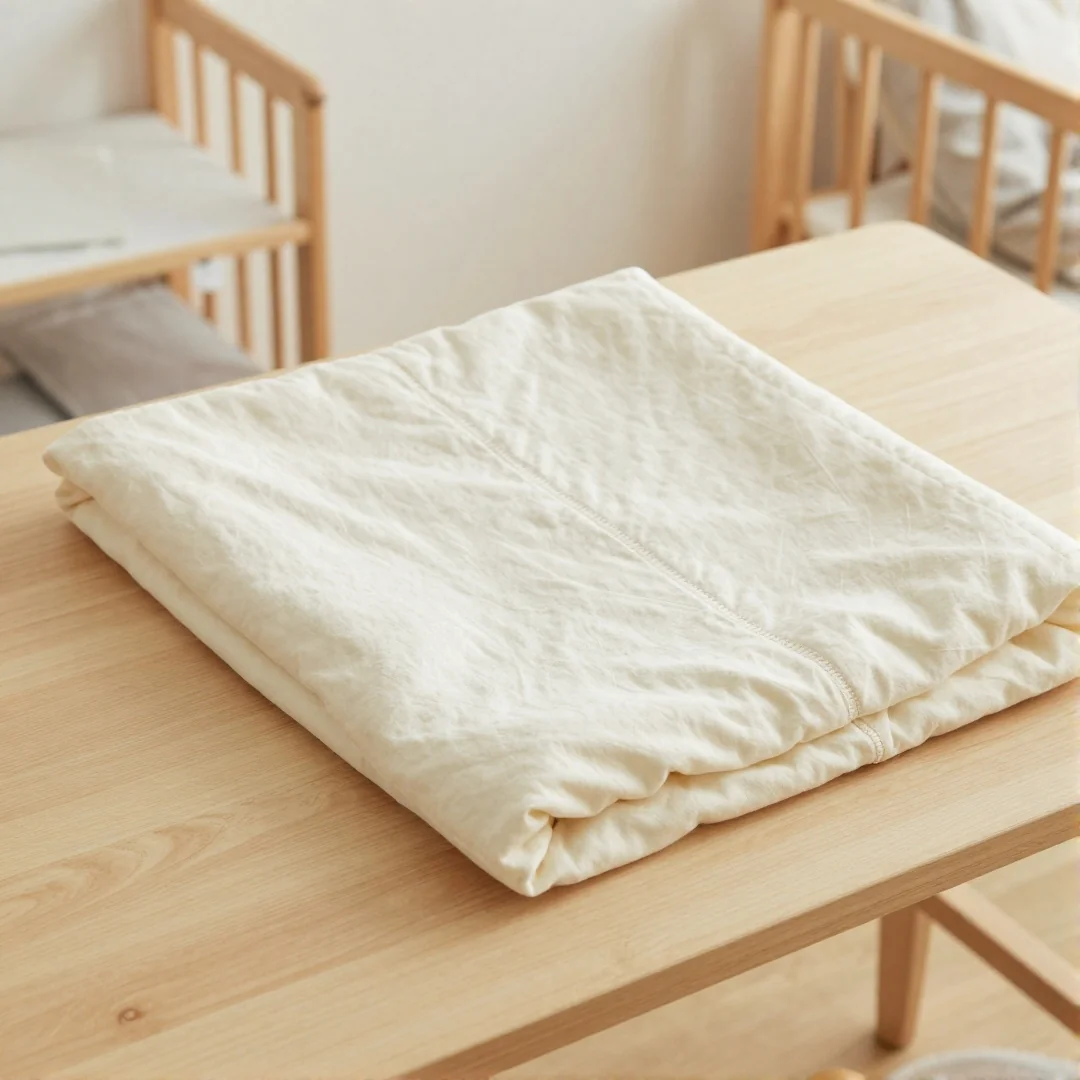
Do you want to know how to sew a baby blanket step by step using the softest material? Flannel is a great choice because it is gentle on newborn skin and very easy to handle under a presser foot. Always prewash your flannel in hot water before starting, as this fabric often shrinks significantly. Once dry, press it flat with an iron to remove any creases.
Start by cutting two identical squares measuring 36 by 36 inches. Lay the squares with their right sides facing each other and secure the edges with pins every few inches to keep the layers from shifting. Use a straight stitch with a 1/2 inch seam allowance to join the pieces. Leave a 6 inch opening along one side so you can turn the fabric right side out. After turning, tuck the raw edges inward and stitch the final gap closed. This method creates a clean, durable finish that stands up to frequent washing.
Minky Backed Blanket
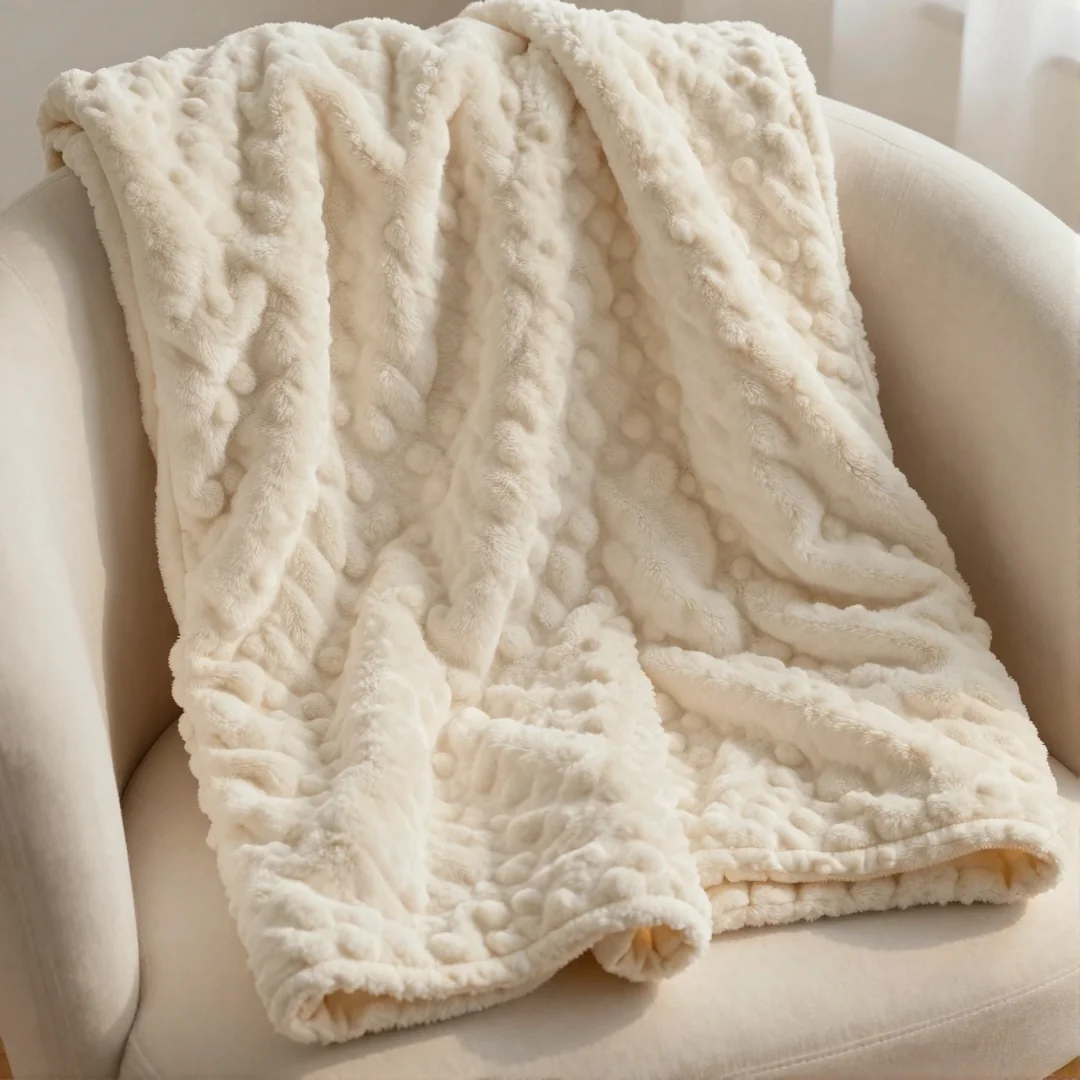
Many beginners fear minky fabric because it slides under the presser foot, but it is actually one of the softest options for infants. When you learn how to sew a baby blanket step by step, you will find that minky is manageable if you treat it with patience. Do not let the texture intimidate you. The key is to control the movement of the fabric before it even touches your sewing machine needle.
You must use extra pins for stability when working with this slick material. Place your pins every 2 inches along the entire perimeter of your blanket pieces. This density prevents the layers from shifting while you sew. If you only pin the corners, the fabric will bunch up and create uneven edges. Using extra pins acts like a temporary basting stitch, keeping the cotton top and minky back perfectly aligned. For the best results, use sharp glass head pins that glide through the dense pile without leaving holes in your fabric.
Cotton Patchwork Design
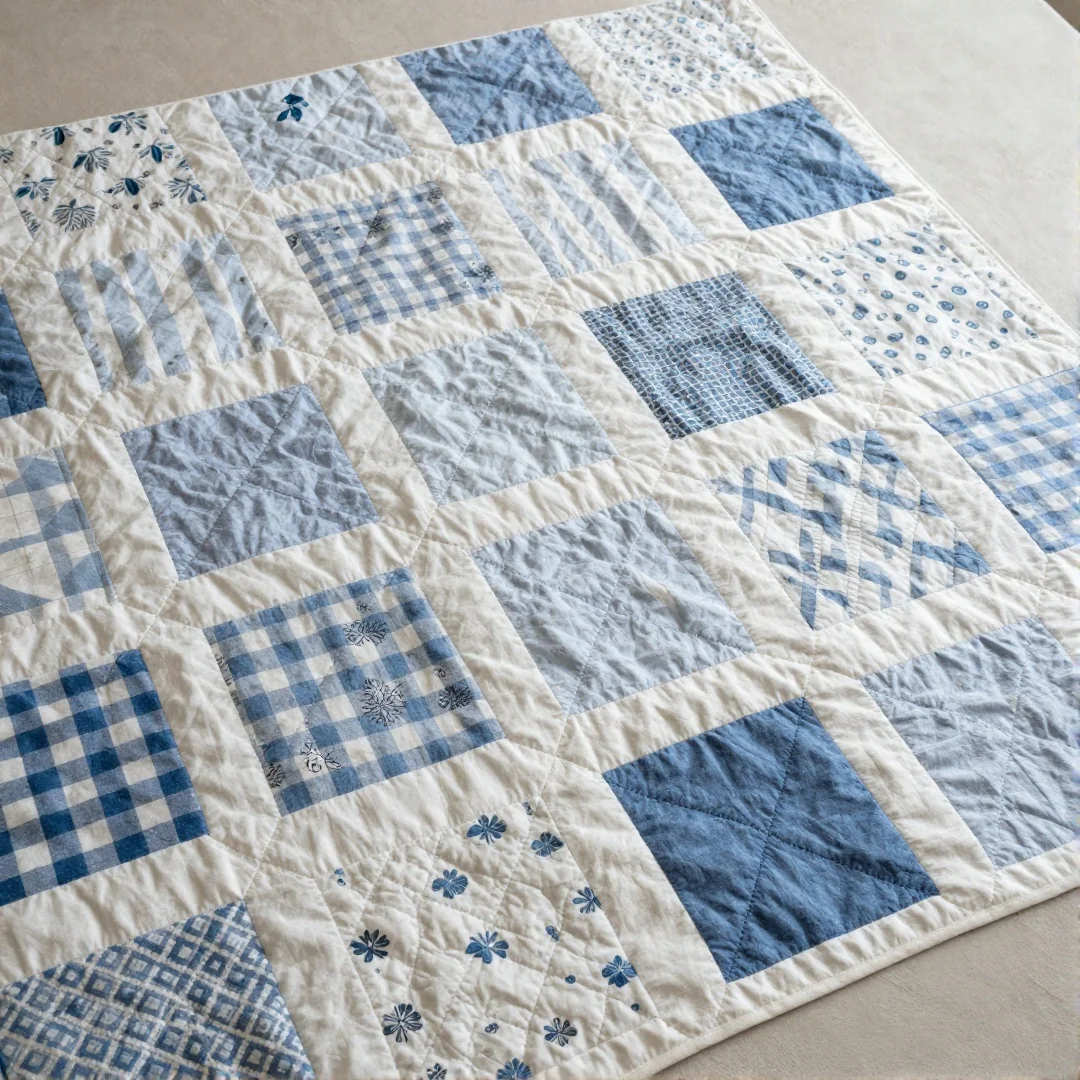
I have found that sticking to a simple color palette makes selecting coordinated quilt fabrics much easier for beginners. Choose three to five prints that share one base color to ensure the finished piece looks intentional. When you learn how to sew a baby blanket step by step, your fabric choice matters. I always suggest using high quality cotton quilt fabric because it holds its shape well and doesn’t shift like minky fabric.
Start by cutting your squares to an exact 5 inch size using a rotary cutter for the cleanest edges. Maintain a consistent 1/4 inch seam allowance on your sewing machine to keep all blocks aligned during assembly. If your allowance wanders, the entire patchwork design will look crooked. Once you stitch two squares together, you must pressing seams flat with an iron toward the darker fabric. This prevents bulky ridges that irritate a baby. Keep your iron set to the cotton steam setting and move it in one direction to avoid stretching the fabric grain.
Self Bound Edge
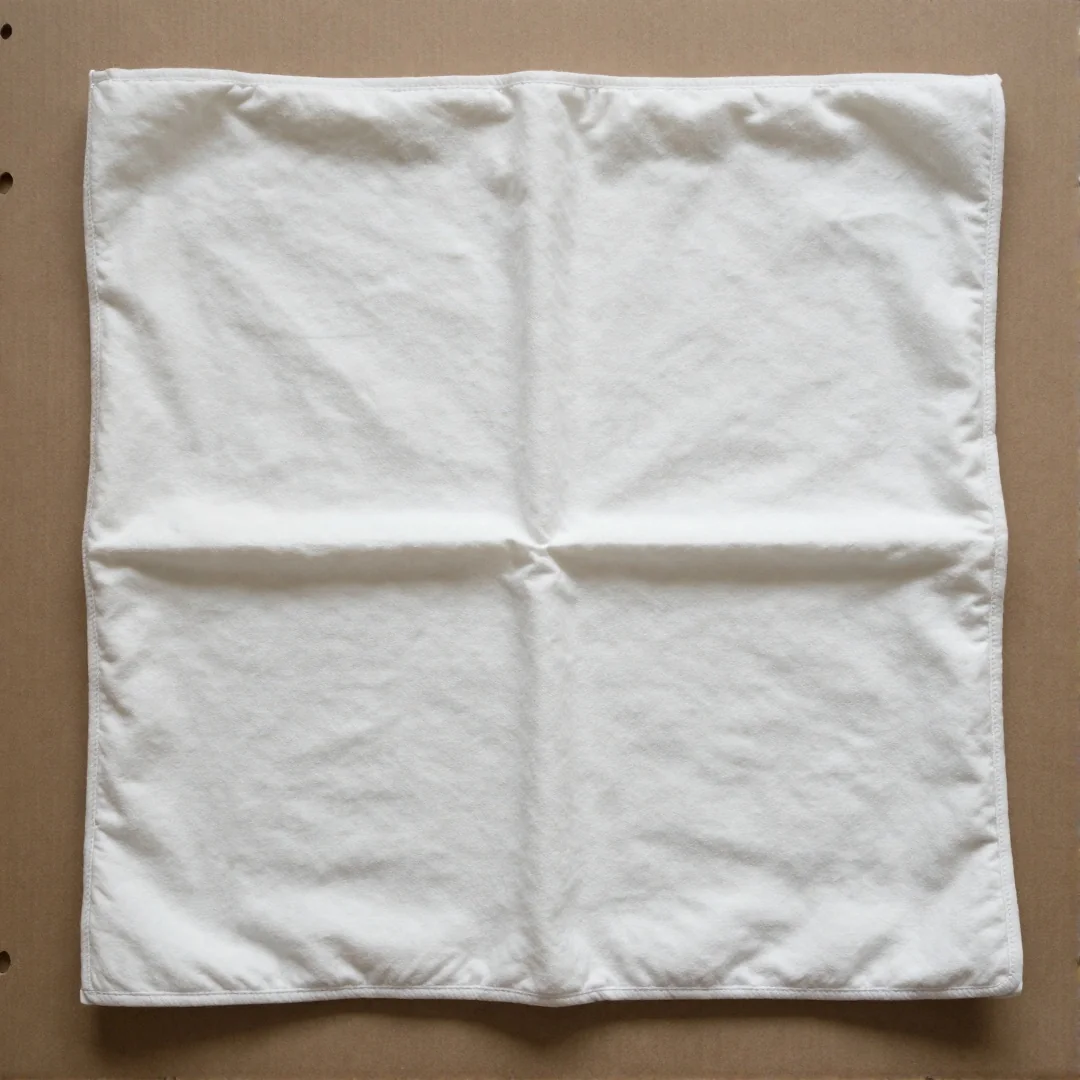
A self-bound edge creates a clean frame using your existing fabric instead of extra binding. When learning how to sew a baby blanket step by step, this method is perfect for flannel because it keeps the edges soft for delicate skin. Start by cutting your fabric 2 inches larger than your target size on all sides. Fold the raw edges inward by 1 inch and press firmly with a hot iron to set the fold. This creates a crisp crease that acts as your guide for the final stitch.
To handle the corners, fold the fabric edges over each other to form a 45-degree mitered angle. Use pins to hold the layers flat and reduce bulk before running it through your sewing machine. If you feel the fabric shifting, use a walking foot to keep the layers aligned. A simple straight stitch placed 1/8 inch from the folded edge provides a professional finish that stands up to frequent washing. This technique turns a simple piece of fabric into a polished nursery essential.
Simple Rag Quilt
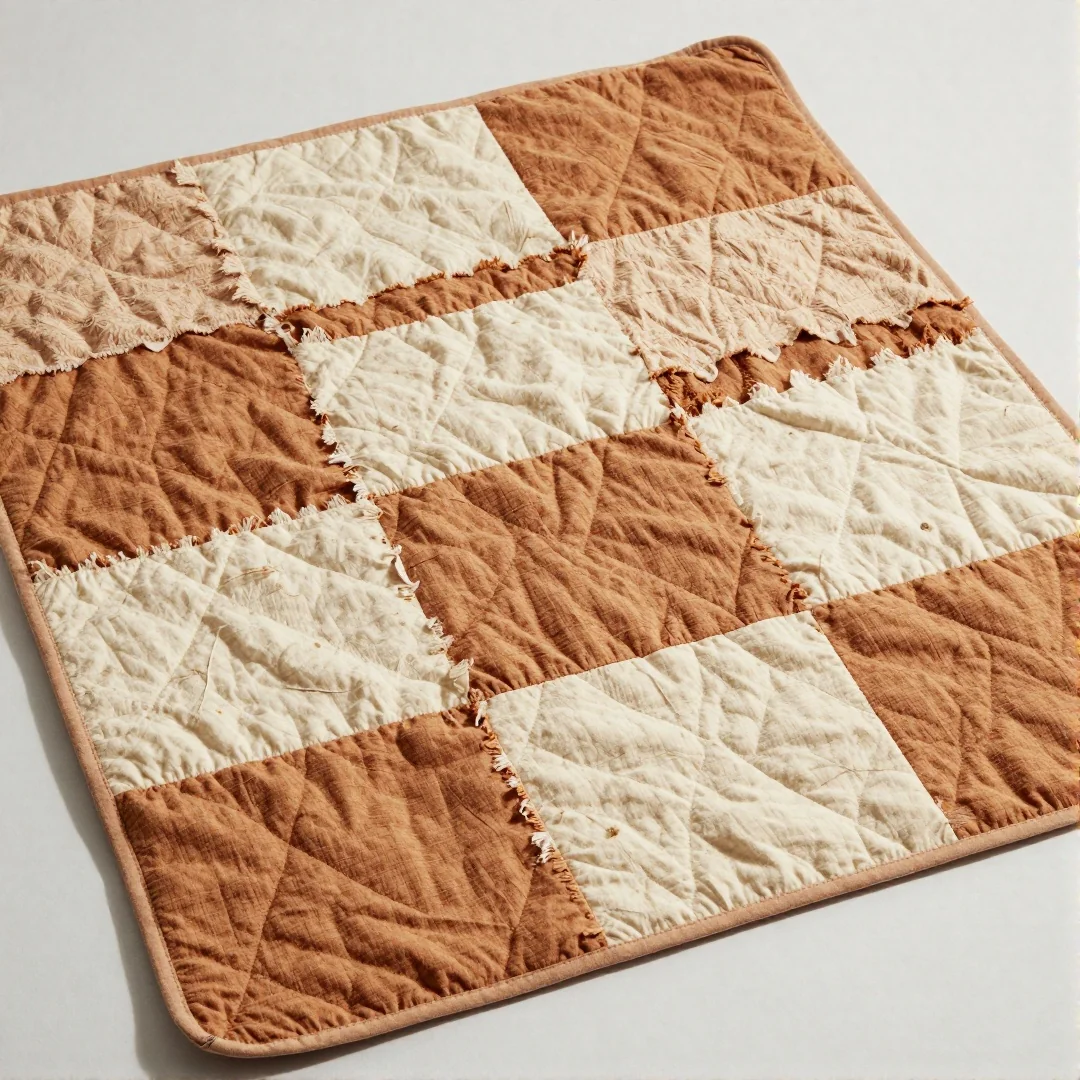
A flannel rag quilt is perfect for cozy autumn nurseries, and it is a great way to learn how to sew a baby blanket step by step. Start by using a rotary cutter and a clear plastic ruler to cut your fabric into exact 6-inch squares. You will need roughly two yards of flannel to make a standard stroller-sized blanket. Layer two squares of flannel with a smaller square of batting in the middle, keeping the rough edges facing outward.
Once you have your stacks ready, use your sewing machine to sew an X pattern through the center of each square to hold the layers together. This straight stitch ensures the batting doesn’t shift during future washes. After you join all the blocks together with a half-inch seam allowance, use sharp spring-loaded scissors to clip the seam edges every quarter inch. These clipped edges will fray beautifully in the wash to create a soft, textured finish that babies love to touch.
Double Gauze Blanket
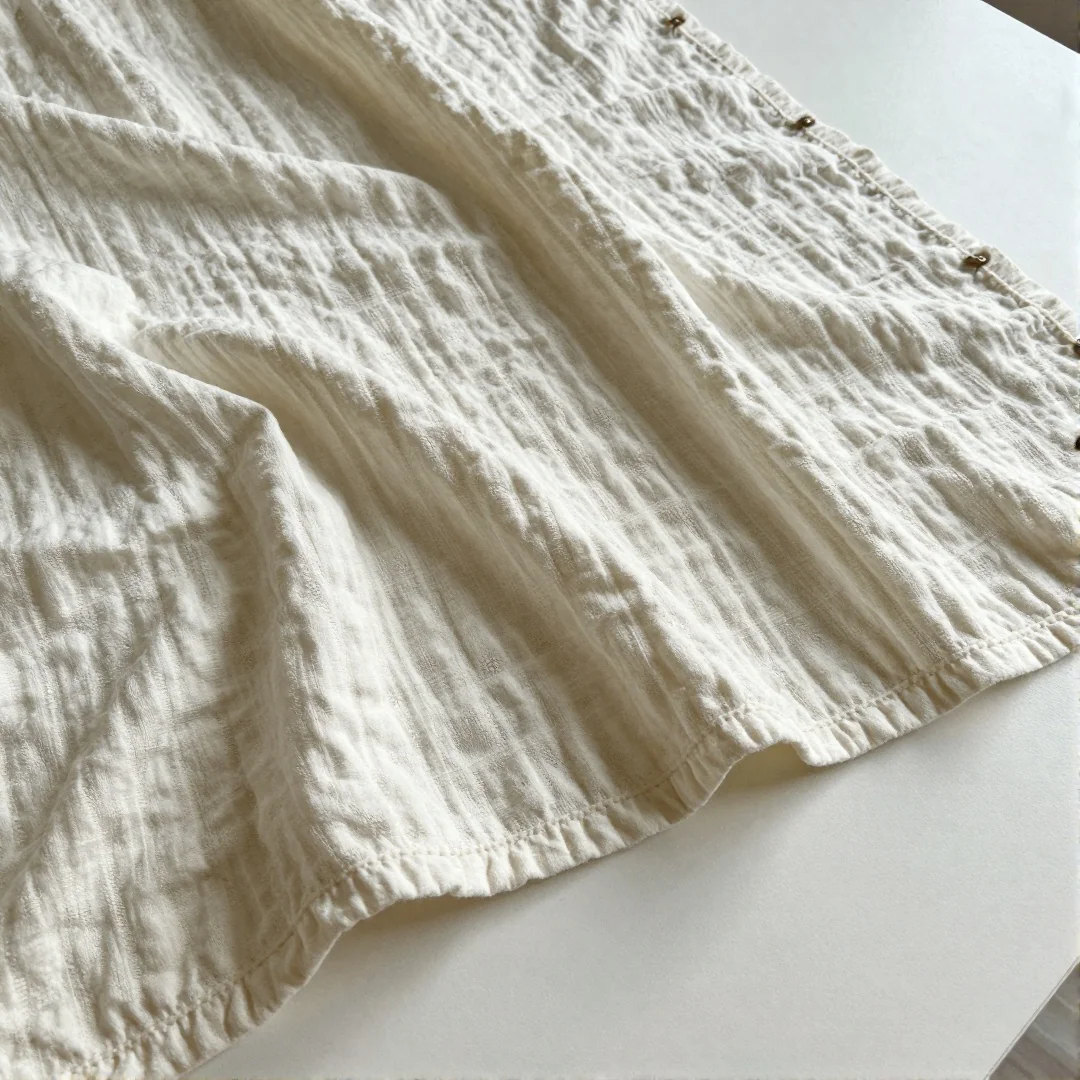
Making a double gauze blanket costs about $15 in materials, whereas store-bought versions often retail for over $45. Learning how to sew a baby blanket step by step using this airy fabric requires patience because the material is quite slippery. You should always use a size 70/10 needle to prevent the fabric from being pulled into the throat plate of your sewing machine. This small needle size creates a clean puncture without damaging the delicate weave.
To avoid frustration, prevent fabric puckering by reducing your presser foot pressure if your machine allows it. If the layers still shift, use plenty of pins or a walking foot to keep everything aligned. Because double gauze shrinks significantly, pre-wash your fabric in cold water and tumble dry before you start cutting your 40-inch square. Ironing the fabric flat before you begin ensures your final seams stay straight and professional. This soft, breathable textile makes an excellent choice for easy DIY baby blanket patterns that feel gentle against sensitive newborn skin.
Padded Tummy Time Blanket
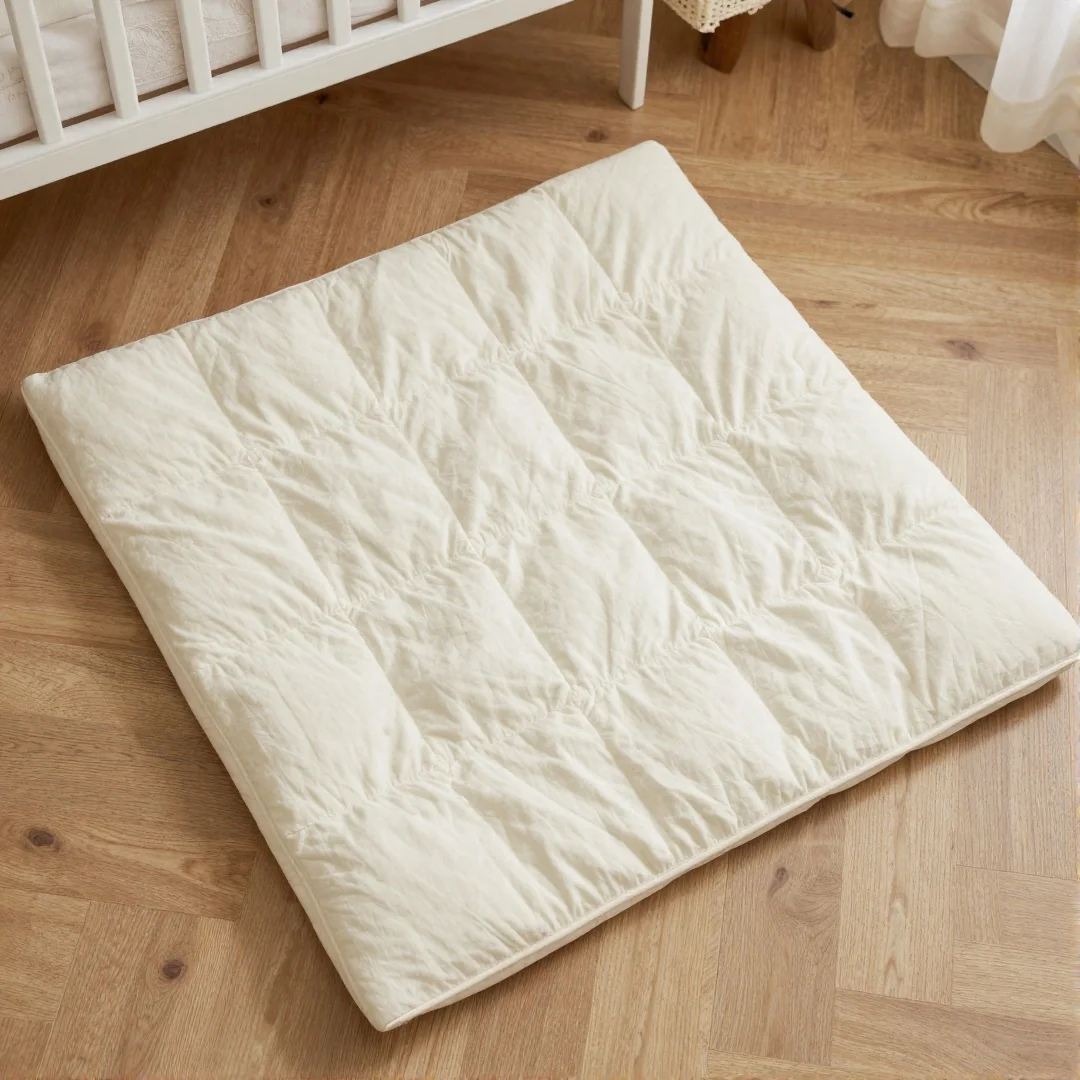
A 34-inch square is the ideal size for a newborn to roll and play on the floor safely. When you learn how to sew a baby blanket step by step, adding a layer of batting is the best way to protect delicate limbs from hard surfaces. You should use a 100 percent cotton batting, as it is breathable and maintains its shape after many trips through the washing machine.
To keep the layers from shifting while you work, use plenty of pins or a temporary fabric adhesive spray. Place your batting between two pieces of cotton quilt fabric and secure the edges firmly. Once you move to your sewing machine, use a walking foot if you have one to help feed the thick layers evenly. I suggest a half-inch seam allowance to ensure the edges stay strong during active playtime. Finish with a simple straight stitch around the perimeter, leaving a small gap to turn the fabric right side out. Topstitch the final edge to create a professional, durable finish.
Stroller Size Blanket
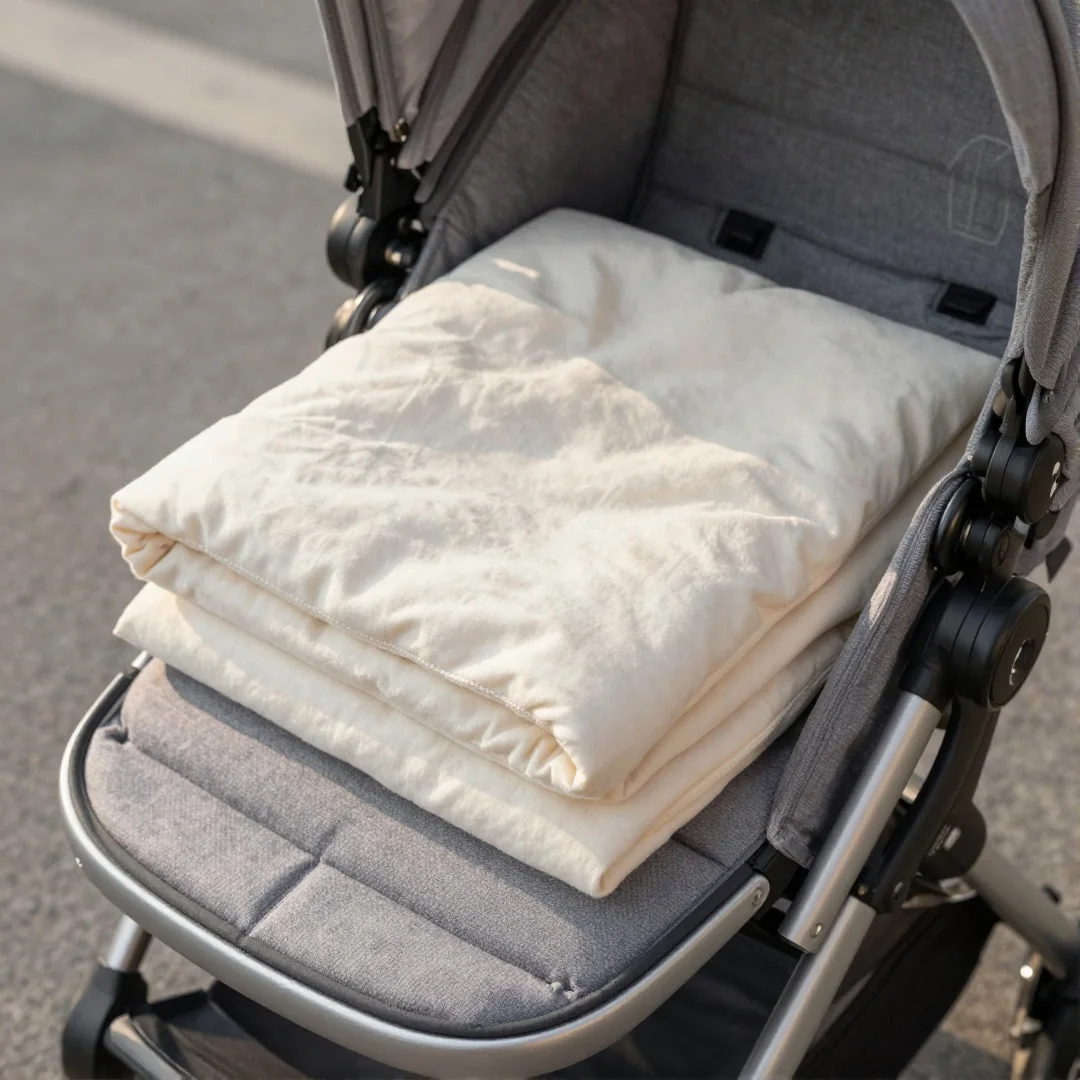
You’ll find that a massive quilt is often too bulky to pack for errands, so downsizing is a smart move. A 30 by 30 inch square is the perfect footprint for a stroller, making this one of the most practical beginner sewing projects for babies. When you learn how to sew a baby blanket step by step, always prewash your cotton quilt fabric to prevent warping later.
To keep toys within reach, add small loops of ribbon along one edge before closing your seams. Fold a three-inch piece of ribbon in half and pin it raw edges facing out between your fabric layers. Use a sewing machine set to a standard straight stitch with a quarter-inch seam allowance for durability. For the exterior, choose a sturdy canvas or heavy cotton that withstands frequent folding. If you use slippery minky fabric on the back, use extra pins to stop the layers from shifting. This size is manageable for anyone learning the ropes and makes a thoughtful, custom gift.
Crib Size Quilt
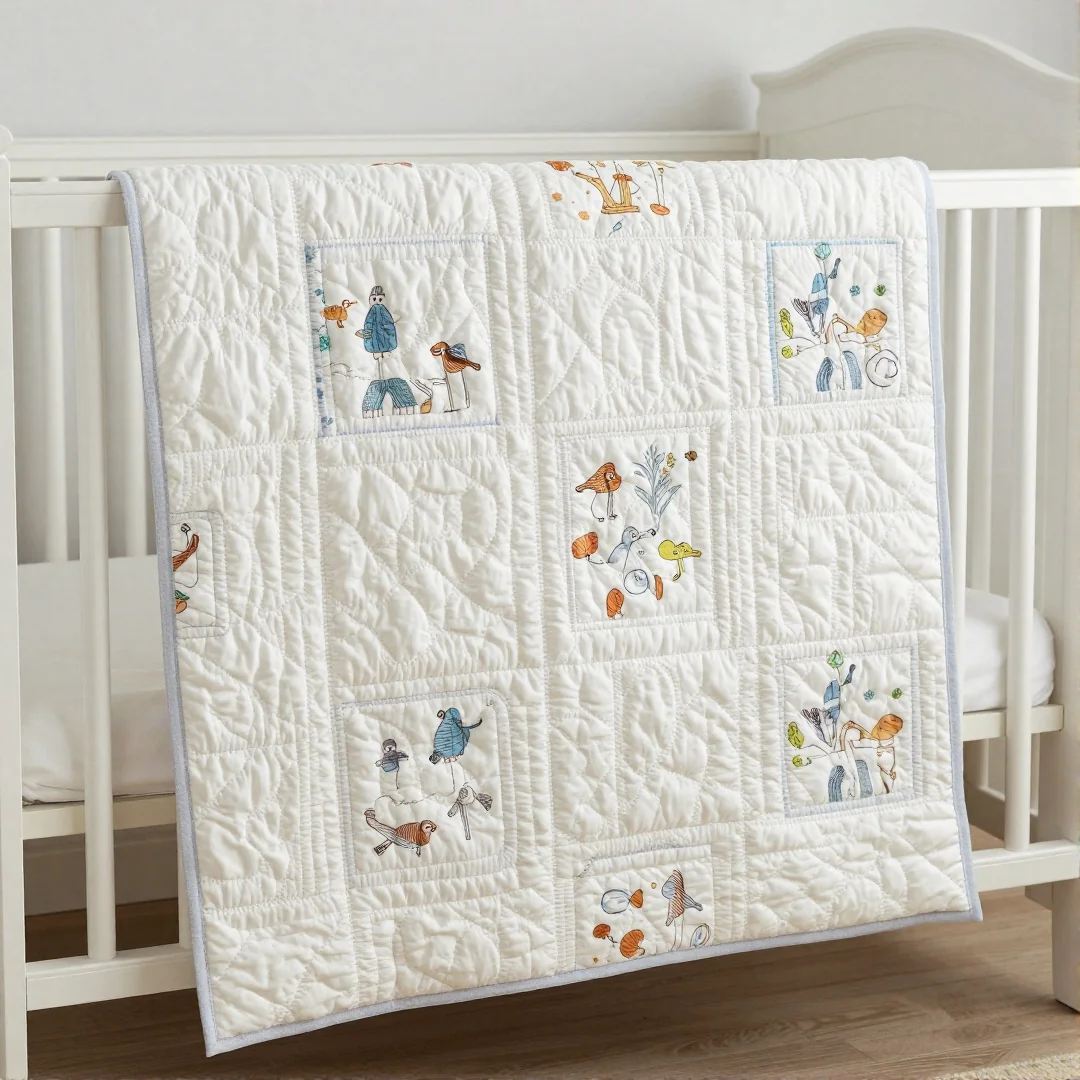
Do you want to know how to sew a baby blanket step by step at a larger scale? A standard crib quilt measures 45 by 60 inches, so you need to buy at least 1.5 yards of cotton quilt fabric for both the top and backing. Always prewash your fabric to prevent future warping, especially if you plan to mix textures.
For the backing, lay your fabric flat on a large table and smooth out any wrinkles with an iron before you begin. Aligning your edges for square corners requires patience. Use a rotary cutter and a clear quilting ruler to trim the layers perfectly straight before you start sewing. If your fabric shifts, use extra pins every two inches along the perimeter to keep everything in place.
When attaching the backing to the top and batting, use a standard straight stitch with a quarter-inch seam allowance. This method creates a clean edge that holds up well during washes. If you notice the fabric bunching, slightly loosen your top thread tension on your sewing machine.
Personalized Name Blanket
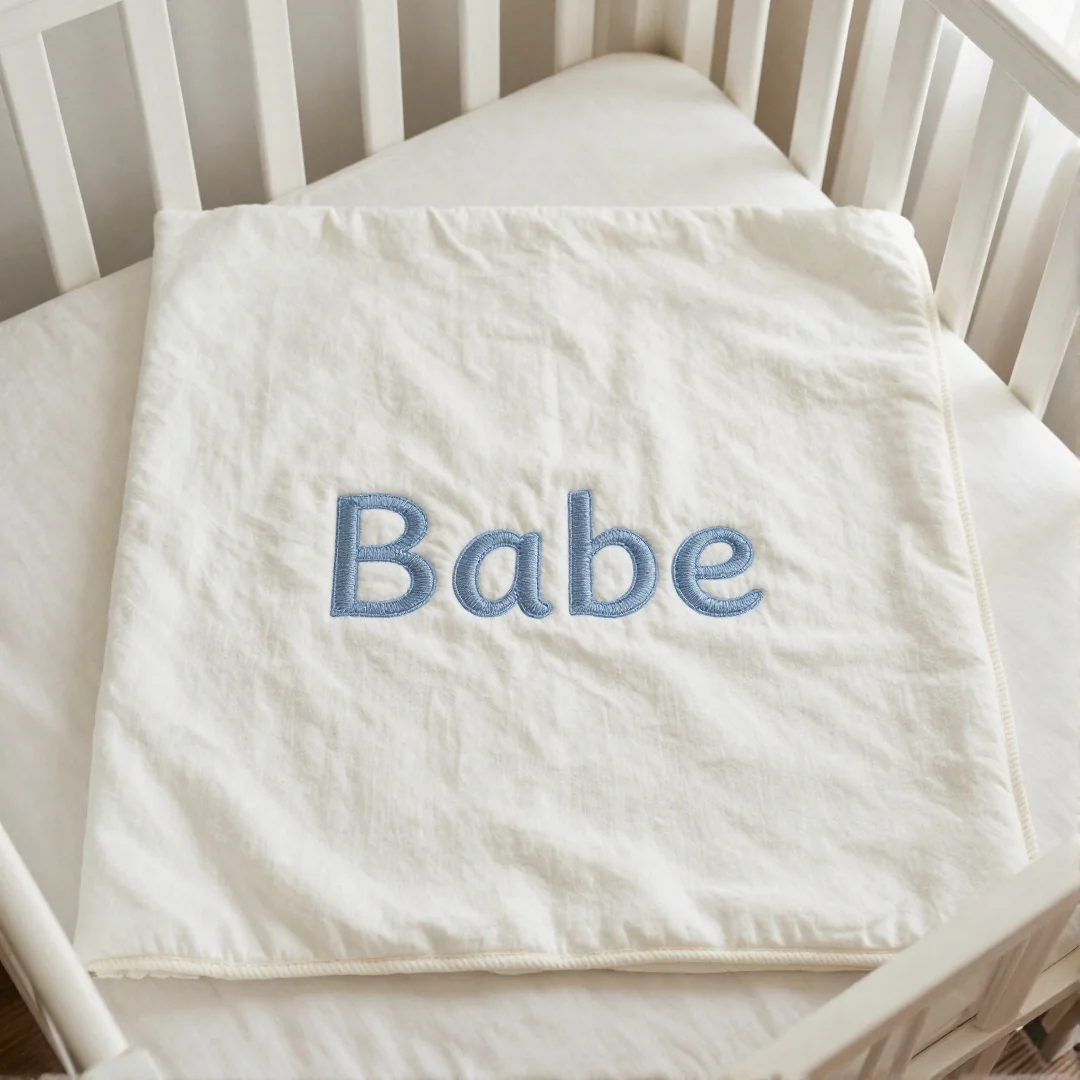
Many crafters assume custom embroidery requires expensive equipment, but you can achieve a professional look using simple tools. When learning how to sew a baby blanket step by step, adding a name turns a basic project into a cherished keepsake.
For iron on patches, position the letters on your fabric before sewing the final edges. Use a ruler to ensure the name sits exactly 4 inches from the top border. If you prefer embroidery basics, use a hoop to keep the cotton quilt fabric taut while you perform a simple backstitch. This prevents puckering and keeps your letters uniform.
Always center your design on the front panel before pinning the layers together. If you are using slippery minky fabric, use at least 20 pins to keep the layers from shifting. A standard zigzag stitch works well to secure patches without puckering the base. By focusing on these small details, you create a high-quality gift that feels truly unique for any new nursery.
Reversible Satin Edge
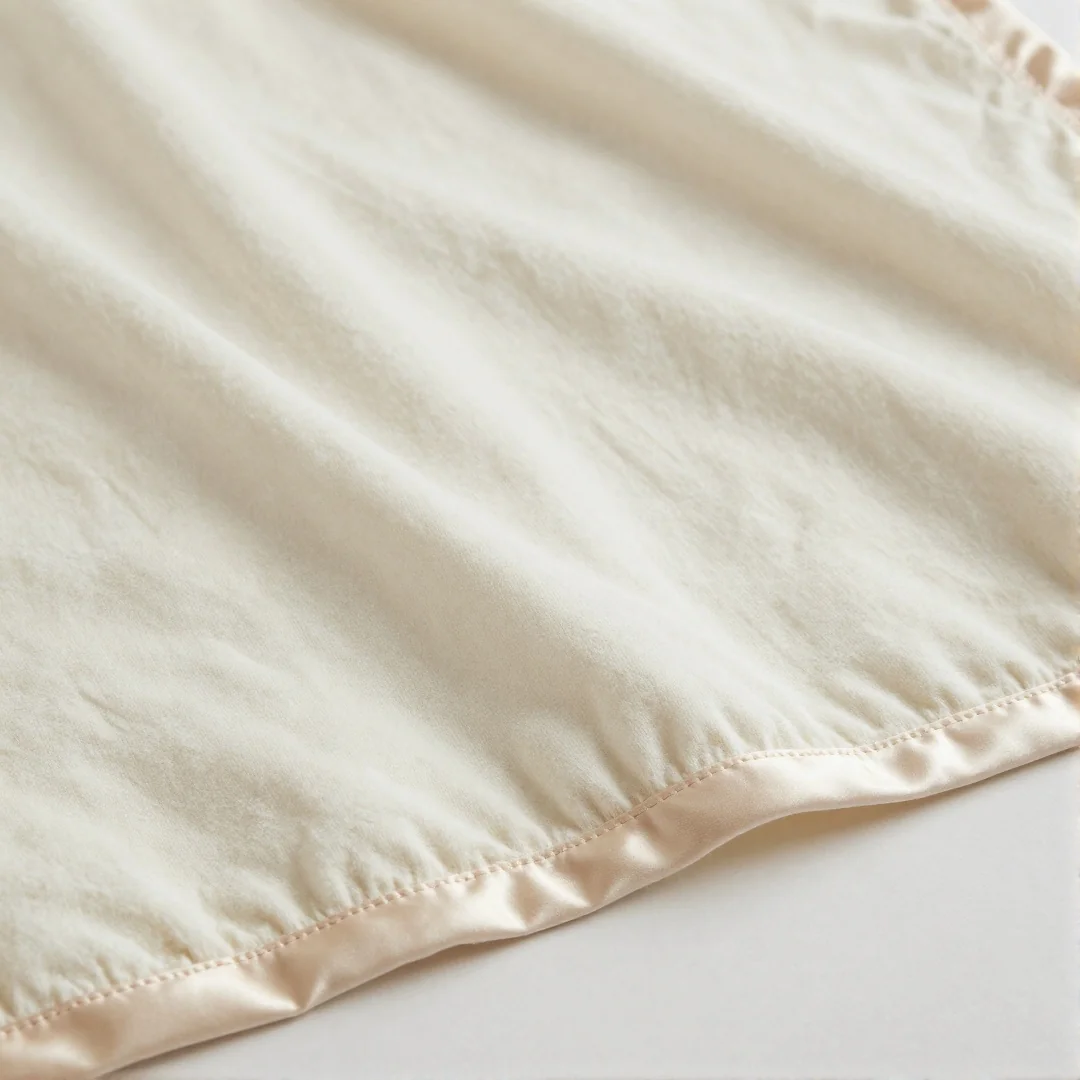
I have found that adding a satin binding gives a basic cotton quilt fabric blanket a professional touch that feels soft against a newborn’s skin. If you want to learn how to sew a baby blanket step by step, this finish is a great way to elevate your project. Start by cutting your satin binding strips to measure two inches wide. You will need roughly 140 inches of total length to cover the perimeter of a standard 36×36 inch blanket.
When you reach the corners, fold the fabric to create a mitered angle. This prevents bulk and keeps the corners laying flat. Use plenty of pins to hold the binding in place before you head to your sewing machine. To secure the trim, use a zigzag stitch set to a width of 3mm. This allows the fabric to stretch slightly without the thread snapping. Go slowly over the mitered folds to ensure you catch both layers of fabric securely. This simple technique turns a plain square into a keepsake gift.
Jersey Knit Blanket
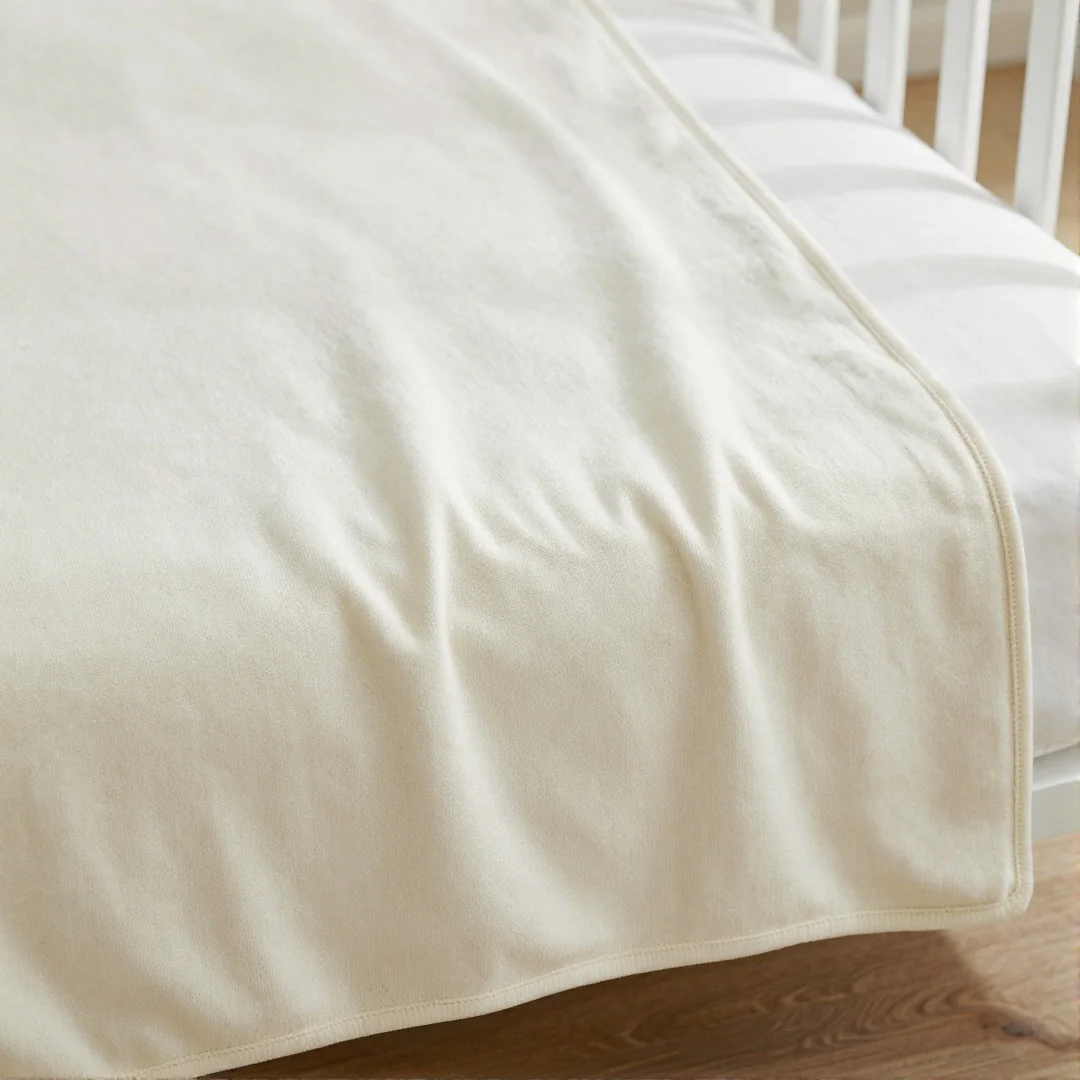
Always use a ballpoint needle when working with jersey to prevent the fabric from snagging or creating holes. Learning how to sew a baby blanket step by step with stretchy material requires a gentle touch so the finished edge stays flat rather than rippled. Use a walking foot if your sewing machine has one, as this helps feed the layers evenly without pulling.
To keep the natural stretch of the fabric, select a narrow zigzag stitch instead of a straight stitch. This allows the seam to flex with the baby as they move. You should buy 1 yard of knit fabric to create a standard 36 by 36 inch square, which is perfect for swaddling. When picking your palette, choose complementary knit colors like sage green paired with soft cream for a modern nursery look. Always prewash your fabric in cold water and dry it completely before you begin cutting. This ensures the blanket keeps its shape after future washes.
Fleece Throw Blanket
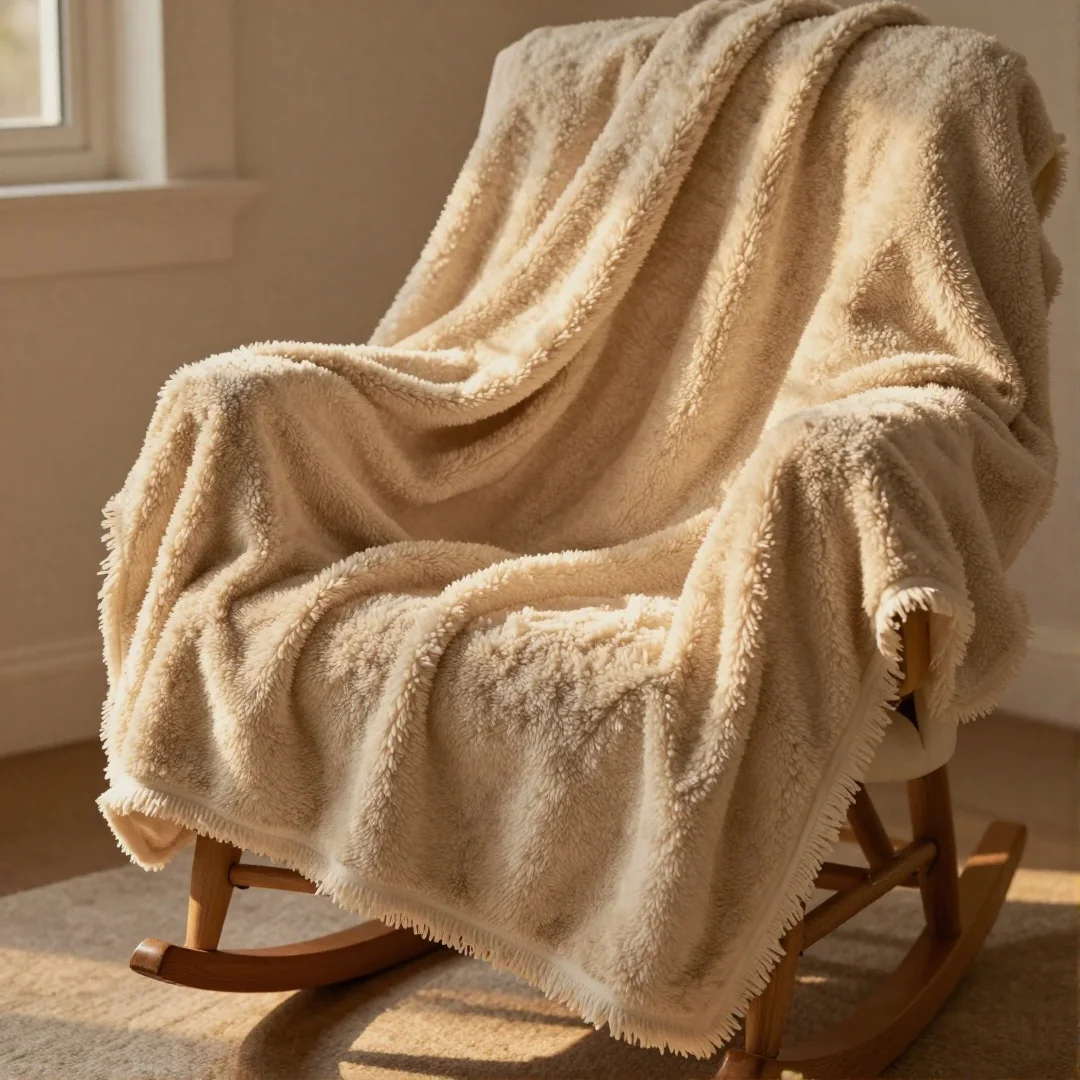
Winter nurseries need warmth, and anti-pill fleece is the best fabric for homemade baby blankets because it stays soft after many washes. When learning how to sew a baby blanket step by step, this material is a dream because it never frays. You can skip the traditional hem entirely to save time. Simply use a sharp rotary cutter and a clear ruler to trim your fabric into a 30 by 40 inch rectangle for a perfect stroller size.
For a fun finish, create decorative fringe by cutting 3-inch long slits spaced every half inch along all four sides. You can knot these strips together for a textured look that babies love to touch. If you prefer a cleaner aesthetic, leave the edges raw as fleece does not unravel. This project is one of the fastest beginner sewing projects for babies because you avoid complex seam allowance calculations or bulky binding. It is a practical, cozy choice for any new parent.
Scrap Fabric Blanket
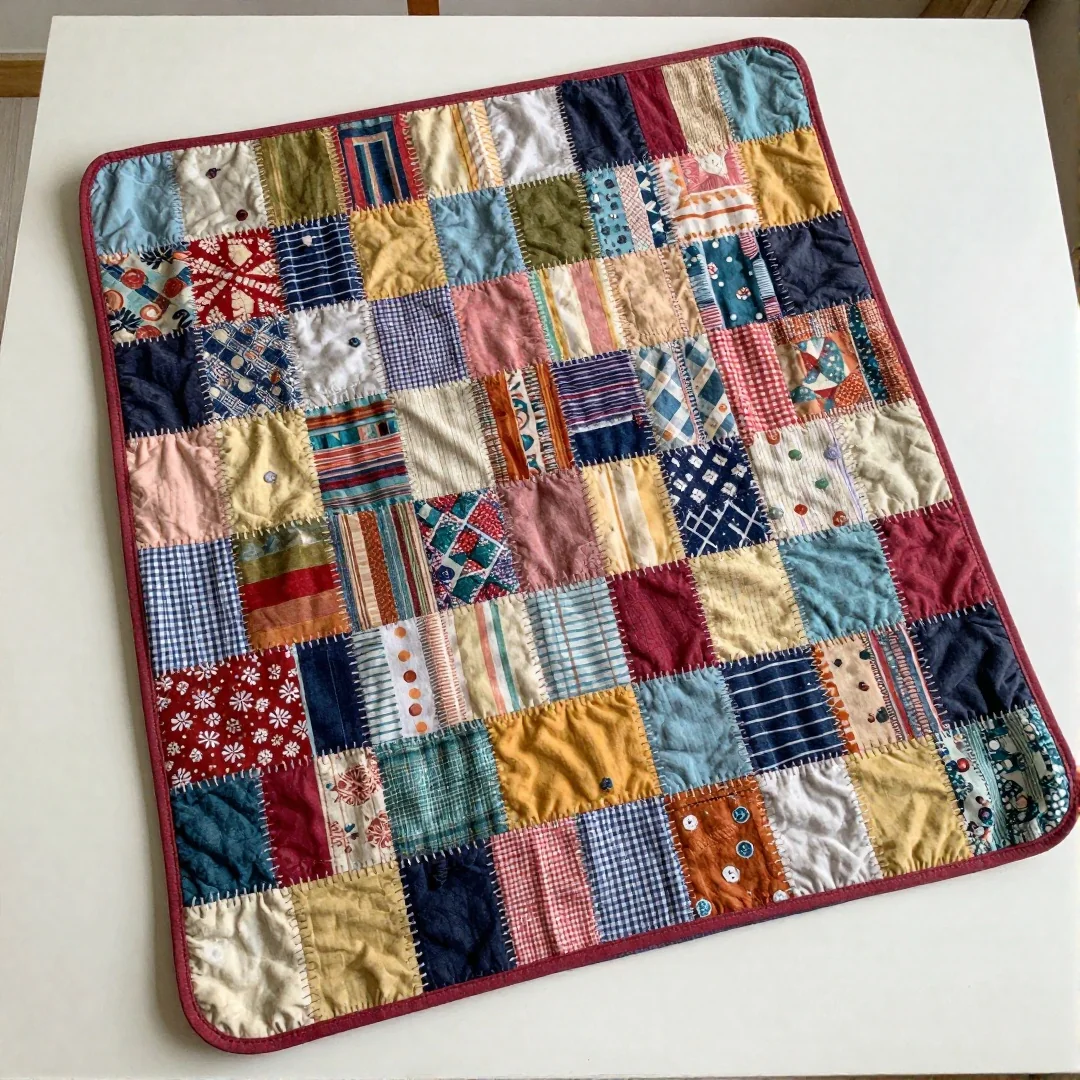
Making a quilt from scraps costs under $5 in thread and batting, whereas buying a boutique blanket often exceeds $60. This method is the smartest way to organize leftover cotton pieces while creating a unique nursery gift. When you learn how to sew a baby blanket step by step using scraps, you avoid wasting expensive material.
Start by sorting your fabric by color or size. Cut your scraps into uniform 5-inch squares using a rotary cutter to ensure accuracy. Lay these out in a random block pattern on a flat surface until you like the arrangement. Sew the squares into rows using a 1/4 inch seam allowance, then press the seams flat with an iron. Once the top is complete, layer it with a piece of soft flannel and batting. Use a simple straight stitch to quilt the layers together, making sure to secure all edges. This project effectively maximizes material usage while resulting in a cozy, textured blanket perfect for tummy time.
Applique Detail Blanket
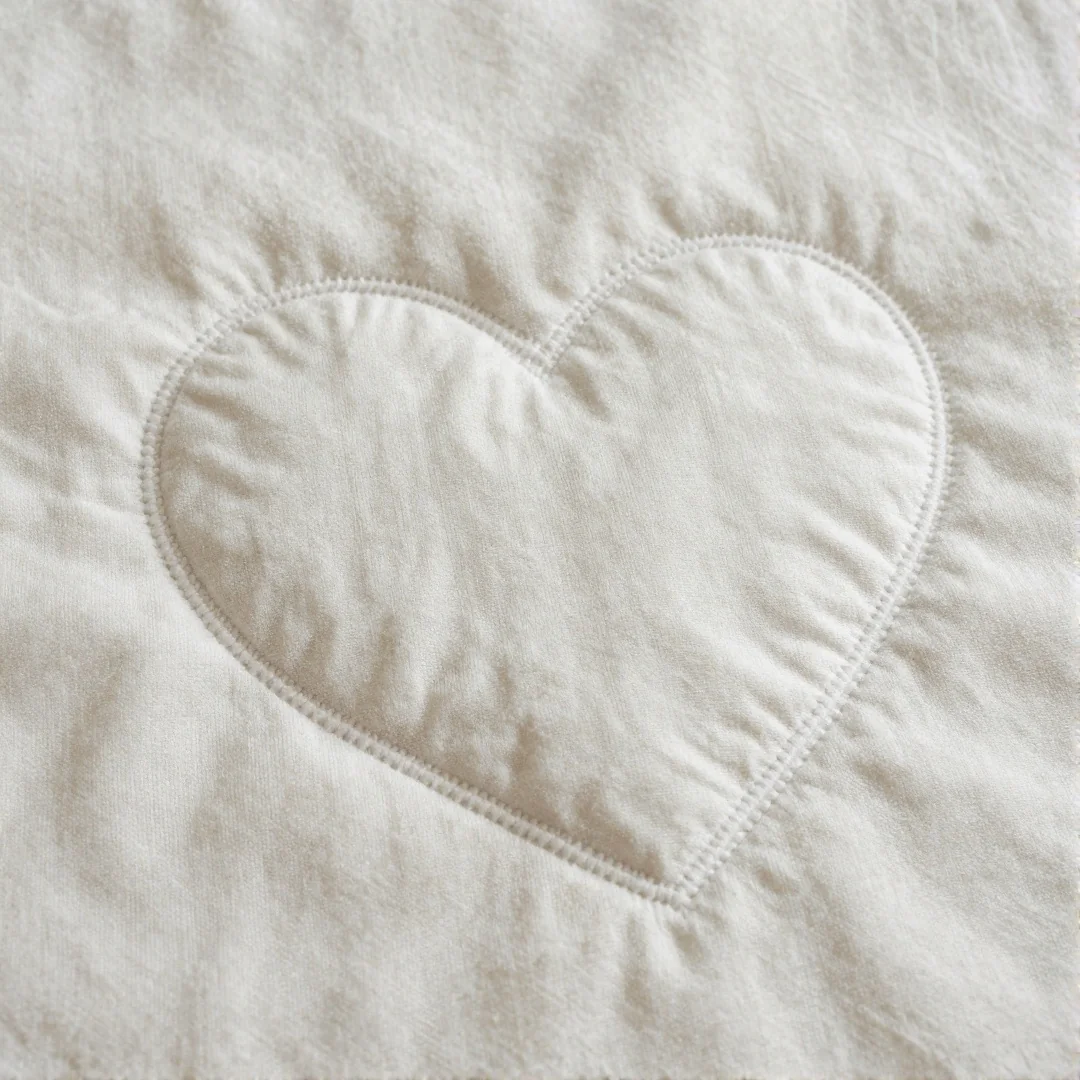
Adding a single applique shape can turn a simple piece of fabric into a custom nursery keepsake. You can learn how to sew a baby blanket step by step by starting with a basic cotton quilt fabric base and choosing a simple shape like a heart or a star. I find that using a 3 inch wide template makes the design stand out without weighing down the fabric.
Before you sew the front and back of the blanket together, you must stitch the applique to the top layer. Use a tight zigzag stitch around the perimeter of your shape to prevent the edges from fraying over time. This technique works best if you use a little bit of fusible webbing to hold the shape in place while you work. Always ensure your seam allowance stays consistent, keeping it about 1/8 inch from the edge of the applique. This extra step ensures that tiny fingers cannot pull at the edges, keeping your DIY baby shower gift ideas both beautiful and safe for a newborn.
Lace Trim Blanket
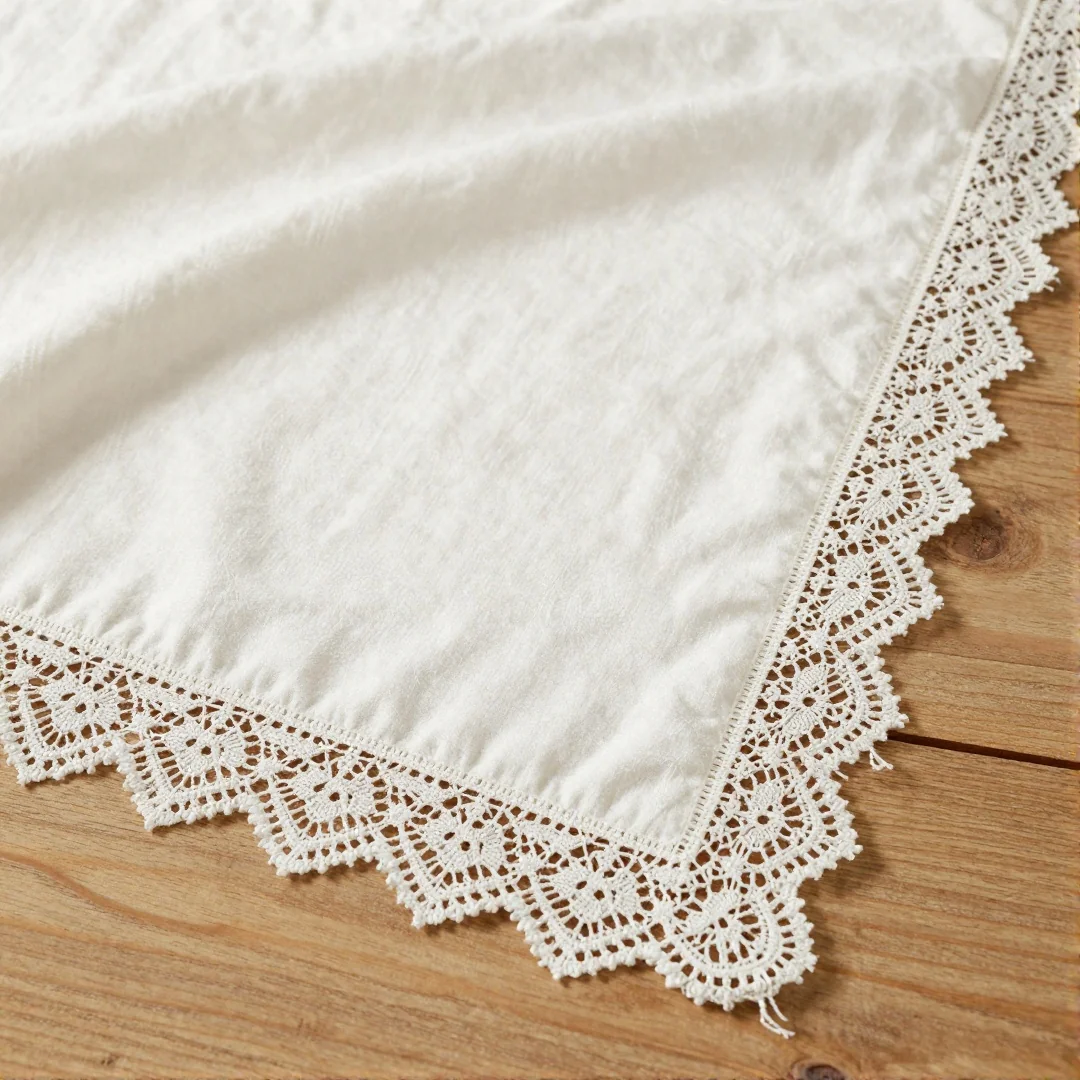
You want to add a touch of heirloom charm to your nursery gifts without spending hours on complex quilting. Adding a lace border is the perfect way to elevate basic cotton quilt fabric into a sentimental treasure. When learning how to sew a baby blanket step by step, start by choosing a high-quality cotton lace trim that measures at least 2 yards for a standard 30×30 inch square.
Lay your fabric flat and pin the lace to the right side of the blanket edge with the decorative scallops facing inward. Use sharp pins every 2 inches to ensure the delicate trim doesn’t shift while you work. If the lace feels too fragile, use a straight stitch on your sewing machine set to a short length of 2.0mm. This keeps the fabric from puckering. Keep your seam allowance tight at about 1/8 inch to catch the edge securely. Always test your tension on a scrap piece first to avoid bunching the delicate lace fibers.
For another perspective, this detailed piece on How To Make a Baby Blanket – So Easy And Soft! is worth a read.
FAQ
How much fabric do I need?
You should purchase one yard of fabric for a standard 36 by 36 inch baby blanket. This size works perfectly for tummy time and fits easily into most diaper bags.
How do I get sharp corners?
The secret to crisp corners is to trim the excess seam allowance diagonally before you turn the fabric right side out. Use a chopstick or a turning tool to gently push the point of the corner from the inside until it is fully extended.
How do I fix uneven seams?
If you notice wavy or uneven edges after learning how to sew a baby blanket step by step, you likely pulled the fabric too hard while feeding it through your sewing machine. Use a walking foot if you have one, or place more pins along the edge to hold the layers steady during the stitch.
Does fabric type matter?
Choosing cotton quilt fabric is the best way to start because it does not slip under the needle like minky fabric. If you decide to use flannel, always prewash your material first to prevent the finished blanket from shrinking and warping after the first laundry cycle.
What is the best stitch?
A simple straight stitch with a length set to 2.5 millimeters is the most reliable choice for a secure seam. If you are sewing a stretchy or thick material, switch to a narrow zigzag stitch to give the seam enough flexibility to handle frequent washing.
You might also like: 20 Baby Shower Gift Wrapping Ideas That Impress
Key Takeaways
Many believe you need expensive professional gear to make nursery items, but you actually only need basic tools and a bit of patience. Understanding **how to sew a baby blanket step by step** requires focusing on core habits that prevent common mistakes.
- Safety first for infant textiles means choosing breathable cotton quilt fabric and ensuring all knots or decorative elements are secure to prevent choking risks.
- Preparation is the secret to success because you must prewash all materials to avoid future warping, especially when using 1 yard of fabric for a standard project.
- Practice makes perfect for beginners by starting with a simple straight stitch on scrap pieces before moving to slippery minky fabric.
- Use sharp tools like a rotary cutter and fresh pins to keep your layers from shifting during the assembly process.
- Check your seam allowance consistently to ensure your finished edges look professional and hold up through multiple machine wash cycles.
Save this guide to your Pinterest board to keep these tips handy for your next sewing project.