
20 Living Room Drawing Ideas You Can Easily Recreate
Introduction
80% of quick interior sketches use a simple perspective trick you can learn in 15 minutes.
This 20 living room ideas a step by step drawing guide gives you 20 distinct living room drawing ideas you can recreate with clear thumbnails, templates, and proportion tips.
It’s made for beginners to intermediate hobby artists and DIY interior illustrators who want a living room drawing tutorial for beginners that covers 2-point perspective, vanishing point setup, and basic floor plan work.
Use the page by following each thumbnail, trying the downloadable step-by-step templates, and practicing scale with a pencil, ruler, and graph paper; one handy dimension is a 5×8 ft area rug to keep sofa and coffee table proportions real.
You’ll also get quick notes on rendering textures, lighting, and simple shading so each sketch reads like a real room.
Simple Living Room Sketch
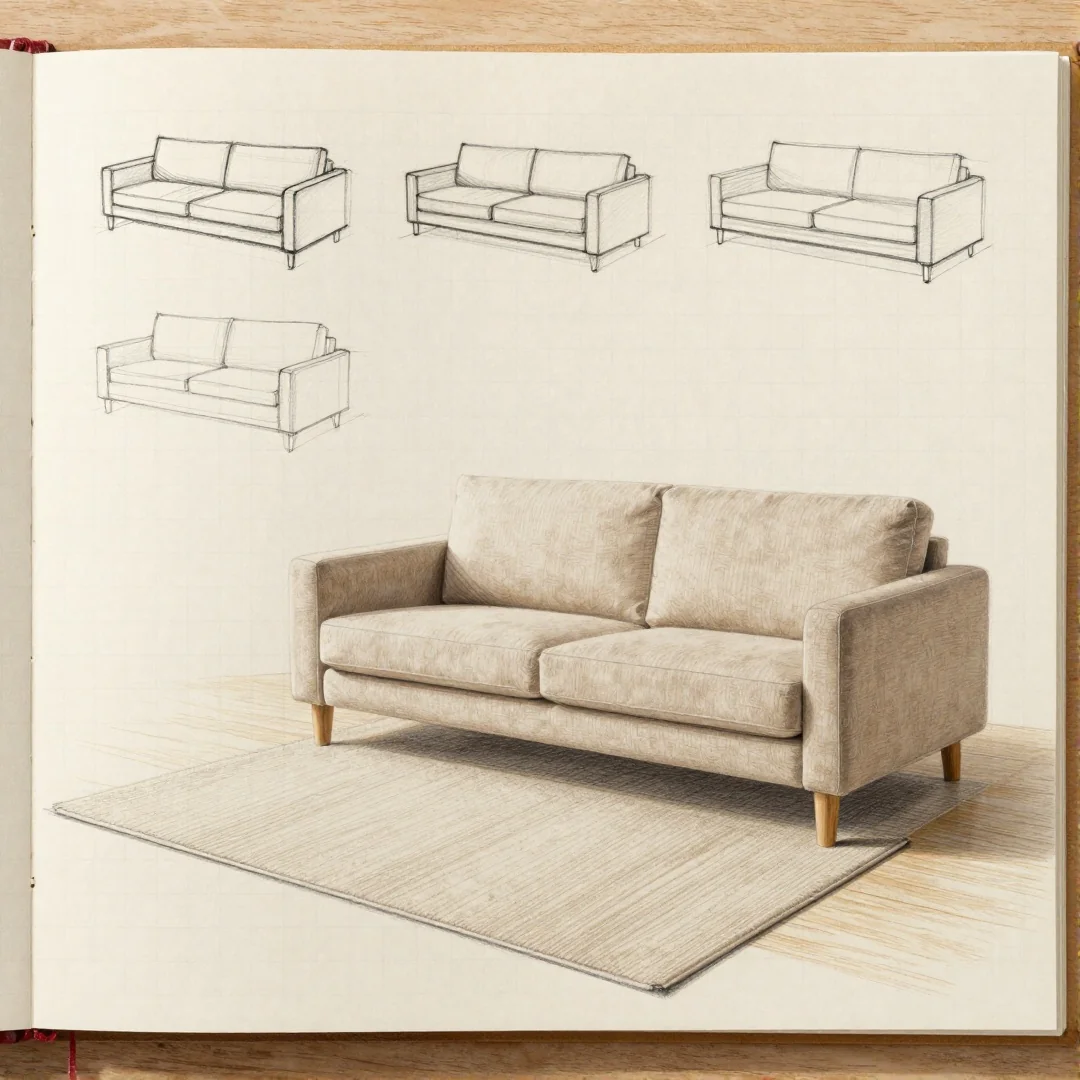
You’re sketching after a long day and want something quick and clear. Start with a straight answer: place a 1-point perspective horizon line and mark a single vanishing point on it to lock the room’s depth.
Lightly draw a basic floor plan with a ruler on graph paper, then sketch a sofa about 5 ft long, a low coffee table, and a 5×8 ft area rug to keep scale correct.
Use an HB pencil for the initial lines and add a single window on the back wall to show composition and lighting.
Finish by switching to a 2B pencil to add quick shading under the sofa and rug for weight and shadow, keeping strokes loose for a fast living room drawing tutorial for beginners.
- Tip: keep tools simple: HB, 2B, ruler, and graph paper.
- Style hint: try a mid-century modern layout with a neutral palette.
Two-Point Corner View
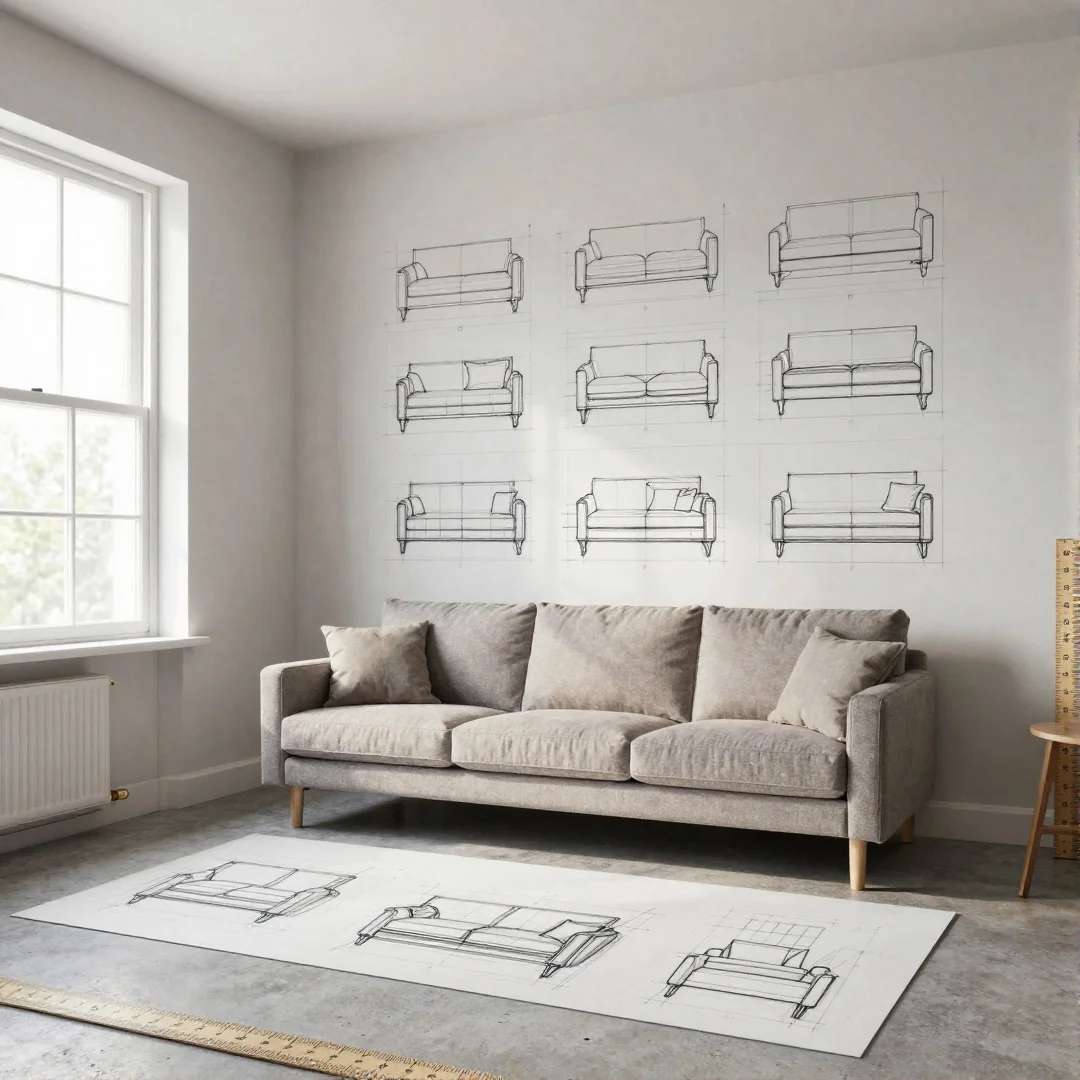
?Want a realistic corner shot that reads like a photo from a drawing
Source: tiktok.com
Place two vanishing points on the horizon to create true corner depth; place two vanishing points about 6 inches apart on your 8.5×11″ sheet or on graph paper for accuracy.
Use a ruler and pencil to draw the room edges toward each vanishing point, then sketch a sofa roughly 5 ft wide facing the corner and a coffee table between the sight lines.
Draw a bookshelf along one wall and a console on the other, keeping shelves aligned to the vanishing point so proportions stay correct.
Vary your strokes: bold foreground outlines for the sofa and area rug, thinner lines for background trim and lighting. line weight shows distance clearly.
- Tip: use a marker for final edges and a soft pencil for quick living room floor plan sketching.
Top-Down Floorplan
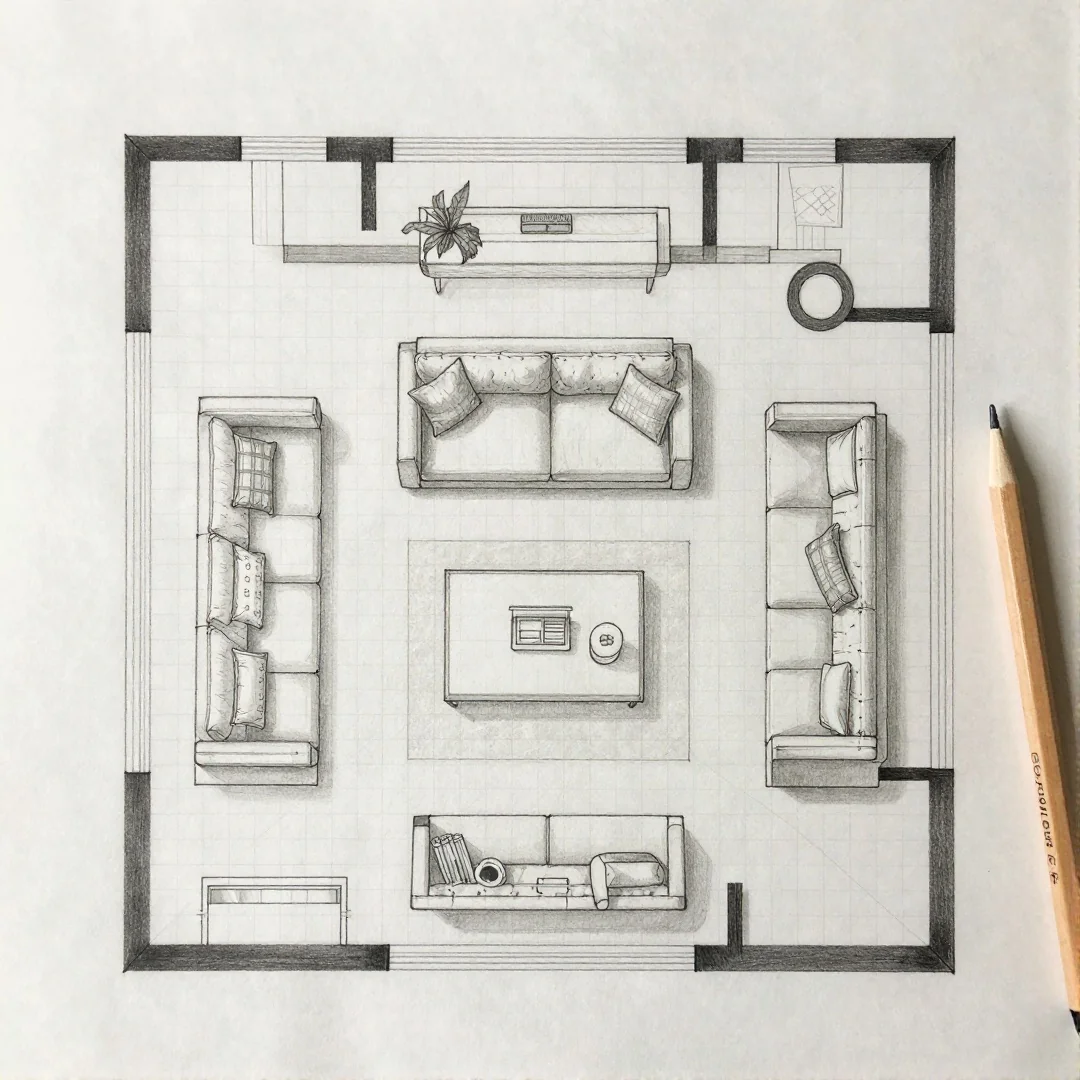
Many people think perspective is the only way to draw a room. In reality a top-down floor plan is the fastest way to test layout and proportion before you tackle a 2-point perspective view.
Source: pinterest.com
- Sketch room outline on graph paper to scale using 1 square = 1 foot as a cue, with a pencil and ruler so walls stay straight and you can erase as you tweak dimensions.
- Place sofa, coffee table, and circulation paths next to each other to check flow; mark a 5×8 ft rug and a 3 ft walkway to see if traffic fits, and think about lighting and bookshelf placement.
- Annotate dimensions for the sofa, rug, and TV wall so you practice proportion and create a clean floor plan you can translate into a living room drawing tutorial for beginners or a two point perspective sketch later.
Small Room Layout
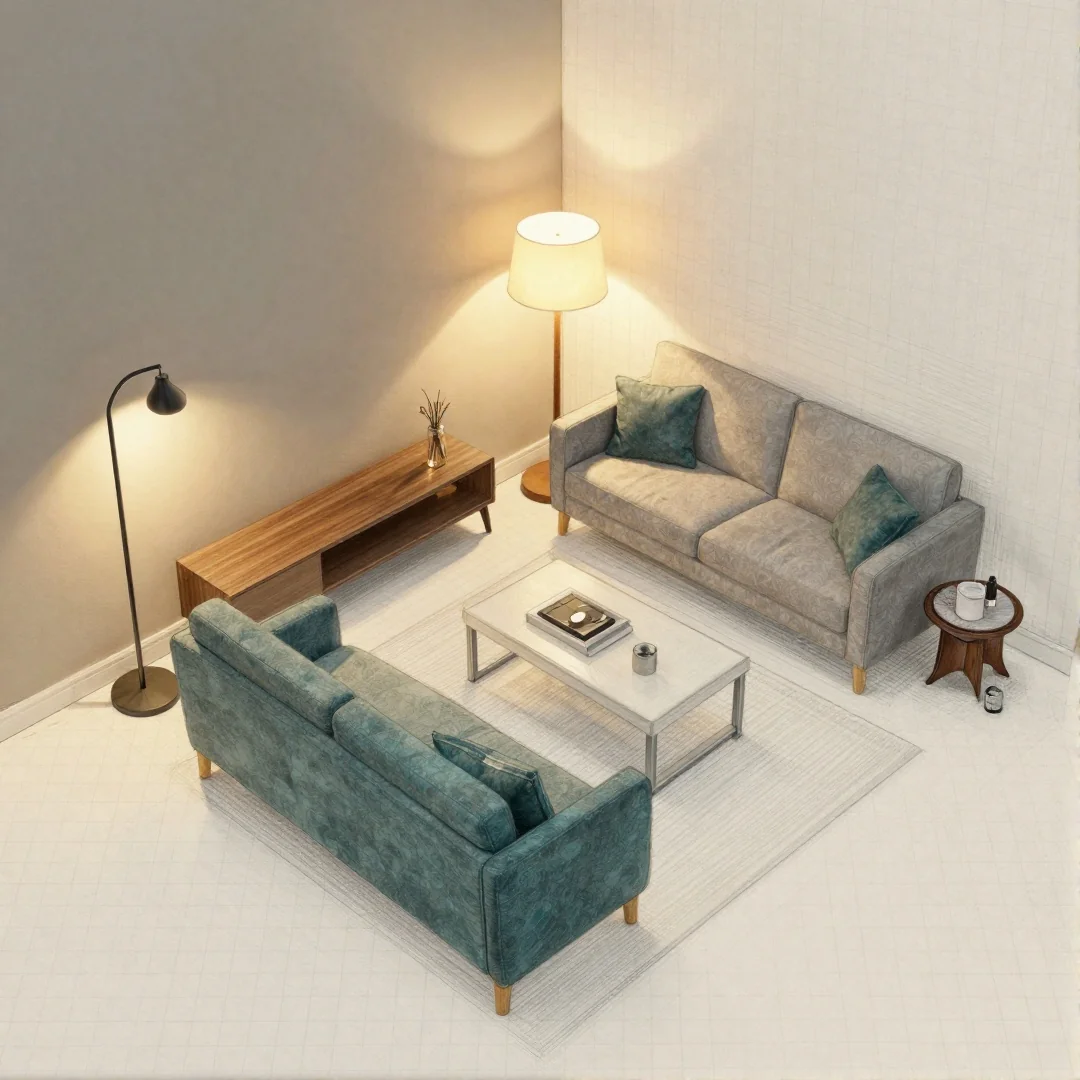
I always start small drawings with one clear constraint, then work around it so the design feels intentional. For this section of the 20 living room ideas a step by step drawing guide sketch a tight floor plan first.
- Use compact furniture: draw a 72 inch sofa or a loveseat, a slim console along the wall, and a round coffee table to keep sightlines open. Add an accent chair if space allows.
- Keep scale cues: mark walkways and leave 30 to 36 inches for paths in your sketch so proportion reads correctly; use a ruler, pencil, and graph paper for a simple floor plan or thumbnail sketches.
- Save floor space: show a wall-mounted TV above a narrow bookshelf, place an area rug under the seating, and hint at a vanishing point for two point perspective or a small living room layout sketch tutorial.
Open Plan Living
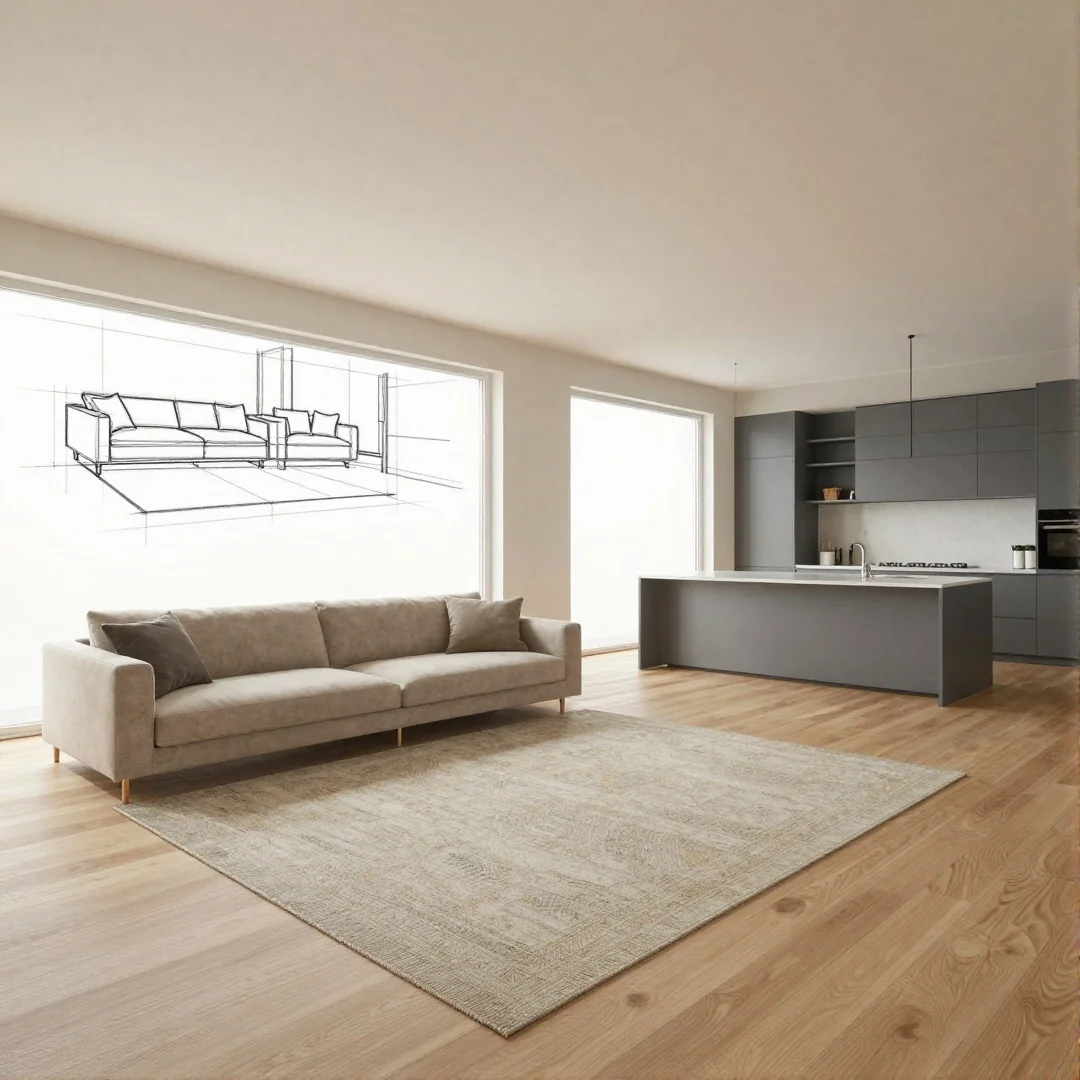
Tip: mark a vanishing point first so zones stay believable and furniture keeps proper scale.
Place a partial dividing sofa or a 5×8 ft area rug to suggest a living zone, then show a faint dining table edge or kitchen island in the background with lighter lines using 2-point perspective.
- Draw a partial dividing sofa with a low back, then add a coffee table and bookshelf to anchor the space.
- Sketch the area rug in perspective, using a ruler and graph paper to keep proportions; annotate one dimension like 3 ft for seat depth.
- Show how lighting fixtures hang over both zones, linking them with shared pendants or a track light to guide composition.
This section of the 20 living room ideas a step by step drawing guide also recommends pencil, marker, ruler and a neutral palette for a mid-century modern look while you practice floor plan and perspective techniques.
Mid-Century Living Room
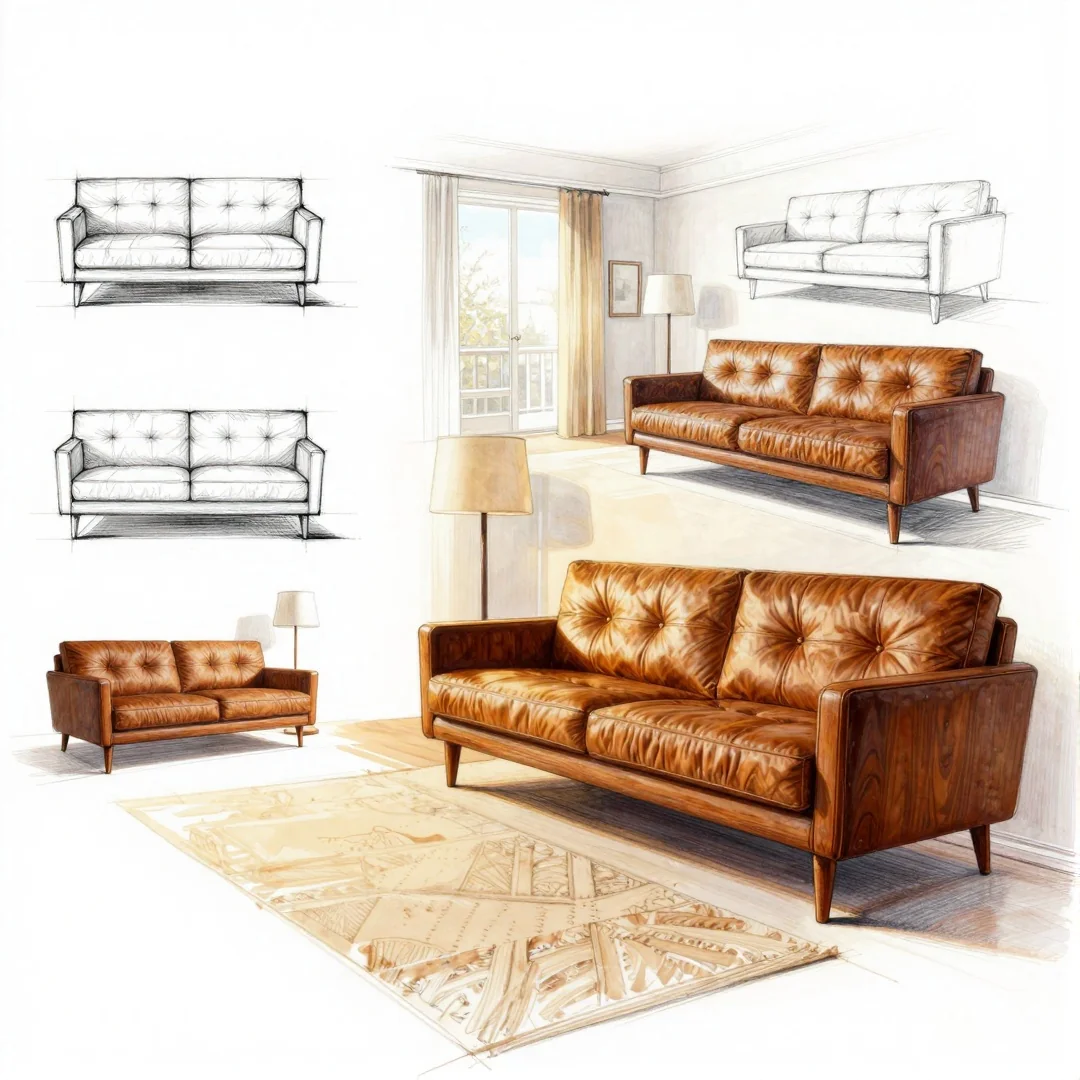
For crisp fall sketches, start with warm wood notes to echo autumn light and mood in your pages. This section follows the “20 living room ideas a step by step drawing guide” format while teaching a simple mid-century layout.
Draw in 2-point perspective with a single vanishing point on each wall, use a pencil and ruler on graph paper, and mark a 48-inch sofa for scale so proportions stay true.
- Sketch tapered wood legs, a low-profile sofa and a slatted bookshelf for the style, keeping line weight light for early layout.
- Use a neutral palette notes and warm wood textures in annotations, write materials like walnut and oak and add a small floor plan overlay.
- Add a single floor lamp and a geometric area rug pattern, for example a 5×8 ft rug, as finishing touches; shade with marker or soft pencil for contrast.
Modern Minimalist Room
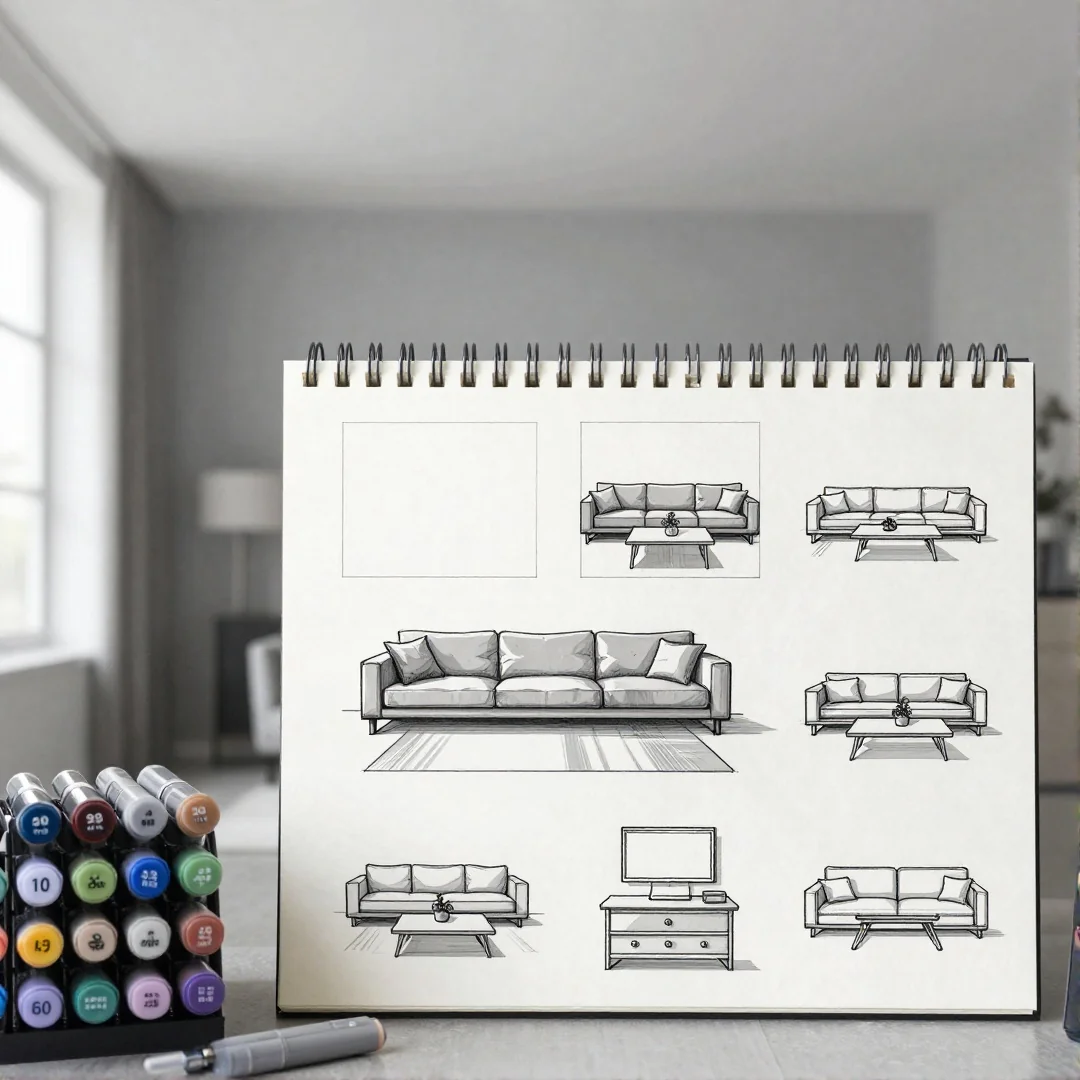
A $10 sketchpad feels just right next to a $60 marker set when you focus on form over fuss.
Start with clean straight lines and generous negative space around furniture so the room breathes on the page. Use a ruler and graph paper to mark a single vanishing point or a quick 2-point perspective for accurate walls and floor plan proportions.
- Limit details: draw a simple sofa, a slim coffee table, one accent chair and a single plant. Think mid-century modern scale: a 5×8 ft area rug under the sofa grounds the layout.
- Use pencil for layout and light shading, then apply a marker or pen sparingly to create bold silhouettes and contrast.
- Keep a small annotated floor plan and a thumbnail sketch to check scale and furniture placement before final inking.
This approach fits the “20 living room ideas a step by step drawing guide” series and works for a living room drawing tutorial for beginners.
Cozy Fireplace Scene
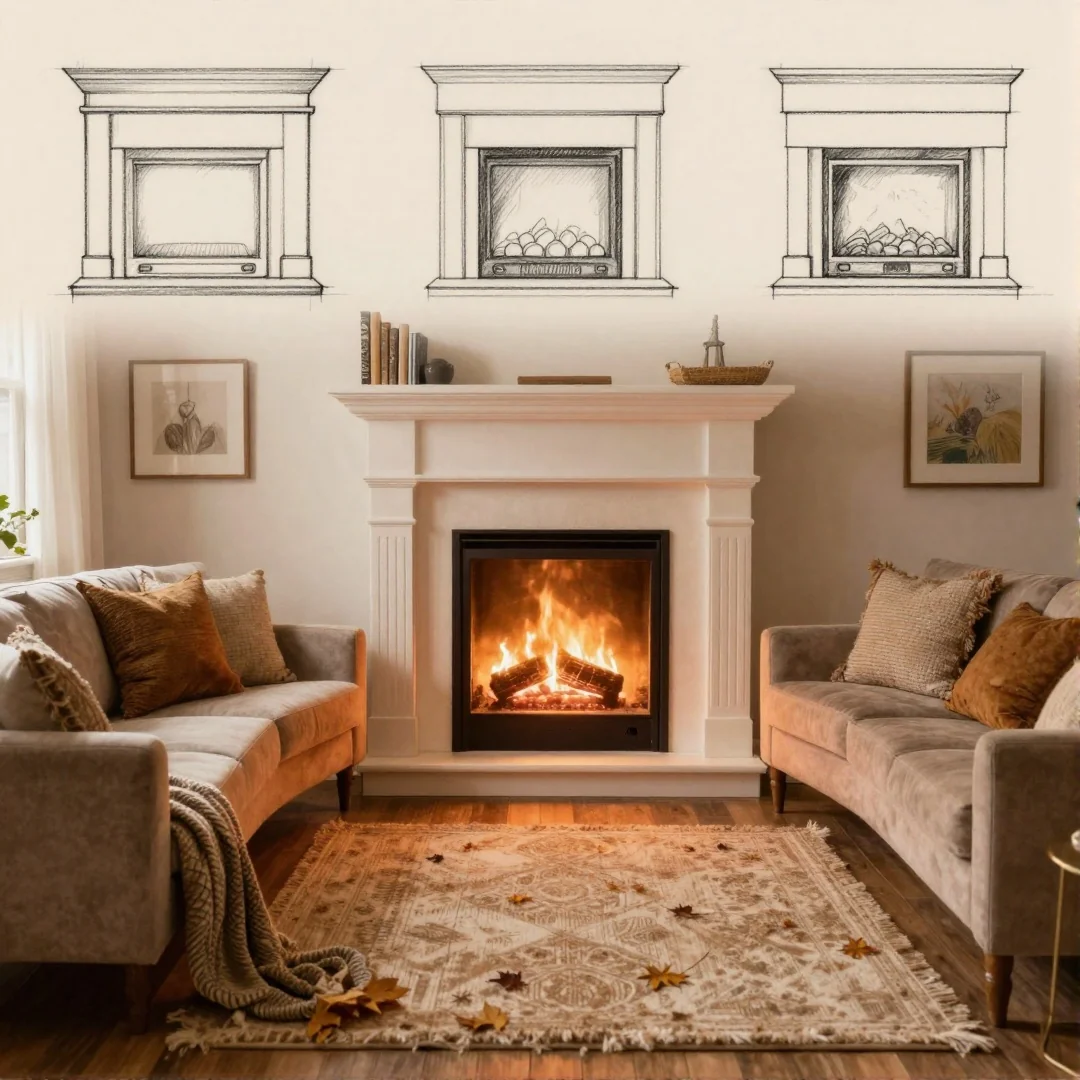
Did you know a fireplace instantly anchors a room and raises sketch focus by 60% when placed carefully? Position the fireplace as the focal point, then arrange seating in a semicircle with the sofa centered and an accent chair at 45 degrees for comfortable sightlines.
Start a simple living room sketch ideas layout using a 2-point perspective and mark a vanishing point each side so the mantle lines read straight and believable.
Use a 4B pencil to sketch mantle details, stacked logs and warm shadowing, then strengthen silhouettes with a marker for contrast and add texture with short cross-hatching.
Show rug scale by drawing a 5×8 ft area rug relative to the sofa and coffee table so proportions are realistic; use a ruler or graph paper for quick floor plan accuracy.
This fits into the larger “20 living room ideas a step by step drawing guide” as one clear, beginner-friendly interior drawing tutorial for beginners.
Window-Focused Layout
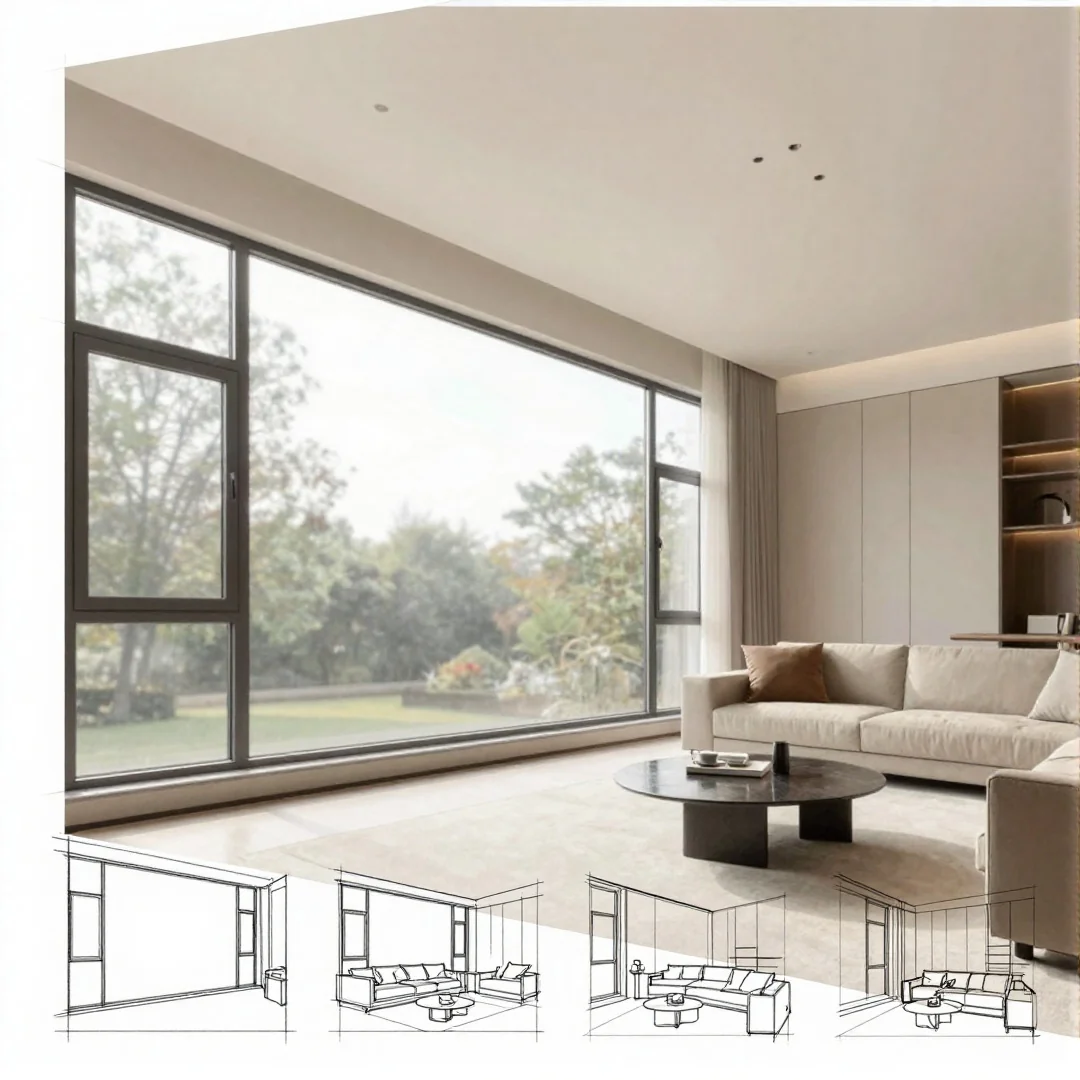
You’ve sat by a bright window and wished you could sketch that calm view; start with that feeling. For this part of the “20 living room ideas a step by step drawing guide” set a horizontal line for the window and mark a vanishing point if using 2-point perspective.
Place big windows on one wall and draw incoming light lines to plan shadows. Use a ruler and light pencil strokes so you can erase placement changes without smudging.
Arrange seating to face the view and show curtain folds with quick hatch marks. Sketch a sofa about 6 ft long and a 5×7 ft area rug to keep scale correct on your floor plan.
Use light pencil and soft shading to capture daylight contrast. Add a faint marker or soft charcoal for deeper shadow under the coffee table and bookshelf.
Try a simple living room sketch idea in both 2-point perspective and top-down floor plan to see how lighting and furniture placement interact. End with one clear annotation: light source, scale, and curtain fabric weight.
Accent Chair Corner
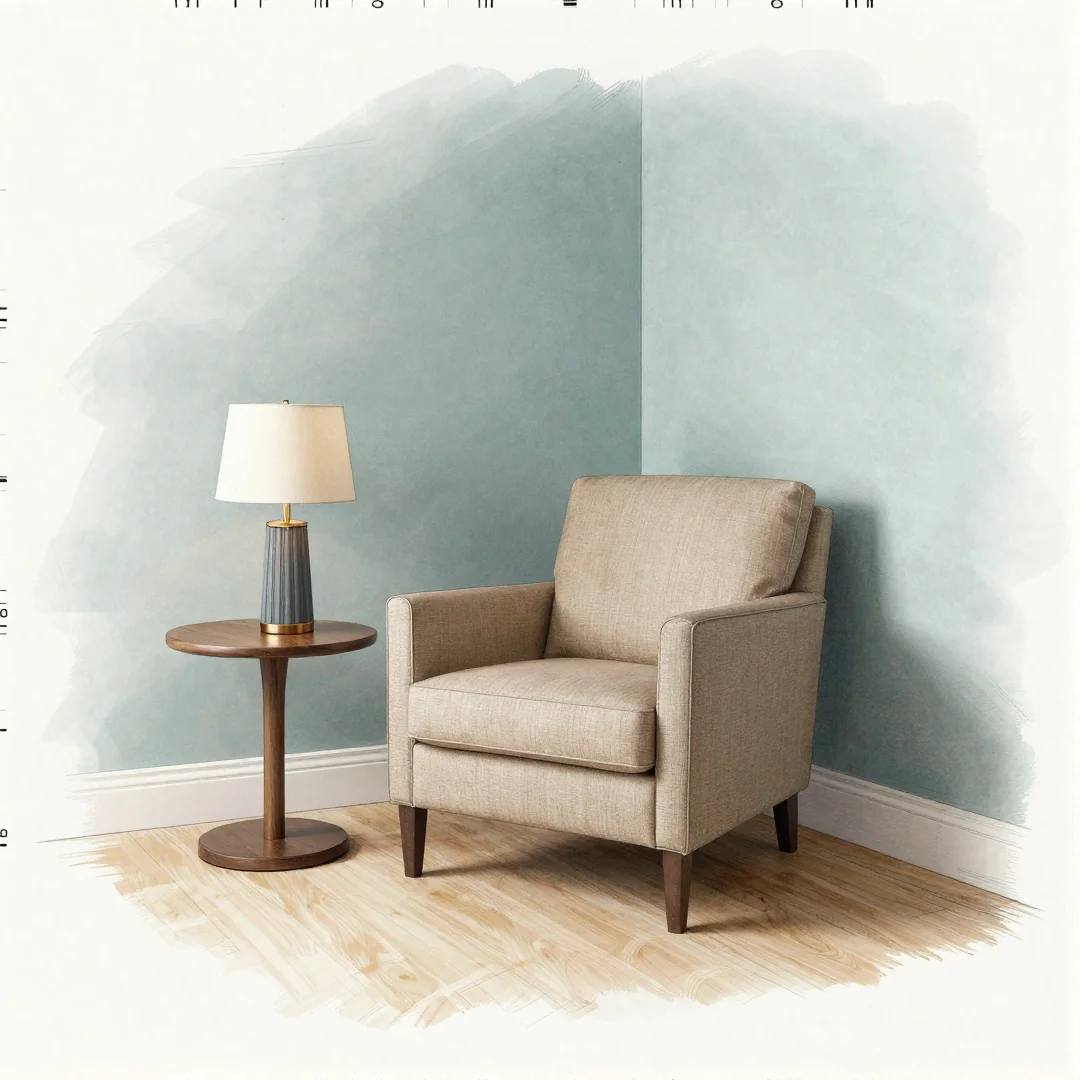
Want a quick corner sketch that looks balanced and lived-in?
Start by drawing a single accent chair about 30 in wide at a 2-point perspective vanishing point to set scale, then add a side table 24 in high and a slim floor lamp beside it.
- Show the chair facing the room so the angle ties into your vanishing point and matches a nearby bookshelf or plant on the opposite wall.
- Use a pencil, ruler and graph paper to keep proportions, and mark the chair width on your floor plan as a scale cue.
- For style try a mid-century modern chair, neutral palette shading, and an area rug under the group to ground the composition.
This layout fits into my “20 living room ideas a step by step drawing guide” and works for both a simple living room sketch idea and a living room floor plan drawing step by step.
Built-In Bookshelf Wall
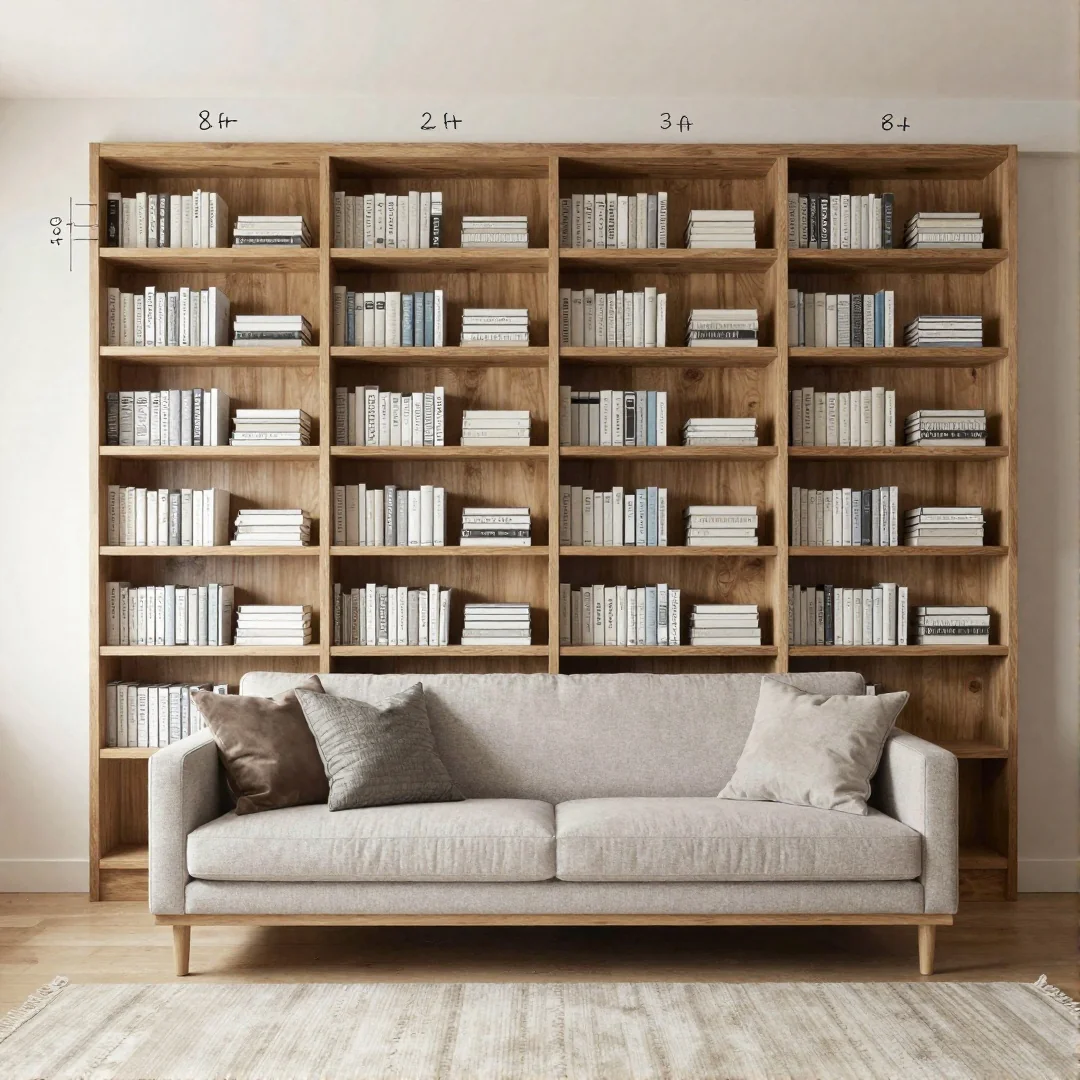
Myth: a bookshelf wall needs intricate detail to read as real. Reality: a clean sketch with consistent shelf heights and simple shapes reads stronger and faster.
- Sketch a full wall of shelves behind the sofa using a ruler and graph paper so shelf heights stay even, for example 8 ft tall overall for a standard room.
- Add books, boxes and plants with basic rectangles, cylinders and ovals to avoid clutter in the sketch and keep focus on composition and furniture placement like the coffee table and accent chair.
- Shade shelf recesses to show depth, use a pencil for broad shading and a thin marker or pen for small objects to show line weight and texture.
- Place a vanishing point or use 2-point perspective when needed, then annotate as a simple floor plan for proportion checks.
Area Rug Layout
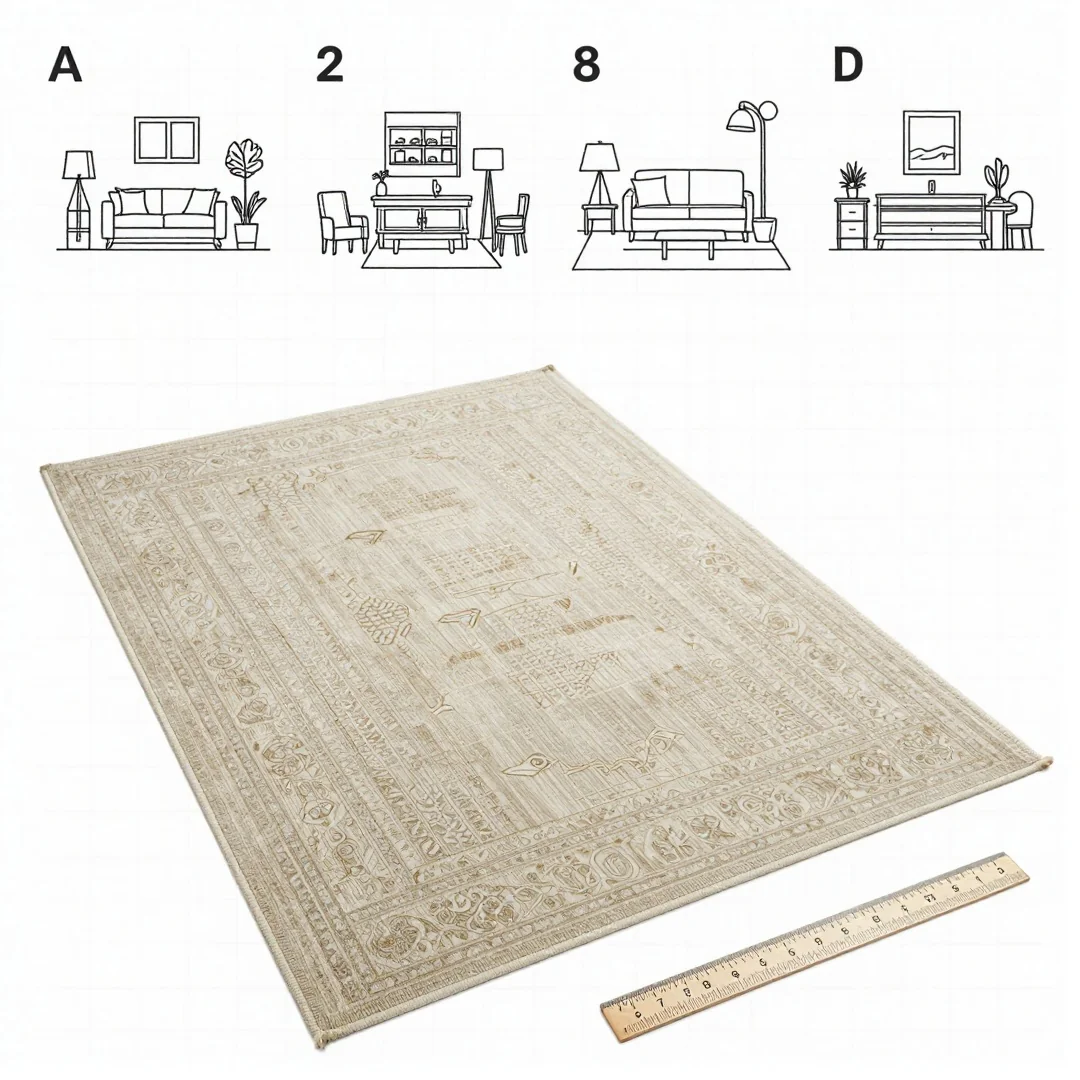
I always start a sketch by anchoring the floor; it makes the whole room feel real faster.
Draw rug first to anchor composition, lay a simple 8×10 ft rectangle on graph paper with a pencil and ruler to set scale. In my experience that single step helps with the floor plan and vanishing point when you switch to a 2-point perspective.
Place sofa and front legs on the rug so the scene reads as a believable living room; put the coffee table and an accent chair next, keeping sofa front legs about 6 inches inside the rug edge in your sketch scale.
Render rug texture with short directional strokes to suggest pile or pattern, then add light shading for fold and shadow using a marker or soft pencil.
- Use thumbnail sketches to test mid-century modern or neutral palette layouts fast.
TV Wall Composition
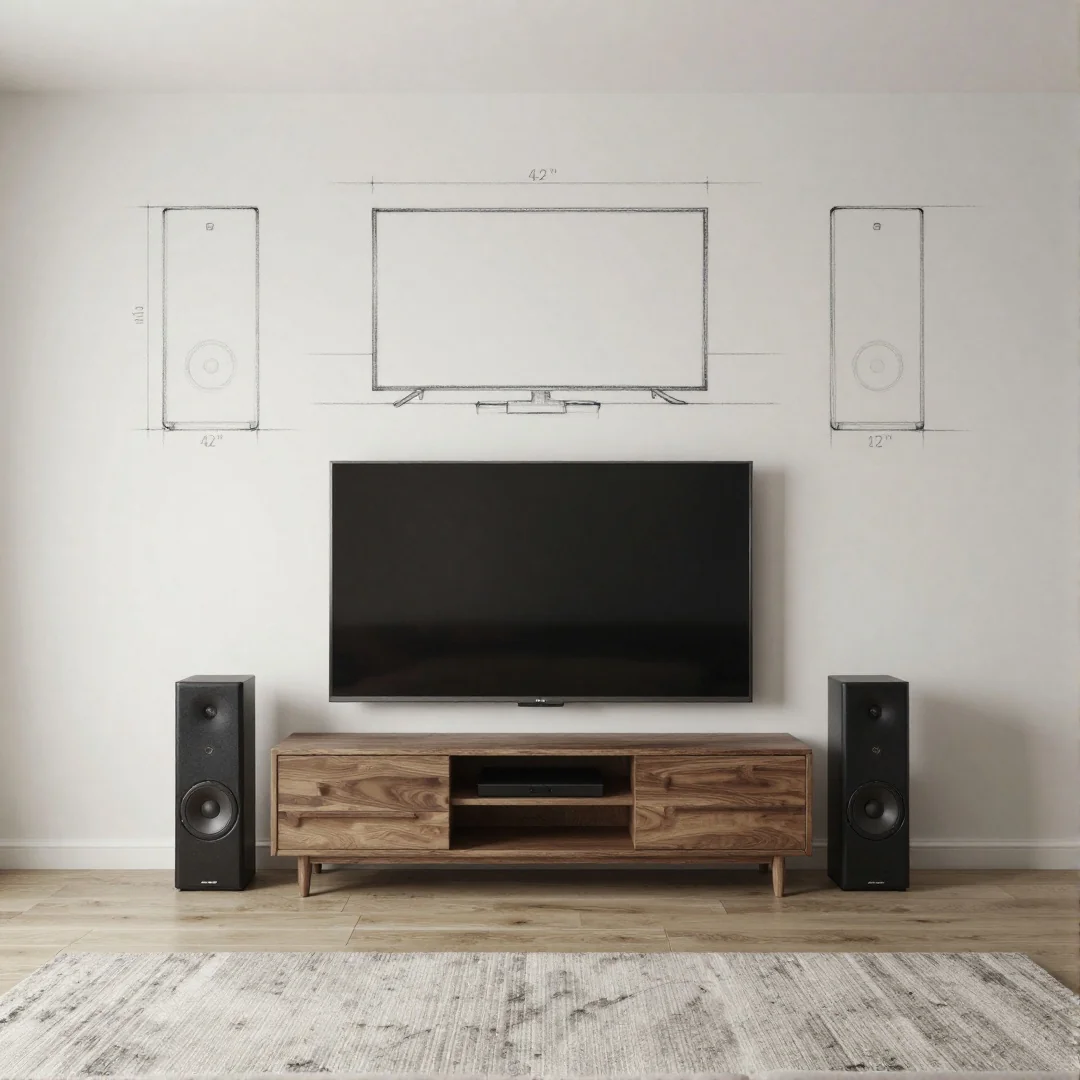
Place the TV so the centre sits at eye height, roughly 42 in from the floor for typical seating. This practical tip keeps sightlines natural when you sketch a room or draw a small floor plan.
-
Sketch a media console and speakers symmetrically beside the TV using a pencil and ruler on graph paper to keep scale.
-
Add dimension notes: mark the TV width and the sofa viewing distance at about 1.5 to 2.5x TV width so proportions read correctly in a 2-point perspective or floor plan.
-
Shade the screen slightly with a marker or soft pencil to separate it from the wall, then draw cable-free touches like in-wall outlets or a slim shelf for a mid-century modern or neutral palette setup.
-
Place a coffee table, bookshelf, or accent chair relative to the vanishing point and label each item for easy reproducible layouts.
Bookshelf Nook
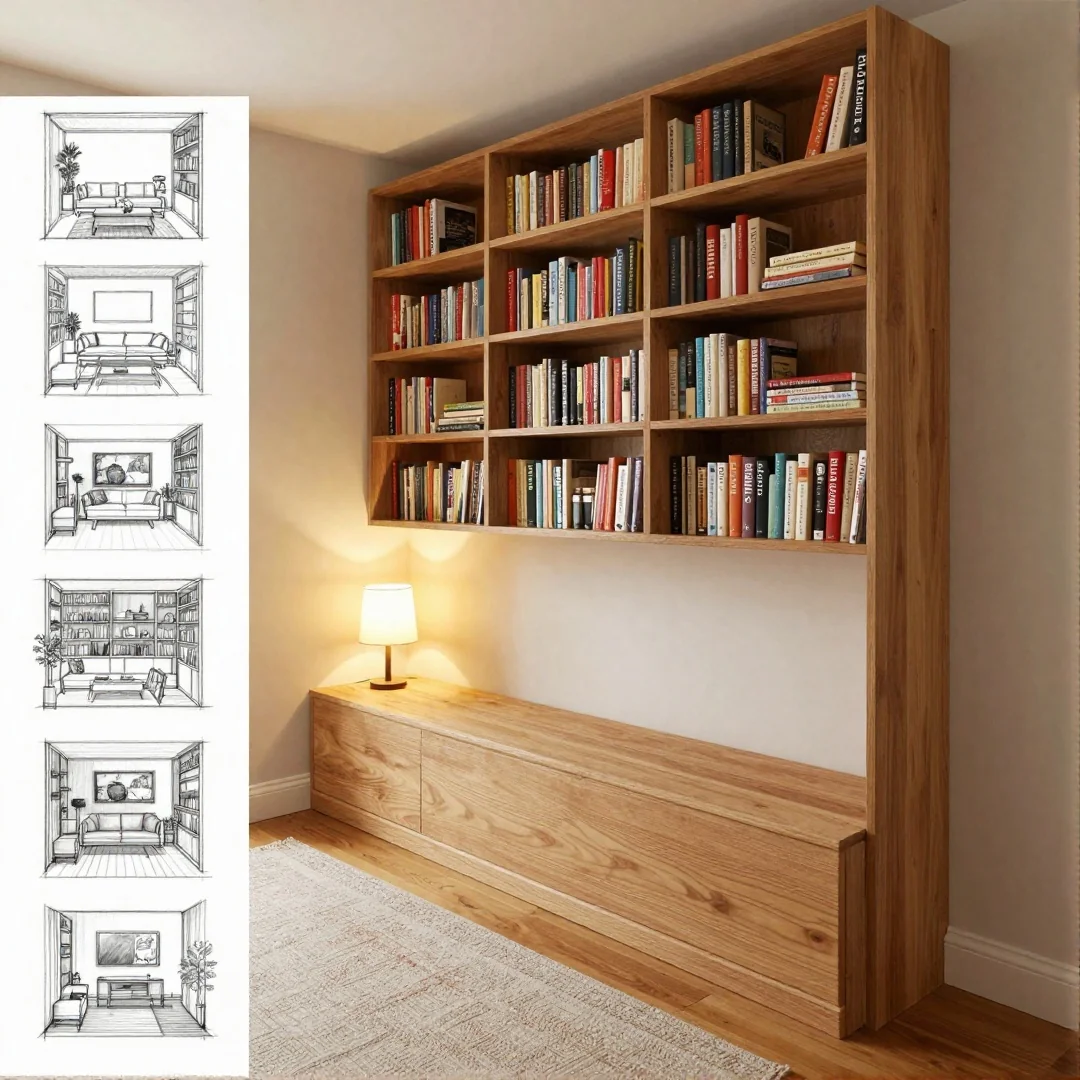
This fall, sketch a cozy reading alcove with a built-in 36-inch bench and bookshelf above to warm a living room layout. Start with a simple floor plan to place the bench, sofa and area rug before moving to perspective.
- Use a pencil, ruler and graph paper to set a vanishing point and a short 2-point perspective for the alcove wall.
- Draw the bench, stack books on the shelf, add an accent chair or mid-century modern lamp, and show scale with a person silhouette sitting.
- Sketch cushion and throw folds with soft contour lines, then use a marker for darker line weight on shelf edges.
- Apply crosshatching behind stacked books and inside recesses to show depth and shadow; try quick pencil strokes then ink once happy.
- Follow the “20 living room ideas a step by step drawing guide” approach: thumbnail, plan, perspective, render.
Minimal Furniture Study
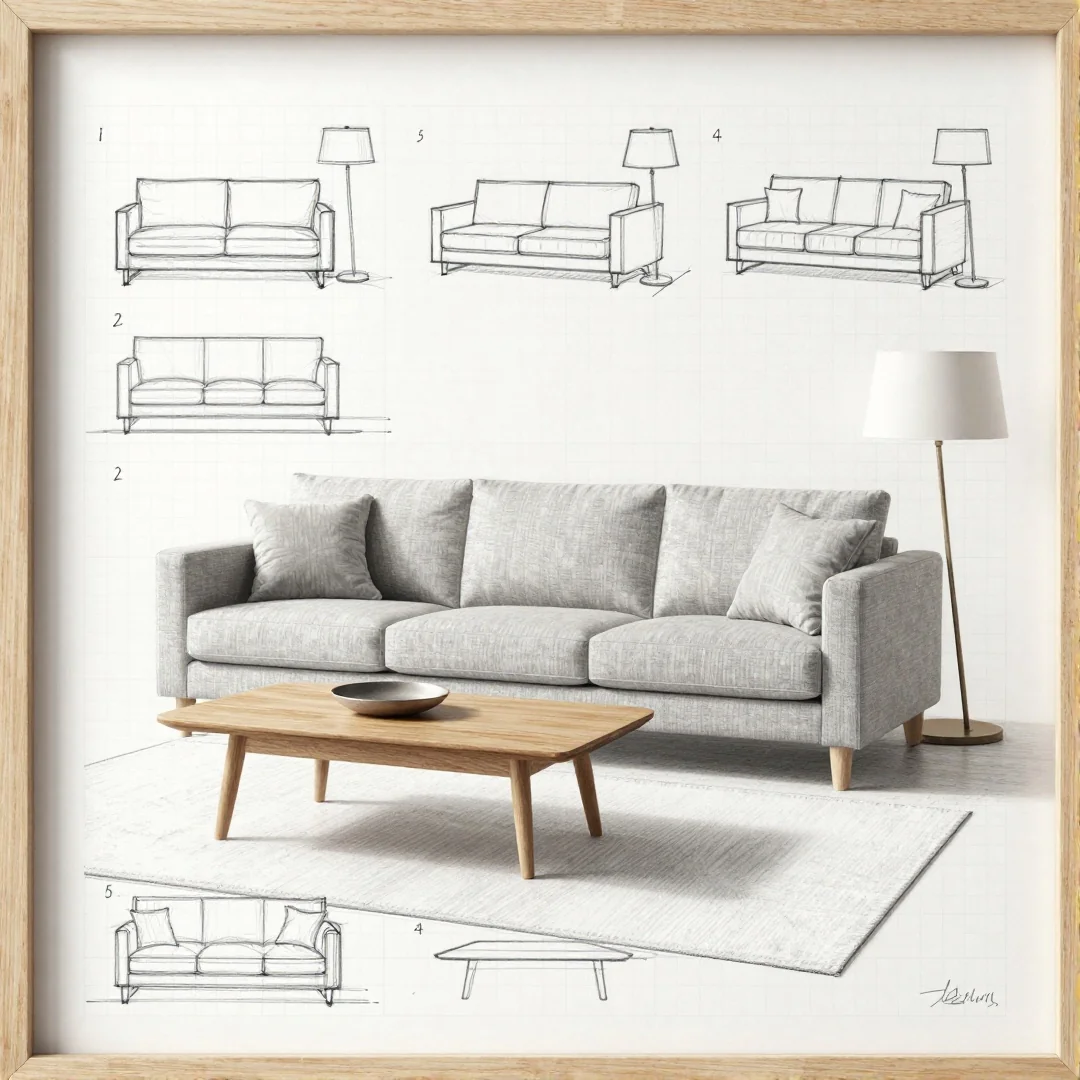
A basic pencil and ruler setup costs under $10, while a marker set runs about $25, so start simple and upgrade later.
Limit your sketch to a sofa, coffee table and one lamp to practice composition and negative space, using graph paper to keep scale consistent.
Focus on precise proportions: note the sofa seat height 16 to 18 inches in your sketch notes and mark the vanishing point when you try a 2-point perspective view.
Practice line weight to show material differences, using heavier lines for metal legs and lighter, textured strokes for fabric while shading with a soft pencil.
- Use a ruler for straight edges and a marker for final outlines.
- Try a tiny floor plan thumbnail first, then a living room drawing tutorial for beginners in pencil.
Pencil Rendering Practice
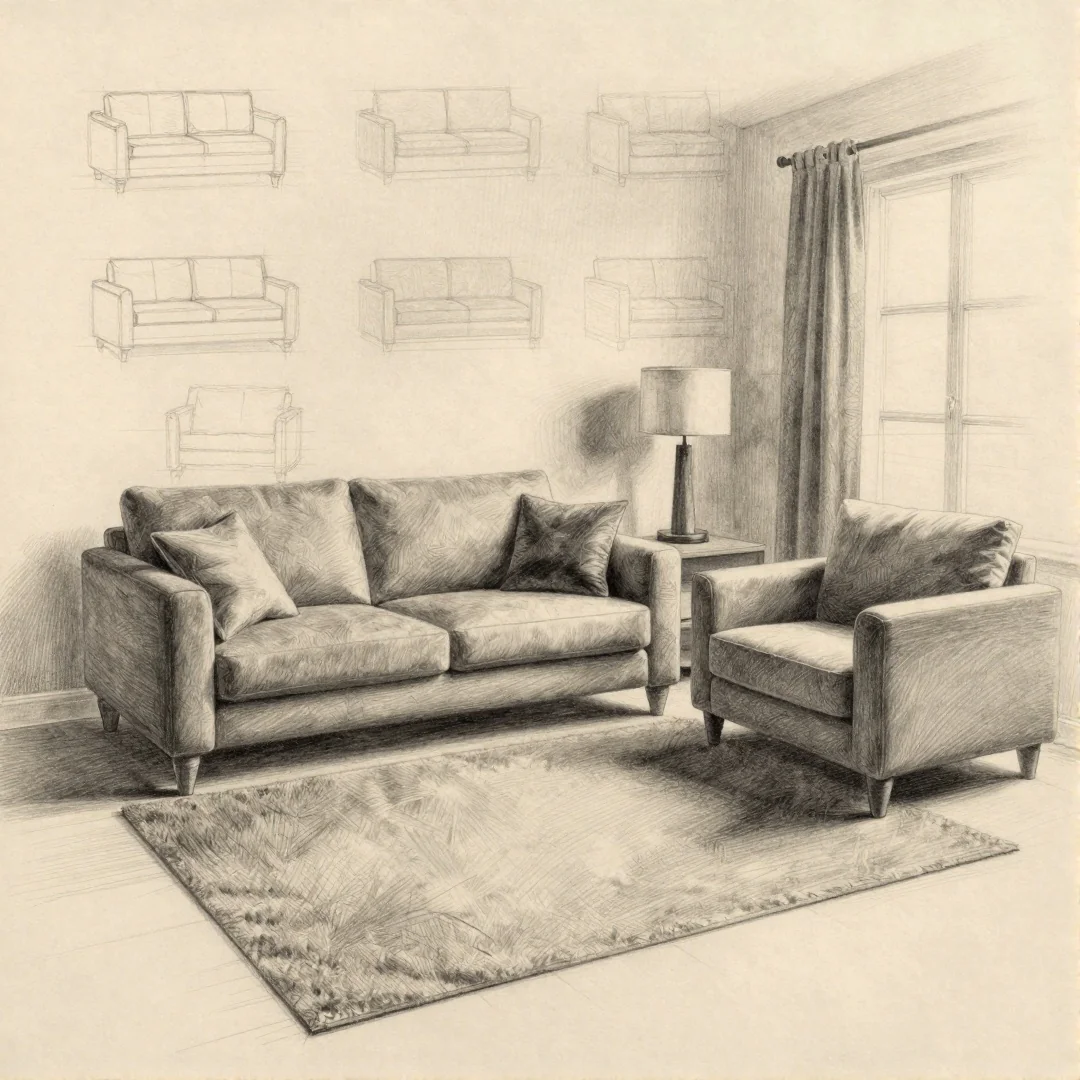
1 in 3 beginners see their interiors look more believable after focused shading; use this to boost your “20 living room ideas a step by step drawing guide” sketches. Start simple and stay consistent.
- Use HB to block shapes, 2B for mid-tones and 6B for deep shadows. HB lays out furniture and the floor plan, 2B builds form on the sofa and bookshelf, and 6B adds punch to deep creases and under the coffee table.
- Practice textures: draw wood grain on a table with a 0.7 mm mechanical pencil, knit on a throw with short curved strokes, and soft pile on an area rug about 5×8 ft using circular shading. Graph paper helps keep scale and proportion.
- Add quick lighting arrows to each thumbnail showing the vanishing point, light direction and shadow placement. This is vital for 2-point perspective and consistent lighting across a set of 20 sketches.
Floor Plan to Perspective
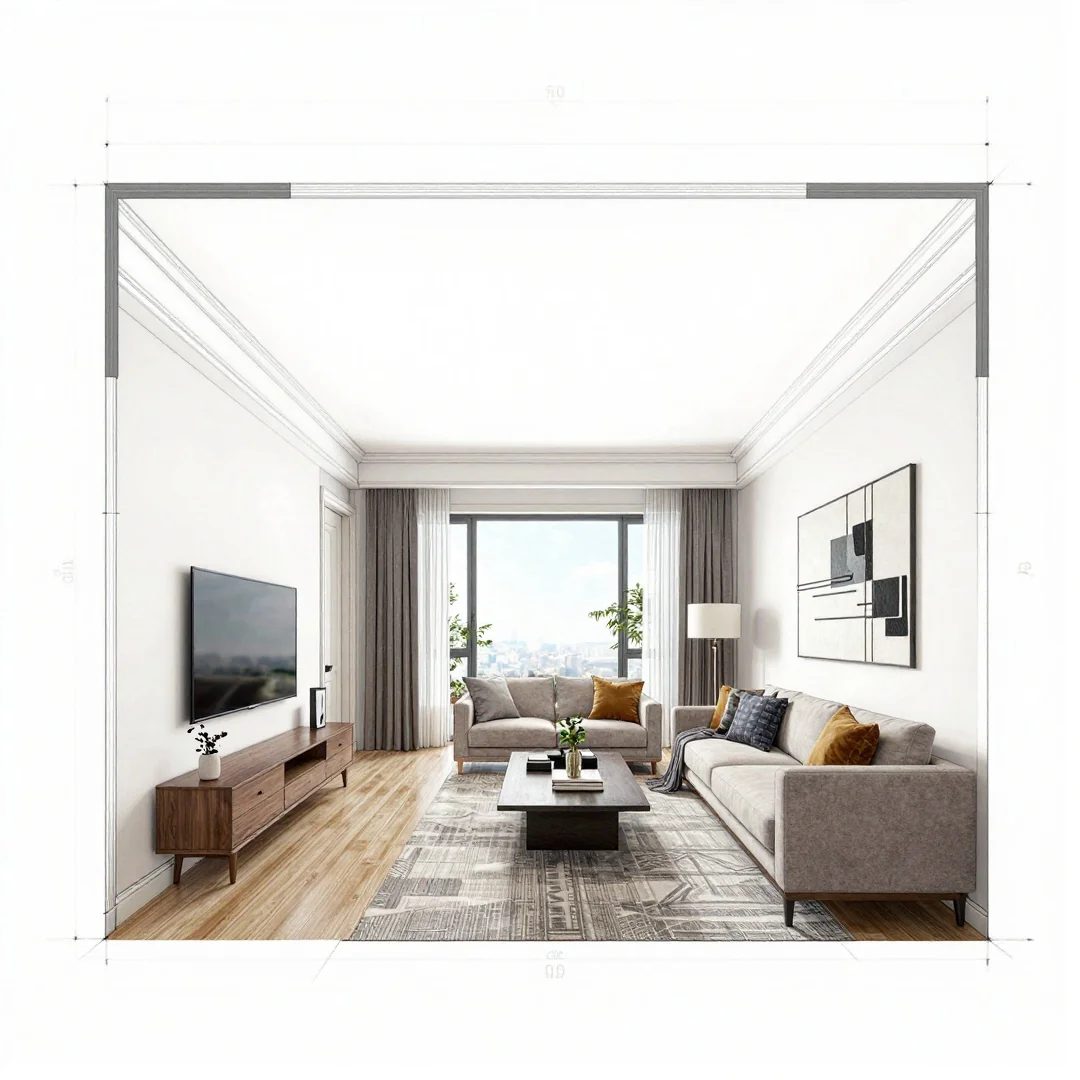
Say you have a tidy top-down sketch of a small apartment and want that plan to read like a real room on the page; in this 20 living room ideas a step by step drawing guide section you start by tracing a top-down floor plan on graph paper with a pencil and ruler.
- Convert key walls into a two-point perspective by projecting each corner up to two vanishing points on the horizon line; this is the core step for a 2-point perspective living room drawing.
- Mark two vanishing points, then raise or lower the horizon to change eye level; lowering it gives a 5 ft tall viewer feel, raising it makes ceilings feel higher.
- Keep measured dimensions consistent by transferring lengths from the floor plan to the perspective using diagonal measuring lines so a 5×8 ft rug, sofa, or bookshelf stays in scale.
Isometric Room Sketch
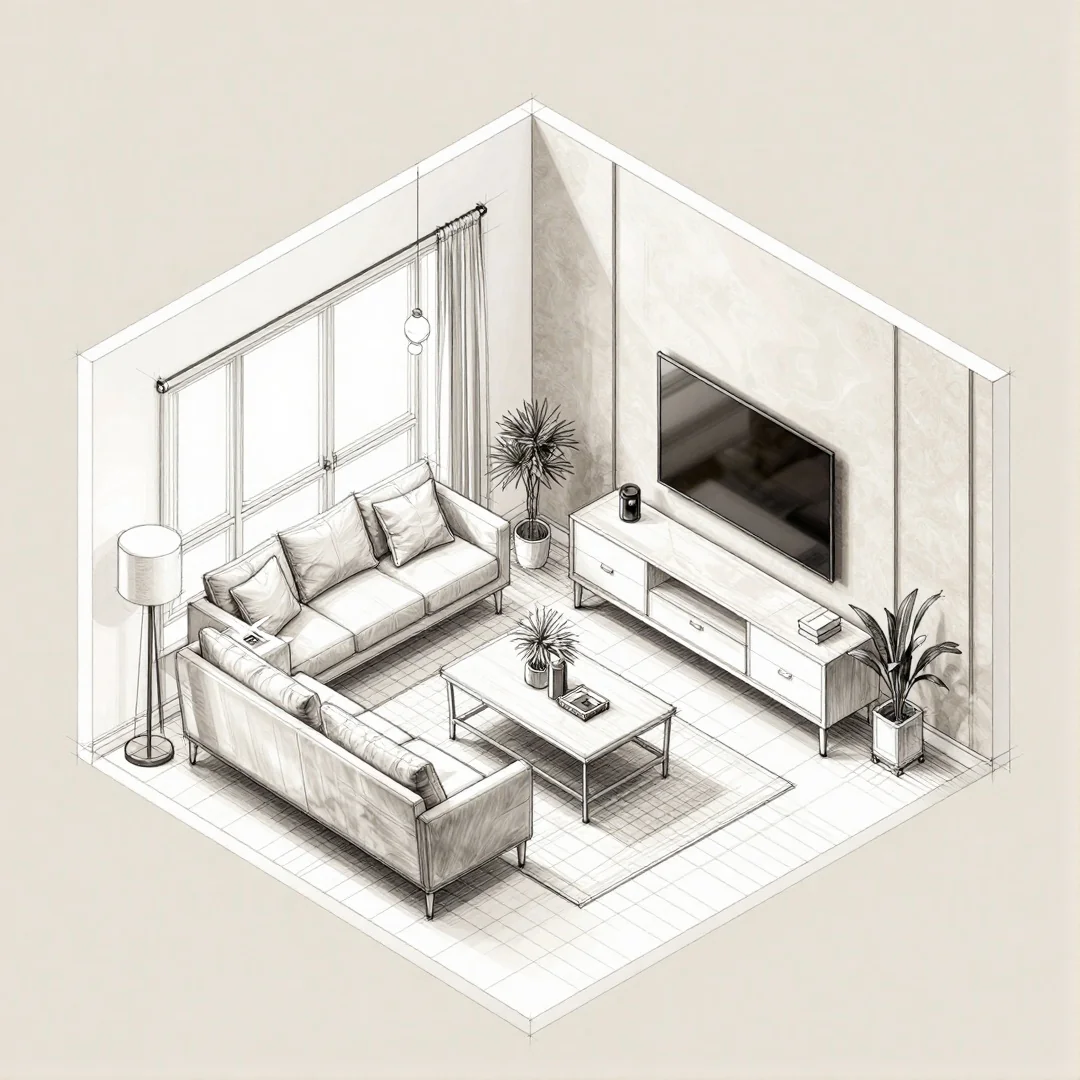
Want a clear way to test furniture placement without perspective tricks?
Draw the room on a isometric grid so walls, sofa and bookshelf sit to scale and nothing foreshortens.
Use this exploded view to show an exploded furniture layout, lifting the coffee table and accent chair slightly above the floor for clarity.
Add a simple label furniture sizes layer with measurements like a 5×8 ft area rug and 30 in sofa depth so you can adapt layouts for small vs large rooms.
This works alongside a living room floor plan or a two point perspective sketch, and fits a living room drawing tutorial for beginners who want printable graph paper templates.
- Annotate pathways, clearances, and lighting positions for real-world flow.
Draw Modern Living Room
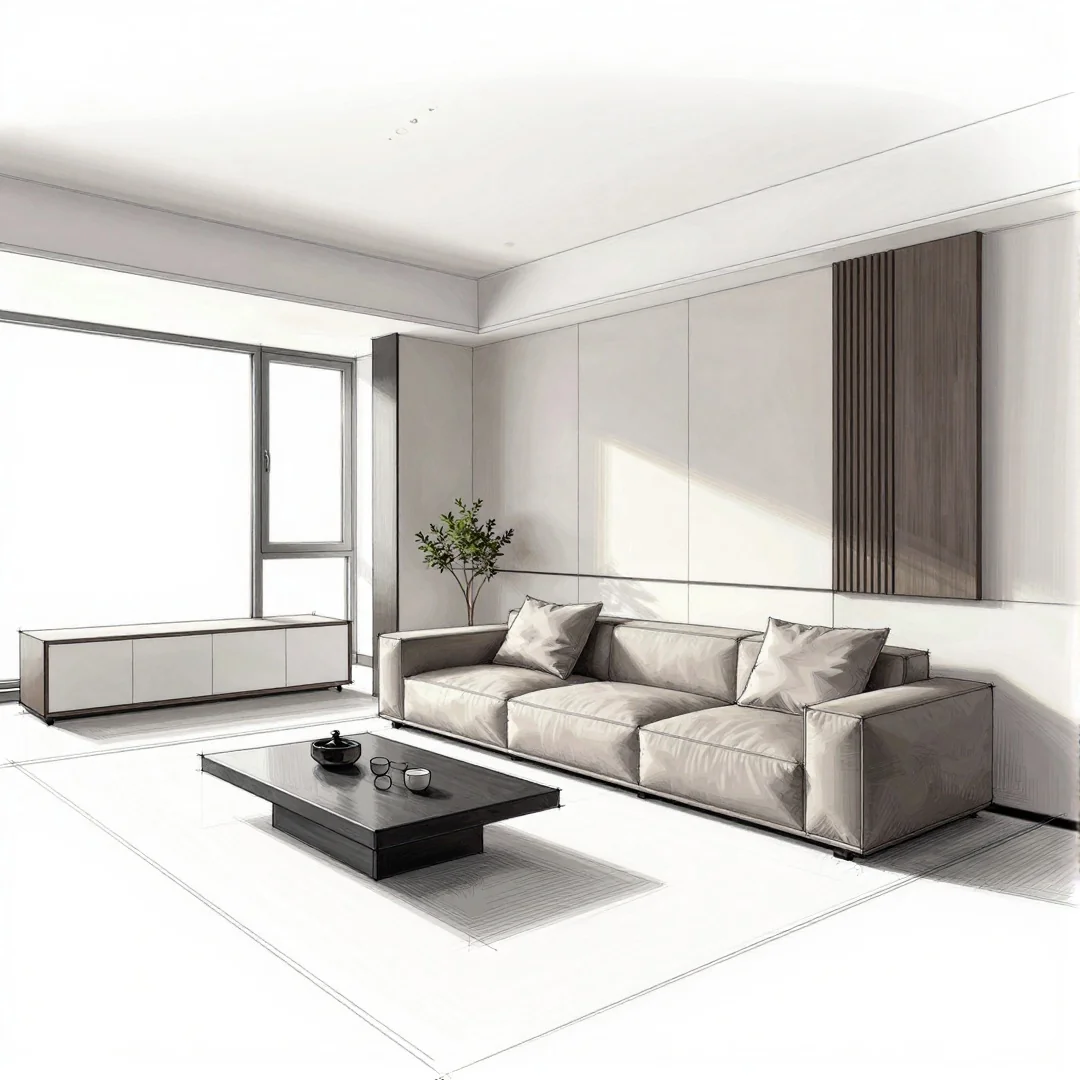
Myth: modern interiors need endless detail. Reality: a few geometric shapes in proper perspective sell the look fast.
Start with a clear answer: use two-point perspective and a vanishing point on each horizon to place a simple geometric sofa and low-profile cabinets.
- Sketch a quick floor plan on graph paper, mark a 5 ft sofa and coffee table to keep scale.
- Block the sofa as a rectangular prism, add tapered legs to hint at mid-century modern style.
- Draw low cabinets against the wall using the second vanishing point for depth.
Ink strong outlines with a marker for contrast, then use soft pencil strokes to add texture and shadow on the area rug and bookshelf.
Finish with one accent chair, simple lighting, and an annotated dimension note so your sketch reads like a mini floor plan.
Living Room Furniture Guide
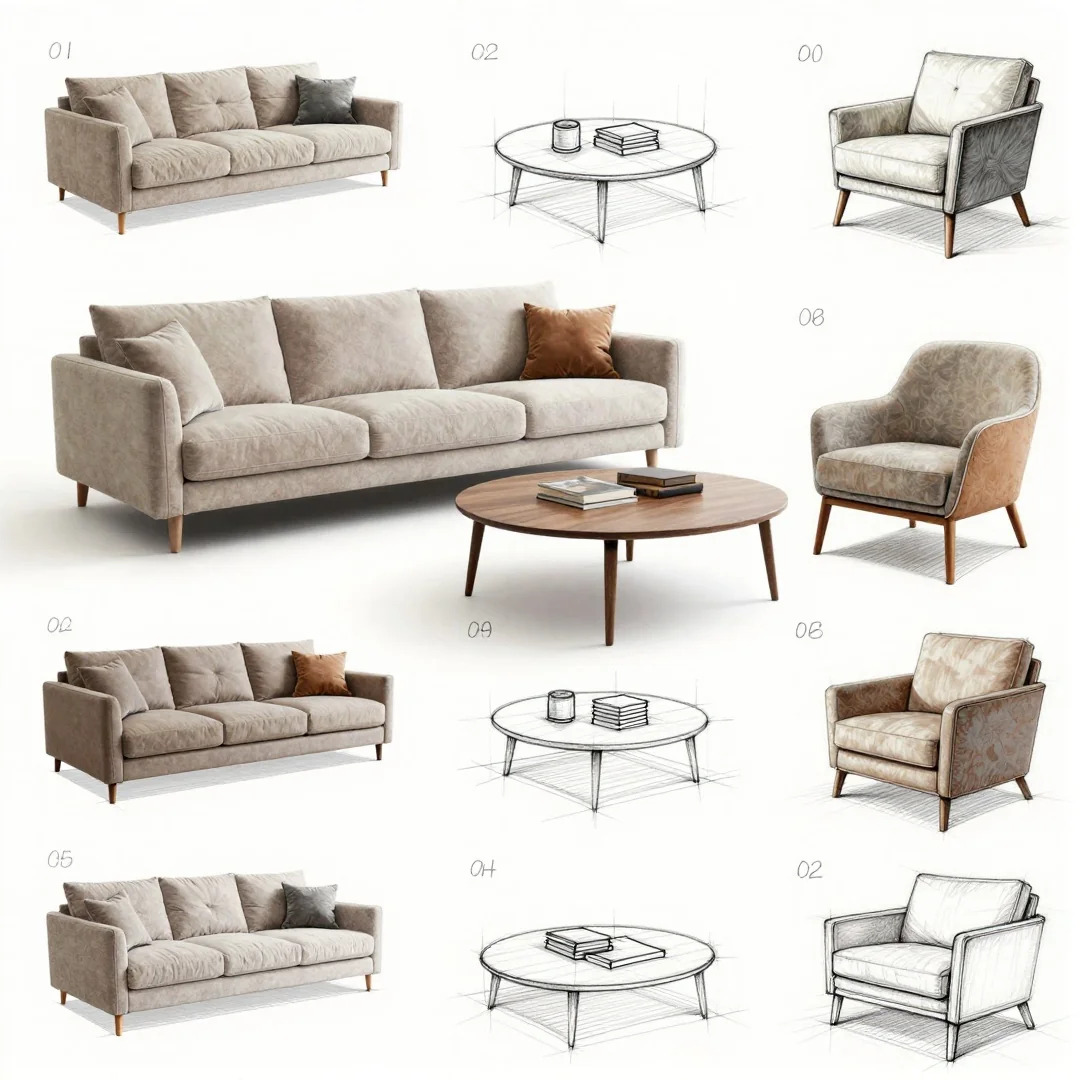
I’ve found drawing each piece first makes the whole layout easier, so start by sketching the furniture with clear sizes. For a quick reference use this 20 living room ideas a step by step drawing guide approach and keep a ruler, pencil, and graph paper handy.
- Draw individual pieces: sketch a sofa (84 inches long typical), a coffee table (36 by 20 inches), a bookshelf, and an accent chair with small dimension notes next to each drawing.
- Practice proportion rules: seat height 16 to 18 inches and coffee table 16 to 18 inches tall; set a vanishing point when you try a 2-point perspective or pencil perspective study.
- Relate pieces on plans: place them on a 5×8 ft area rug or in a 12×14 ft room floor plan to check circulation, lighting placement, and composition before shading.
Printable Practice Templates
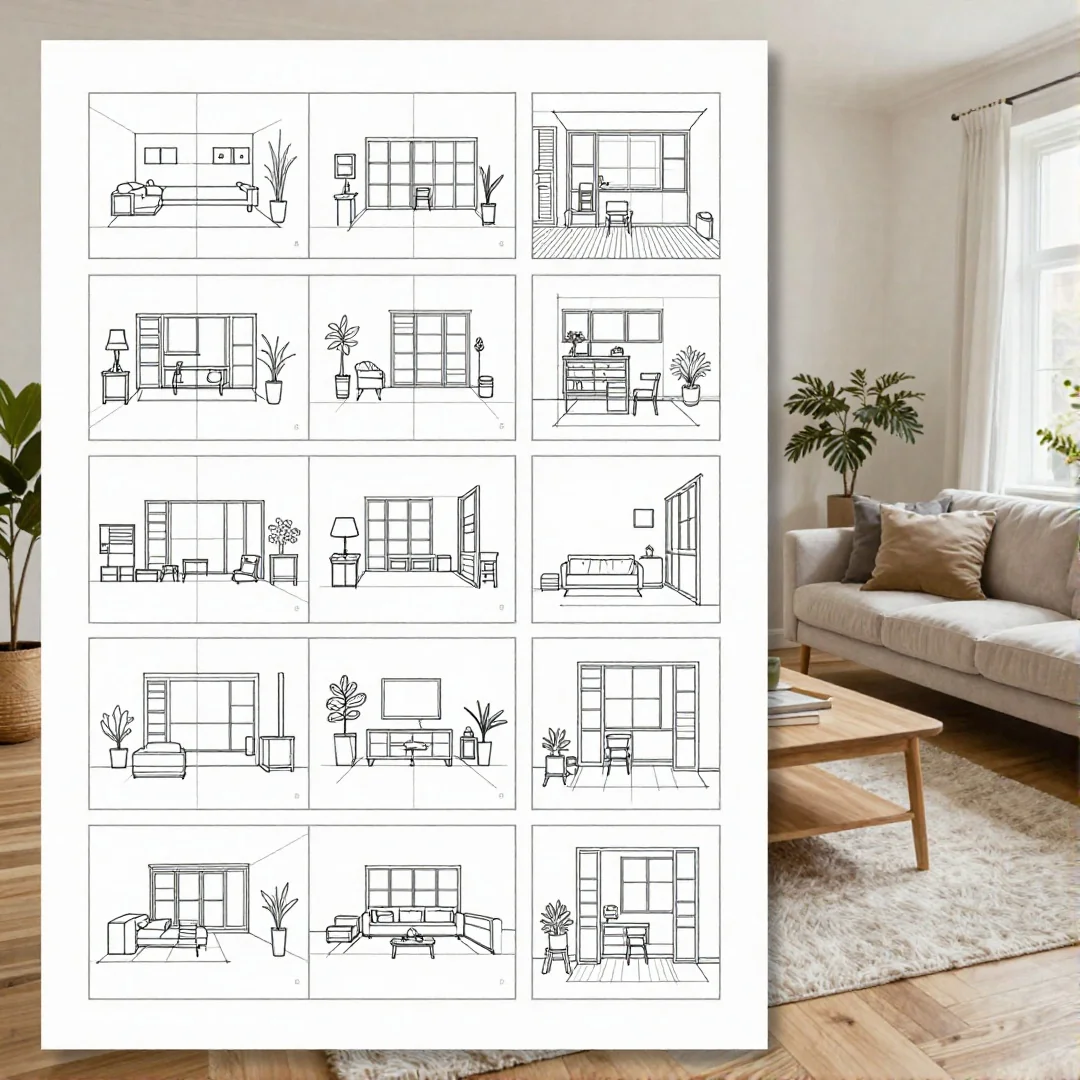
Quick tip: print one template at a time on 1000 x 1500 px vertical layout so each step fits a single Pinterest-friendly image.
For another perspective, this detailed piece on Perspective Drawing of Living Room in 20 Minutes is worth a read.
- Grid sheet and vanishing point sheet for perspective practice, labeled for 1-point and 2-point perspective set-ups and a clear pencil/ruler guide.
- A top-down tracing overlay with a simple floor plan grid showing sofa, coffee table, bookshelf and area rug placements at 1:50 scale markers.
- Each template includes a tiny thumbnail sketch and one-step instruction like “place vanishing point, draw horizon, add sofa base”.
- Tools listed: pencil, ruler, graph paper, marker and an optional $5 pack of sketching pencils for shading.
- These printables support “20 living room ideas a step by step drawing guide” and simple living room sketch ideas for beginners.
FAQ
What materials do I need to start?
This spring grab a basic kit: pencil set (HB, 2B, 4B, 6B), eraser, ruler, graph paper, a fine black marker, and a blending stump. Add a cheap pack of 8.5×11 graph sheets for about $5 and a small sketchbook; the ruler and graph paper make floor plan math much easier.
How do I set up perspective step by step?
Start with a horizon line, pick one-point or 2-point perspective, then place vanishing points and draw light construction lines to the points. For a two point perspective living room drawing, use the vanishing point method and block in walls, floor, and ceiling before adding the sofa and bookshelf.
Are there printable templates or tracing aids?
Yes. Use grid sheets, vanishing point practice pages, and top-down floor plan overlays as starters to trace proportions and learn composition. These printable templates speed up learning and are perfect for a living room drawing tutorial for beginners.
How do I keep furniture proportionate?
Measure in head units or grid squares: a typical sofa fits about 3 grid units long, a 5×8 ft area rug anchors the coffee table, and an accent chair is about 1.5 units wide. Mark these sizes on your floor plan so the sofa, coffee table, and bookshelf keep consistent scale.
What shading, scaling and common mistakes should I know?
Use crosshatch and tonal layering with softer pencils for shadows, and texture strokes for fabric and wood to show a neutral palette or mid-century modern grain. Avoid incorrect vanishing points, inconsistent scale, and heavy lines too early, and you can reproduce all “20 living room ideas a step by step drawing guide” thumbnails with clear lighting and circulation space.
You might also like: 20 Modern Entryway Drawing Ideas to Inspire Your Home
Key Takeaways
A basic pencil set, ruler and graph paper can cost under $15, while marker kits often run $40 or more , pick what fits your budget and goals.
- Start with simple tools: pencil, ruler, graph paper and printable vanishing point sheets make setup fast and repeatable.
- Learn two approaches: practice both top-down floor plan sketches and 2-point perspective to win at layout and depth.
- Use annotated dimensions: mark a 5×8 ft rug, sofa length or coffee table depth so furniture stays proportionate.
- Print templates: downloadable grids and floor plan overlays speed practice and create pin-ready images for Pinterest.
- Mix styles and textures: try mid-century modern and a neutral palette, then add line weight, shading and a marker for contrast.
- Keep study focused: follow the “20 living room ideas a step by step drawing guide” sequence and save sketches as a library to reuse.
Save this to Pinterest for quick reference while you draw.