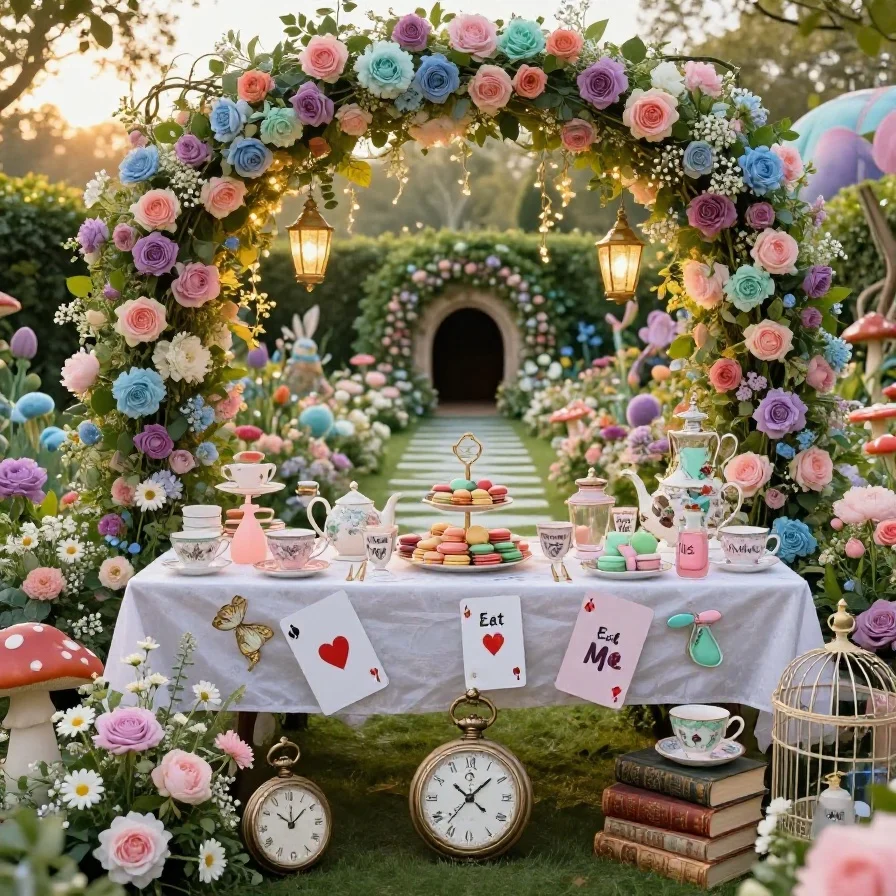
19 DIY Alice in Wonderland Decorations for a Magical Party
Introduction
When it comes to hosting a party, creating a magical atmosphere is key to making it an unforgettable experience. The truth is, most people miss the opportunity to transform their space into a whimsical wonderland.
For a party theme like Alice in Wonderland, DIY decorations can make all the difference. With a little creativity, you can transport your guests down the rabbit hole and into a world of fantasy. For instance, a simple floral arrangement with oversized playing cards and teacups can set the tone for a fantastical celebration.
In this article, you’ll discover 19 DIY Alice in Wonderland decorations that will help you create a mesmerizing party atmosphere. From easy-to-make centerpieces to elaborate installations, we’ll cover a range of projects suitable for various skill levels and time estimates. Whether you’re a seasoned DIY enthusiast or a beginner, you’ll find inspiration and guidance to bring your Alice in Wonderland party vision to life.
Floral Mushroom Centerpiece
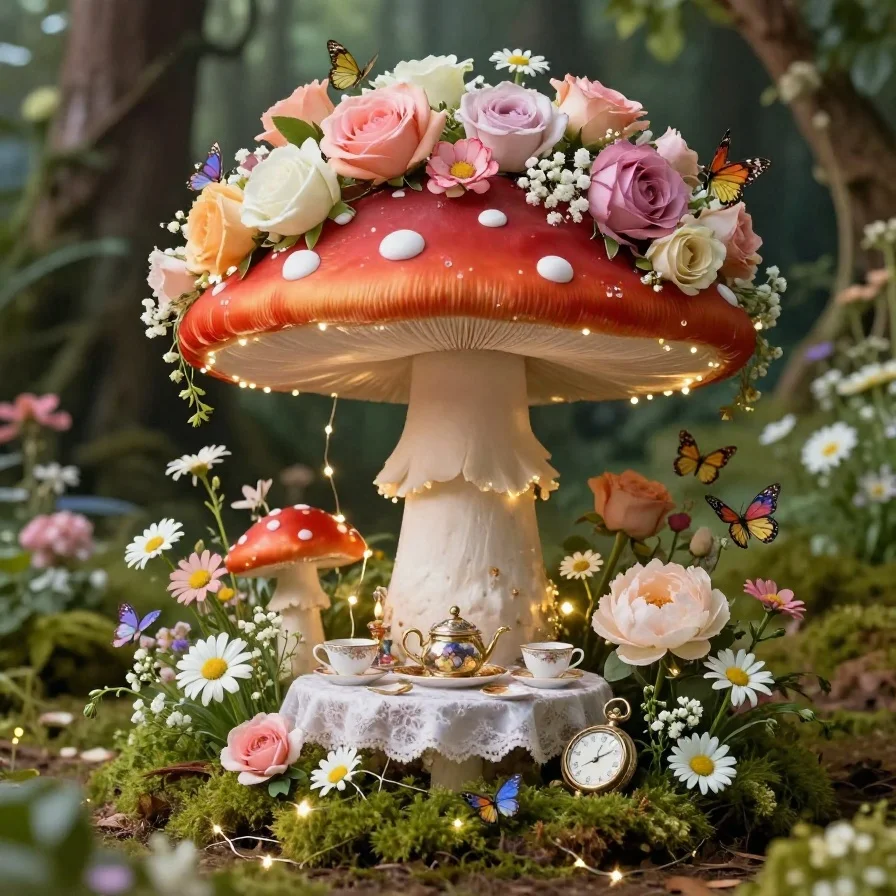
To create a whimsical Alice in Wonderland atmosphere, consider making a floral mushroom centerpiece.
The truth is, this decoration is easier to make than it looks, requiring just a few basic crafting tools.
You’ll need a paper mache or fake mushroom cap, floral foam, scissors, hot glue gun, and an assortment of artificial flowers.
For this project, the materials list includes:
-
- 1 paper mache or fake mushroom cap
- 1 block of floral foam
- 1 pair of scissors
- 1 hot glue gun
- Artificial flowers of your choice
- Green wire or floral tape
With a skill level of beginner-friendly and a time estimate of about 30 minutes, you can follow these simple steps:
-
- Cut the floral foam to fit inside the mushroom cap.
- Arrange the artificial flowers on top of the foam.
- Secure the flowers using hot glue or green wire.
This decoration is a great example of how DIY Alice in Wonderland decorations can add a touch of magic to your party.
Whimsical Teacup Flower Arrangements
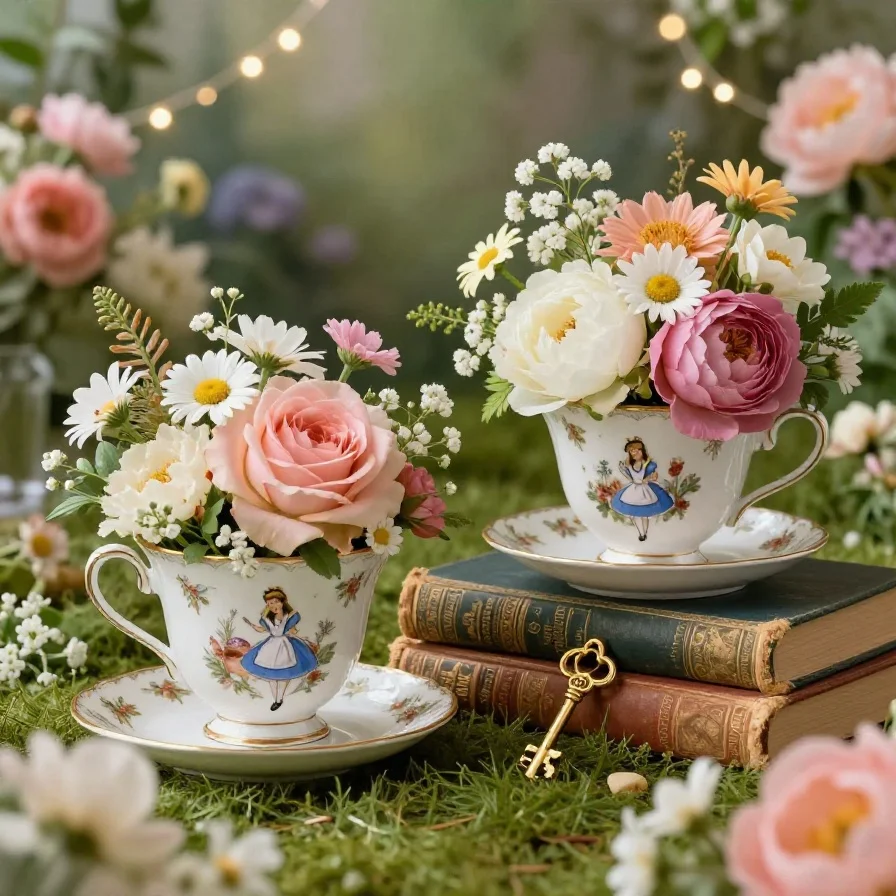
To create a DIY Alice in Wonderland decoration that’s both elegant and quirky, consider making whimsical teacup flower arrangements.
The truth is, this project requires minimal materials and can be completed in under an hour.
You’ll need: teacups, artificial flowers, floral foam, hot glue gun, scissors, and green wire.
With a skill level of beginner, you can complete this project in about 30 minutes.
Here’s how:
-
- Fill the teacup with floral foam.
- Arrange the artificial flowers on top of the foam.
- Secure the flowers using hot glue or green wire, and you’re done.
For example, use 5-7 artificial flowers per teacup for a full, lush look.
Whimsical Mushroom Decorations
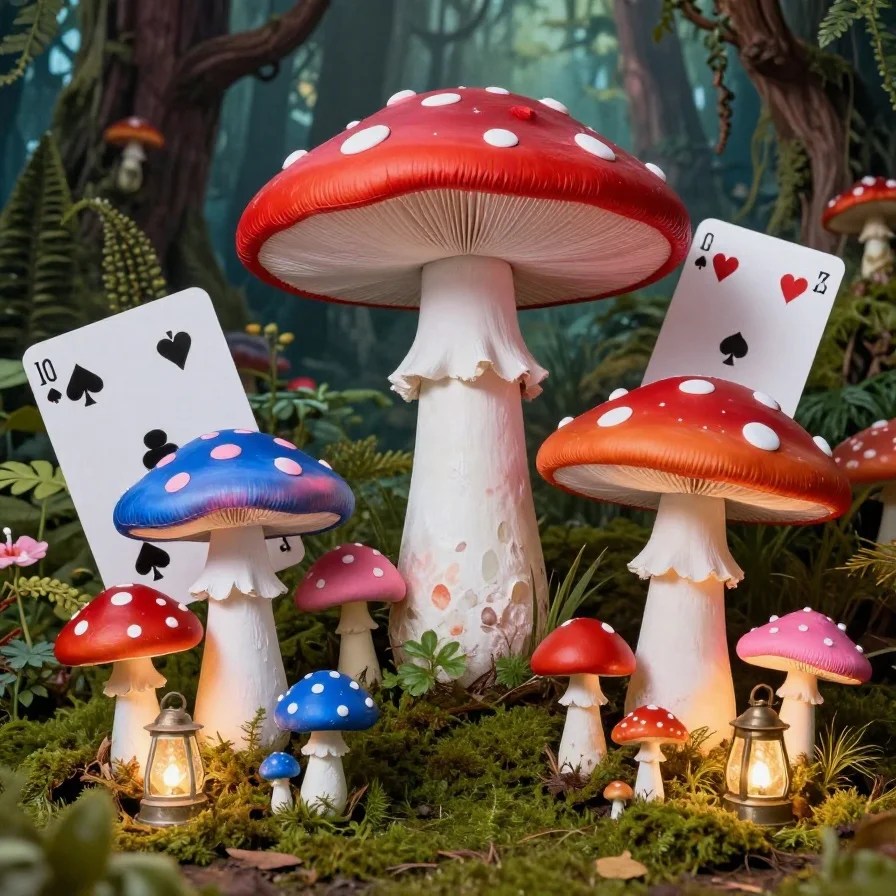
To create a whimsical wonderland, you can make DIY mushroom decorations using paper mache or foam.
The truth is, this project requires some patience, but the end result is well worth it.
Materials needed include paper mache paste, foam or paper, paint, glue, and a wire armature.
For this project, the skill level is intermediate, and it will take around 2-3 hours to complete.
You will need the following tools: scissors, a paintbrush, and a hot glue gun.
Here’s a step-by-step guide:
-
- Create the mushroom cap using paper mache or foam.
- Attach the cap to the wire armature using hot glue.
- Paint the mushroom with bright, vibrant colors to match the Alice in Wonderland theme.
For example, you can use red and white stripes to create a classic mushroom look.
Floral Arrangements with a Whimsical Twist
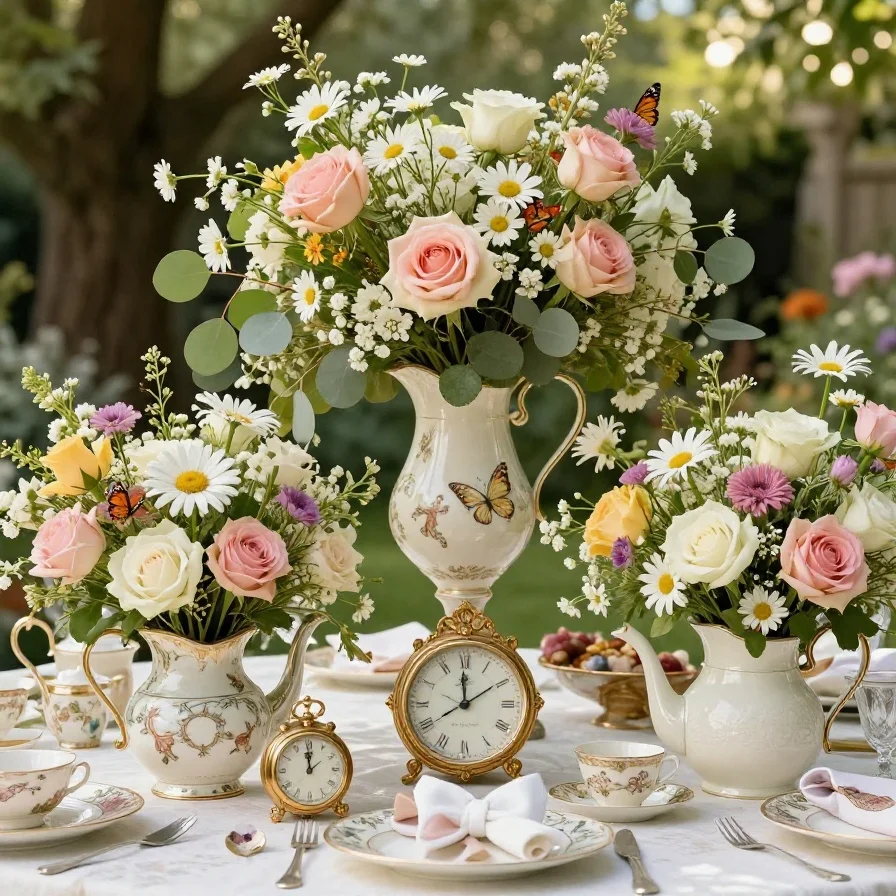
To create a magical atmosphere, consider making floral arrangements with a whimsical twist.
The truth is, using fresh flowers can add a touch of elegance to your DIY Alice in Wonderland decorations.
For example, you can use roses, daisies, and wildflowers to create a beautiful arrangement.
To make this arrangement, you will need:
-
- Fresh flowers of your choice
- Floral wire
- Scissors
- Hot glue gun
- Decorative vases or teapots
- Floral tape
- Filler flowers like baby’s breath
This project requires a moderate skill level and can take around 2-3 hours to complete.
Here’s a simple guide:
-
- Choose your flowers and trim the stems.
- Create a base with filler flowers.
- Add the main flowers to the arrangement.
- Secure the stems with floral wire and tape.
- Finish with a decorative vase or teapot, like a vintage teapot.
Floral Teapot Centerpiece
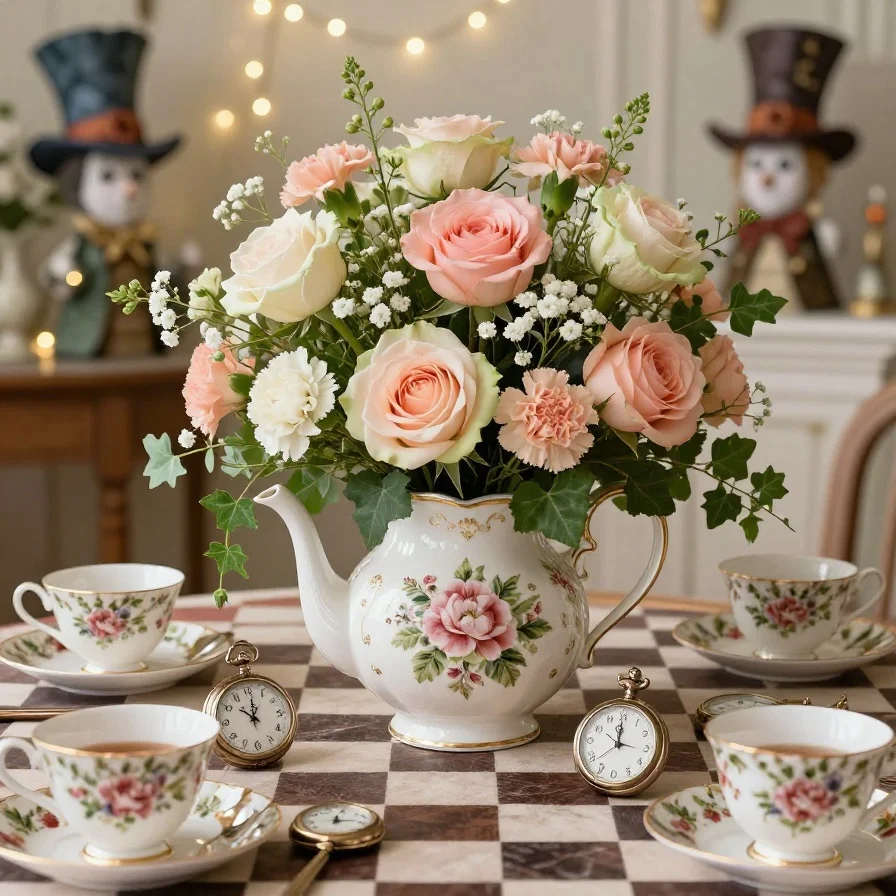
To create a whimsical floral teapot centerpiece, you’ll need a few simple materials.
Gather a vintage teapot, floral foam, scissors, floral wire, and your choice of flowers, such as roses or carnations.
The truth is, this project is quite easy, with a skill level of beginner, and can be completed in about 1-2 hours.
You’ll need:
-
- 1 vintage teapot
- 1 block of floral foam
- Scissors
- Floral wire
- Flowers of your choice
- Filler flowers, like baby’s breath
Here’s a simple guide:
-
- Cut the floral foam to fit the teapot.
- Arrange your flowers in the teapot.
- Secure the stems with floral wire.
Most people miss the importance of filler flowers, which add volume and texture to the arrangement, as seen in the Mad Hatter’s tea party with around 50-60 flowers.
DIY Floral Mushroom Decorations
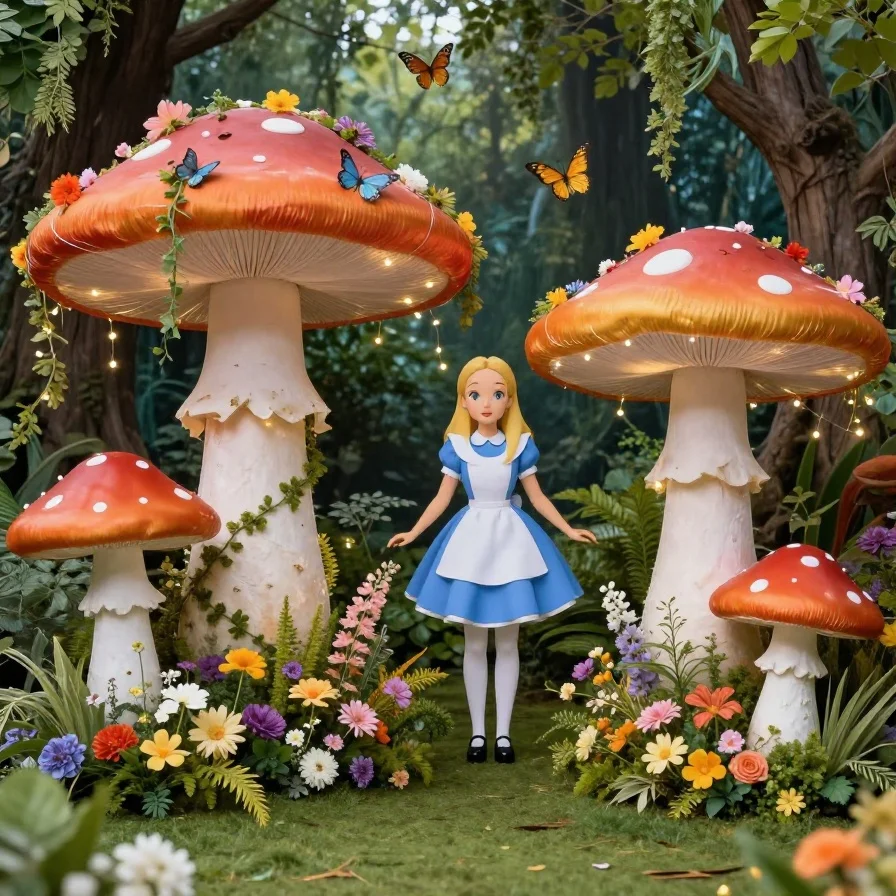
To create a whimsical Alice in Wonderland atmosphere, consider making floral mushroom decorations.
These unique pieces can be placed around the party area, adding a touch of fantasy to your event.
The truth is, they are easier to make than you think.
Materials and tools needed include:
floral foam, artificial mushrooms, floral wire, scissors, hot glue gun, and a variety of filler flowers.
This project requires a moderate skill level and can be completed in about 2-3 hours.
Here’s a step-by-step guide:
-
- Glue the artificial mushrooms to a base or a wooden dowel.
- Cut the floral foam to fit around the mushroom cap.
- Arrange your filler flowers and secure them with floral wire.
For example, you can use around 20-25 flowers per mushroom to achieve a lush, whimsical look.
Floral Teacup Centerpiece
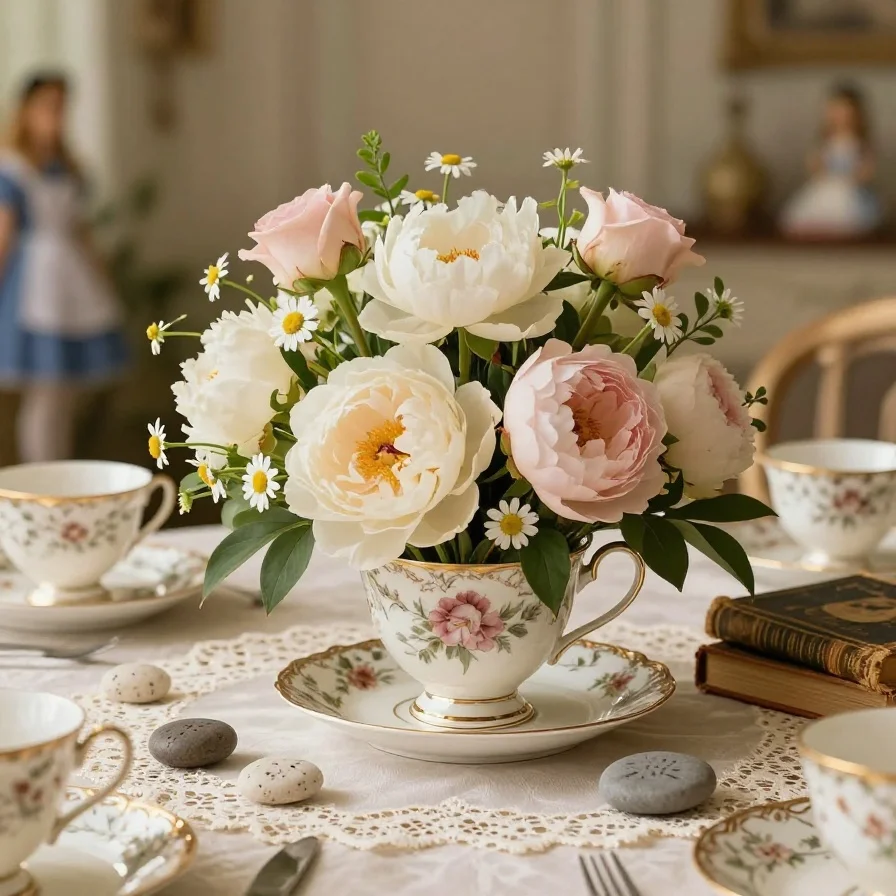
The truth is, creating a beautiful centerpiece can elevate your entire DIY Alice in Wonderland decorations.
To make a Floral Teacup Centerpiece, you will need:
-
- Teacups
- Floral foam
- Fresh flowers
- Floral wire
- Scissors
- Hot glue gun
- Decorative stones or pebbles.
This project requires a moderate skill level, with an estimated completion time of about 30-40 minutes.
Here’s a step-by-step guide:
-
- Fill the teacup with floral foam.
- Arrange your fresh flowers and secure them with floral wire.
For example, you can use around 10-15 flowers per teacup to achieve a whimsical look.
Floral Mushroom Decorations
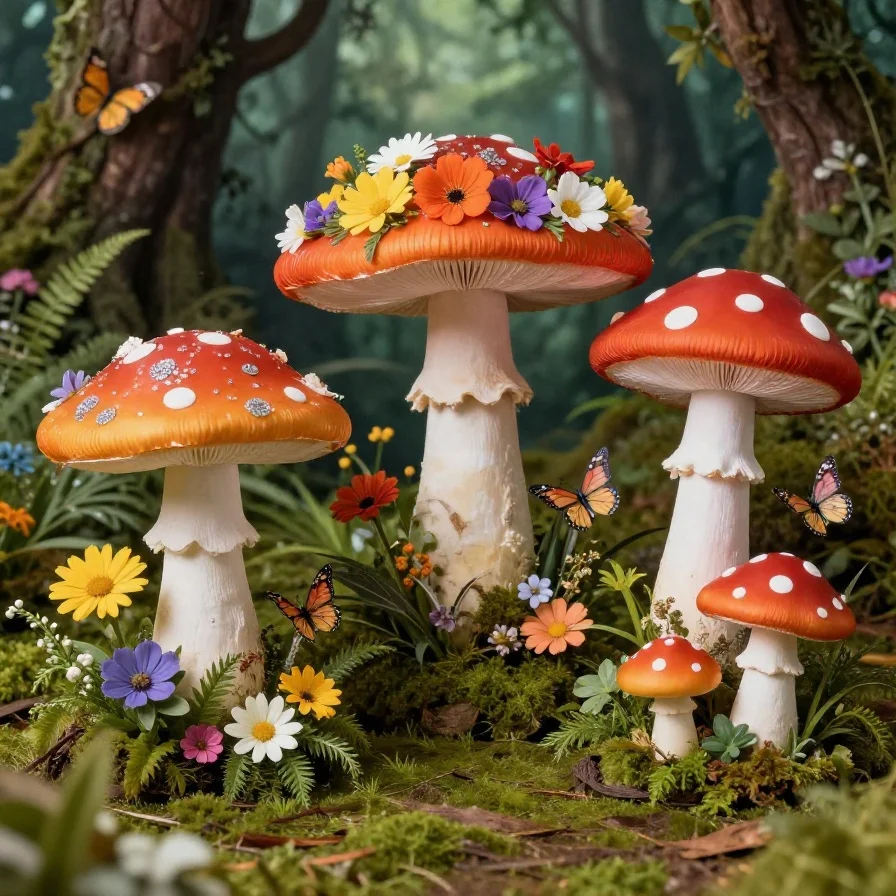
To create a whimsical and fantastical atmosphere, consider making floral mushroom decorations. The truth is, these unique decorations can add a touch of Alice in Wonderland charm to your party.
You will need: floral foam, fresh flowers, floral wire, scissors, hot glue gun, and small cardboard or paper mushroom caps.
With a moderate skill level, you can complete this project in about 45-60 minutes.
Here’s a step-by-step guide:
-
- Cut out small mushroom caps from cardboard or paper.
- Fill the caps with floral foam and arrange your fresh flowers.
For example, you can use around 5-7 flowers per mushroom cap to achieve a vibrant look.
Most people miss the opportunity to add a personal touch, but you can customize your mushroom decorations with glitter or rhinestones.
Whimsical Floral Crowns
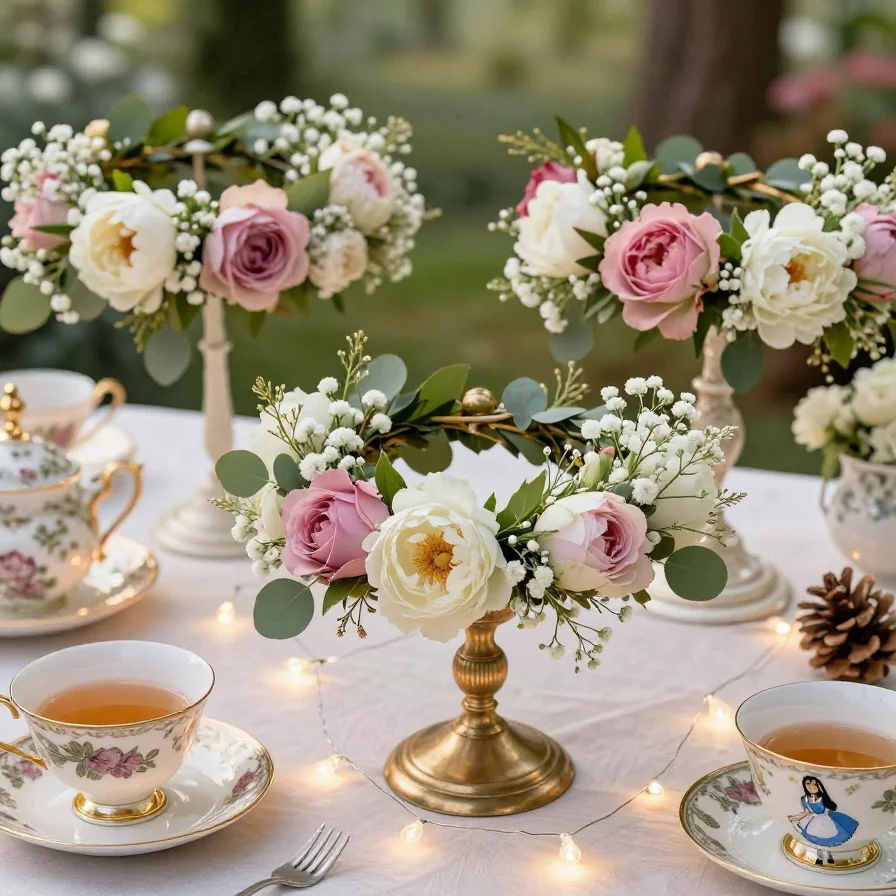
To create a magical atmosphere, consider making whimsical floral crowns, perfect for your DIY Alice in Wonderland decorations.
The truth is, these crowns can be worn by guests or used as a decorative centerpiece.
For this project, you’ll need floral wire, wire cutters, floral tape, scissors, and an assortment of artificial flowers.
You’ll need around 30 minutes to complete this project, which requires a moderate skill level.
Here’s a simple guide to get you started:
-
- Gather your materials and tools, including floral wire, wire cutters, and artificial flowers.
- Cut a length of floral wire and begin attaching the flowers using floral tape.
- Continue adding flowers, overlapping them slightly to create a full and lush look.
With around 10-12 flowers, you can create a beautiful and delicate crown, perfect for your DIY Alice in Wonderland party.
DIY Floral Teacup Centerpiece
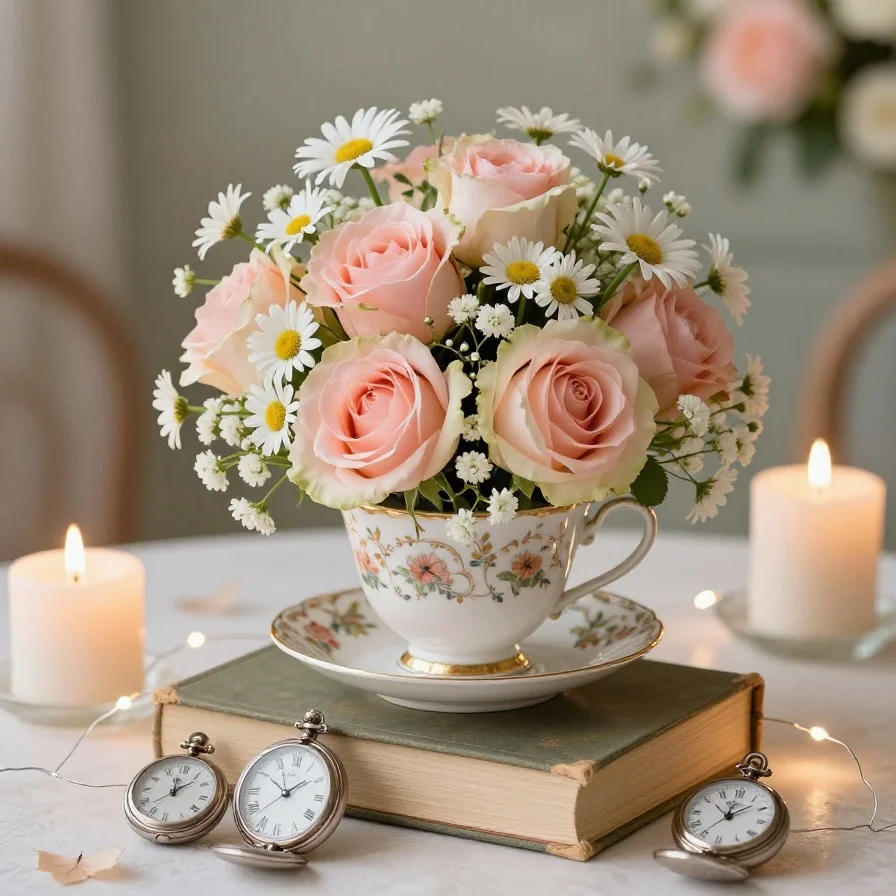
To create a whimsical Alice in Wonderland-inspired centerpiece, you’ll need a few simple materials. Gather a teacup, floral foam, scissors, hot glue gun, and an assortment of artificial flowers, such as roses and daisies.
This project requires a moderate skill level, as you’ll need to handle hot glue and arrange the flowers artfully.
The truth is, with about 30 minutes of dedicated crafting time, you can create a beautiful and unique centerpiece.
Here’s a step-by-step guide:
-
- Cut the floral foam to fit inside the teacup.
- Arrange the flowers on top of the foam, securing them with hot glue.
For example, you can use 5-7 artificial roses to create a full and colorful arrangement.
Most people miss the opportunity to add a personal touch, such as a small decorative saucer or a few fresh flowers, to make the centerpiece truly special.
Whimsical Floral Crowns
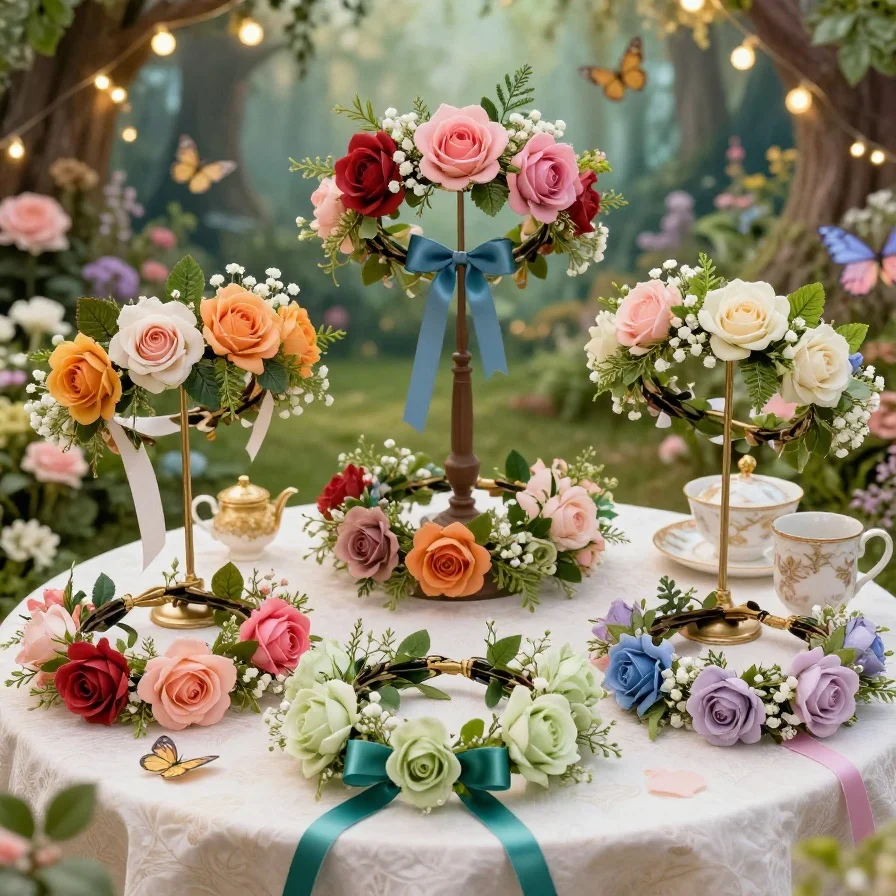
To create a magical atmosphere, consider making whimsical floral crowns, a perfect DIY Alice in Wonderland decoration.
The truth is, these crowns can be worn by guests or used as a decorative element.
For this project, you will need: artificial flowers, floral tape, scissors, hot glue, and a wire crown base.
With a moderate skill level, you can complete this project in about 2-3 hours.
Here’s a simple guide to get you started:
-
- Prepare your materials and wire crown base.
- Begin attaching artificial flowers to the base using floral tape and hot glue.
For example, you can use 10-12 artificial roses and 5-7 baby’s breath stems to create a full and colorful crown.
Most people miss the opportunity to add a personal touch, such as a small decorative ribbon or a few fresh flowers, to make the crown truly special.
Whimsical Floral Teacup Centerpiece
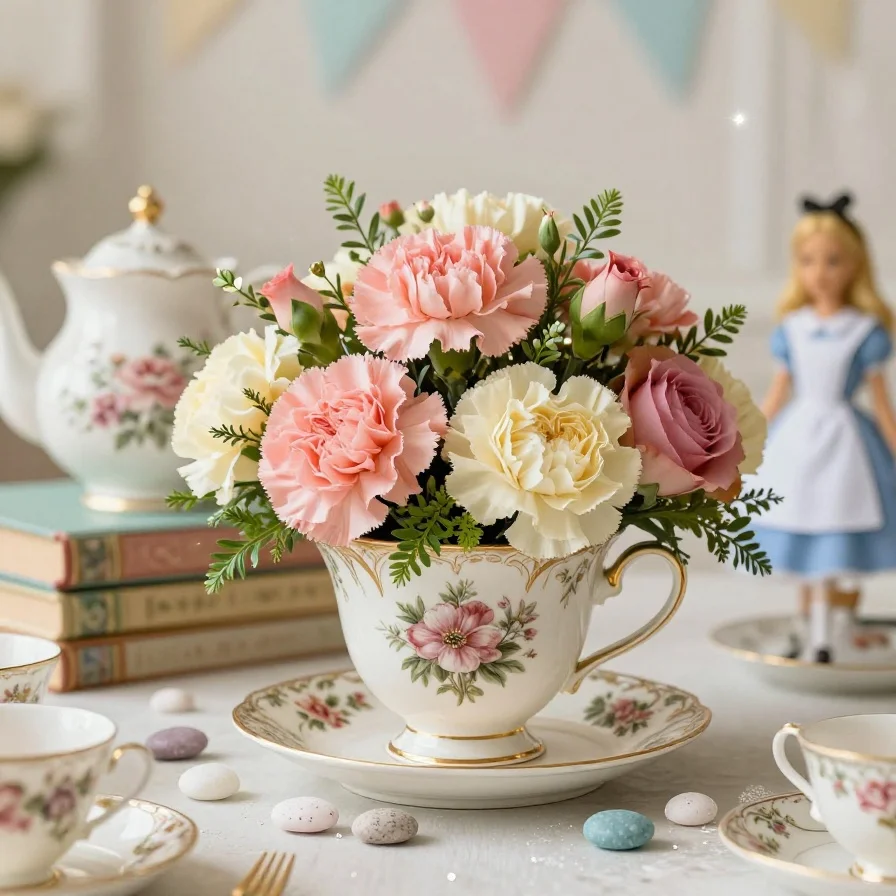
To create a unique and eye-catching centerpiece, try combining floral arrangements with vintage teacups. The truth is, this DIY project requires minimal skills and can be completed in under 2 hours.
You’ll need: teacups, floral foam, scissors, hot glue, artificial flowers, and decorative stones.
This project is considered easy to moderate, with a time estimate of approximately 1-2 hours.
Here’s a step-by-step guide:
-
- Prepare the teacups by cleaning and drying them thoroughly.
- Cut the floral foam to fit inside the teacup, and secure it with hot glue.
For example, you can use 5-7 artificial flowers, such as roses or carnations, to create a full and colorful arrangement.
Whimsical Floral Teacup Centerpieces
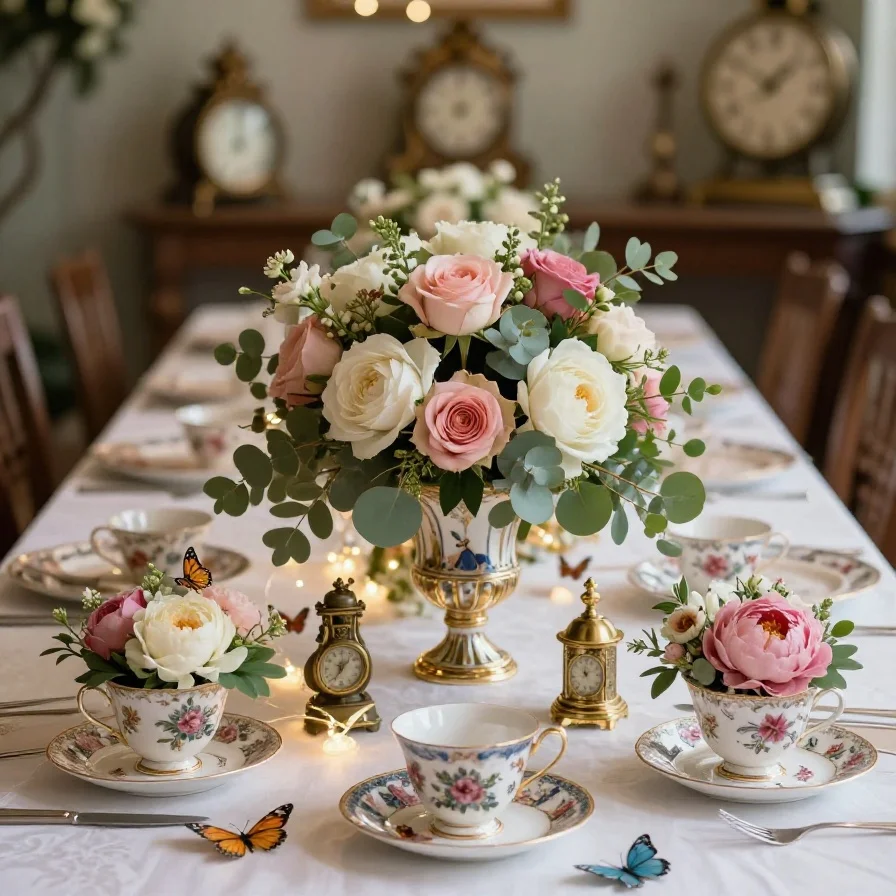
To create a unique and eye-catching centerpiece, try making a whimsical floral teacup arrangement. The truth is, this DIY project is easier than it looks.
You’ll need: teacups, floral foam, artificial flowers, hot glue, scissors, and a glue gun.
This project requires a medium skill level and can be completed in about 30 minutes.
Here’s a step-by-step guide:
-
- Prepare the teacups by cleaning and drying them thoroughly.
- Cut the floral foam to fit inside the teacup, and secure it with hot glue.
For example, you can use 5-7 artificial flowers, such as roses or carnations, to create a full and colorful arrangement.
Most people miss the importance of balancing the flowers with some greenery, like eucalyptus or ferns, to add depth and texture.
With these simple steps, you can create a beautiful and one-of-a-kind centerpiece for your Alice in Wonderland party.
Whimsical Floral Crowns
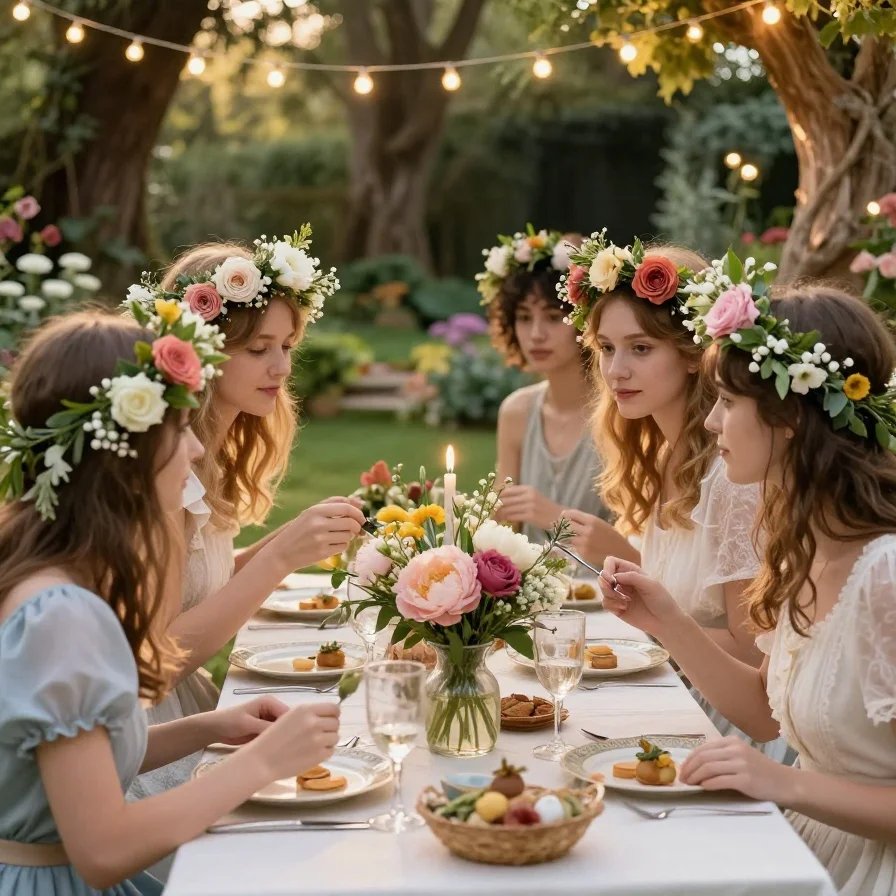
To add a touch of magic and wonder to your Alice in Wonderland party, consider creating whimsical floral crowns.
These crowns can be worn by guests or used as a unique centerpiece.
The truth is, making floral crowns is easier than you think, requiring just a few simple materials.
Materials and tools needed include: floral tape, scissors, wire cutters, floral wires, and an assortment of fresh flowers and greenery.
This project is suitable for those with a beginner to intermediate skill level and can be completed in about 30-45 minutes.
Here’s a step-by-step guide:
-
- Gather and prepare your flowers and greenery,
- Create a base for your crown using floral wires,
- Begin attaching flowers and greenery to the base using floral tape.
For example, you can use roses and baby’s breath to create a beautiful, full and lush crown.
Floral Teacup Centerpiece
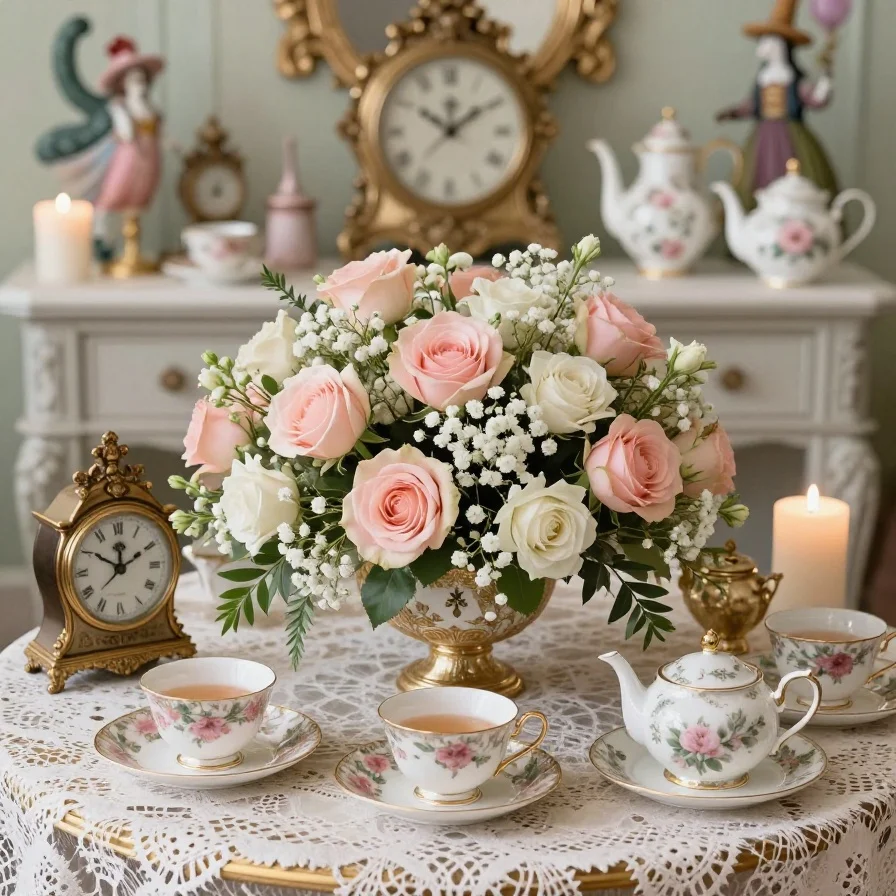
To create a whimsical and elegant centerpiece, consider a floral teacup arrangement.
The truth is, this DIY project is easier than it looks, requiring only basic floral arrangement skills.
You’ll need: teacups, floral foam, scissors, hot glue gun, flowers, and greenery.
For a beautiful example, use pastel-colored roses and baby’s breath.
This project has a medium skill level and takes around 30-40 minutes to complete.
Here’s a step-by-step guide:
-
- Prepare your teacup and floral foam,
- Cut and arrange your flowers and greenery,
- Secure the stems using hot glue.
Most people miss the importance of balancing colors and textures in their arrangement.
Floral Crown Station
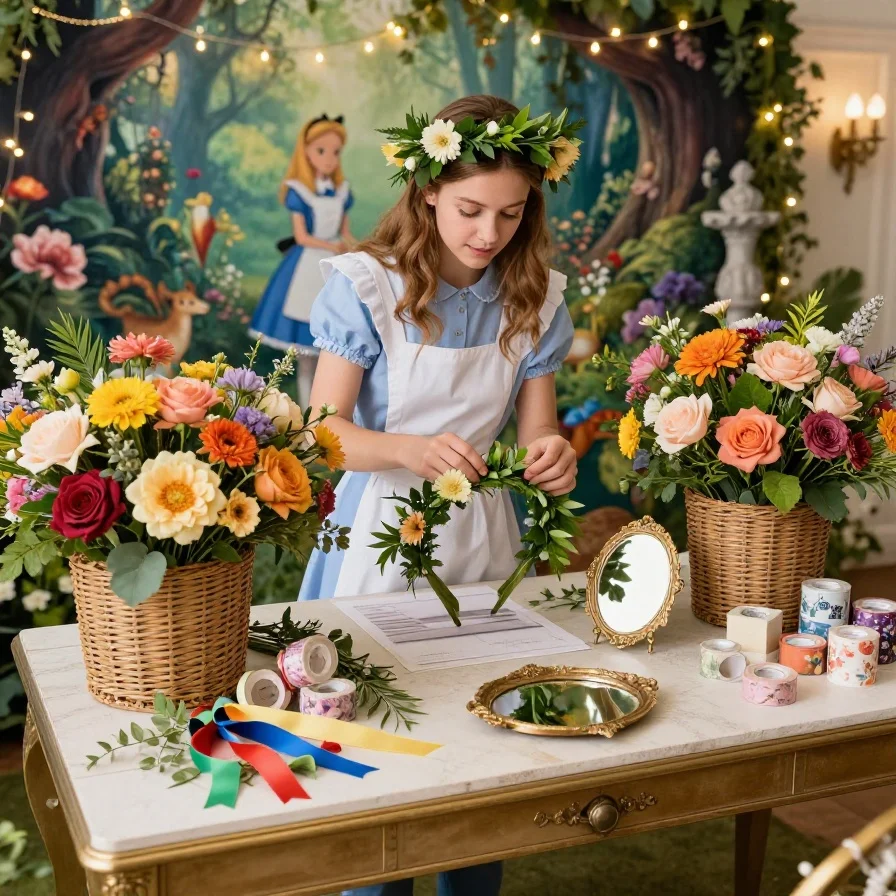
Creating a floral crown station is a unique and interactive DIY Alice in Wonderland decoration idea.
It allows guests to craft their own floral crowns, adding a touch of whimsy and fantasy to the party.
The truth is, this activity can be a great icebreaker and conversation starter.
To set up the station, you’ll need:
-
- Artificial flowers and greenery
- Floral tapes and wires
- Scissors and hot glue guns
- Crowns or headbands as bases
This project is considered easy to medium level and takes around 45-60 minutes to complete.
Here’s a step-by-step guide:
-
- Prepare the crowns and floral materials,
- Demonstrate how to attach flowers using floral tape,
- Let guests create their own designs.
For example, a simple rose crown can be made by attaching 5-7 artificial roses to a headband using floral tape.
Whimsical Teacup Flower Arrangements
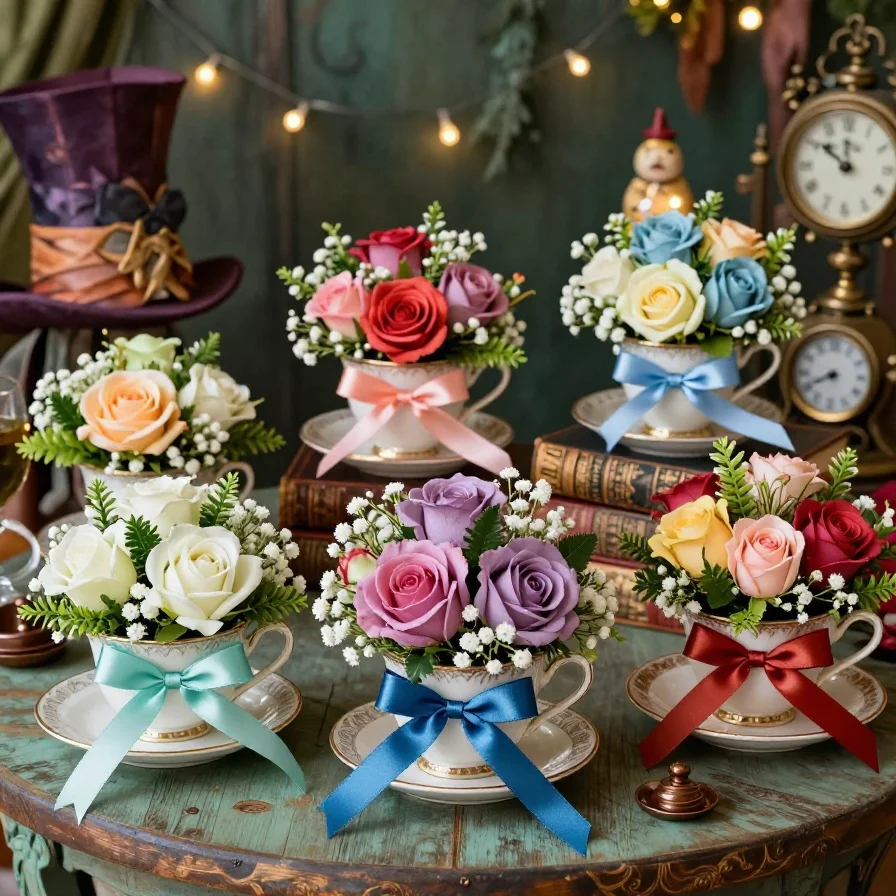
To create a unique centerpiece, try making whimsical teacup flower arrangements.
The truth is, this DIY project is easier than it looks, requiring only a few materials: teacups, floral foam, scissors, floral tape, and an assortment of artificial flowers.
Most people miss the opportunity to add a personal touch, but you can customize the arrangement with fresh flowers or ribbons.
For this project, you’ll need:
-
- Teacups
- Floral foam
- Scissors
- Floral tape
- Artificial flowers
- Fresh flowers (optional)
- Ribbons (optional)
This project requires a beginner skill level and can be completed in about 30 minutes.
Here’s how to get started:
-
- Prepare the teacup by adding floral foam.
- Arrange the flowers and greenery.
- Secure the stems with floral tape.
For example, a beautiful arrangement can be made using 3-5 teacups, each filled with a mix of artificial roses and baby’s breath.
Whimsical Mushroom Centerpieces
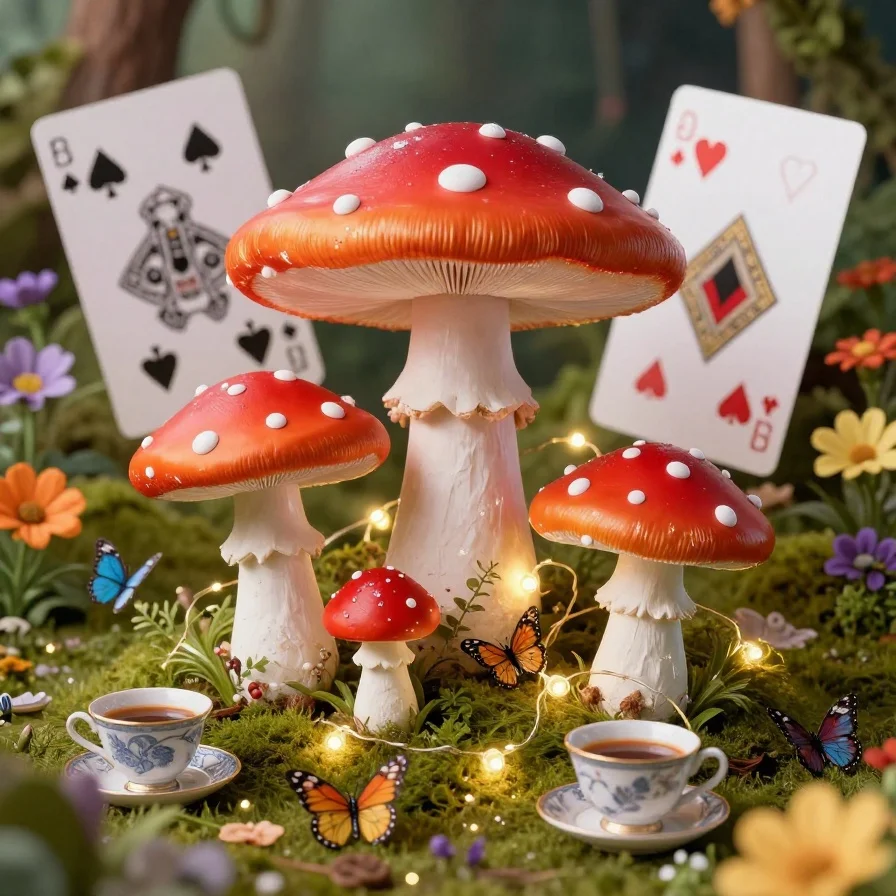
To create a magical ambiance, consider making whimsical mushroom centerpieces.
The truth is, these decorations are easier to make than you think.
You’ll need cardboard tubes, paper mache, paint, and glitter.
To get started, gather your materials and tools, including a hot glue gun and scissors.
This project requires a moderate skill level and about 2 hours to complete.
Here’s a step-by-step guide:
-
- Cut the cardboard tubes to varying heights.
- Apply paper mache to create a mushroom cap shape.
- Paint and add glitter to give it a whimsical touch.
For example, you can use red and white stripes to resemble a classic mushroom.
DIY Floral Wonderland Arch
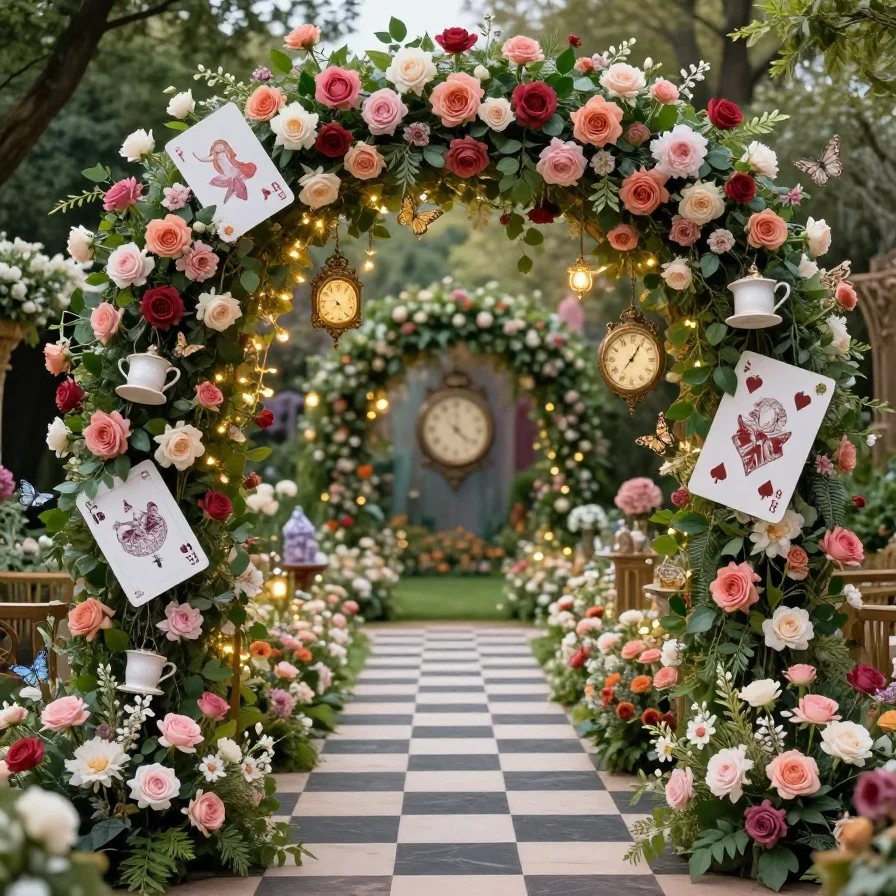
To create a stunning floral wonderland arch, you’ll need a few basic materials.
Gather cardboard, scissors, hot glue gun, floral tape, artificial flowers, and greenery.
Additionally, you’ll need a wire arch or a PVC pipe frame to shape your arch.
Most people miss the importance of measuring their space before starting this project.
The truth is, a well-planned arch can make or break the ambiance of your party.
This project requires a moderate skill level and about 3-4 hours to complete.
Here’s a step-by-step guide:
-
- Cut the cardboard to fit your arch frame.
- Wrap the cardboard with floral tape and start adding flowers and greenery.
For example, you can use 400-500 artificial flowers to create a lush, whimsical look.
With these simple steps, you can create a beautiful DIY floral wonderland arch.
FAQ
What materials do I need for these DIY projects?
To get started with these DIY Alice in Wonderland decorations, you’ll need a variety of materials, including cardboard, floral tape, artificial flowers, and crafting tools like scissors and hot glue guns. The truth is, having a full materials list will save you time and stress in the long run. For example, a single project can require up to 400-500 artificial flowers, so it’s essential to plan ahead.
How much time will it take to complete these projects?
Most people miss the fact that time estimate is crucial for planning a successful party. The time it takes to complete these DIY projects can vary, but on average, you can expect to spend around 2-5 hours per project, depending on the complexity and your skill level. If you’re a beginner, it’s best to start with simpler projects and work your way up.
What is the skill level required for these DIY projects?
The skill level required for these DIY projects ranges from beginner to intermediate, so don’t be discouraged if you’re new to crafting. With patience and practice, you can create stunning DIY Alice in Wonderland decorations. For instance, a beginner can start with a simple project like decorating a mad hatter hat using basic materials like cardboard and glue.
Can I customize these DIY projects to fit my party theme?
Yes, you can definitely customize these DIY projects to fit your party theme. The key is to use your imagination and think outside the box. For example, you can use different colors or materials to match your party’s color scheme and style.
Where can I find more information and tutorials on these DIY projects?
If you’re looking for more information and tutorials on these DIY projects, you can find plenty of resources online, including videos and blogs. Most people find it helpful to follow a step-by-step guide, which can include numbered steps like:
-
- Gather materials and tools
- Prepare the workspace
- Start crafting
to ensure a successful project.
Key Takeaways
To create a magical DIY Alice in Wonderland decorations setting, consider the following essential points.
-
- Gather a full list of materials and tools, including cards, floral arrangements, and paint, to ensure a smooth project flow.
- Assess your skill level and plan accordingly, as some projects may require advanced crafting skills.
- Allocate a realistic time estimate, such as 2-3 hours, to complete each project.
- Follow numbered steps, like:
1. Prepare the workspace
2. Start crafting
to achieve the desired outcome.
-
- Refer to step-by-step guides, which often include tips and tricks, to help you stay on track.
- Use high-quality resources, such as videos and blogs, to learn new techniques, like making a Mad Hatter’s hat with 95% cardboard and 5% fabric.
The truth is, with these tips, you’ll be well on your way to creating an enchanting atmosphere. Save this article to your Pinterest board now and get ready to create your own whimsical wonderland!